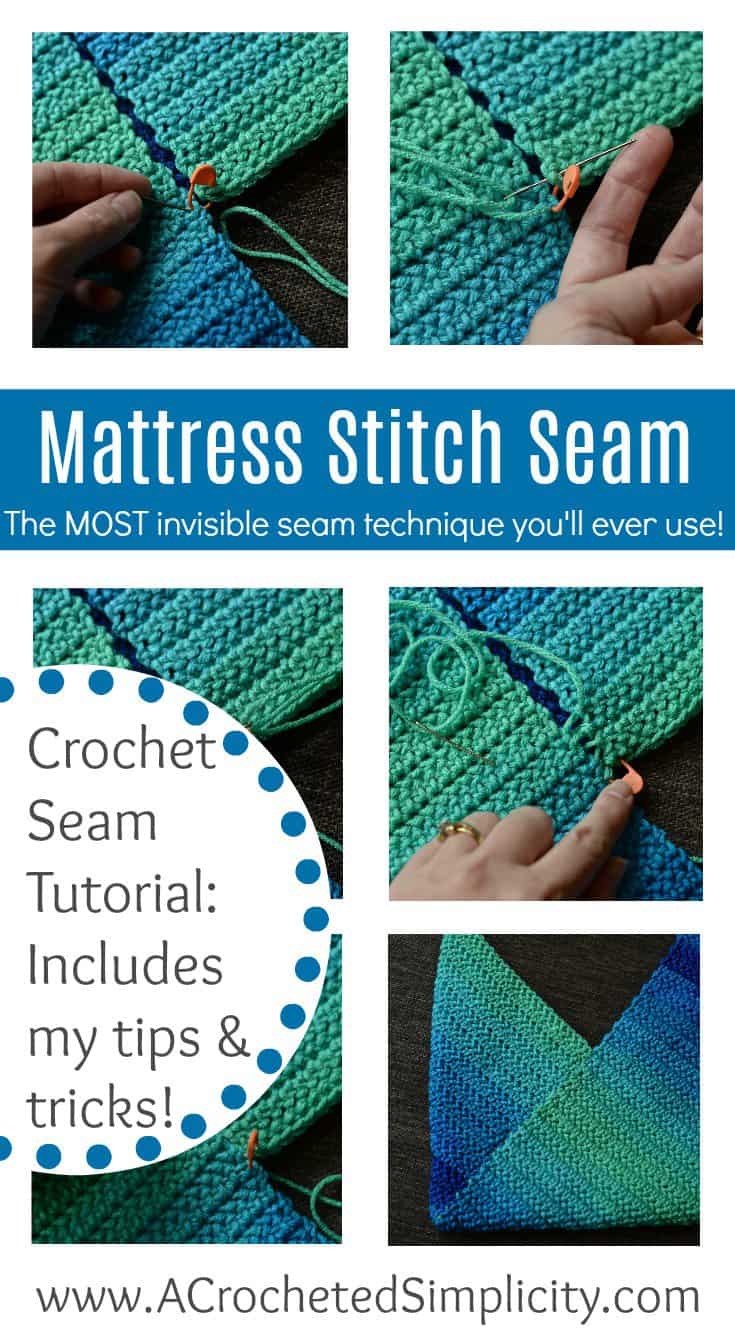
How to Sew a Mattress Stitch Crochet Seam
Learn how to sew a Mattress Stitch Crochet Seam so you can seamlessly join two pieces of crocheted fabric.
You’ll love that the mattress stitch seam is nearly invisible!
The first seaming technique that most crocheters learn is the whipstitch crochet seam. While whipstitching has a time and a place, the mattress stitch seam is my go-to technique when seaming panels of crocheted fabric together.
Below, I’ll share with you why I love the mattress stitch crochet seam and a I’ll share a few tips that will help you make PERFECT crochet seams!
I’ve never enjoyed hand sewing (lack of patience lol), BUT after realizing that certain crochet projects benefit from having seams because seams add stability, I caved and learned to embrace seaming.
And after seeing how nice the mattress stitch seam looks and realizing just how easy it is to do, it made it easier to embrace the whole seaming process.
While there are many tutorials out there for the mattress stitch crochet join, I wanted to share with you my version. It differs a little from most others you’ll find in that I work on the Right Side of the fabric and I insert my yarn needle differently. This is a personal preference, and in my opinion, makes the most invisible seam.
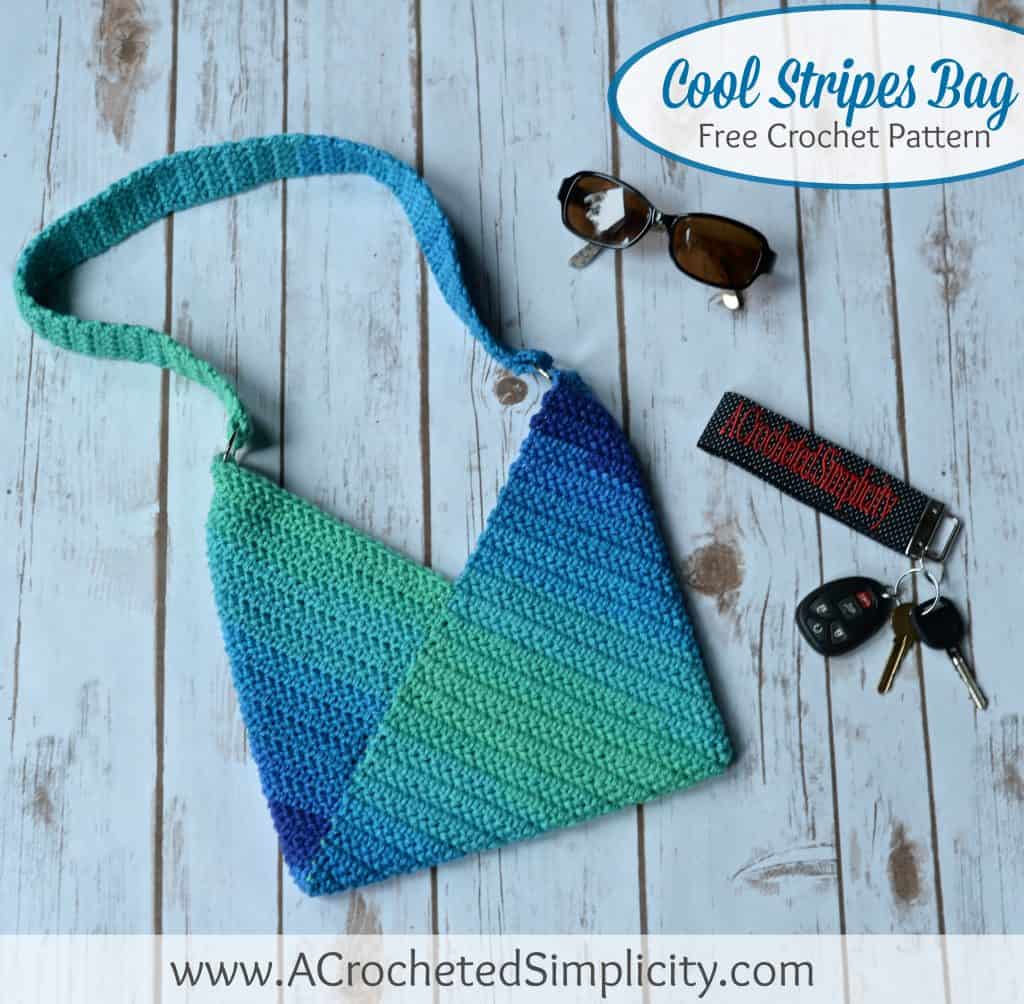
A couple of projects that I used the mattress stitch seam on are my Cool Stripes Bag (shown below), and my Summer Splendor Cardigan.
What is Mattress Stitch Crochet?
The mattress stitch is a technique used in both knitting and crochet to seam pieces of fabric together. It is the favorite of most because it produces an almost invisible seam!
The mattress stitch is an easy joining technique that can be used for all types of projects. I’ve used it to seam squares for a crochet throw, crochet tote bag, and several crochet garments and I have loved the result for all of them!
In a nutshell, the mattress stitch seam is worked by inserting a yarn needle with yarn into a stitch from the edge of one piece, then inserting it into a corresponding stitch along the edge of the second piece. You’ll always insert the needle in the same direction and work back and forth to create a zig zag. Then you’ll pull both ends of the yarn to close the seam.
In the step by step photos below, I’ll show you how to create the most seamless seam!
Reasons I Love the Mattress Stitch Crochet Seam:
- The mattress stitch crochet seam is the MOST invisible crochet seam!
- It’s versatile and can be used for all types of crochet projects.
- This crochet seam is flat (as opposed to a slip stitch seam which creates a ridge, and even the flattest slip stitch seam has a tiny ridge).
- You can easily seam two pieces of crocheted fabric that may not be the same exact length simply by evenly distributing the slack over the length of the seam. The result is a seam without a pucker (as long as there isn’t a huge difference in length between the two pieces).
- This is the main reason I used this technique for the Urban Crossover Pullover.
- The edges you seam do not have to be the bottom or tops of stitches. You can seam raw edges (the sides of the rows).
- The mattress stitch is also great for joining crochet squares or pieces of different colors because the seam is nearly invisible!
- I have a crochet blanket design being released in August that I’ve been using this seaming technique on.
Mattress Stitch Crochet Tips
The mattress stitch is the most common technique used to sew panels together. It’s a simple technique and I’ll give you a couple of tips to help make it easier.
TIP #1: As you’re sewing your seams, make sure to stop every couple inches and pull both ends of your yarn to tighten the seam. If you wait until you’re done sewing and then try to pull the ends through the entire length of the seam, you may end up with gaps or puckers.
TIP #2: Use several stitch markers when suggested. The stitch markers not only hold pieces together temporarily, they also help guide you to seam things, such as sleeves, evenly.
Tip #3: The most important thing to remember about this technique is to insert your yarn needle the same direction on both panels that you’re seaming. If you insert from bottom to top on the left side, make sure to insert bottom to top on the right side and vice versa (I prefer to insert my yarn needle from bottom to top). See photos and instructions below.
Tip #4: Insert your yarn needle through the middle of the stitch, not around it. By working in the middle of stitches, you can conceal the seam much more than working around stitches. Working around stitches may create small gaps
How to Mattress Stitch Crochet?
If you’ve found yourself here, you’ve likely asked “How do you crochet a mattress stitch?”
Learn how to seam crochet pieces together using mattress stitch crochet in the step-by-step crochet photo tutorial below.
I am using a different color yarn to make it easier for you to see how to make a mattress stitch seam.
The photos below are of a seam being worked in the Sunny Days Cover Up.
Step 1:
Cut a length of yarn that is 2 – 3 times the length of the seam you will be creating. Thread your yarn needle or tapestry needle.
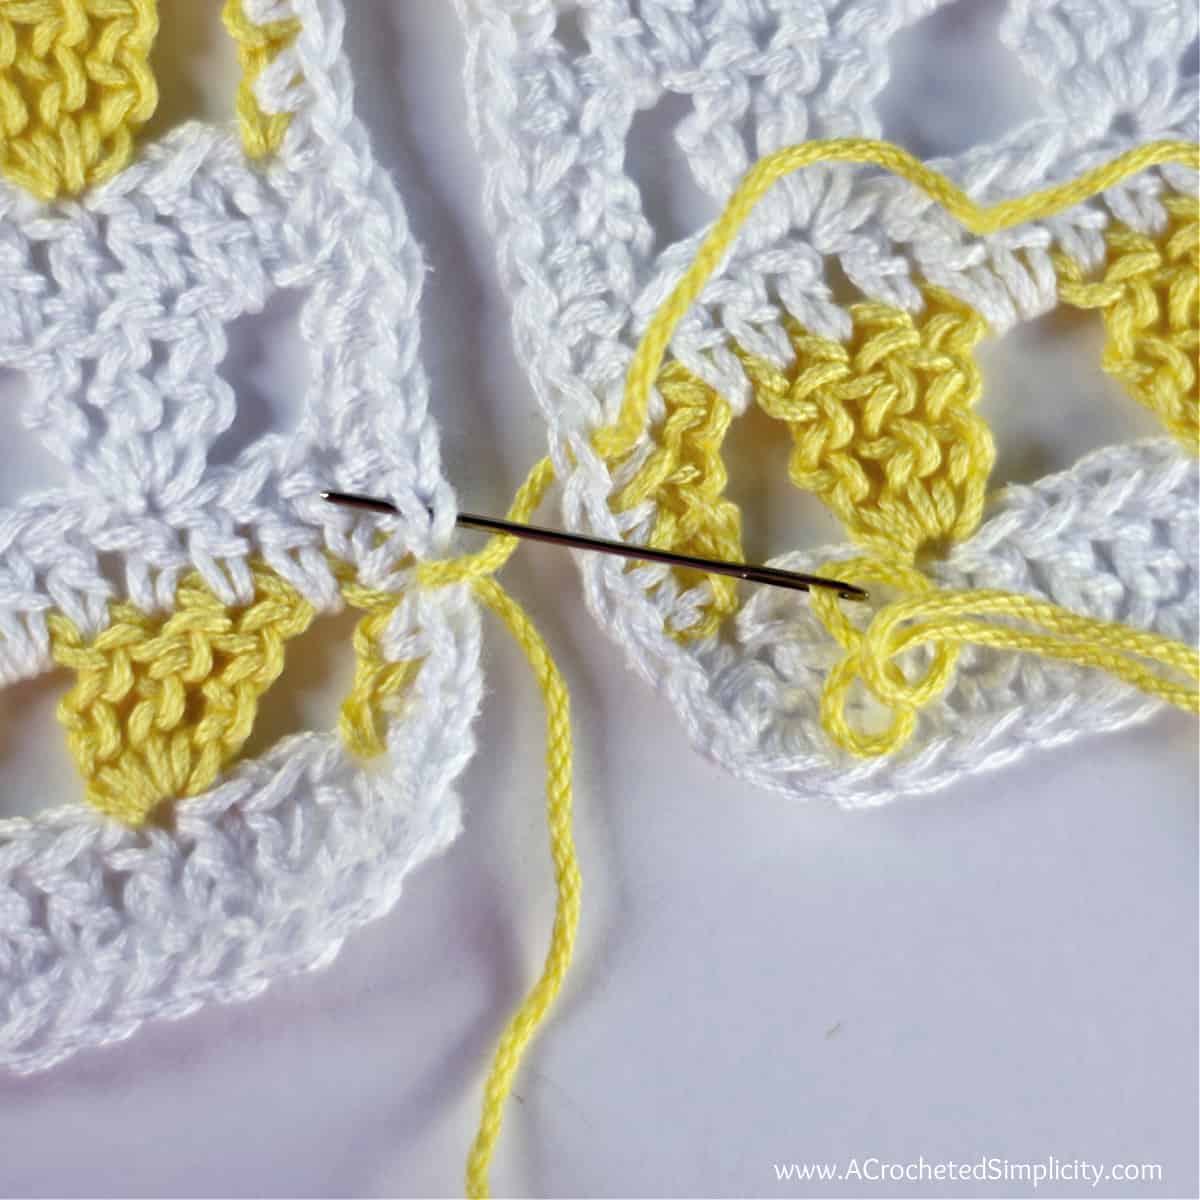
Lay your two crochet pieces on a flat surface with the right side facing up. Make sure to align the stitches along the edges being seamed.
Insert your yarn needle from bottom to top, through a stitch on the left.
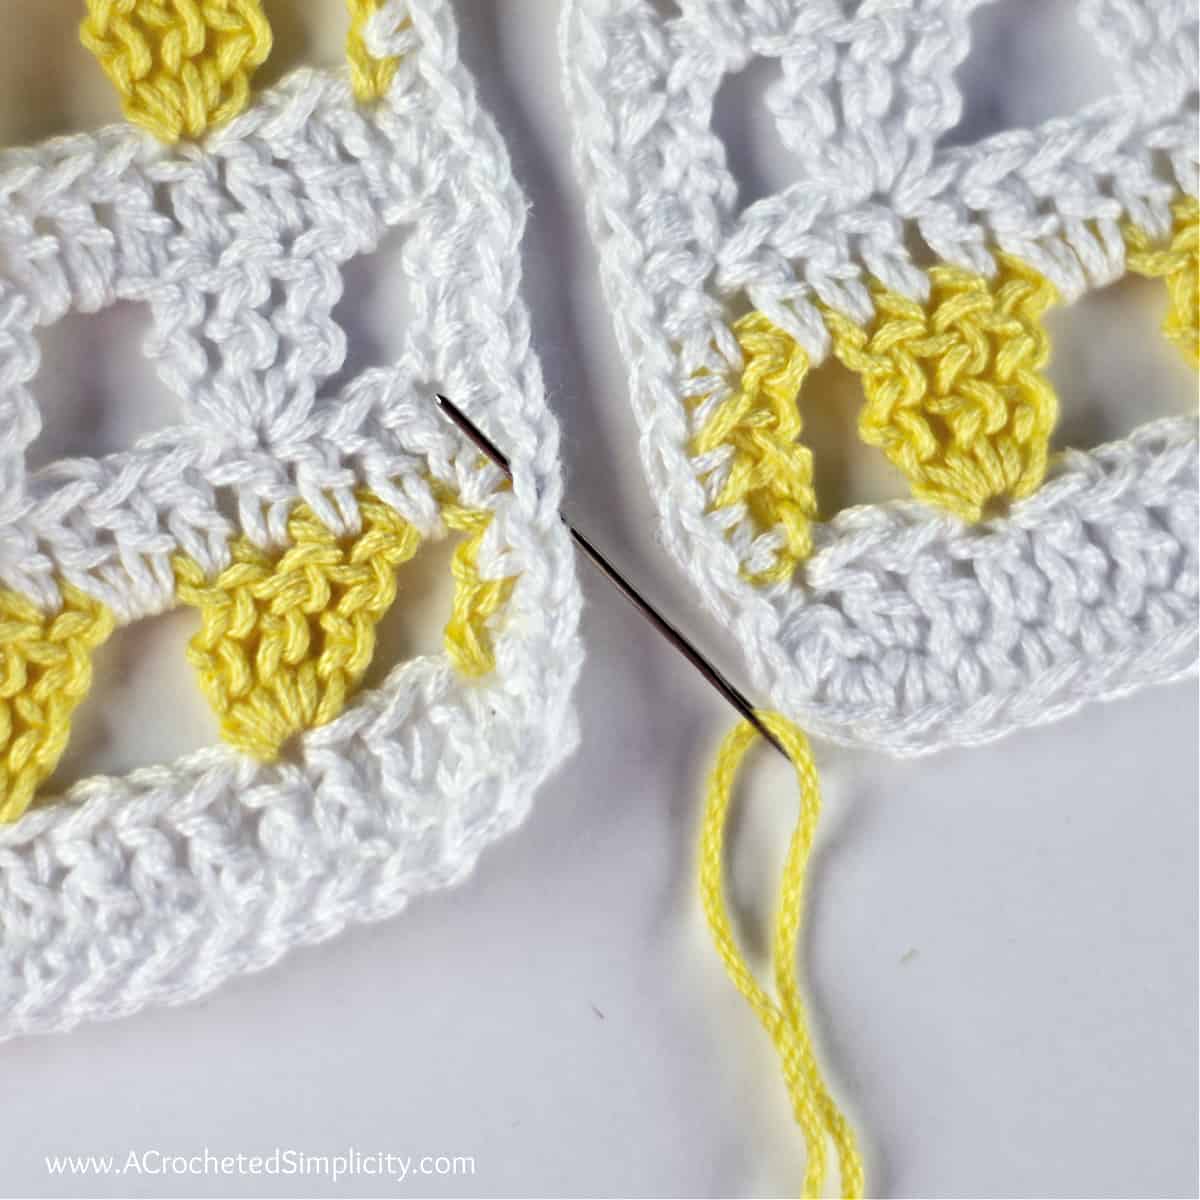
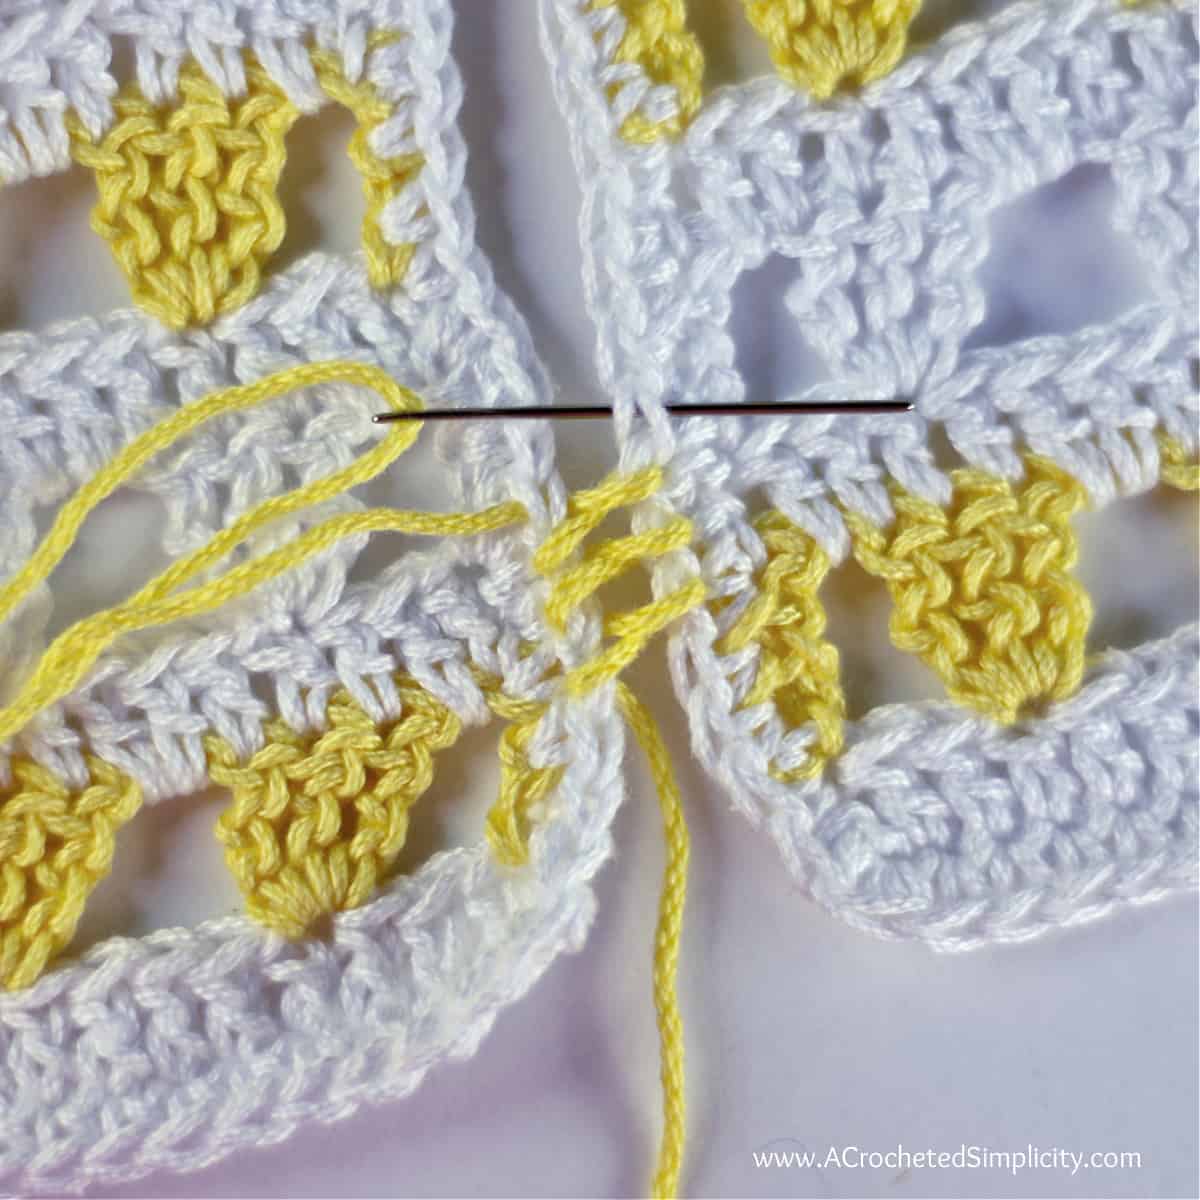
Step 2:
Insert your yarn needle from bottom to top, through a stitch on the right.
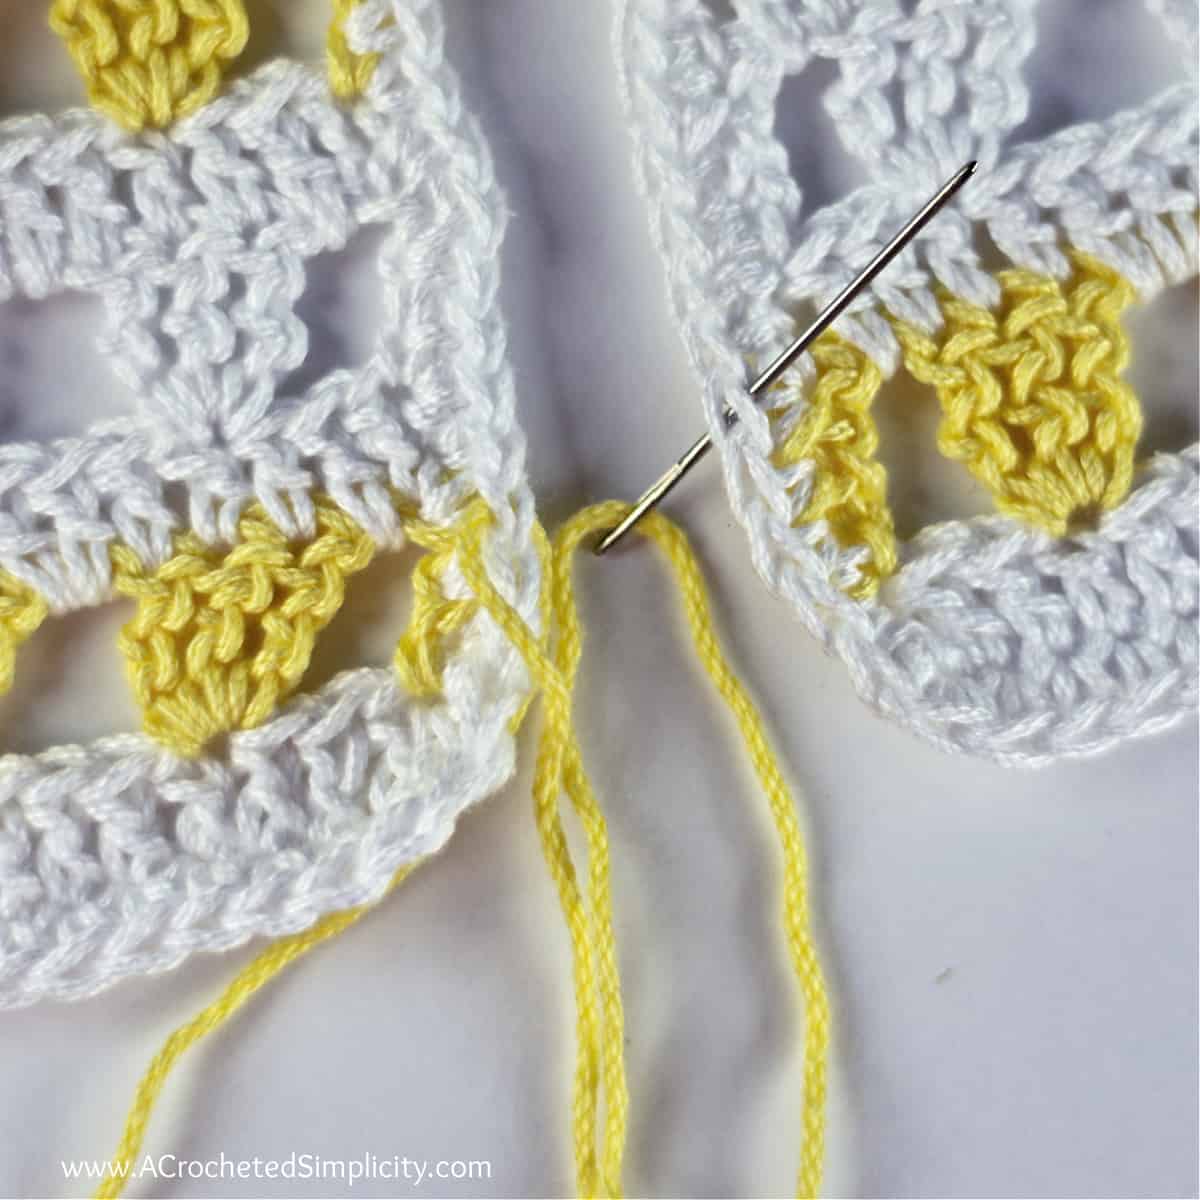
Step 3:
Insert your yarn needle from bottom to top, through a stitch on the left.
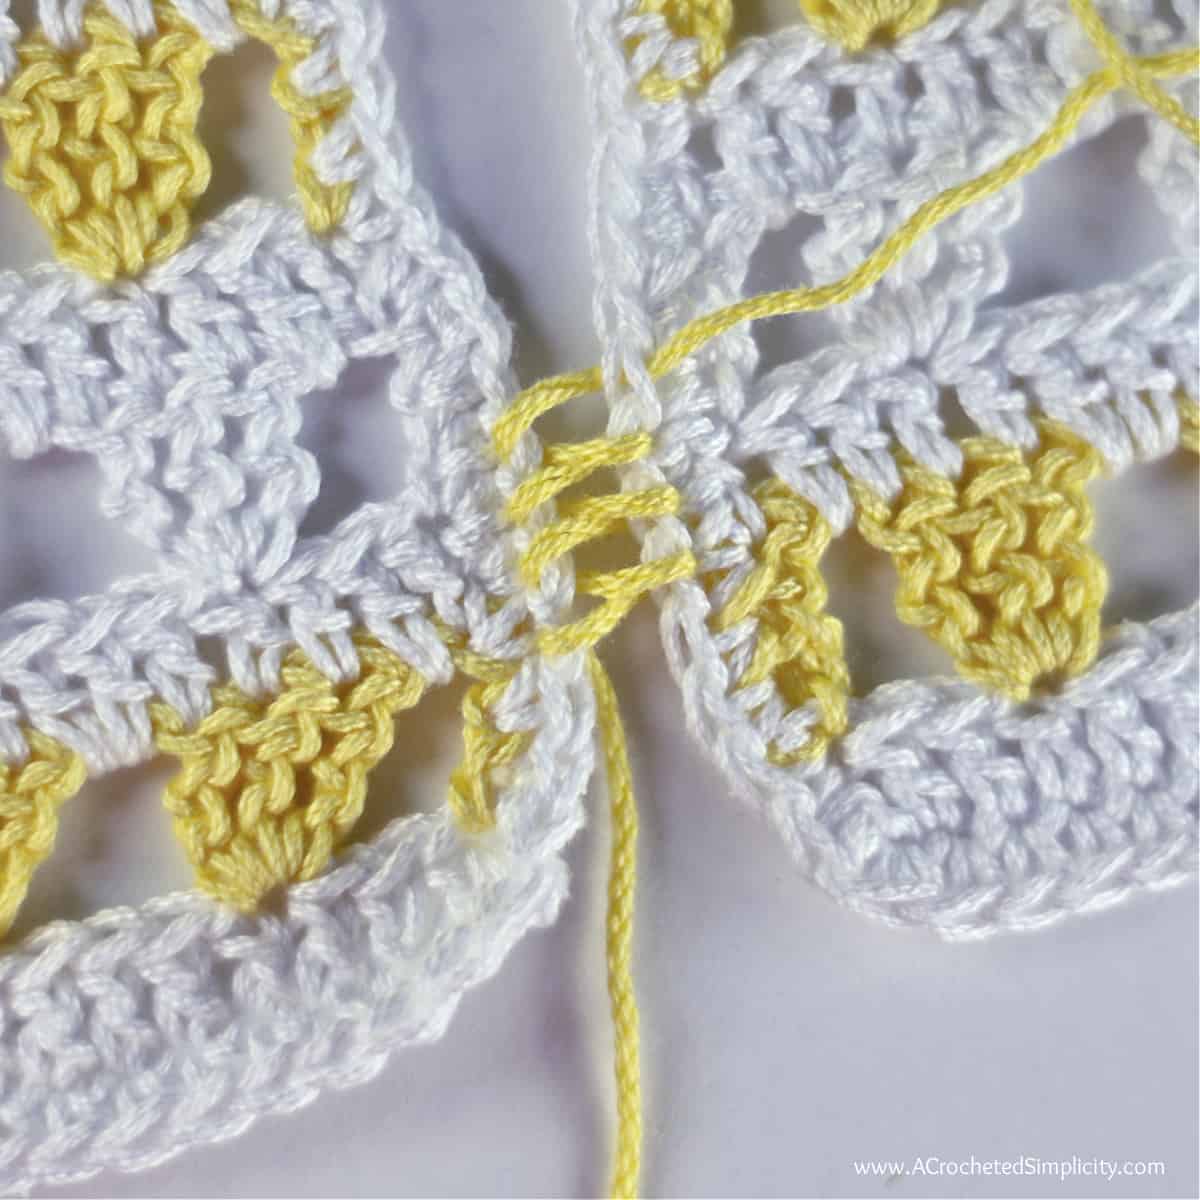
Step 4:
Continue working back and forth creating a zig zag with the yarn between the panels.
Step 5:
After you’ve created a zig zag about an inch long, pull on both ends of your yarn to tighten the seam.
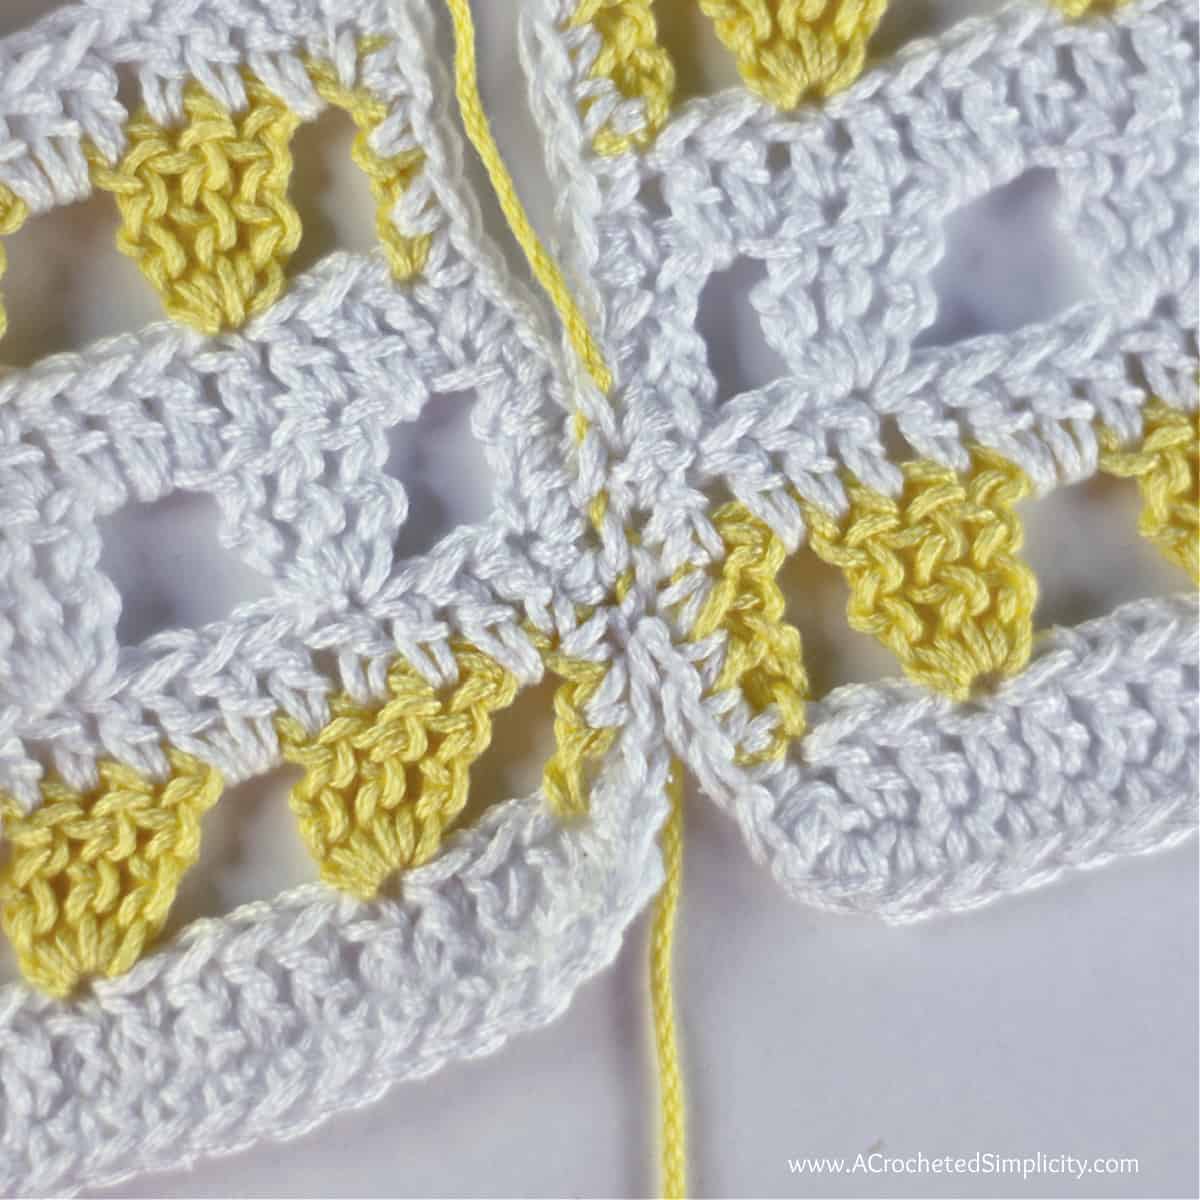
Step 6:
Once you have worked the entire seam, pull both ends of the yarn to make sure your seam is tight, fasten off, and weave in all ends.
Voila, your Mattress Stitch Crochet Seam is complete!
Pin it to Save it for Later!
Seaming crochet, no matter which technique you are using, takes a little practice and patience. But the Mattress Stitch Crochet is an excellent crochet technique to add to your crochet toolbox and I hope it quickly becomes a favorite.
Are you intimidated by knit-look crochet? Would you love to learn my tips & tricks? Take an Annies Video Class with me and let me ease your fears and help you increase your skills! Click on the photo below to watch a free preview. You can also see the other 4 video classes I have available! (affiliate link)

Please share your finished ACS projects with us in the A Crocheted Simplicity Crochet Community Group on Facebook! Use hashtag #ACrochetedSimplicity when sharing on social media so I can find your posts!

I was so excited to see you had a tutorial but I cannot tell what you are doing in the pictures. A video tutorial would be so helpful.