Chevron Peaks Crochet Mittens – Free Crochet Mitten Pattern
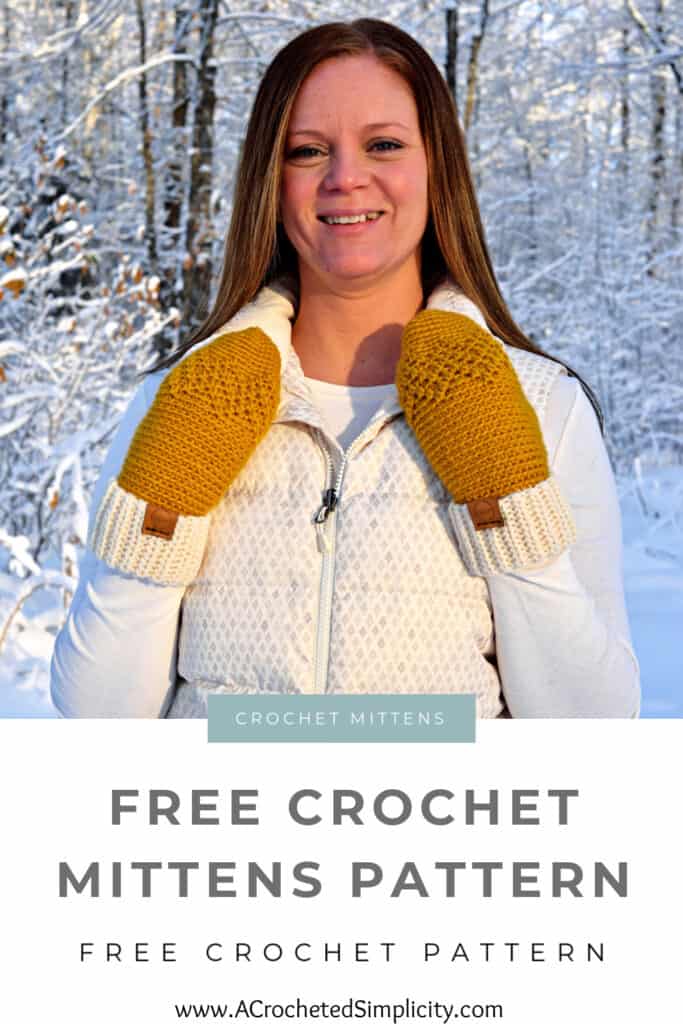
Make yourself a pair of DIY mittens this winter with this Crochet Mitten Pattern!
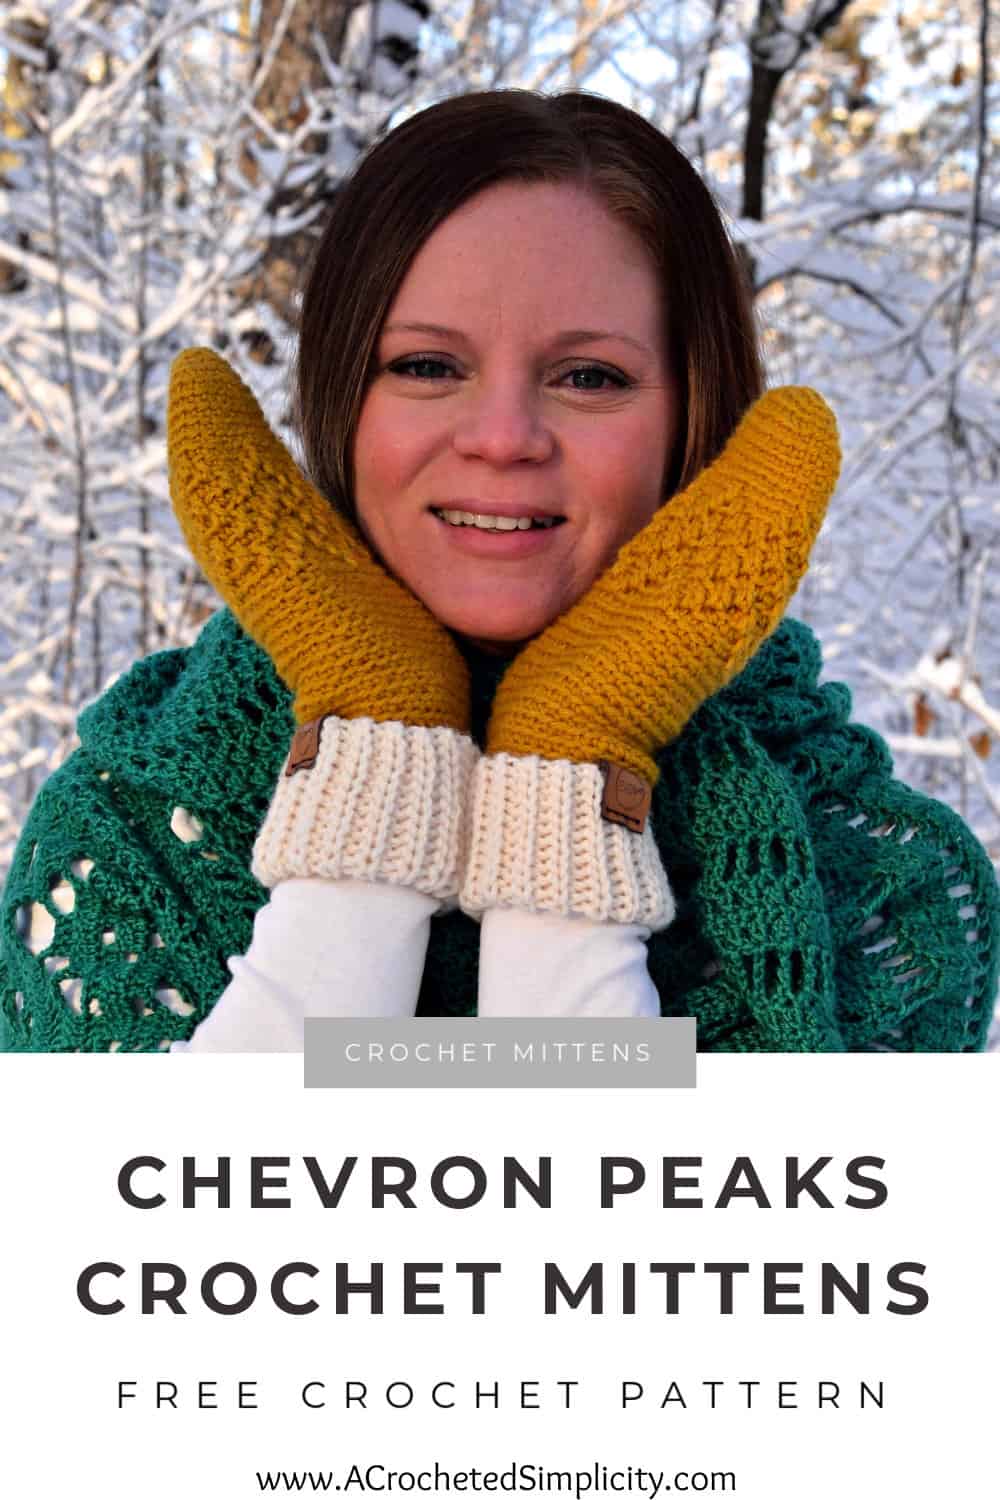
The Chevron Peaks Crochet Mittens are a simple one piece crochet mitten pattern, but I made mine with two colors. They also have a stretchy, ribbed fold over cuff that is perfect for keeping the snow out!
You’ll find the free crochet mittens pattern below, or an ad-free print friendly PDF (including all photo tutorials) on Ravelry, or Etsy (aff).
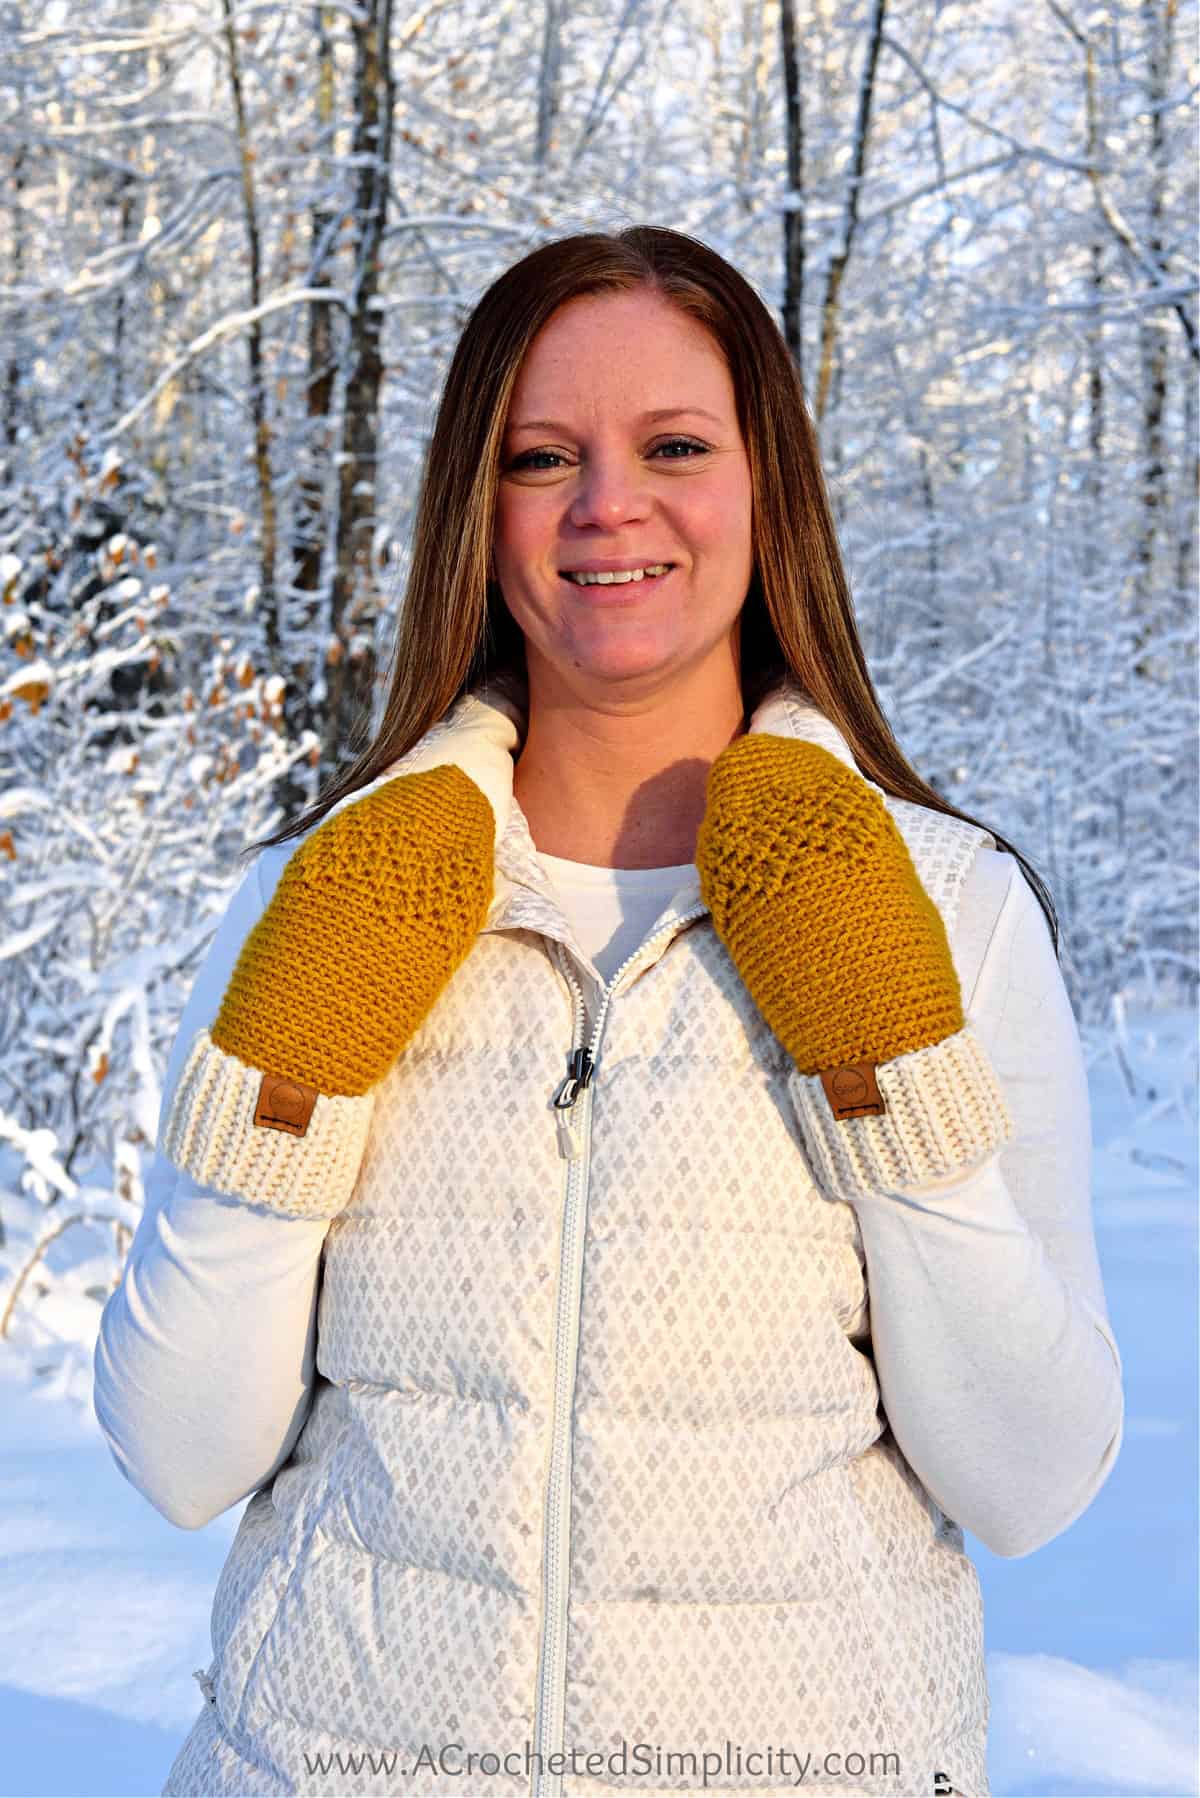
After releasing the Chevron Peaks Slouch, I had many crocheters in the A Crocheted Simplicity Crochet Community Group on Facebook ask me to design crochet mittens to match. I thought mittens would make a great matching set, and I needed a smaller project to help get me back into crocheting after a busy holiday season.
Related: Crochet a pair of mittens to match the Chevron Peaks Beanie or Head Warmer.
How to Crochet Mittens
These easy crochet mittens are crocheted in one piece from the ribbed crochet cuff to the tip of the fingers!
First, you’ll crochet the stretchy fold over cuff in rows, and then slip stitch the long edges of the cuff together to seam it.
After you’ve crocheted the mitten cuff, you’ll begin the body of the mitten by crocheting around one edge of the cuff. The body of the mitten is worked in a spiral, without joining the rounds, to keep from having a visible seam.
While you’re crocheting the hand portion of your mitten, you’ll create a crochet thumb gusset and a thumbhole. There are instructions at this point to adjust the length of your mitten, if needed.
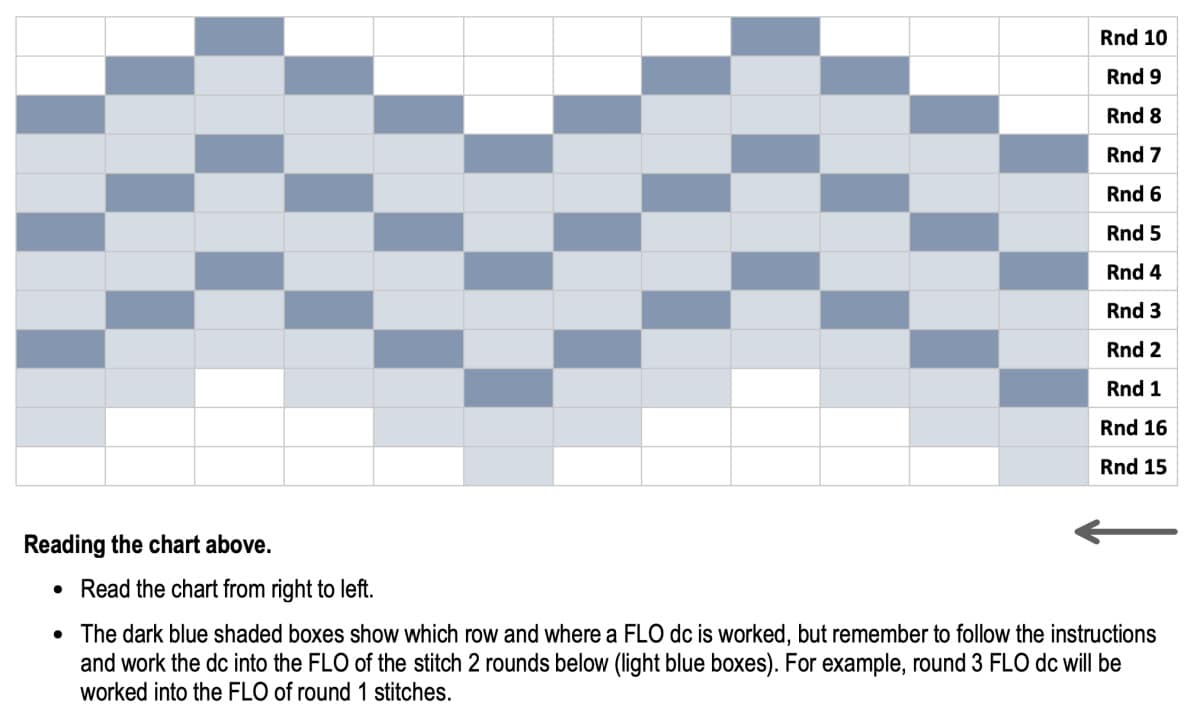
After creating the thumb gusset and thumbhole, you’ll add the textured crochet chevron design to the mitten by working double crochet stitches into the front loops only of stitches two rounds prior. There’s a chevron pattern chart below to help give you a visual.
Once the mitten is worked to a specific length, you’ll then crochet decrease rows to close off the tip of the mitten.
Lastly, you’ll join yarn near the thumbhole and crochet a thumb on your mitten.
Yarn
I chose a worsted weight yarn because I wanted to make sure my crochet mitten pattern was warm enough to wear outdoors playing in the snow.
I used Lion Brand Yarns Wool Ease for this mitten crochet pattern. It is, hands down, one of my favorite worsted weight yarns!
Wool Ease is a worsted weight / 4, acrylic wool blend yarn and it’s currently available in 31 fabulous colors! You’re sure to find the perfect colors for your new handmade mittens.
There are several other worsted weight yarns that would make great substitutions. Lion Brand Wool Ease Recycled, Lion Brand Heartland, Lion Brand Pound of Love, Lion Brand Vanna’s Choice… just to name a few.
I’d love to see these crochet mittens in an ombre yarn too!
Self-Striping Yarn: If you choose a self-striping yarn, your stripes will run vertically on the mitten cuff and horizontally on the hand section of the mitten.
FREE CROCHET MITTENS PATTERN
The mittens crochet pattern is free below, but if you love to work offline, I’ve got a couple other great options for you.
Purchase the ad-free, printable PDF, including all photo tutorials, on Ravelry, or on Etsy (aff).
This post contains affiliate links.
Materials
- Yarn: Worsted Weight / 4; Lion Brand Wool Ease was used for the mittens shown in the photos.
- Fisherman (cream) – (120 yards)
- Mustard (gold) – (140 yards)
- Crochet Hooks: G/6/4.00mm; H/8/5.00mm; or size needed to obtain gauge
- Scissors
- Yarn Needle
Experience Level
- Easy
Gauge
- Mitten Cuff in sl st with a 5mm hook: 20 sts = 5″; 37 rows = 6″
- Body of Mitten in sc with a 5mm hook: 13 sts = 3″; 13 rows = 3″
Size
- One Size Fits Most Adult Women
- Laid Flat (cuff folded): 4.25″ W x 9.5″ L (at widest & longest points)
Abbreviations (U.S. Terms)
- ch(s): chain(s)
- st(s): stitch(es)
- sl st(s): slip stitch(es)
- sc: single crochet
- dc: double crochet
- inv sc2tog: invisible single crochet decrease
- yo: yarn over
- rep: repeat
- Rnd: round
- BLO: back loop only
- FLO: front loop only
- RS: right side
- WS: wrong side
- SM: stitch marker
- See Special Stitches below
- Join yarn with a standing single crochet
Special Stitches
- Invisible Single Crochet 2 Together (inv sc2tog): Insert hook into the BLO of stitch indicated, insert hook into BLO of next stitch, yo, pull up a loop, yo, pull thru all loops on hook.
- Join yarn with a standing single crochet:Begin with a slip knot on your hook, insert your hook into the stitch or space indicated, yo, pull up a loop, yo and draw thru both loops on hook.
Pattern Notes
- I tend to crochet on the tighter side. You may need to go down a hook size (or two) to meet gauge if you crochet on the looser side.
- Turning chains are not included in stitch count, unless stated otherwise.
- Another comparable worsted weight / 4 yarn may be used as long as gauge is met.
- Lion Brand Wool Ease (3 oz / 85g / 197 yd / 180 m / 80% acrylic / 20% wool)
- Yardage
- Fisherman (cream): 120 yards
- Mustard (gold): 140 yards
- Crochet Mitten Construction: The crochet mitten cuff is worked flat and then seamed. The crochet mitten is worked in continuous rounds (a spiral) from cuff to fingertip. The thumb is then added.
- Instructions are included to lengthen your mittens, if needed.
- Personalized Tags for your crochet: read this blog post to find out where I purchase mine & how to add them!
Crochet Mitten Pattern
Stretchy Mitten Cuff
Row 1 (RS): With a 5mm crochet hook & cream yarn, ch 21, working into the back hump of the foundation ch, sl st in the 2nd ch from your hook and in each ch across. Turn. (20 sts)
Rows 2 – 35: Ch 1, BLO, sl st in each st across. Turn. (20 sts)
Row 36 – Seam Row: With RS facing out, bring the first row up to meet the last row (the first row should be in front if you kept the RS facing out). Position your working yarn so that it’s on the inside of the cuff (See photo & video tutorial for seam). Ch 1, slip stitch the rows together using the following method: insert your hook (from front to back) into the FLO of the 1st stitch of Row 1, insert your hook (from back to front) into the BLO of the 1st stitch of the last row, yo, pull thru all loops on your hook. Continue in this way across the cuff to complete the seam. (20 sts)
Do not fasten off. Continue on to Body of Mitten.
Body of Mitten
The entire Body of Mitten is worked in continuous rounds (also referred to as working in a spiral). I strongly suggest using a scrap piece of yarn to keep track of the beginning and ending of each round.
Step 1: Turn the cuff inside out. The RS of the body of mitten will be worked on the WS of the cuff so that when the cuff is folded down, the RS is showing.
Rnd 1 (RS): With a 5mm crochet hook and cream yarn, work into the sides of the rows of the cuff, ch 1, work 34 sc evenly around. Switch to gold yarn on the last stitch of this round. Do not join. Begin using a SM or scrap piece of yarn to keep track of the beginning and ending of each round as you work. (34 sts)
Remainder of the mitten is worked using gold yarn.
Rnds 2 – 7: BLO sc in each st around. (34 sts)
Crochet Thumb Gusset
Rnd 8: BLO 2 sc in each of the next 2 sts, BLO sc in each remaining st around. (36 sts)
Rnd 9: ( BLO 2 sc in the next st, sc in the next st ) twice, BLO sc in each remaining st around. (38 sts)
Rnds 10 – 14: BLO sc in each st around. (38 sts)
Crochet Thumbhole
Rnd 15: Ch 5, skip each of the next 7 sts, BLO sc in each remaining st around. (31 sc + 5 chs = 36 sts)
Sizing Tip! Try your handmade mitten on at this point. If it is too short, pull out Rnd 15 and work 1 or more repeats of Rnd 10. Then continue on with Rnd 15.
Rnd 16: BLO sc in each of the next 5 chs, BLO sc in each of the next 30 sts, skip the last st for this round only. (35 sts)
Do not fasten off. Continue on to Crochet Chevron Design.
Crochet Chevron Design
Note: Round 1 of this section begins in the skipped stitch from Rnd 16. I’ve done this to help line up the chevron design.
Rnd 1: ( FLO dc in the next st 2 rnds below, BLO sc in each of the next 5 sts ) rep from ( to ) around. (36 sts)
Rnd 2: ( BLO sc in the next st, FLO dc in the next st 2 rnds below, BLO sc in each of the next 3 sts, FLO dc in the next st 2 rnds below ) rep from ( to ) around. (36 sts)
Rnd 3: BLO sc in each of the next 2 sts, ( FLO dc in the next st 2 rnds below, BLO sc in the next st, FLO dc in the next st 2 rnds below, BLO sc in each of the next 3 sts ) rep from ( to ) around to the last 4 sts, then work ( FLO dc in the next st 2 rnds below, BLO sc in the next st ) twice. (36 sts)
Rnd 4: ( FLO dc in the next st 2 rnds below, BLO sc in each of the next 2 sts ) rep from ( to ) around. (36 sts)
Rnd 5: Rep Rnd 2.
Rnd 6: Rep Rnd 3.
Rnd 7: Switch to a 4.00mm crochet hook, Rep Rnd 4.
Rnd 8: Rep Rnd 2.
Rnd 9: Rep Rnd 3.
Rnd 10: BLO sc in each of the next 3 sts, ( FLO dc in the next st 2 rnds below, BLO sc in each of the next 5 sts ) rep from ( to ) around to the last 3 sts, FLO dc in the next st 2 rnds below, BLO sc in each of the next 2 sts. (36 sts)
Do not fasten off. Continue on to Decreasing.
Decreasing
Rnd 1: ( BLO inv sc2tog, BLO sc in each of the next 4 sts ) rep from ( to ) around. (30 sts)
Rnds 2 – 5: BLO sc in each st around. (30 sts)
Sizing Tip! Try your mitten on at this point. The last 4 rounds will add approximately 1″ to the length of your mitten. If you would like a longer mitten, simple repeat round 2 as many times as you’d like, then move on to round 6.
Rnd 6: ( BLO inv sc2tog, BLO sc in each of the next 3 sts ) rep from ( to ) around. (24 sts)
Rnd 7: ( BLO inv sc2tog, BLO sc in each of the next 2 sts ) rep from ( to ) around. (18 sts)
Rnd 8: ( BLO inv sc2tog, BLO sc in the next st ) rep from ( to ) around. (12 sts)
Rnd 9: ( BLO inv sc2tog ) rep from ( to ) around. (6 sts)
Fasten off leaving a 6 – 8″ tail of yarn. Continue on to Crochet Thumb.
Crochet Thumb
Note: Thumb is worked in continuous rounds (spiral). I suggest using a scrap of yarn as a stitch marker to help keep track of rounds.
Rnd 1: With a 5.00mm crochet hook, join gold yarn with a standing sc in the BLO of the 1st skipped st of the thumbhole opening, BLO sc in each of the next 6 sts, sc into the side of the exposed sc from Rnd 15, sc in the FLO of each of the next 5 sts, sc into the side of the exposed sc from Rnd 15. (14 sts)
Tip! If you’re left with a small gap at each corner of the thumb where you work into the side of the exposed sc’s, use a scrap piece of yarn and stitch the gap closed after completing Rnd 2.
Rnds 2 – 7: BLO sc in each st around. (14 sts)
Rnd 8: ( BLO inv sc2tog, BLO sc in each of the next 2 sts ) 3 times, BLO sc in each of the last 2 sts. (11 sts)
Rnd 9: BLO sc in each st around. (11 sts)
Rnd 10: ( BLO inv sc2tog ) 5 times, BLO sc in the last st. (6 sts)
Fasten off leaving a 6″ tail of yarn. Continue on to Finishing.
Finishing
Turn your crochet mitten inside out. Use a yarn needle and yarn tails to whipstitch both the tip of the mitten and thumb closed. Weave in ends. Repeat all written crochet instructions to make the second mitten.

I MADE IT! NOW WHAT?
Pin this post! Save this free crochet mittens pattern to your Pinterest boards so that you can come back and make it again.
Leave a comment below: We love to hear your feedback.
Share Your Finished Projects on Facebook or Instagram: I love to see your finished projects! Share with us on social media and tag me @acrochetedsimplicity or use the hashtag #ACrochetedSimplicity so I can find your posts.
JOIN US IN THE FACEBOOK COMMUNITY GROUP!
Come share your finished projects with us in the A Crocheted Simplicity Crochet Community Group on Facebook. Join us for fun community events such as crochet alongs, join in on crochet conversations, ask questions, get advice, and share your love for crochet!

MORE FREE CROCHET ACCESSORIES PATTERNS
Are you looking for more winter crochet accessories patterns? We have several more free crochet patterns you’ll love! We have several crochet beanies & headwarmers, crochet scarves, shawls, & cowls, and crochet patterns for mittens to help keep you toasty warm this winter.

I keep trying to get a copy of your 5 winter patterns but it’s not working. any advice? I already subscribed, but it didn’t send out to my email. just another email saying to go find the pic of the ebook and click it. no picture on this page, just another place to subscribe. thank you in advance. 🙂 Happy new year
Hi Amanda,
You will should have received an e-mail with a blue download button at the top that says “FREE eBook Download”. When you click it, it immediately downloads the eBook.
Let me know if you’re still having issues.
Jennifer
I have the same problem. There is no download button.
Hi Sandy,
After subscribing, you will receive an e-mail approximately 2 minutes later that’s titled: “Your 5 Winter Crochet Patterns eBook is HERE”.
At the top of this e-mail, it says “Download Your Free eBook- Click the Button” and there is a blue button below that text.
CLick the button and your download begins immediately.