How to Add A Stretchy, Knit-Look Ribbed Band or Cuff to Your Crochet Projects
Don’t you just love the stretchy ribbed bands and cuffs on knitted garments and accessories? I do too, but I can’t knit. So what’s a crocheter to do? How can we achieve something similar in crochet?
There are a couple of stitch patterns and techniques I use regularly that are my favorites when it comes to adding a stretchy knit-look ribbed band or cuff. In this post, I’ll share a photo and video tutorial for one of them.
~Click HERE to sign-up to receive our newsletter!~
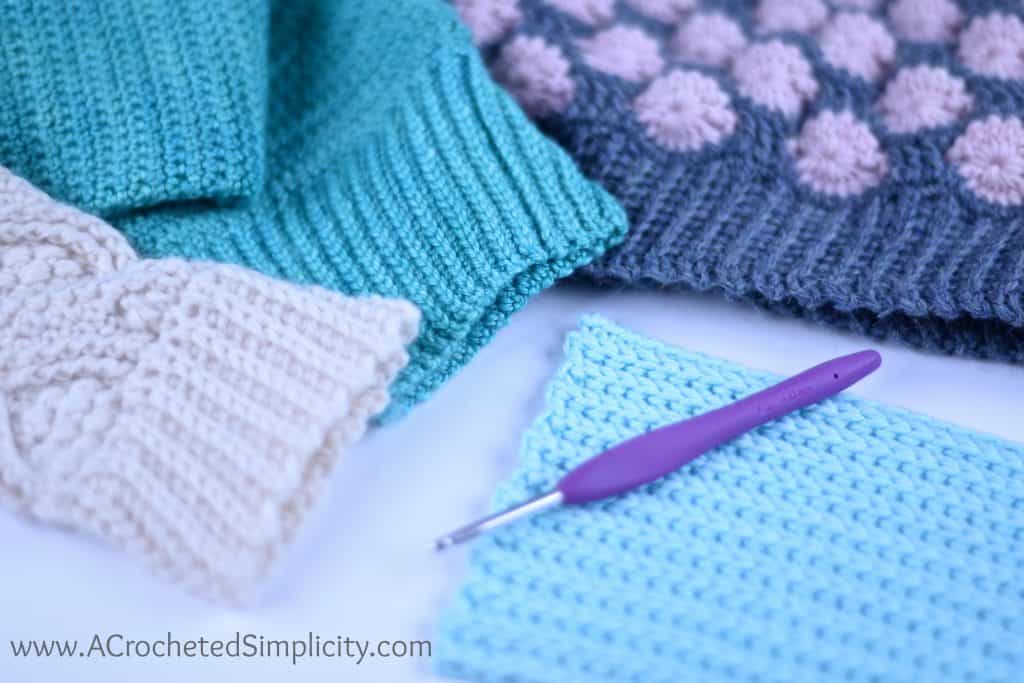
The hat shown in the upper right corner of the photo above is the Polka Dot Slouch. Click HERE to find the pattern on Ravelry. The mittens shown in the lower left corner of the photo above are the Hourglass Cabled Fingerless Mitts & Mittens. Click HERE to find the pattern on Ravelry.
~Don’t forget to Pin It to save it for later!~
If you’d like to follow along with me in the photos or video below, you’ll need to make yourself a swatch. Choose any yarn you’d like to use and an appropriate size crochet hook. Crochet yourself a a simple tube using any stitch you’d like, just make sure your stitch count is a multiple of 2. I’m just using an old WIP I had on my desk.
If this is the first time you’ll be working a knit-look ribbed band onto a project, I’d suggest practicing with a contrasting yarn for your ribbing so that you can see your stitches more easily.
Tip: If you’d like to add a stretchy knit-look ribbed band or cuff that you can fold up/down, read the tip at the end of this tutorial.
~Click HERE to Watch the Video Tutorial~
Special Stitches
- Single Crochet 2 Together (sc2tog): Insert your hook into the first stitch, yarn over, draw up a loop, insert your hook into the next stitch, yarn over, draw up a loop, yarn over, draw thru all 3 loops on your hook.
How to Add a Stretchy Knit-Look Ribbed Band / Cuff to your Crochet Projects!
After you’ve made yourself a swatch, as instructed above, follow along with me in the photos below!

Photo Above Left: Join your yarn with a sl st to any st along the edge of your project. If you’re going to work the band or cuff in the same color yarn as the rest of your project, you will simply continue working from where you left off.
Photo Above Center/Right: For the purposes of this tutorial, I’ve chosen to ch 6. Working into the back hump (ridge) of the foundation ch, sc in the 2nd ch from your hook and in each ch across to the last ch. Do not work into the last chain just yet!
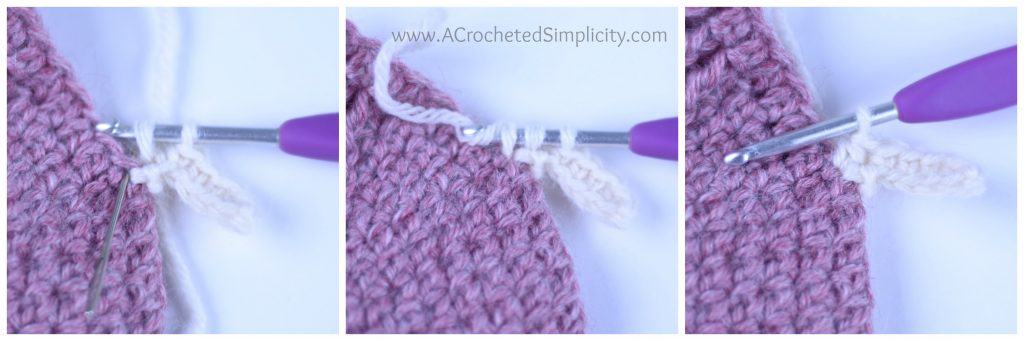
Photos Above: Now you’re going to work a sc2tog (see special stitches above for stitch definition) in the last ch and the same stitch along the edge of your project as your ch 6. This sc2tog secures your ribbing to your project. (5 sts) *Note: This is the project’s right side.

Photo Above Left: Sl st into the next st along the edge of your project. (This sl st acts as a turning chain if we were working regular rows.)
Photo Above Center & Right: Making sure to skip over the sl st (see video for more clarification, if needed), work into the back loops only and sl st in each st across. (5 sts)
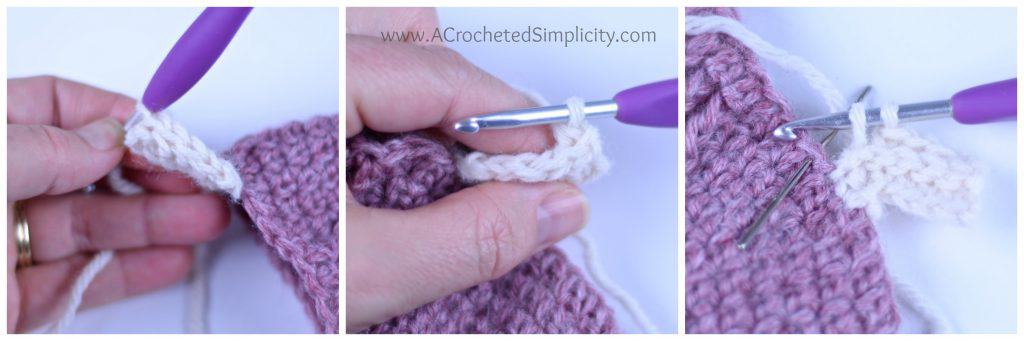
Photo Above Left: Shows the 2nd row completed.
Photo Above Center: Ch 1, turn, working into the back loops only, sc in each st across to the last st.
Photo Above Right: sc2tog into the back loop only of the next stitch and the NEXT stitch along the edge of the project (see silver yarn needle). *Note: from here on out you will always work into the next st along the edge of your project.
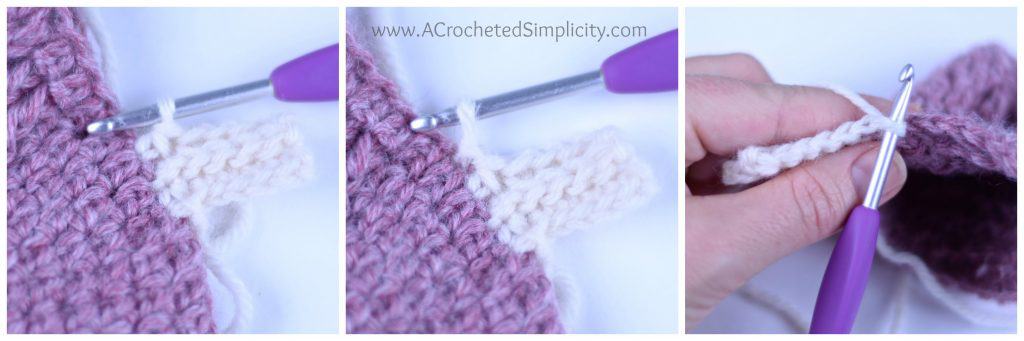
Photo Above Left: Shows the sc2tog complete at the end of Row 3.
Photo Above Center: Sl st into the next st along the edge of your project.
Photo Above Right: Making sure to skip over the sl st, work into the back loops only and sl st in each st across. (5 sts)
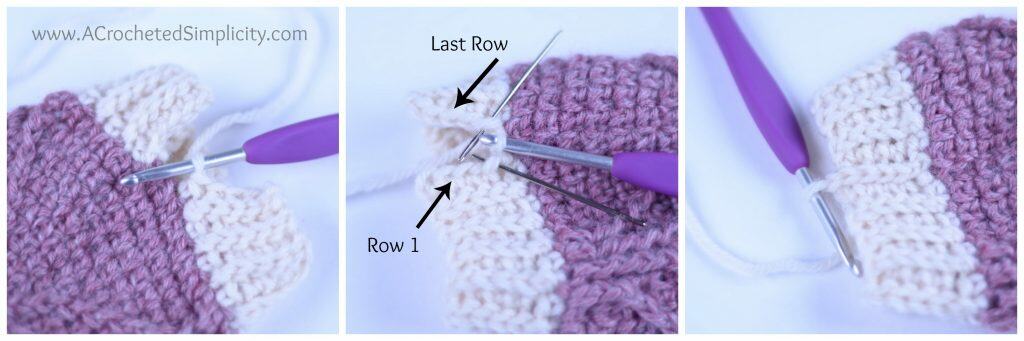
Photo Above Left: Continue around the edge of your project by repeating the same 2 rows, making sure to end with an odd number row (of sc).
Written instructions for row repeats:
- Odd Rows (right side): Ch 1, working in the back loops only, sc in each st across to the last st, sc2tog in the last st and next st along the edge of your project.
- Even Rows: Sl st into the next st along the edge of your project, turn, working in the back loops only, sl st in each st across.
Photo Above Center: Now you’re going to seam the ends of your band by doing in the following: Insert your hook from front to back into the front loop only of the first stitch from Row 1. Insert your hook from back to front into the back loop only of the first stitch from the last row. Yarn over, pull thru all loops on your hook.
Photo Above Right: Repeat the step above for each stitch across the seam. Fasten off. Weave in ends. (5 sts)
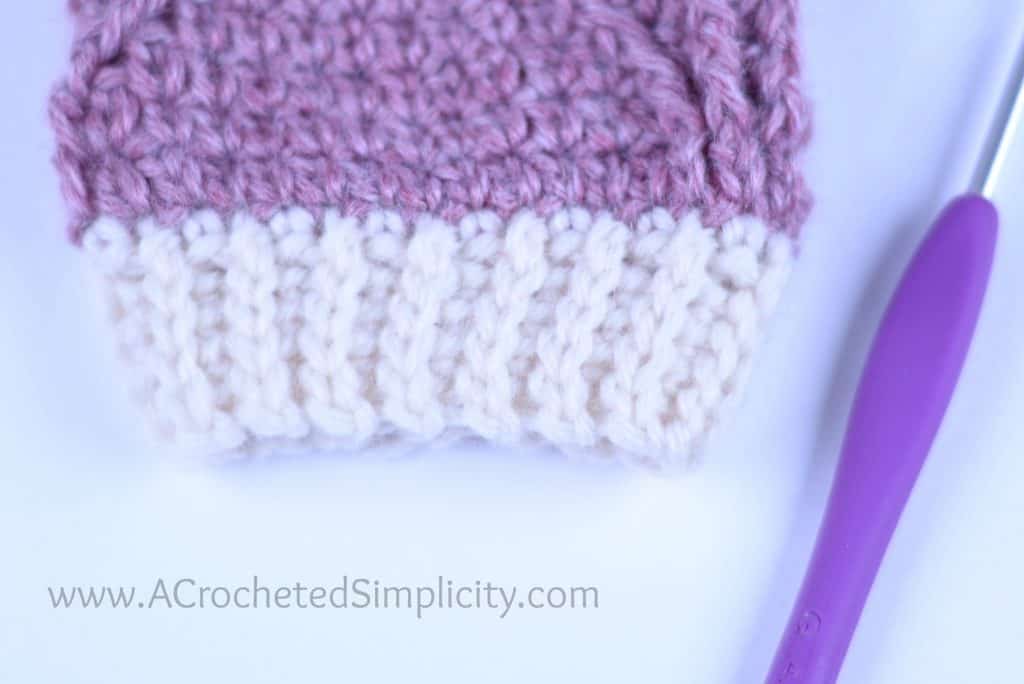
Photo Above: Do you see how the sides of the ribbing are naturally cinched inward? This is normal, and you want this to happen. The stretchy knit-look ribbing is very stretchy and will stretch to fit the intended head size, or arm.
Fold Over Band/Cuff: To make a wider band/cuff that will be folded up/down, just simply work Row 1 on the wrong side of your project. When it is folded up/down, the right side of the band/cuff will appear on the right side of your project.
I hope that you’ll give this tutorial a try with your next top down hat or sweater sleeve. Once you get the hang of it, you’ll never want to use anything else! 😉
Find all of my FREE crochet patterns HERE
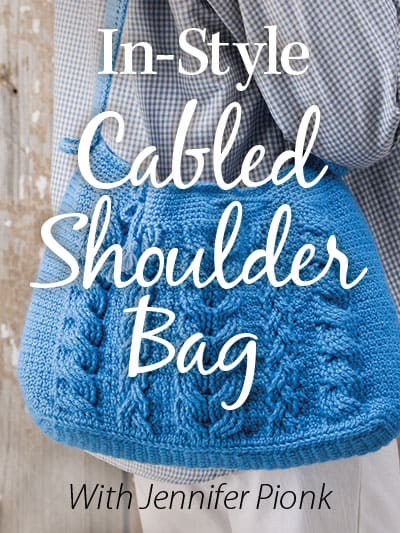
Are you intimidated by crocheted cables? Would you love to learn? Take an Annies Video Class with me and let me ease your fears of crocheted cables! Click on the photo below to watch a free preview. You can also see the other 2 classes I have available! (affiliate link)
I LOVE seeing your finished projects! Please feel free to share them in the A Crocheted Simplicity Crochet Community group on Facebook!
Happy Crocheting!

Wow! I love this method and will be using it on the next hat that I make!
Thank you for the great explanation, photo and video tutorial.
Please let me know how it turns out!