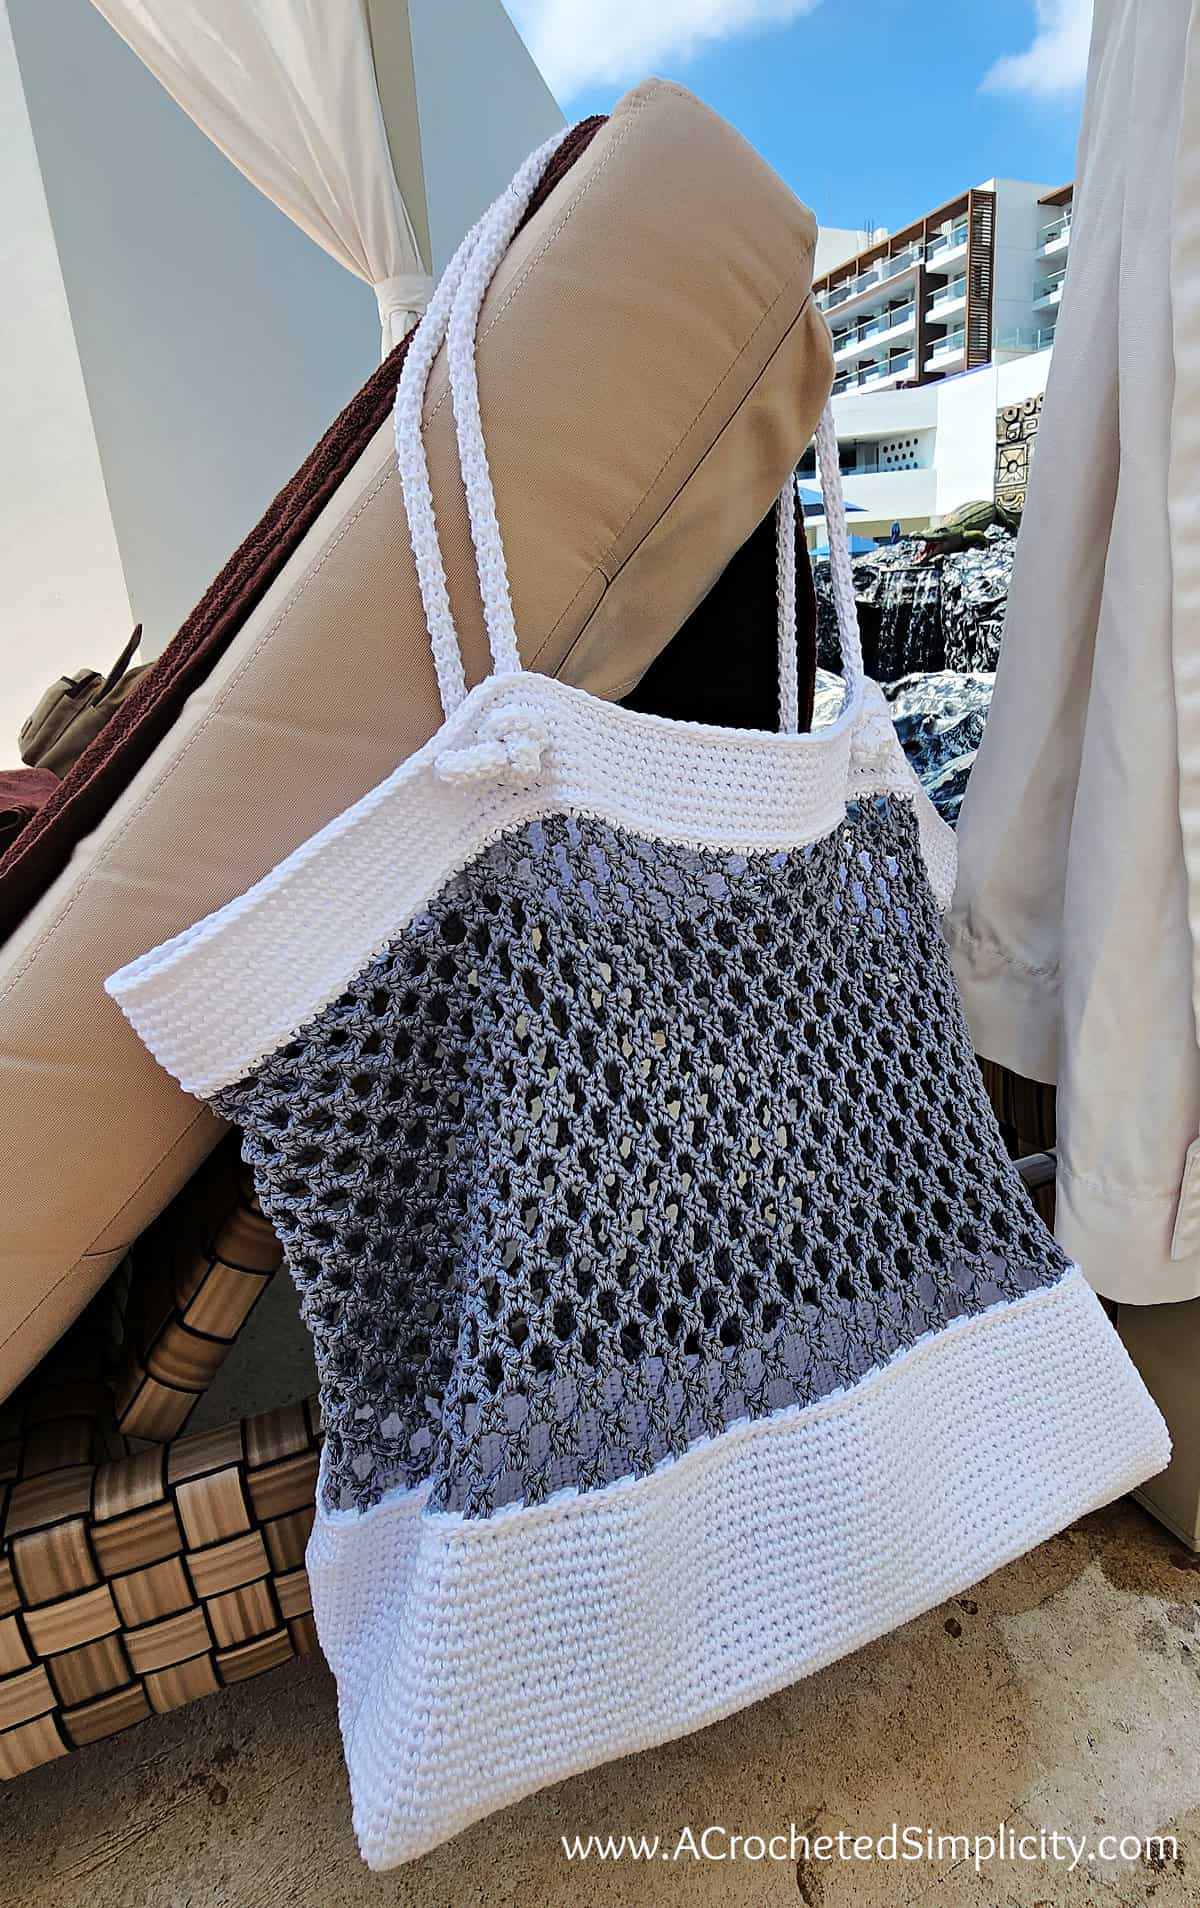
Crochet Beach Bag – Free Crochet Pattern


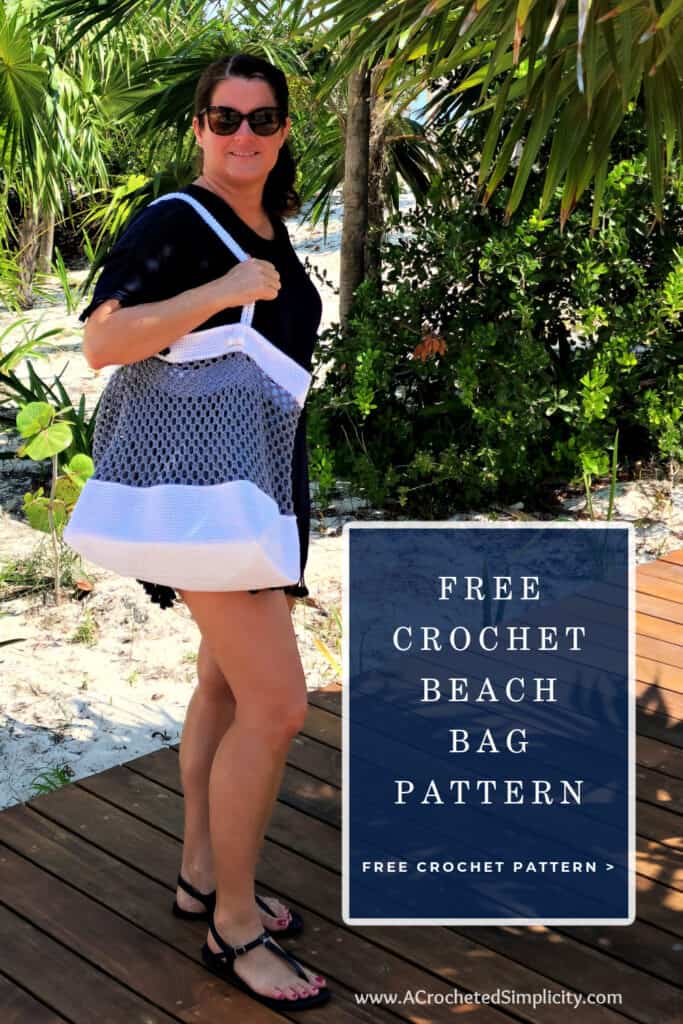
This crochet beach bag is a fun tote bag crochet pattern to make!
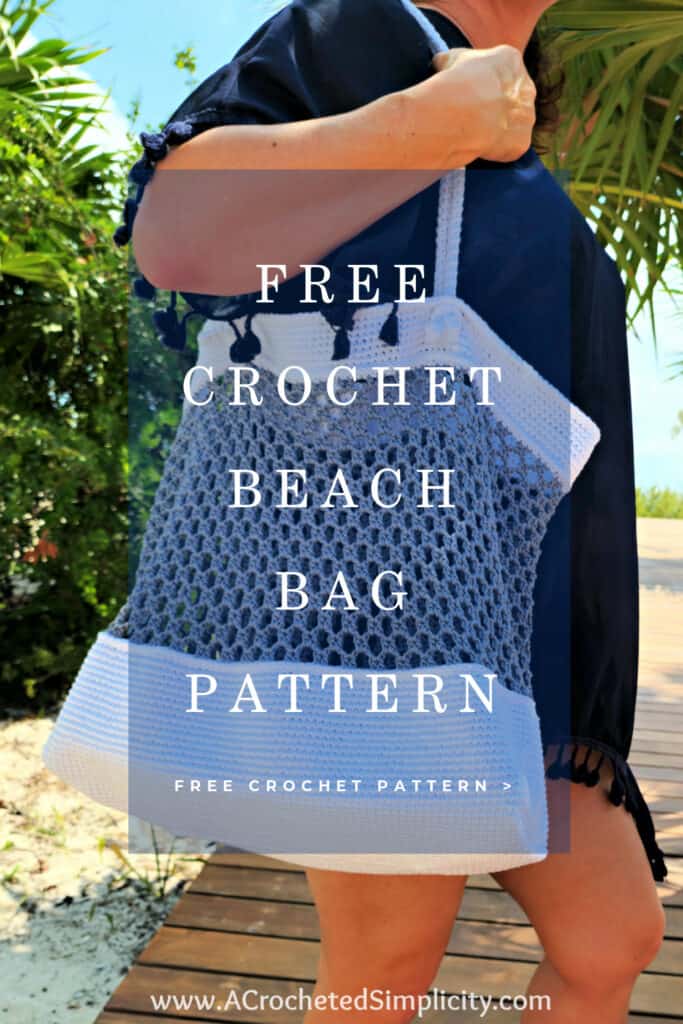
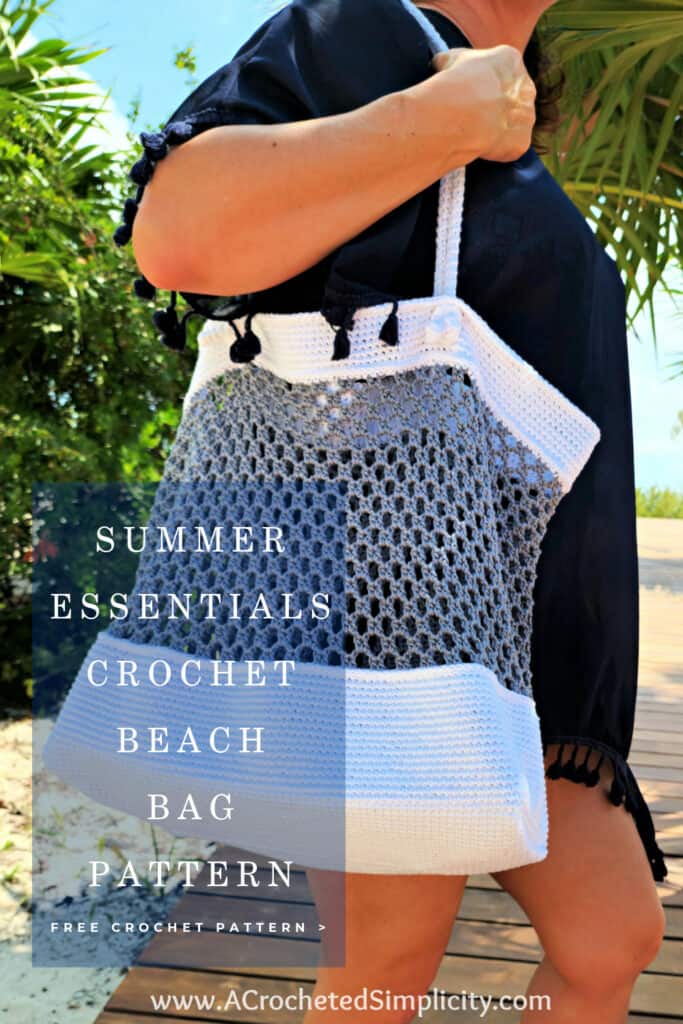
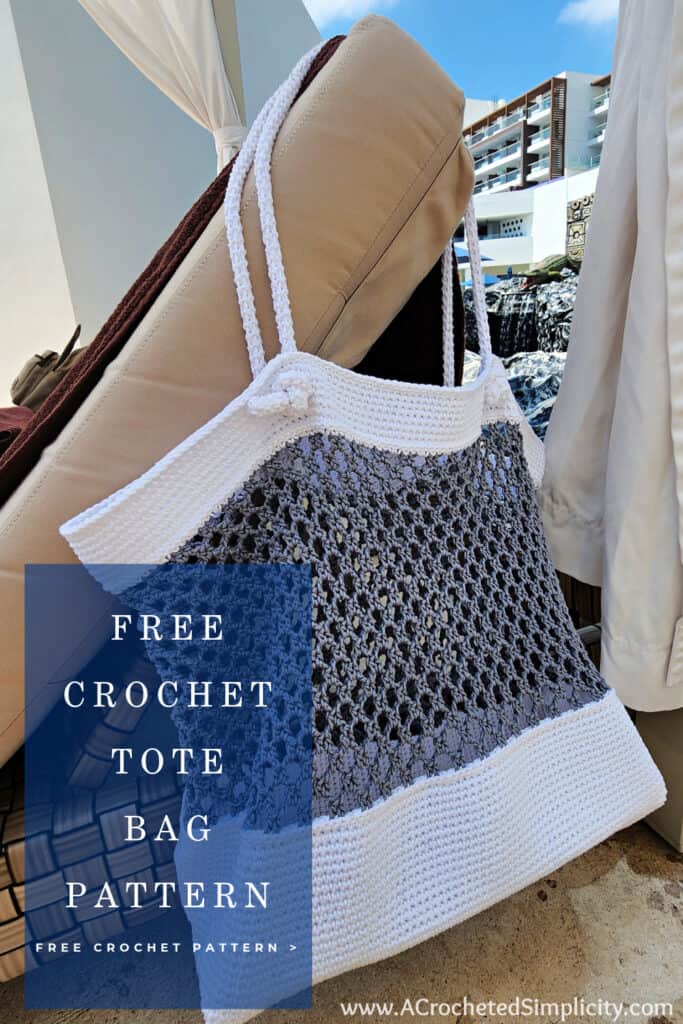
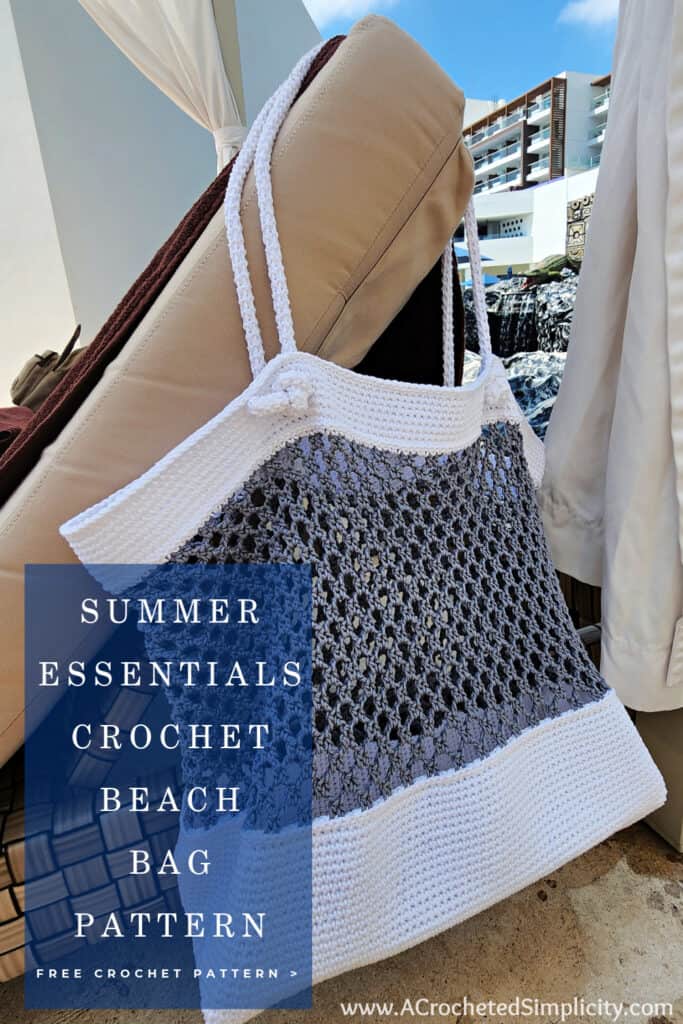
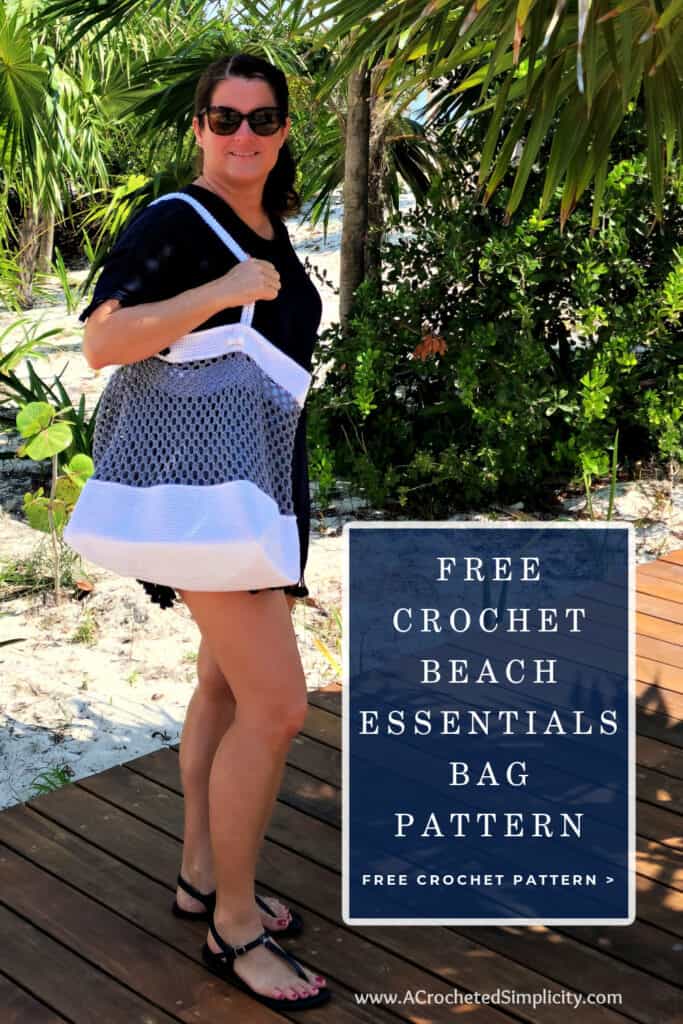
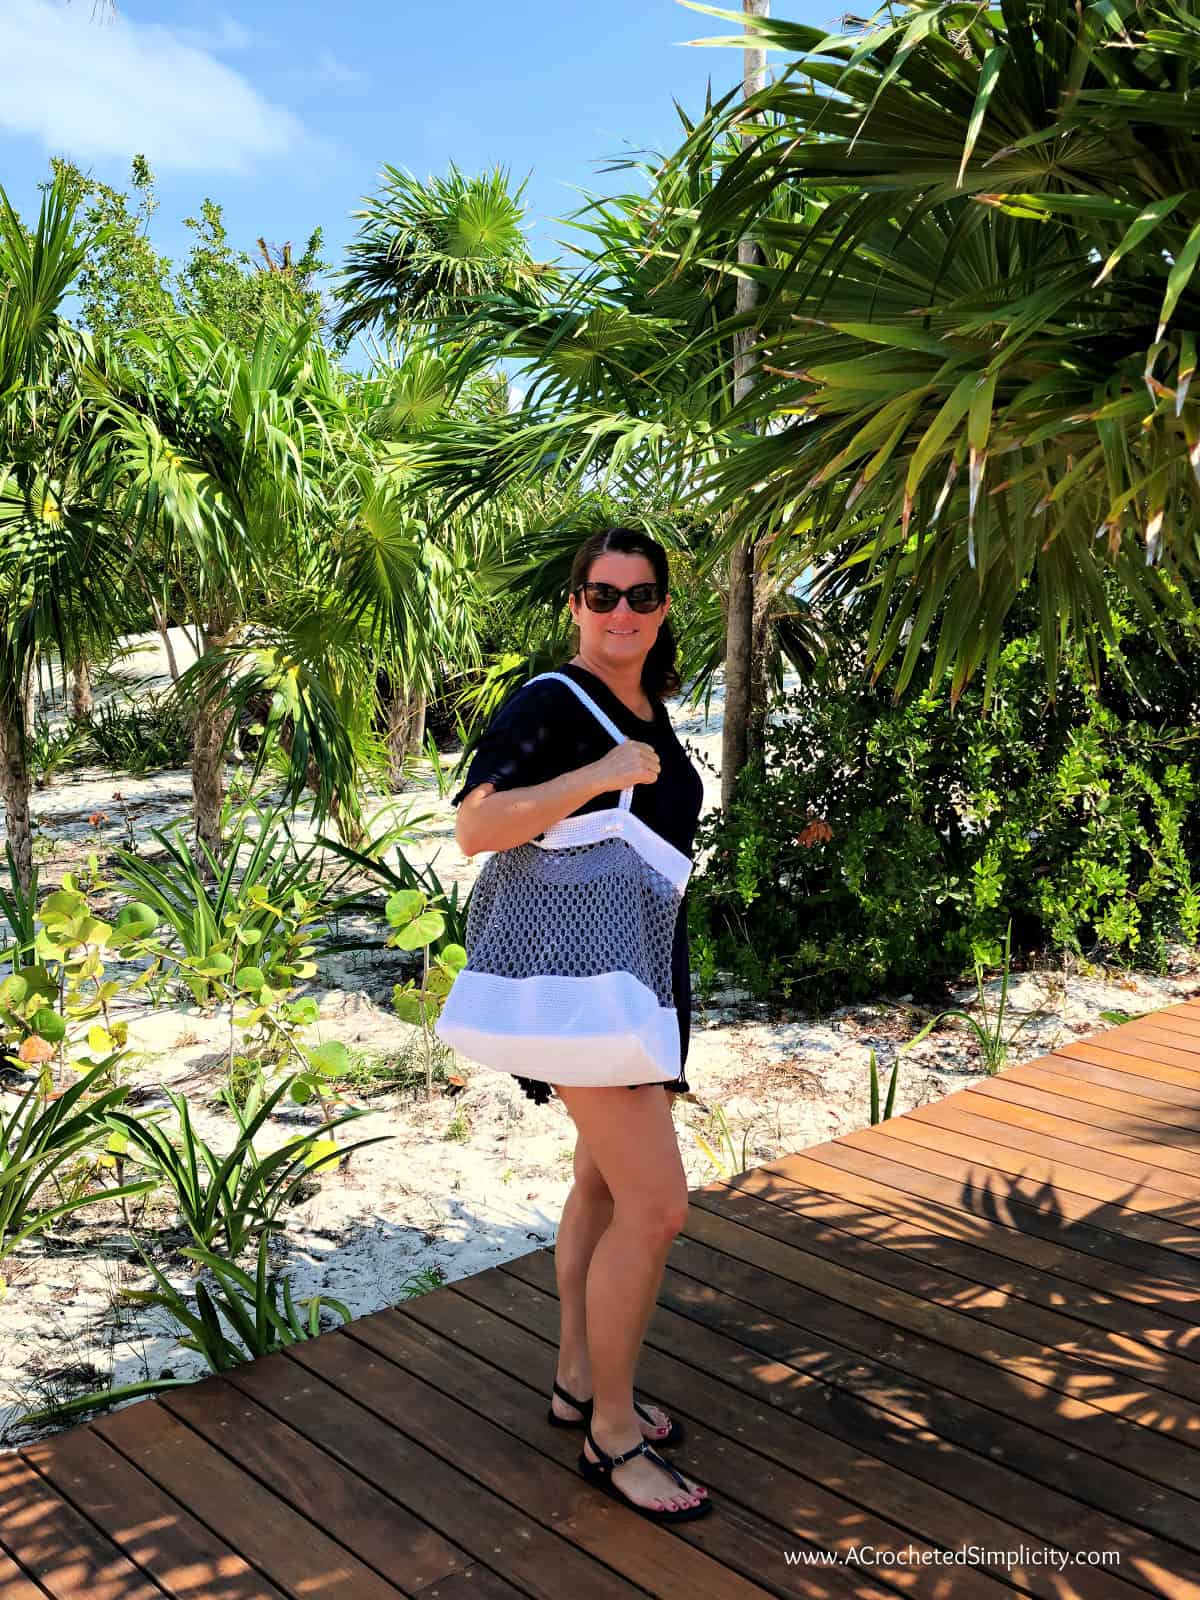
The Summer Essentials Crochet Beach Bag is perfect for spending long summer days at the beach. It also works great as a crochet market bag or project bag for your large projects, such as a crochet blanket.
You can find the free Summer Essentials Beach Bag crochet pattern in this post below, or an ad-free print friendly version (including all photo tutorials) on Love Crafts, Ravelry, or on Etsy (aff).
This crochet tote bag pattern uses beginner-friendly stitches. The solid bottom and top sections of the bag are made using only single crochet stitches. The openwork mesh section uses only chains and half double crochet stitches. Beginners may find the crochet rope handles a little tricky, but I’ve included a step-by-step photo tutorial to help along the way!
If you find the crochet rope handles to be a little too tricky, substitute by making two easy crochet straps from my Summer Retro Tote Bag Pattern.
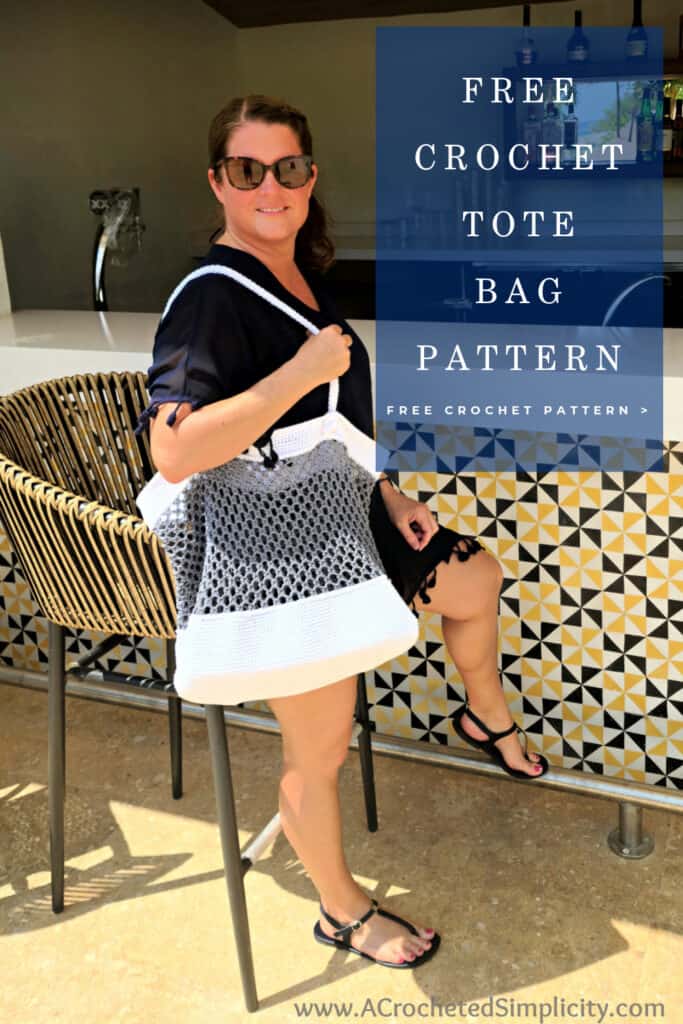
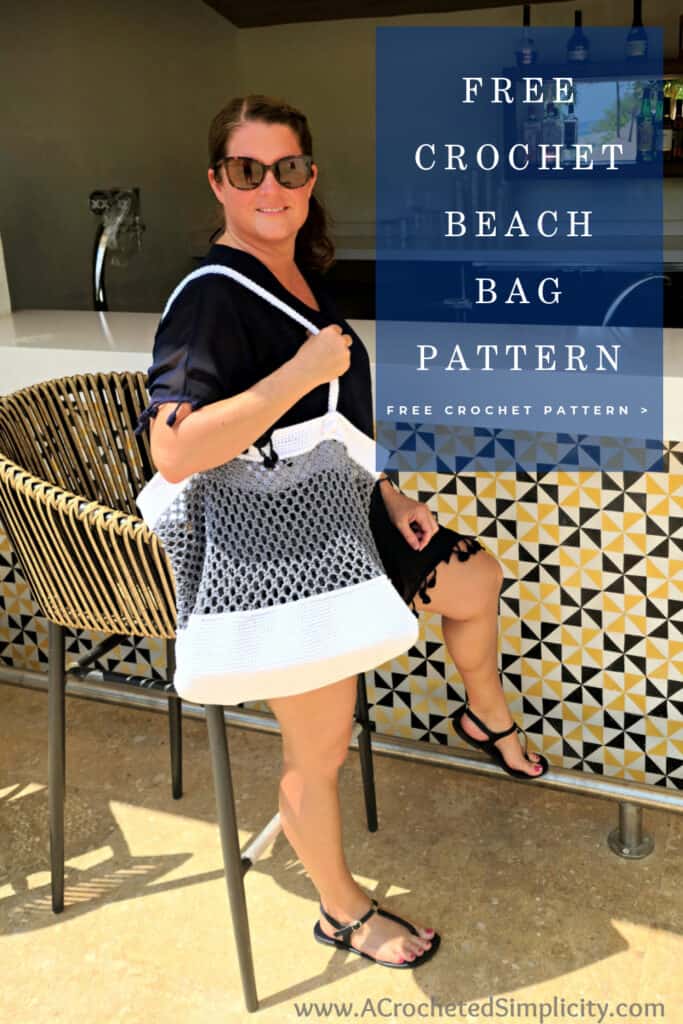
This crochet beach bag pattern will be a fun challenge for advanced beginners and it will keep experienced crocheters from losing interest. Use your bag as a crochet market bag, beach bag, project bag, or everyday tote bag – customize it to suit your taste by playing around with color, or by adding tassels, poms, summer crochet appliques, and more!
What Is The Best Yarn For Crochet Bags?
I typically recommend using 100% cotton yarn for crochet bags for several reasons:
- Cotton yarns are soft and durable.
- Cotton yarns don’t pill easily.
- They hold up well to several washes in a washing machine.
- They show crochet stitch definition really well.
- They keep their shape.
- They don’t snag easily.
- They’re fairly inexpensive.
My second favorite yarn to crochet a bag with is 100% wool, but keep in mind that animal fibers have a tendency to felt.
Lion Brand Rewind tape yarn is also great for crochet summer bags. It works up similar to a raffia yarn.
If you’re going to line a crochet bag with fabric, you can use any yarn you’d like because the fabric will bear the weight of the items you place in the bag.
Yarn
Cotton yarns are my go-to fiber for crochet bags and Lion Brand 24/7 was the perfect choice for this crochet beach bag. Available in 37 incredible colors, Lion Brand 24/7 cotton yarn is a worsted-weight, mercerized cotton yarn with a beautiful sheen and amazing stitch definition.
You can view all the available colors on the Lion Brand website. You’re sure to find a color combination that suits your taste.
Can You Crochet A Bag With Acrylic Yarn?
If you choose to use a yarn with a different fiber content for this bag crochet pattern, such as an acrylic yarn like Lion Brand Vanna’s Choice, you can certainly do so.
Just keep in mind that acrylic yarn is stretchier than cotton yarn so I would suggest using a crochet hook size smaller than what is recommended on the yarn label. This will help create a more dense and sturdier fabric for your crochet bag.
Also, keep in mind that acrylic yarns tend to pill easier than cotton. So if you’re planning to use an acrylic yarn, I suggest using an anti-pilling yarn.
Lastly, an acrylic blend or a natural fiber yarn will hold up better than 100% acrylic yarn.

SUMMER ESSENTIALS BEACH BAG – FREE BEACH BAG CROCHET PATTERN
The free pattern is below, but if you love to work offline, I’ve got a couple other great options for you.
Purchase the ad-free, printable PDF, including all photo tutorials, on Love Crafts, Ravelry, or on Etsy (aff).
Purchase the crochet beach bag kit! (aff) Lion Brand has a full kit of the Summer Essentials Beach Bag, available on their website. The kit includes your choice of colors and a digital copy of the pattern.
This post contains affiliate links.
MATERIALS
- Yarn: Worsted Weight / 4 / Yarn, (Lion Brand 24/7 Cotton was used for the sample in the photos) (100 g / 3.5oz / 186 yards / 170 m / 100% mercerized cotton).
- White: 680 yards (4 balls)
- Silver: 360 yards (2 balls)
- Crochet Hooks: H/8/5.00mm; G/6/4.00mm; or size needed to obtain gauge (My favorite crochet hooks are the Clover Amour Crochet Hooks, I’ve never had an ache in my hand since switching).
- Locking Stitch Markers
- Scissors
- Yarn Needle
Materials are available from our affiliates below:
 Lion Brand Yarn 761-100 24/7 Cotton Yarn, White") (3 Pack) Lion Brand Yarn 76...Shop on Amazon
(3 Pack) Lion Brand Yarn 76...Shop on Amazon  Clover Amour Crochet Hook: ...Shop on Amazon
  Clover 1045/G Purple Amour ...Shop on Amazon
  Clover Lock Ring Markers, 2...Shop on Amazon
  Fiskars 154110-1001 Non-sti...Shop on Amazon
ABBREVIATIONS (US TERMS)
- ch(s): chain(s)
- sl st(s): slip stitch(es)
- st(s): stitch(es)
- yo: yarn over
- sp: space
- sc: single crochet
- hdc: half double crochet
- Alt-dc: alternate double crochet
- Join with a standing single crochet
- BLO: back loop only
- FLO: front loop only
- SM: stitch marker
- Rep: repeat
- Rnd: round
- RS: Right Side
- WS: Wrong Side
- Special Join Technique
Skill Level
Easy
Gauge
- In sc with a 4.00mm crochet hook: 14 sts = 3″; 14 rows = 3″
Size
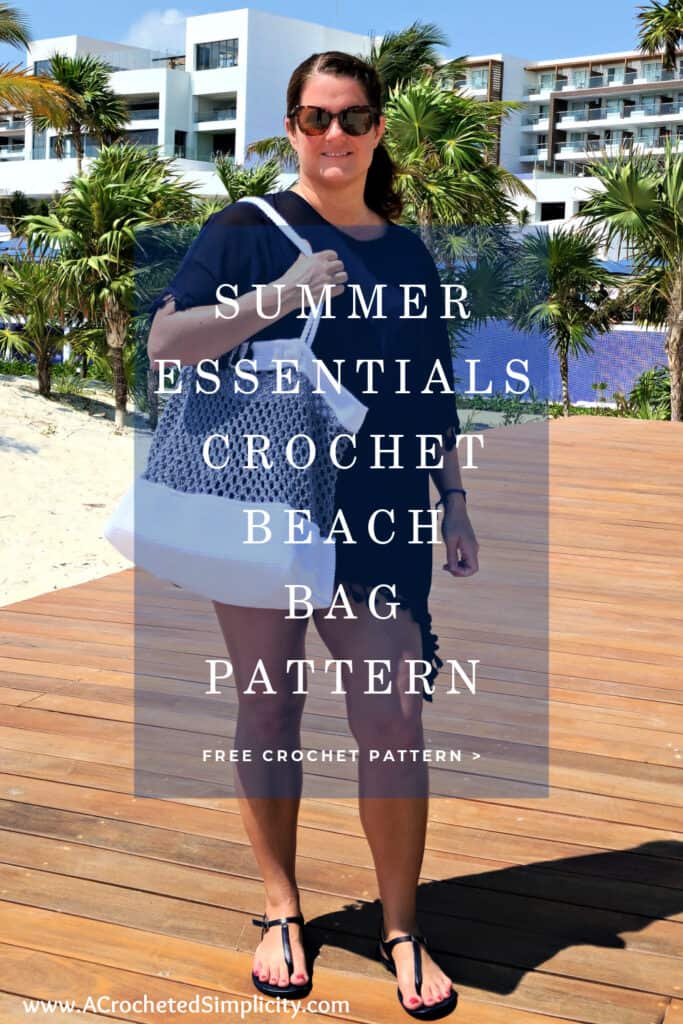
- One Size: 15.5″ W x 7″ D x 13.5″ H (not including the handles)
Notes
- Turning chains are not included in stitch count, unless noted otherwise.
- Yarn Notes: Lion Brand Yarn 24/7 Cotton was used for the samples. (3.5oz / 100 g / 186 yards / 170 meters / 100% mercerized cotton).
- Another comparable worsted weight yarn may be substituted.
- Yardage
- White: #761 – 100 (4 Balls / 680 yards)
- Silver: #761-149B (2 Balls / 360 yards)
- This crochet bag is worked in rounds from the bottom up. You will create a tube and later seam the bottom. The handles are made from crocheted ropes that are knotted after attached to the bag.
Crochet Beach Bag Pattern
Set-Up: With white yarn & a 5.00mm crochet hook, ch 200. Being careful not to twist your ch, join with a sl st to the 1st ch. (200 chs)
Rnd 1 (RS): Switch to a 4.00mm crochet hook, ch 1, working into the back humps of the ch, sc in each ch around. Do not join. Begin working in a spiral (continuous rounds). Use a scrap piece of yarn to keep track of the beginning of each round. (200 sts)
Rnds 2 – 35: Sc in each st around. Do not join.
Rnd 36: Sl st in each st around. Join using Special Join Technique.
Fasten off white yarn. Weave in ends. Continue to Openwork Section of Bag.
Openwork Section of Bag
Rnd 1 (RS): Work this round into the sc from Rnd 35 (not the sl sts from Rnd 36), using silver yarn & a 4.00mm crochet hook, join yarn with a sl st in a st nearest where you fastened off the white yarn, ch 1, hdc in the same st as you joined yarn in, hdc in the next st, ch 3, skip each of the next 2 sts, (hdc in each of the next 2 sts, ch 3, skip each of the next 2 sts) rep from ( to ) around. Join with a sl st to the 1st hdc. (100 hdc + 50 ch-3’s)
Rnds 2 – 17: Sl st over to the first ch-3 sp, ch 1, work 2 hdc in the same ch-3 sp, ch 3, skip each of the next 2 sts, (2 hdc in the next ch-3 sp, ch 3, skip each of the next 2 sts) rep from ( to ) around. Join with a sl st to the 1st hdc.
Note: Round 18 is similar to the previous rounds, but you will work ch-2’s instead of ch-3’s for this round.
Rnd 18: Sl st over to the first ch-3 sp, ch 1, work 2 hdc in the same ch-3 sp, ch 2, skip each of the next 2 sts, (2 hdc in the next ch-3 sp, ch 2, skip each of the next 2 sts) rep from ( to ) around. Join with a sl st to the 1st hdc.
Fasten off silver. Weave in ends. Continue to Top Edge of the Bag.
Top Edge of the Bag
Rnd 1 (RS): With white yarn & a 4.00mm crochet hook, join yarn with a standing sc in the 1st hdc from the previous round, sc in the next hdc, 2 sc in the next ch-2 sp, (sc in each of the next 2 hdc, 2 sc in the next ch-2 sp) rep from ( to ) around. Do not join. Begin working in a spiral (continuous rounds). Use a scrap piece of yarn to keep track of the beginning of each round. (200 sts)
Rnd 2: Sl st in each st around. Join using Special Join Technique on the last page. Do not fasten off.
Rnd 3: Working into the sts from Rnd 1, sc in each st around. Do not join.
Rnds 4 – 5: Sc in each st around. Do not join.
Rnd 6: Sc in each of the next 20 sts, ch 2, skip each of the next 2 sts, sc in each of the next 39 sts, ch 2, skip each of the next 2 sts, sc in each of the next 57 sts, ch 2, skip each of the next 2 sts, sc in each of the next 39 sts, ch 2, skip each of the next 2 sts, sc in each remaining st around. Do not join. (192 sc + 4 ch-2’s)
Rnd 7: Sc in each st and ch around. Do not join.
Rnds 8 – 9: Sc in each st around. Do not join.
Rnd 10: Sl st in each st around. Join using Special Join Technique.
Fasten off. Weave in ends. Continue on to Seaming the Bottom of the Bag.
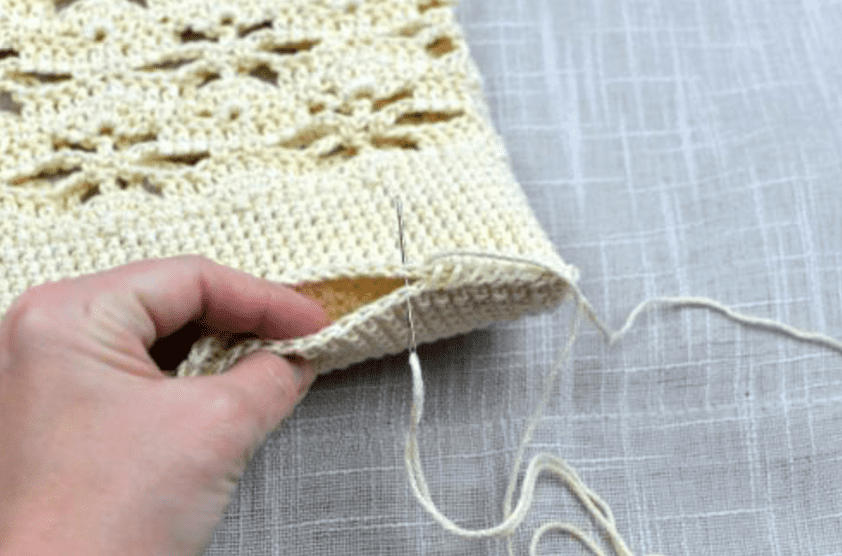
Seaming the Bottom of the Bag
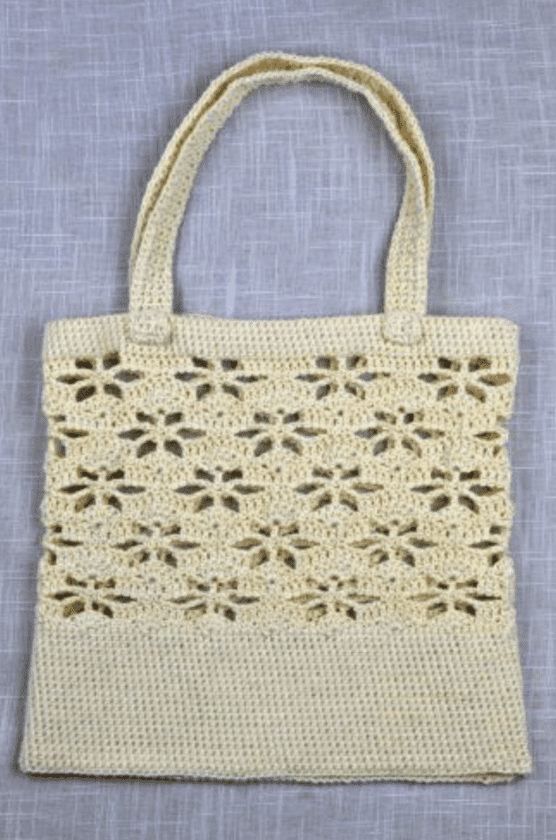
The bag in the photos is not the Summer Essentials Beach Bag, but the seaming technique is the same.
Step 1: Turn the bag inside out, lay it flat in front of you. Line up the holes for the handles on the front of the bag with the holes for the handles on the back of the bag. You should have 39 stitches between the holes when the front of the bag is facing you. After the holes are lined up, lay the bag flat in front of you. (photo below)
Step 2: Using a yarn needle and length of yarn approximately 3 times the width of the bag, whipstitch the bottom of the bag closed making sure to work into every stitch. Weave in ends. (photo below)
Step 3: Keep your bag inside out and position it so that one corner of the seam becomes the tip of the triangle (shown in the photo below). Note that the seam is centered vertically in the triangle.
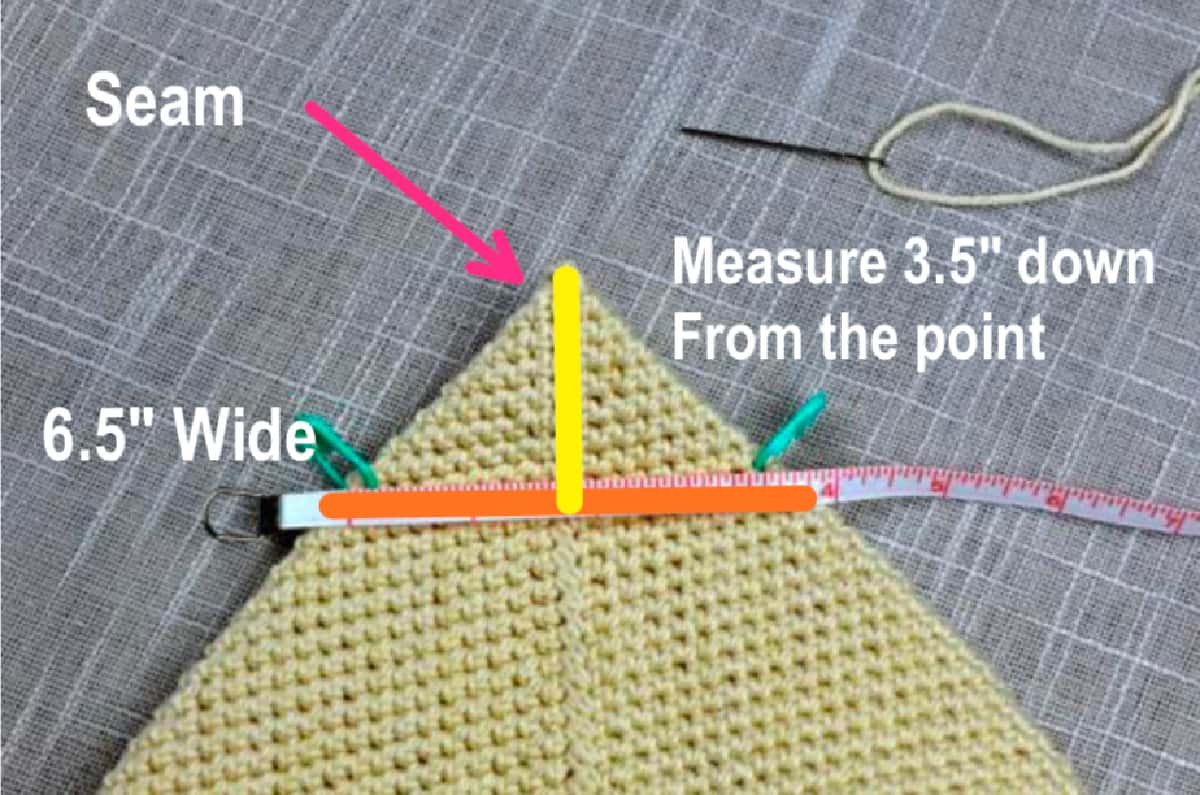
Step 4: Using a measuring tape, measure 3.5″ down from the tip as shown in the photo above (yellow line). Mark both the right and left side with a stitch marker. It should measure approximately 6.5″ from stitch marker to stitch marker (orange line).
Step 5: Use a yarn needle and 18″ piece of yarn and sew a seam from one stitch marker to the next, working through both layers of the bag. Repeat for the opposite side.
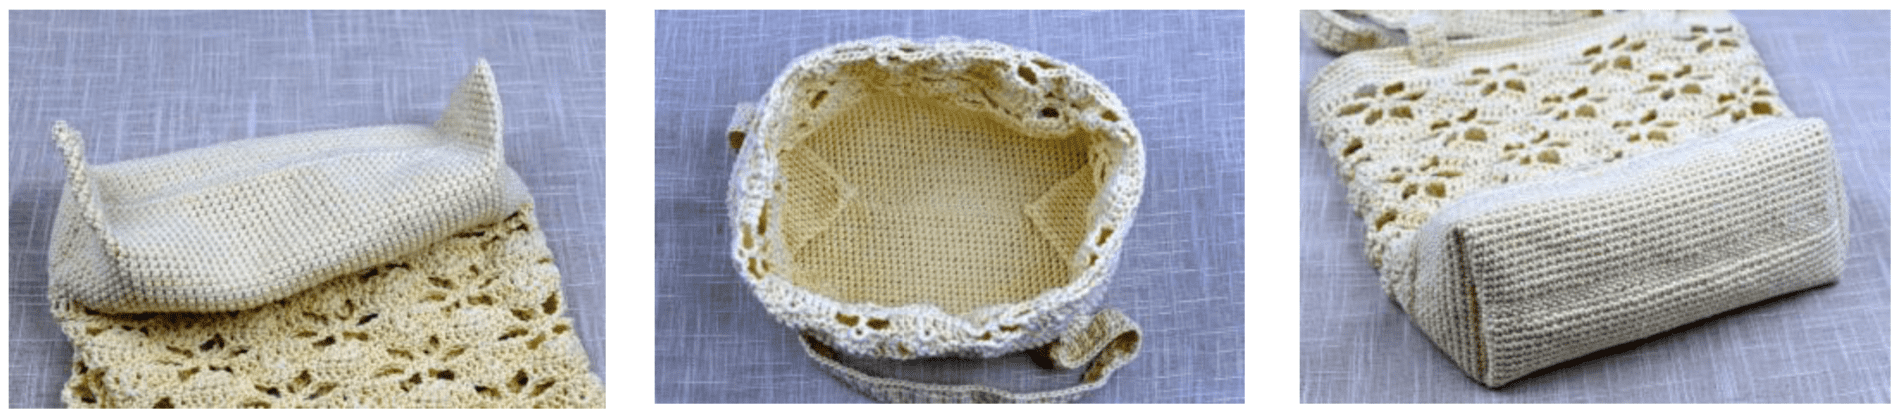
The photo above left shows what your bag will look like after you’ve seamed both ends of the bag.
Step 6: Turn your bag right side out. The photo above center shows what the inside of your bag will look like. The photo above right shows what the bottom of your bag will look like after seaming.
Weave in ends. Continue on to Crochet Handles.
Crochet Handles
The Ad-free PDF includes all photo tutorials, including the crochet rope handles photo tutorial.
Option #1: Use my Crochet Rope Handle Instructions to crochet two crocheted rope handles 30″ long.
Option #2: If you find the crochet rope handles to be a little too tricky, substitute by making two easy crochet straps from my Summer Retro Tote Bag Pattern.
Continue on to Attaching the Handles.
Attaching the Handles
Step 1: With the RS of the front of the bag facing you, insert one end of a handle, from back to front, into one of the handle holes. Insert the opposite end of the same handle, from back to front, into the other handle hole on the same side of the bag.
Step 2: Tie a knot on each end of the handle.
Step 3: Using a yarn needle and 8″ piece of yarn, secure (sew) the handle to the top of the bag where it fits through the handle hole. Repeat for opposite end of the handle.
Weave in ends. Repeat to attach the second handle to the opposite side of the bag.
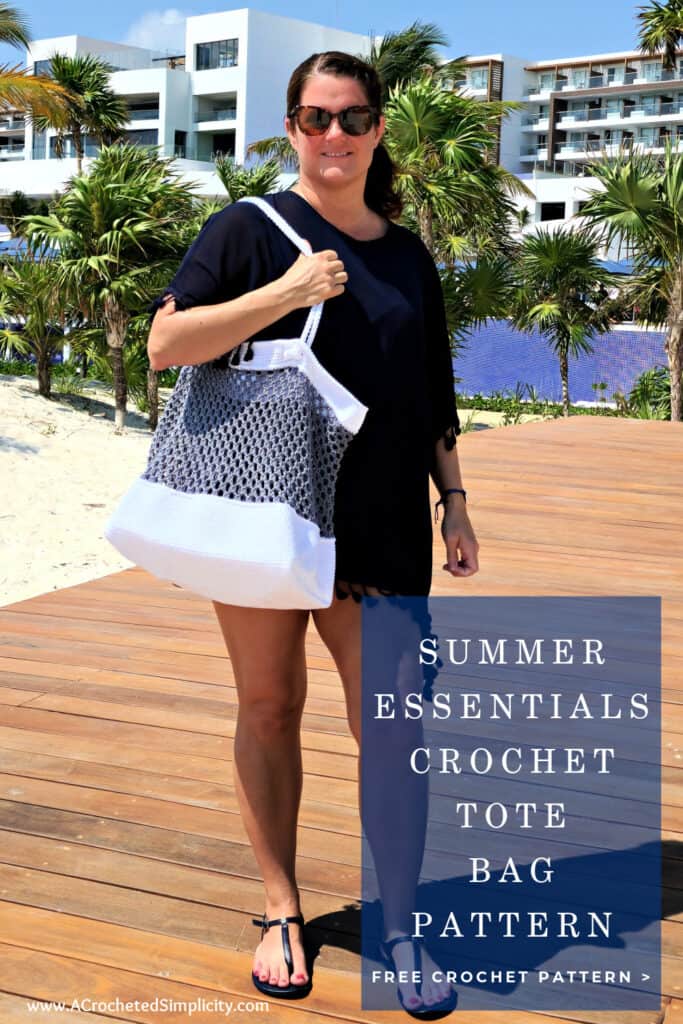
Now that your crochet tote bag is complete, it’s time to fill it with all your crochet beach essentials such as my favorite sunhat, a beach cover-up, beach blanket, summer top, drink cozies, a lightweight shawl, and more!
Are you intimidated by knit-look crochet? Would you love to learn my tips & tricks? Take an Annies Video Class with me and let me ease your fears and help you increase your skills! Click on the photo below to watch a free preview. You can also see the other 4 video classes I have available! (affiliate link)

Please share your finished ACS projects with us in the A Crocheted Simplicity Crochet Community Group on Facebook! Use hashtag #ACrochetedSimplicity when sharing on social media so I can find your posts!


Hi Jennifer!
Three things:
1) How I love your patterns!
2) Thanks so much for doing this giveaway, I would love to win!
3) Best wishes for the 2024!!! 🎉🎊🎉🎊🎉🎊
CONGRATULATIONS Karina!!! You are 1 of our lucky winners!!!
Please send me an email so we can work out the details: [email protected]
I love this bag. I also appreciate the very detailed instructions that are on all your patterns.