Free Crochet Patterns – Fun in the Sun Crochet Appliques
Crocheted sunhats made with cotton yarns are great for kids! Even though parents love them, how do we get our kids to be just as enthusiastic about wearing them? The answer is simple! We add fun crochet appliques to make the hat kid approved.
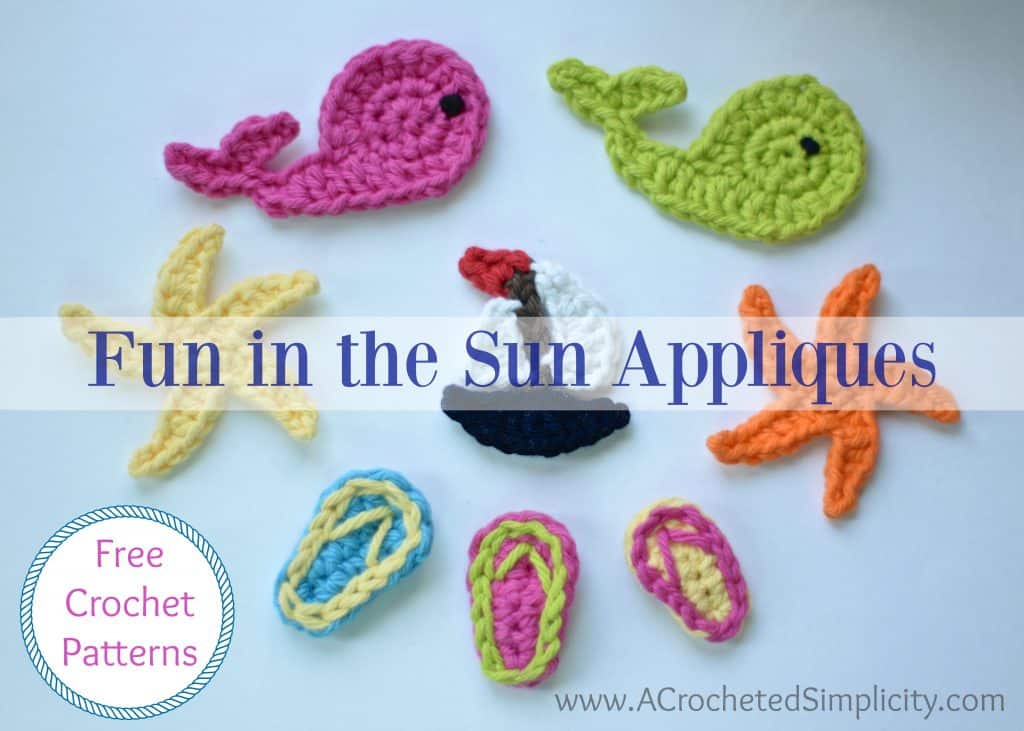
Below you’ll find free crochet patterns and complete photo tutorials for a starfish, flip flops (in 3 different sizes), a whale, and a sailboat!
~Click HERE to sign-up to receive our weekly newsletter!~
~Don’t lose it, add It To Your Ravelry Favorites or Queue.~
~Don’t forget to Pin It too!~
*Purchase an ad-free PDF of this pattern (including all charts and photo tutorials) on Craftsy or Ravelry*
This post contains affiliate links.
Materials
- Yarn: Lily Sugar n’ Cream Worsted Weight Cotton Yarn, whatever colors you’d like to use for your appliques (2.5 oz / 120 yds / 109 m / 100% cotton)
- Crochet Hook: G/6/4.00mm; H/8/5.00mm; I/9/5.50mm (My favorite crochet hooks are the Clover Amour Hooks, I’ve never had an ache in my hand since switching)
- Scissors
- Yarn Needle
Many of these materials are available for purchase through our affiliates below:


Stitch Abbreviations
- ch: chain
- sl st: slip stitch
- sc: single crochet
- hdc: half double crochet
- dc: double crochet
- MR: magic ring
- st(s): stitch(es)
- rep: repeat
- Rnd: round
Starfish Instructions
Crochet Hook: G/6/4.00mm
Finished Size: 3″ x 3″
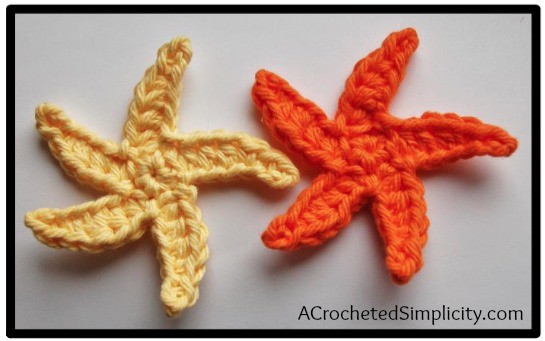
Rnd 1: Starting with a Magic Ring, sl st into MR, work 5 sc into MR. Join w/ a sl st to 1st sc. (5 sts)
Rnd 2: [ Ch 7, sl st in 3rd ch from hook, sc in next ch, hdc in next 3 chs, sl st in next sc from Rnd 1 ] rep from [ to ] around.
Fasten off on last sl st. Leave a tail of yarn to use to sew the applique onto your hat.
Flip Flop Instructions
Crochet Hooks: Small Flip Flop: G/6/4.00mm; Medium Flip Flop: H/8/5.00mm; Large Flip Flop: I/9/5.50mm
Finished Sizes: Small: 1-1/2″; Medium: 1-3/4″; Large: 2″
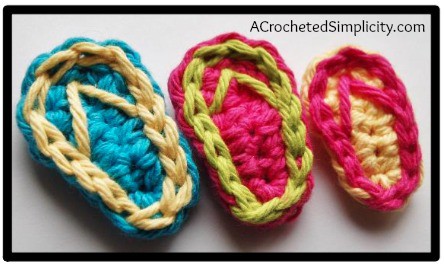
Rnd 1: Ch 6, 3 sc in 2nd ch from hook, sc in next 2 chs, hdc in next ch, 5 dc in last ch, rotate your work to work into the bottom loops of the foundation chain, hdc in next ch, sc in last 2 chs. Join w/ a sl st to the 1st sc of the round and change colors on the pull thru of your joining sl st. (14 sts)
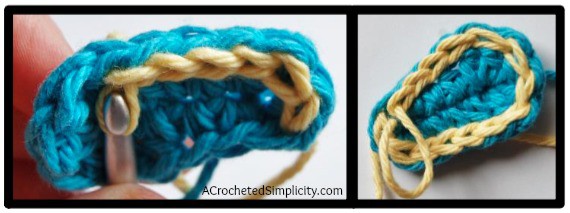
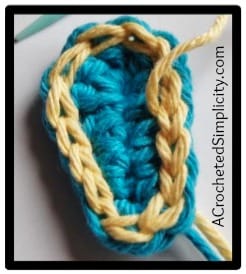
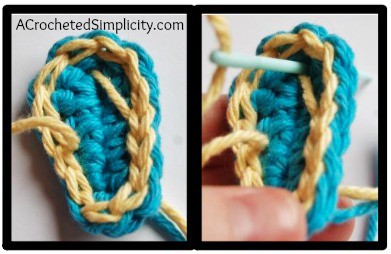
Rnd 2: No Beginning Chain, sl st around the post of each st around. ***See Photos Above & Below*** Join on last sl st of the round.
Finishing: Add thongs by using yarn and a yarn needle, as shown in the photos below. Fasten Off on last sl st. Leave a tail of yarn to use to sew the applique onto your hat.
Whale Instructions
Crochet Hook: G/6/4.00mm
Finished Size: 3-1/2″ W x 1-3/4″ H
Rnd 1: Starting with a Magic Ring, sl st into MR, then work 6 sc into MR. Join w/ a sl st to the 1st sc of the round. (6 sts)
Rnd 2: Ch 1, 2 sc in each st around. Join w/ a sl st to the 1st sc of the round. (12 sts)
Rnd 3: Ch 1, hdc in same st as ch 1, (2 hdc in next st, hdc in next st) 5 times, DO NOT JOIN. (16 sts)
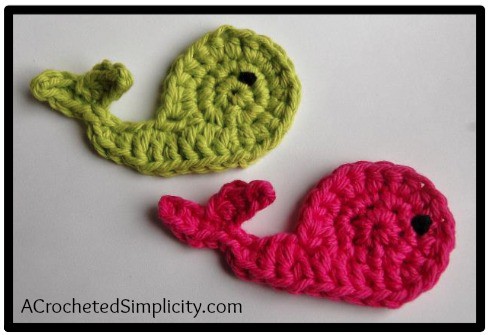
Rnd 4: Continuing on from Rnd 3, Ch 10, sl st in 2nd ch from hook, hdc in next 2 chs, sl st in next ch, ch 4, sl st in 2nd ch from hook, hdc in next 2 chs, sl st in same ch as previous sl st, sl st in next ch (working back down the tail), 2 sc in next ch, hdc in next ch, dc in next 3 chs, dc in side of hdc, dc in same st as same hdc, dc in next sc. ***See Photos Above & Below ***Join w/ a sl st to the 1st hdc of rnd 3.
Fasten Off. Leave a tail of yarn to use to sew the applique onto your hat. See finishing instructions below to add an eye.
Finishing
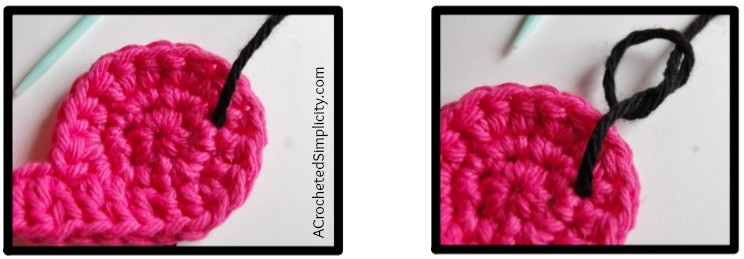
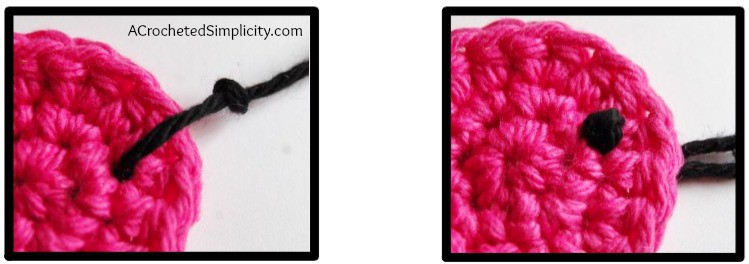
Using a black piece of yarn, approximately 6″, and a yarn needle, pass the needle thru (from back to front) the spot you’d like your eye to be (be careful not to pull yarn all the way thru your whale). Tie a knot in your yarn and gently pull to tighten. Pass the black yarn back thru the same hole, or one closest to the hole you originally passed it thru. Secure yarn on the back side of the whale with a knot. Trim ends. ***See Photos Below***
Sailboat Instructions
Crochet Hook: G/6/4.00mm
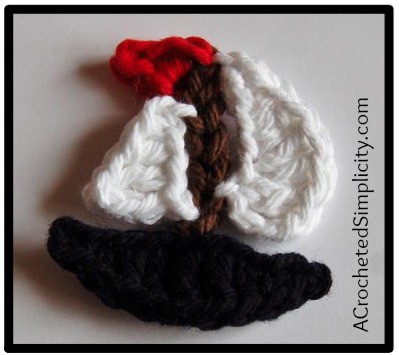
Finished Size: 2-1/8″ W x 2-1/8″ H
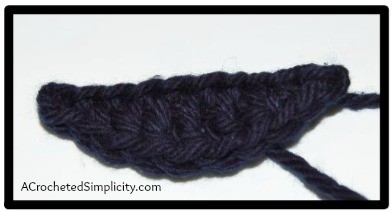
Step 1: (Navy) Ch 10, sl st in 2nd ch from hook, sc in next ch, hdc in next ch, dc in next 3 chs, hdc in next ch, sc in next ch, sl st in last ch.
Fasten Off. Leave tail to sew onto your hat.
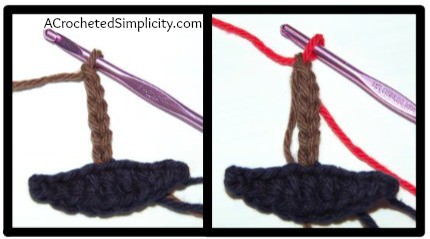
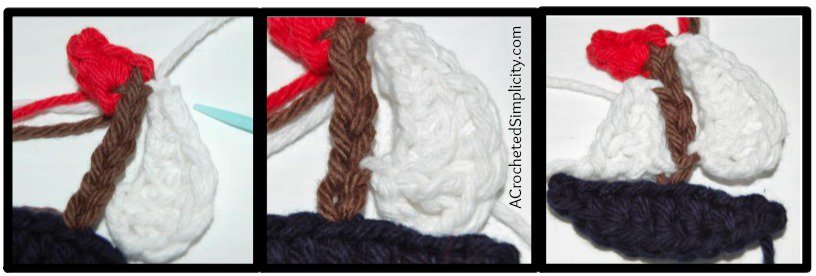
Step 2: Join brown yarn w/ a sl st to the back loop of the middle dc of the boat, ch 6. On next ch, yo w/ red yarn to join red and complete ch, ch 4 (w/ red), sl st in 2nd ch from hook, hdc in next ch, rotate “red flag” to the left and sl st in next brown ch. ***See Photos Below***
Fasten Off. Leave tail to sew onto your hat.
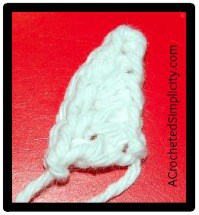
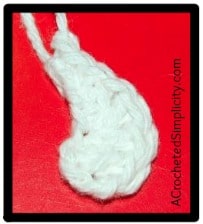
Step 3: Left Sail (white) Ch 5, sl st in 2nd ch from hook, hdc in next ch, dc in last 2 chs.
Fasten Off. Leave tail of yarn to attach to boat.
Step 4: Right Sail (white) Ch 8, dc in 4th ch from hook, 2 dc in next ch, hdc in next ch, sc in next ch, sl st in last ch.
Fasten Off. Leave tail of yarn to attach to boat.
Attach Sails: Using the yarn tails and a yarn needle, attach the sails to the boat as shown in the photos below.
Find all of my FREE crochet patterns HERE
Are you intimidated by crocheted cables? Would you love to learn? Take an Annies Video Class with me and let me ease your fears of crocheted cables! Click on the photo below to watch a free preview. You can also see the other 2 classes I have available! (affiliate link)
Please share your finished ACS projects with me in the A Crocheted Simplicity Crochet Community Group on Facebook!








Adorable thank you! These would look great on my little baby sunhats
You’re welcome! And make sure to check back next week for my free sunhat pattern! 🙂
Thse have been so much fun to make! I’m going on my first cruise and I’ve been told people decorate their cabin doors. I’m using your designs to make a garland to put on the door. I’m 2 flip flops and a star fish in so far. They’re whipping up in about 10 minutes each, including weaving in tails, and minimul yarn. Excellent for scrap yarn. Your designs are going to be the delight of deck 14! <3
Oh how FUN!!!! What a fabulous idea! I hope you have a blast and enjoy the sunshine!
Merry Christmas,
Jennifer