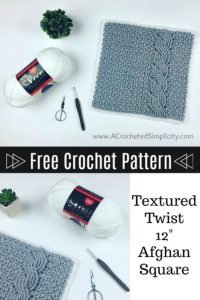
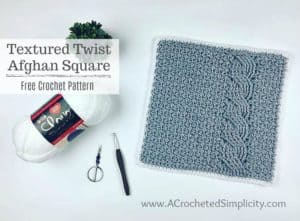
Textured Twist 12″ Afghan Square – Free Crochet Pattern
This is my second year designing a 12″ afghan square for my friend Tamara’s crochet along over at MooglyBlog.com. I love following along with this crochet along and watching how everyone’s different color choices produce so many unique afghans.
Last year I designed the Cabled Blooms 12″ Afghan Square. If you missed it, you’ll find it here. This year I had a couple ideas, but once they were completed and blocked, I just wasn’t as happy with them as I wanted to be…they’re currently in my WIP pile. 😉
Time was running out and I needed to come up with an idea quickly and finally, the idea for this square came to me. I love the texture created from combining the mini-bean stitch and a simple 8 strand cable. I love it so much that I already have a couple other designs in testing that use this fun stitch pattern! One of the designs is a super fun hat in 2 different styles!
>> Click HERE to sign-up to receive our newsletter <<

>Don’t lose it, add It To Your Ravelry Favorites or Queue.<
>Don’t forget to Pin It too!<
*Purchase an ad-free PDF on Craftsy or Ravelry*
This post contains affiliate links.
Materials
- Yarn: Red Heart Yarns With Love Metallic, worsted weight yarn, was used for the samples shown in the photos. 99% Acrylic, (solids: 200 yards / 127 g / 4.5 oz / 183 m) (If you’re making your square in a solid color, you’ll need only 1 ball.)
- Crochet Hook: J/10/6.00mm (My favorite crochet hooks are the Clover Amour Hooks, I’ve never had an ache in my hand since switching)
- Scissors
- Yarn Needle
Many of these materials are available for purchase through our affiliates below:
 Red Heart With Love Yarn, M...Shop on Amazon
  Clover 1049/J Amour Crochet...Shop on Amazon
  Fiskars 154110-1001 Non-sti...Shop on Amazon
  Lion Brand Yarn 400-5-5002 ...Shop on Amazon
Gauge
- In mini-bean stitch: 12.5 sts + 12.5 rows = 4″
Difficulty Level
- Intermediate
Finished Size
- 12″ x 12″
Stitch Abbreviations
- ch: chain
- sl st: slip stitch
- sc: single crochet
- fpdc: front post double crochet click here for photo & video tutorial
- fptr: front post treble crochet click here for photo & video tutorial
- fpDtr: front post double treble crochet
- MBS: mini-bean stitch
- yo: yarn over
- st(s): stitch(es)
- sp(s): space(s)
- rep: repeat
- Rnd: round
- RS: right side
- MC / CC: Main Color / Contrasting Color
Special Stitches
- Mini-Bean Stitch (MBS): Insert your hook into the specified stitch, yo, pull up a loop, yo, insert your hook into the same st, yo, pull up a loop, yo, pull through all loops on your hook.
- Front Post Double Crochet (fpdc): Yo, insert hook from front to back to front around the post of the designated stitch, yo, pull up a loop, yo, pull thru 2 loops, yo, pull thru remaining 2 loops.
- Front Post Treble Crochet (fptr): Yo 2 twice, insert hook from front to back to front around the post of the designated stitch, yo, pull up a loop, (yo, pull thru 2 loops) 3 times.
- Front Post Double Treble Crochet (fpDtr): yo 3 times, insert hook from front to back to front around the post of the designated stitch, yo, pull up a loop, (yo, pull thru 2 loops) 4 times.
Notes
- The first stitch of each row/round is worked in the same stitch as the beginning chain, unless stated otherwise.
- Beginning chains are not counted as a stitch.
- Each ch-1 space worked within a row is counted as a stitch.
- Color combinations shown in the photos.
- Main Color: Light Grey Metallic (100 yards)
- Contrasting Color: White (4 yards)

12 inch Afghan Square Instructions
Row 1: Using a 6.00mm crochet hook & MC, ch 37, working into the back hump of the foundation chain, sc in the 2nd ch from your hook and in each ch across. Turn. (36 sts)
Row 2 (RS): Ch 1, MBS in the first st, (ch 1, skip the next st, MBS in the next st) 3 times, fpdc around each of the next 8 sts, MBS in the next st, (ch 1, skip the next st, MBS in the next st) 10 times. Turn. (36 sts) *Includes ch-1’s here and throughout.
Row 3: Ch 1, MBS in the first st, (ch 1, skip the next st, MBS in the next st) 10 times, sc in each of the next 8 post sts, MBS in the next st, (ch 1, skip the next st, MBS in the next st) 3 times. Turn. (36 sts)
Row 4: Ch 1, MBS in the first st, (ch 1, skip the next st, MBS in the next st) 3 times, skip each of the next 4 sts, fpDtr around each of the next 4 post sts from the previous even # row, working in front of the post sts just made, fpDtr around each of the 4 skipped post sts from the previous even # row, MBS in the next st, (ch 1, skip the next st, MBS in the next st) 10 times. Turn. (36 sts)
Row 5: Ch 1, MBS in the first st, (ch 1, skip the next st, MBS in the next st) 10 times, sc in each of the next 8 post sts, MBS in the next st, (ch 1, skip the next st, MBS in the next st) 3 times. Turn. (36 sts)
Row 6: Ch 1, MBS in the first st, (ch 1, skip the next st, MBS in the next st) 3 times, fptr around each of the next 8 post sts from the previous even # row, MBS in the next st, (ch 1, skip the next st, MBS in the next st) 10 times. Turn. (36 sts)
Row 7: Ch 1, MBS in the first st, (ch 1, skip the next st, MBS in the next st) 10 times, sc in each of the next 8 post sts, MBS in the next st, (ch 1, skip the next st, MBS in the next st) 3 times. Turn. (36 sts)
Row 8: Ch 1, MBS in the first st, (ch 1, skip the next st, MBS in the next st) 3 times, fptr around each of the next 8 post sts from the previous even # row, MBS in the next st, (ch 1, skip the next st, MBS in the next st) 10 times. Turn. (36 sts)
Rows 9 – 35: Rep Rows 3 – 8, ending w/ a Row 5.
Do not fasten off. Continue to Edging.
Edging
Rnd 1 (RS): Switch to CC, ch 1, work 3 sc in the first st, work 1 sc in each of the next 34 sts & ch-1’s (I prefer to work into the chain and not the ch-1 sp), work 3 sc in the last st, rotate to work along the side of the square and into the sides of the rows, work 34 sc evenly along the side of the square, work 3 sc into the first st along the bottom of Row 1, work 1 sc in each of the next 34 sts, work 3 sc in the last st, rotate to work along the side of the square and into the sides of the rows, work 34 sc evenly along the side of the square. Join w/ a sl st to the 1st st. (148 sts)
Fasten off. Weave in ends & block, OR continue to Rnd 2 if needed to get your square to 12″.
Rnd 2: Ch 1, sc in the first st, work 3 sc in the next st, sc in each st across to the middle sc from the group of 3 in the corner, work 3 sc into that middle corner st, (sc in each st across to the next middle corner st, work 3 sc in that middle corner st) 2 times, sc in each remaining st. Join w/ a sl st to the 1st st. (156 sts)
Fasten off. Weave in ends & block.
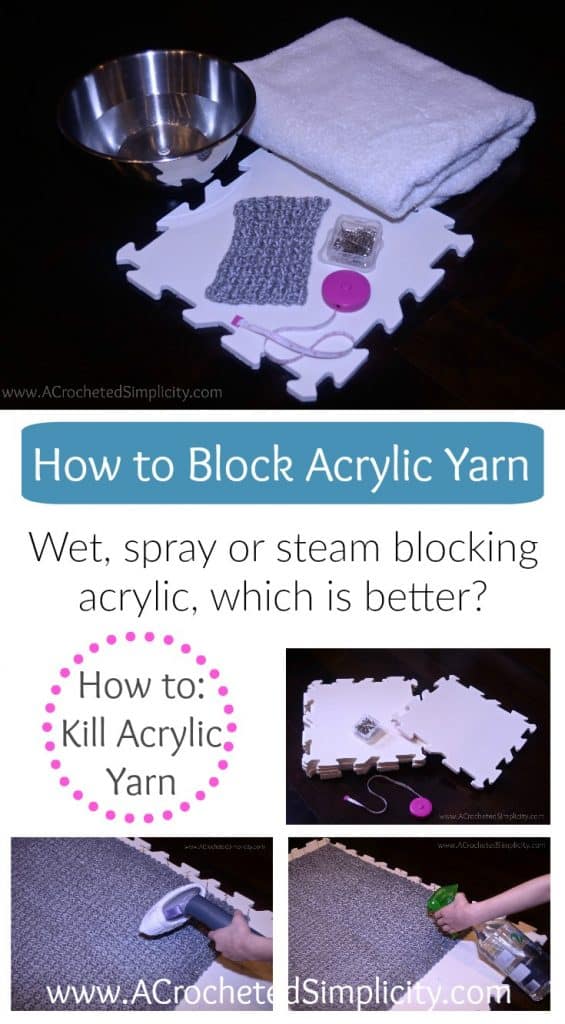
Give your work a professional finish by blocking it! Click here to learn 3 different ways to block acrylic yarn. I chose to steam block to really relax my cables, which technique will you choose?
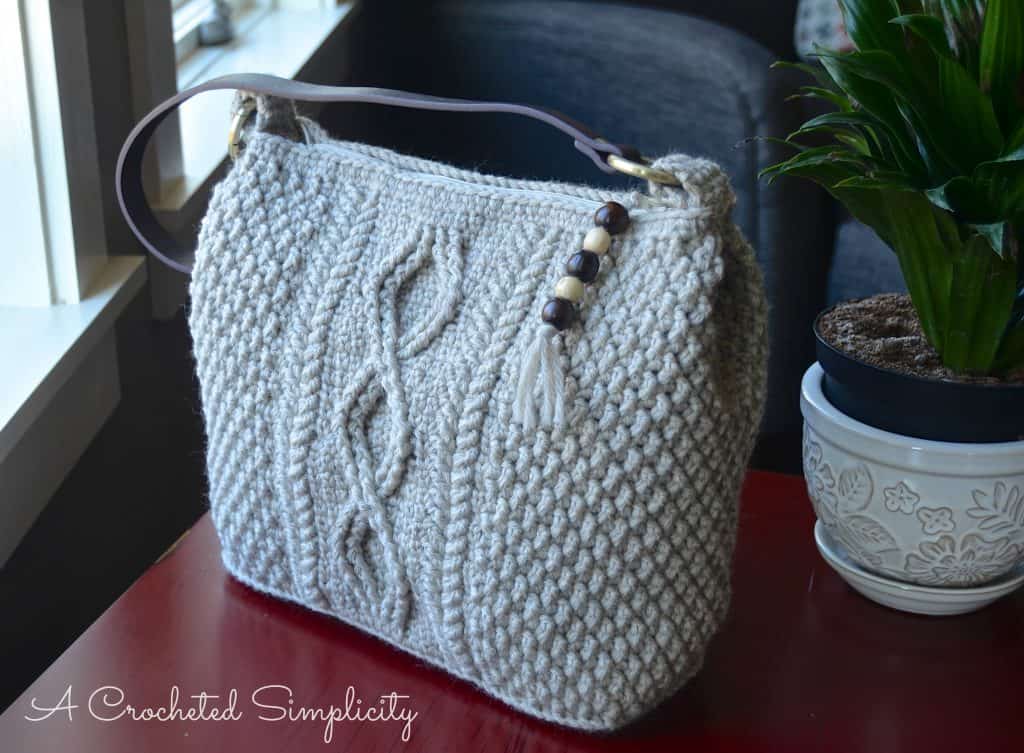
Do you LOVE crocheted cables? Visit my Ravelry shop to check out all of my cabled designs, including the Cateline Cabled Bag shown above. Click here to visit!
Find all of my FREE crochet patterns HERE
Are you intimidated by knit-look crochet? Would you love to learn my tips & tricks? Take an Annies Video Class with me and let me ease your fears and help you increase your skills! Click on the photo below to watch a free preview. You can also see the other 4 video classes I have available! (affiliate link)
Please share your finished ACS projects with me in the A Crocheted Simplicity Crochet Community Group on Facebook!
Happy Crocheting!


