Farmhouse Striped Crochet Dish Towel
Are you looking to add a touch of charm and functionality to your kitchen? A crochet dish towel is the perfect project to combine your love for crafting with practical use.
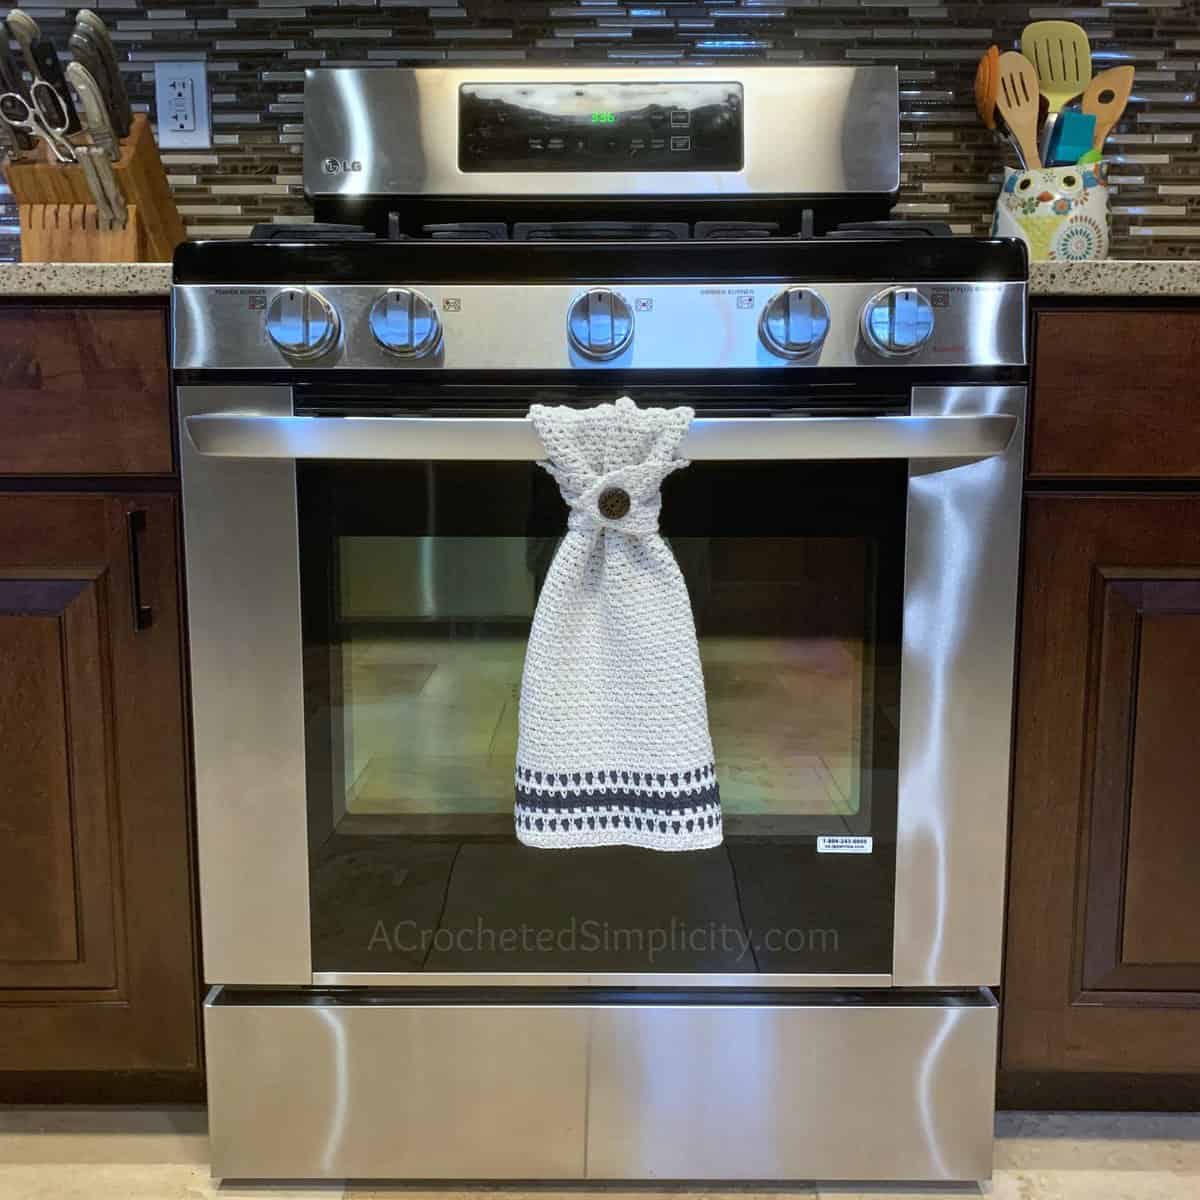
These handmade towels not only look gorgeous hanging from an oven door or cabinet handle, but they also stay in place, thanks to the handy button closure. Let’s dive into why this project is a must-try and how you can crochet your own.
You can find the free crochet towel pattern in this post below, or an ad-free print friendly version on Ravelry, or on Etsy.
Having to constantly pick up the towels off the floor and wash them because they’ve slipped off the oven handle yet again, gets old in a quick hurry.
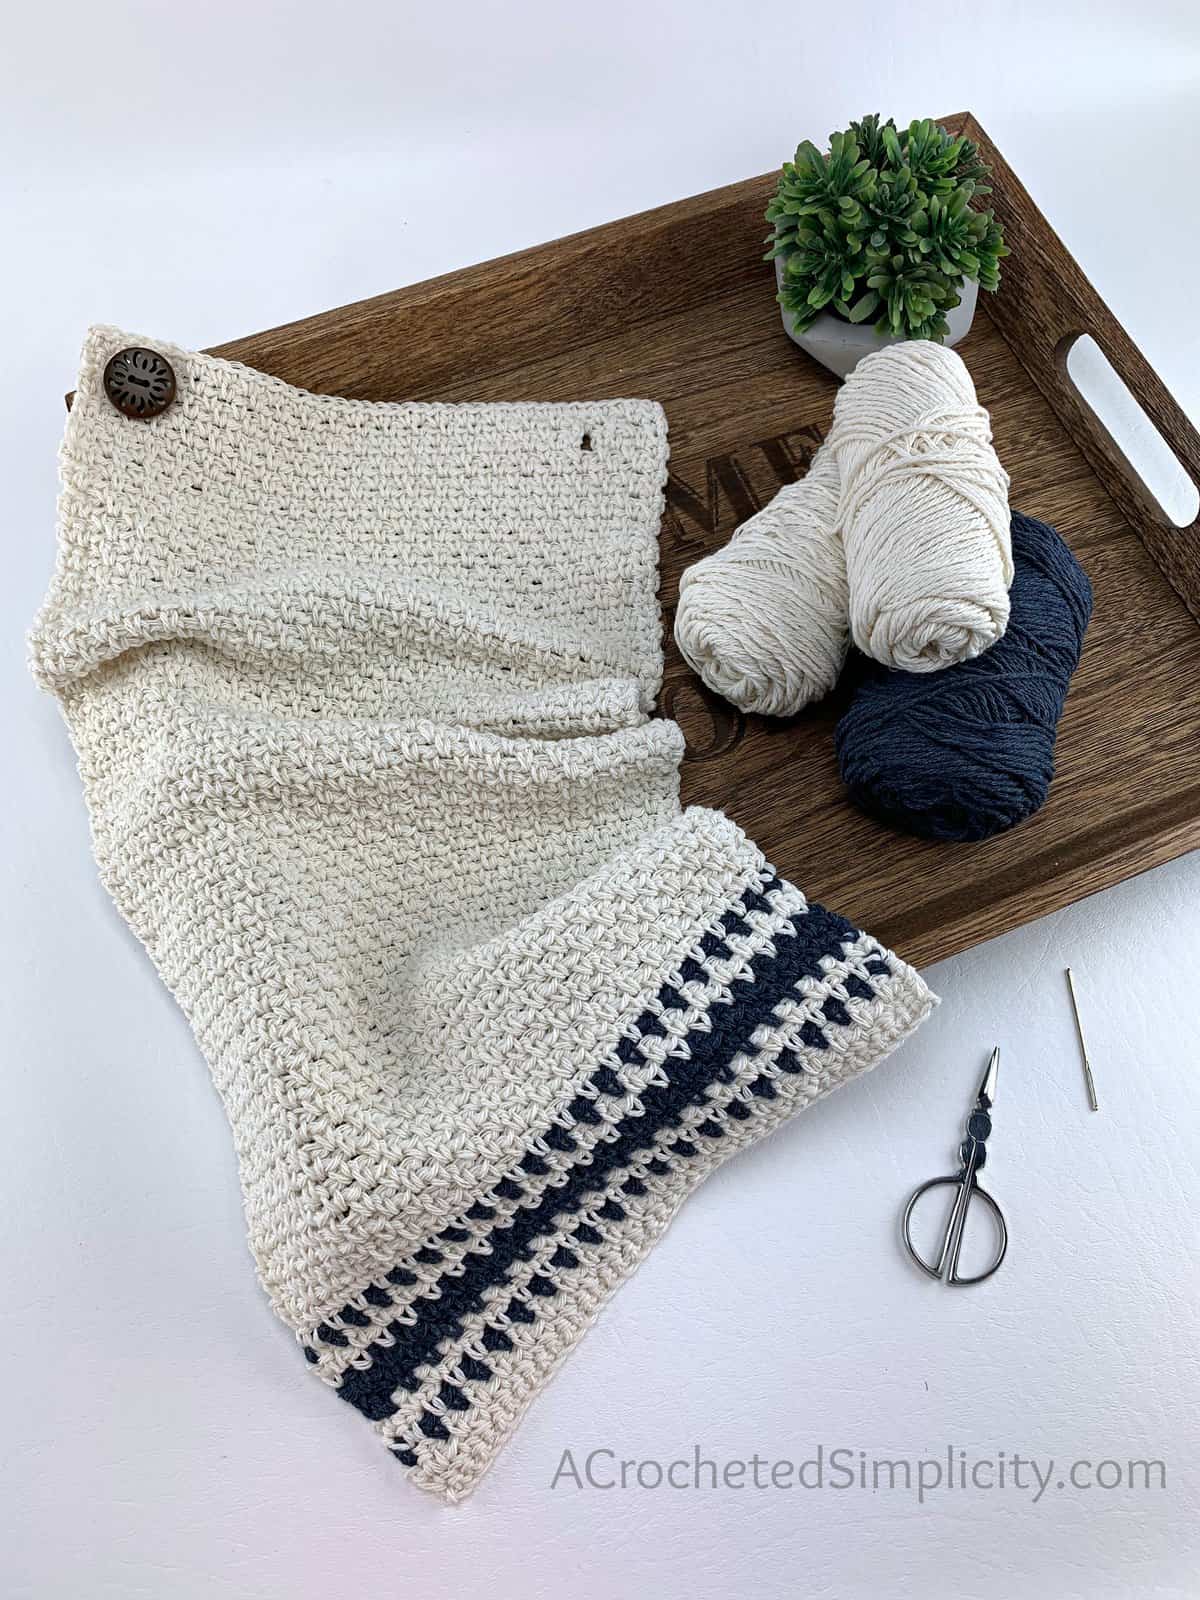
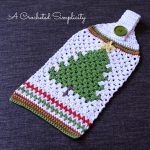
After designing the Buffalo Plaid Kitchen Towel, I realized how much I loved the style and immediately started on the Farmhouse Striped Kitchen Towel.
Why Choose a Crochet Dish Towel with a Button?
- Stylish and Customizable:
Crochet dish towels come in endless patterns and colors, making it easy to match them with your kitchen’s theme. Add stripes, variegated patterns, or solid colors to suit your aesthetic. - Functional Design:
The attached button ensures the towel stays put, avoiding the hassle of towels slipping off surfaces. Perfect for busy kitchens! - Eco-Friendly:
Handmade crochet dish towels are reusable and durable, reducing the need for disposable paper towels. You can create them with 100% cotton yarn for extra absorbency and sustainability. - Great for Gifts:
A handmade dish towel is an ideal gift for housewarmings, weddings, or holidays. Personalize it with colors or patterns that resonate with the recipient’s style.
Why Crochet Dish Towels Make Your Kitchen Better
A crochet dish towel with a button isn’t just a kitchen accessory—it’s a statement of creativity and functionality. Handmade towels are more durable than store-bought options and allow you to express your style in a practical way. Plus, they’re a fantastic eco-conscious choice, as they can be washed and reused for years to come.
Yarn

Farmhouse Striped Kitchen Towel – Free Crochet Towel Pattern
The free crochet dish towel pattern is below, but if you love to work offline, or need to order your yarn, I’ve got a couple other great options for you.
Purchase the ad-free, printable PDF that includes all photo tutorials, on Ravelry, or Etsy.
Save this pattern to your Ravelry favorites.
This post contains affiliate links.
Materials
- Yarn: Lion Brand’s Re-Up / Worsted Weight / 4 / Cotton Yarn – 2 colors / 2 balls of 1 color (for the main color) / 1 ball (for the stripes)
- Yardage: approximately 180 yards total – Ecru (150 yards), Denim (30 yards)
- Crochet Hooks: I/9/5.50mm; H/8/5.00mm (My favorite crochet hooks are the Clover Amour Hooks, I’ve never had an ache in my hand since switching)
- Button: 1″ (1)
- Scissors
- Yarn Needle
Gauge
- In linen / moss stitch (sc in next, ch 1, skip next): 13 sts = 3″; 13 rows = 3″
Size
- One Size: 9.25″ W x 20.5″ L
Abbreviations (U.S. Terms)
- ch(s): chain(s)
- st(s): stitch(es)
- sc: single crochet
- sp: space
- RS: Right Side
- Rep: repeat
- MC: Main Color / Ecru
- CC: Contrasting Color / Denim
- Join yarn with a standing single crochet
Notes
- Turning chains are not included in stitch count unless noted otherwise.
- Yarn Notes: Lion Brand Yarns Re-Up in Ecru & Denim were used for the sample, 85% Cotton / 15% Polyester (114 yards / 105 m / 70 g / 2.5 oz).
- Yardage – 180 yards of a single color OR:
- MC: Ecru (150 yards)
- CC: Denim (30 yards)
- This dish towel is worked from the bottom up. I chose to work color changes and create a striped dish towel, but you can choose to make a solid one if you prefer. Once you near the top edge, an easy buttonhole is created. Then you’ll finish it off your towel by sewing on a button.
Farmhouse Striped Crochet Dish Towel Pattern
Changing Colors: For all color changes, you’ll change colors on the last pull through of the last stitch of the row.
Set-Up: With a 5.50 mm hook & MC (ecru) yarn, ch 42. Turn.
Row 1: Switch to a 5.00 mm crochet hook, working into the back hump of the foundation chain, sc in the 2nd ch from your hook and in each ch across. Turn. (41 sts)
Row 2 (RS): Ch 1, sc in the first st, (ch 1, skip the next st, sc in the next st or ch-1 sp), rep from ( to ) across. Turn.
Row 3: Ch 1, sc in the first st, sc in the next ch-1 sp, (ch 1, skip the next st, sc in the next ch-1 sp) rep from ( to ) across to the last st, sc in the last st. Turn. *Switch colors to CC. Fasten off MC.
Row 4: With CC, repeat Row 2. *Switch colors to MC. Fasten off CC.
Row 5: With MC, repeat Row 3.
Row 6: With MC, repeat Row 2. *Switch colors to CC. Fasten off MC.
Row 7: With CC, repeat Row 3.
Rows 8 – 9: With CC, repeat Rows 2 – 3. *Switch colors to MC at the end of Row 9. Fasten off CC.
Row 10: With MC, Repeat Row 2.
Row 11: With MC, repeat Row 3. *Switch colors to CC. Fasten off MC.
Row 12: With CC, repeat Row 2. *Switch colors to MC. Fasten off CC.
Row 13: With MC, repeat Row 3.
With MC, repeat Rows 2 – 3, ending with a row 3 repeat, until your towel measures 19″.
Fasten off. Continue on to Creating the Buttonhole.
Creating the Buttonhole
Narrow Tab
Row 1 (RS): Ch 1, sc in the first st, (ch 1, skip the next st, sc in the next ch-1 sp) twice. Turn. (5 sts) *Place a stitch marker in the next stitch to mark the beginning of the Wide Tab.
Row 2: Ch 1, sc in the first st, sc in the next ch-1 sp, ch 1, skip the next st, sc in the next ch-1 sp, sc in the last st. Turn.
Row 3: Ch 1, sc in the first st, ch 1, skip the next st, sc in the next ch-1 sp, ch 1, skip the next st, sc in the last st.
Fasten off. Weave in ends. Continue on to Wide Tab.
Wide Tab
Row 1 (RS): Join MC with a standing sc in the st where you placed a stitch marker next to the narrow tab, sc in the next ch-1 sp, (ch 1, skip the next st, sc in the next ch-1 sp) rep from ( to ) across. Turn. (36 sts)
Rows 2 – 3: Ch 1, sc in the first st, sc in the next ch-1 sp, (ch 1, skip the next st, sc in the next ch-1 sp) rep from ( to ) across to the last 2 sts, ch 1, skip the next st, sc in the last st. Turn.
Do not fasten off. Continue on to Closing the Buttonhole.
Closing the Buttonhole
In this row, you’ll work all the way across the Wide Tab and then pick up stitches from the Narrow Tab and work across it.
Row 1: Ch 1, sc in the first st, sc in the next ch-1 sp, (ch 1, skip the next st, sc in the next ch-1 sp) rep from ( to ) across to the last 2 sts of the wide tab, ch 1, skip the next st, sc in the last st of the wide tab, sc in the next st of the narrow tab, sc in the next ch-1 sp, ch 1, skip the next st, sc in the next ch-1 sp, sc in the last st . Turn. (41 sts)
Row 2 (RS): Ch 1, sc in each st and ch-1 sp across.
Fasten off. Weave in ends. Continue on to Attaching the Button.
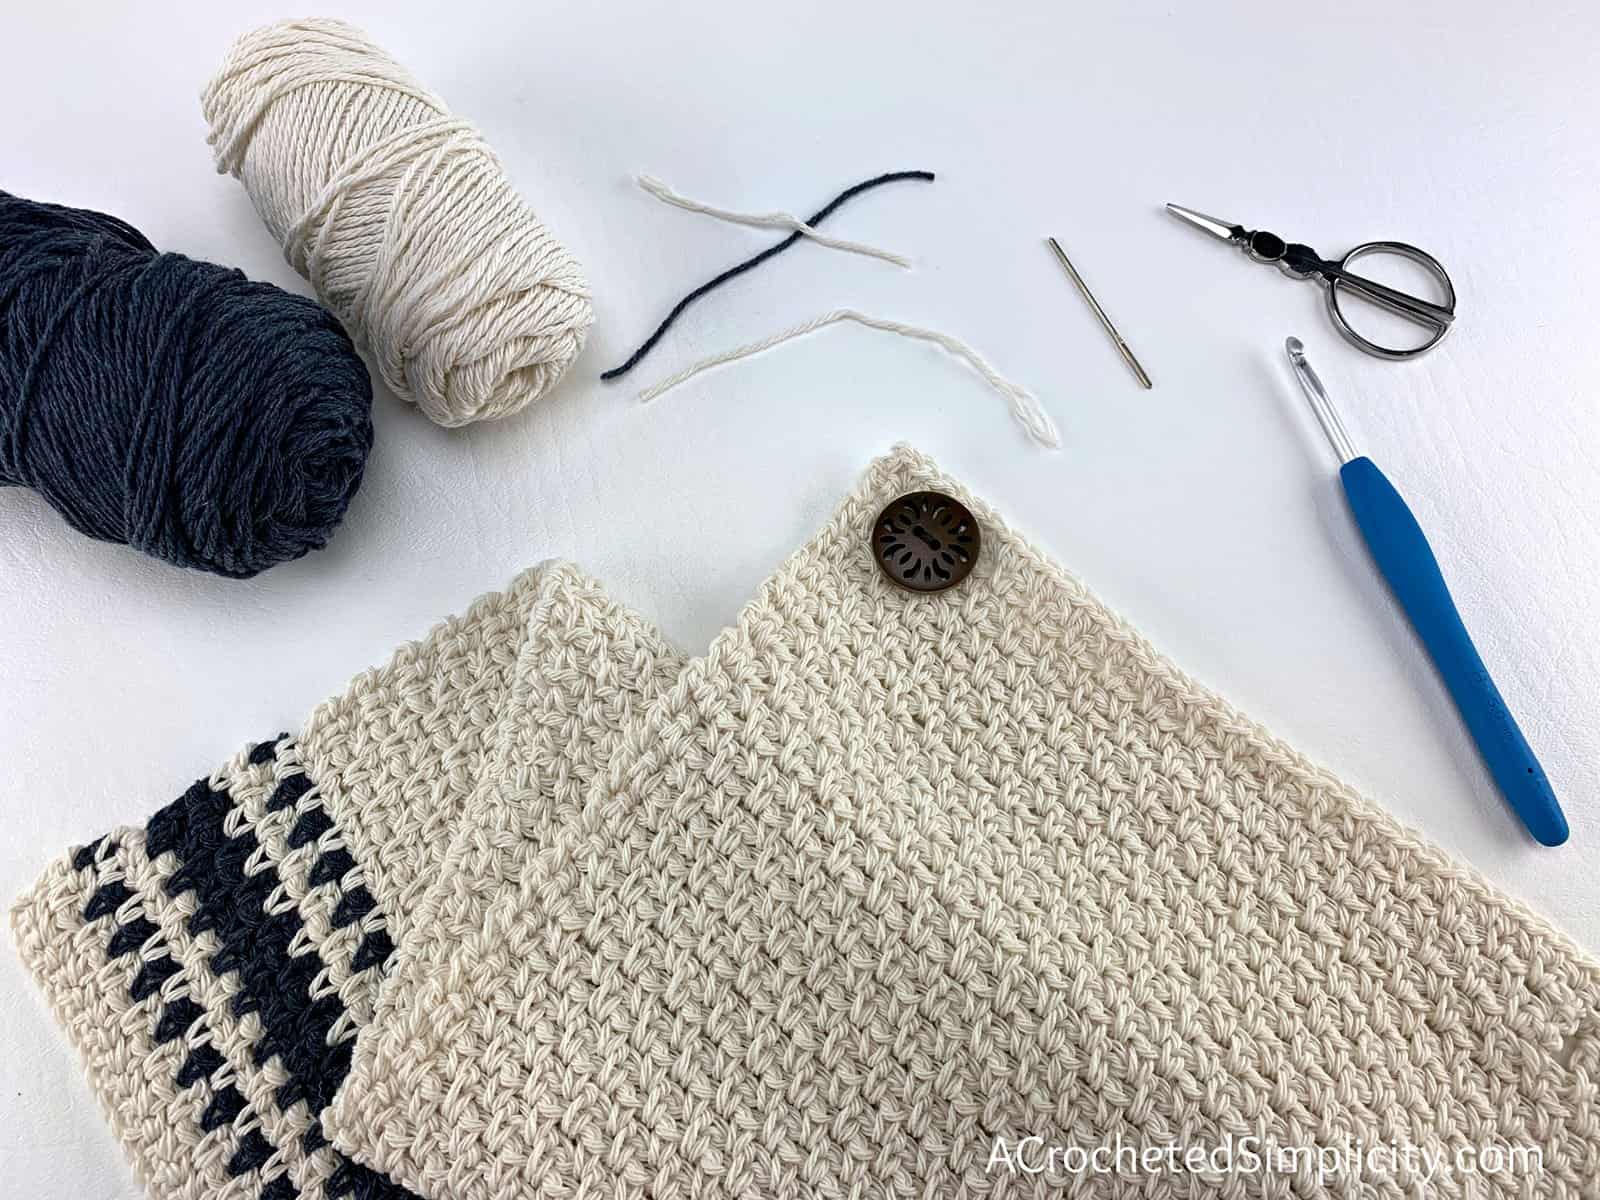
Attaching the Button
Notice that the buttonhole is on the right. Sew the button onto the towel as shown (side opposite the buttonhole).
Now that I’ve completed my Farmhouse Striped Kitchen Towel, how do I hang it up?
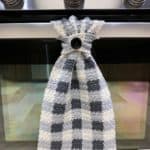
The photos below are of the Buffalo Plaid Kitchen Towel, but the steps are the same.
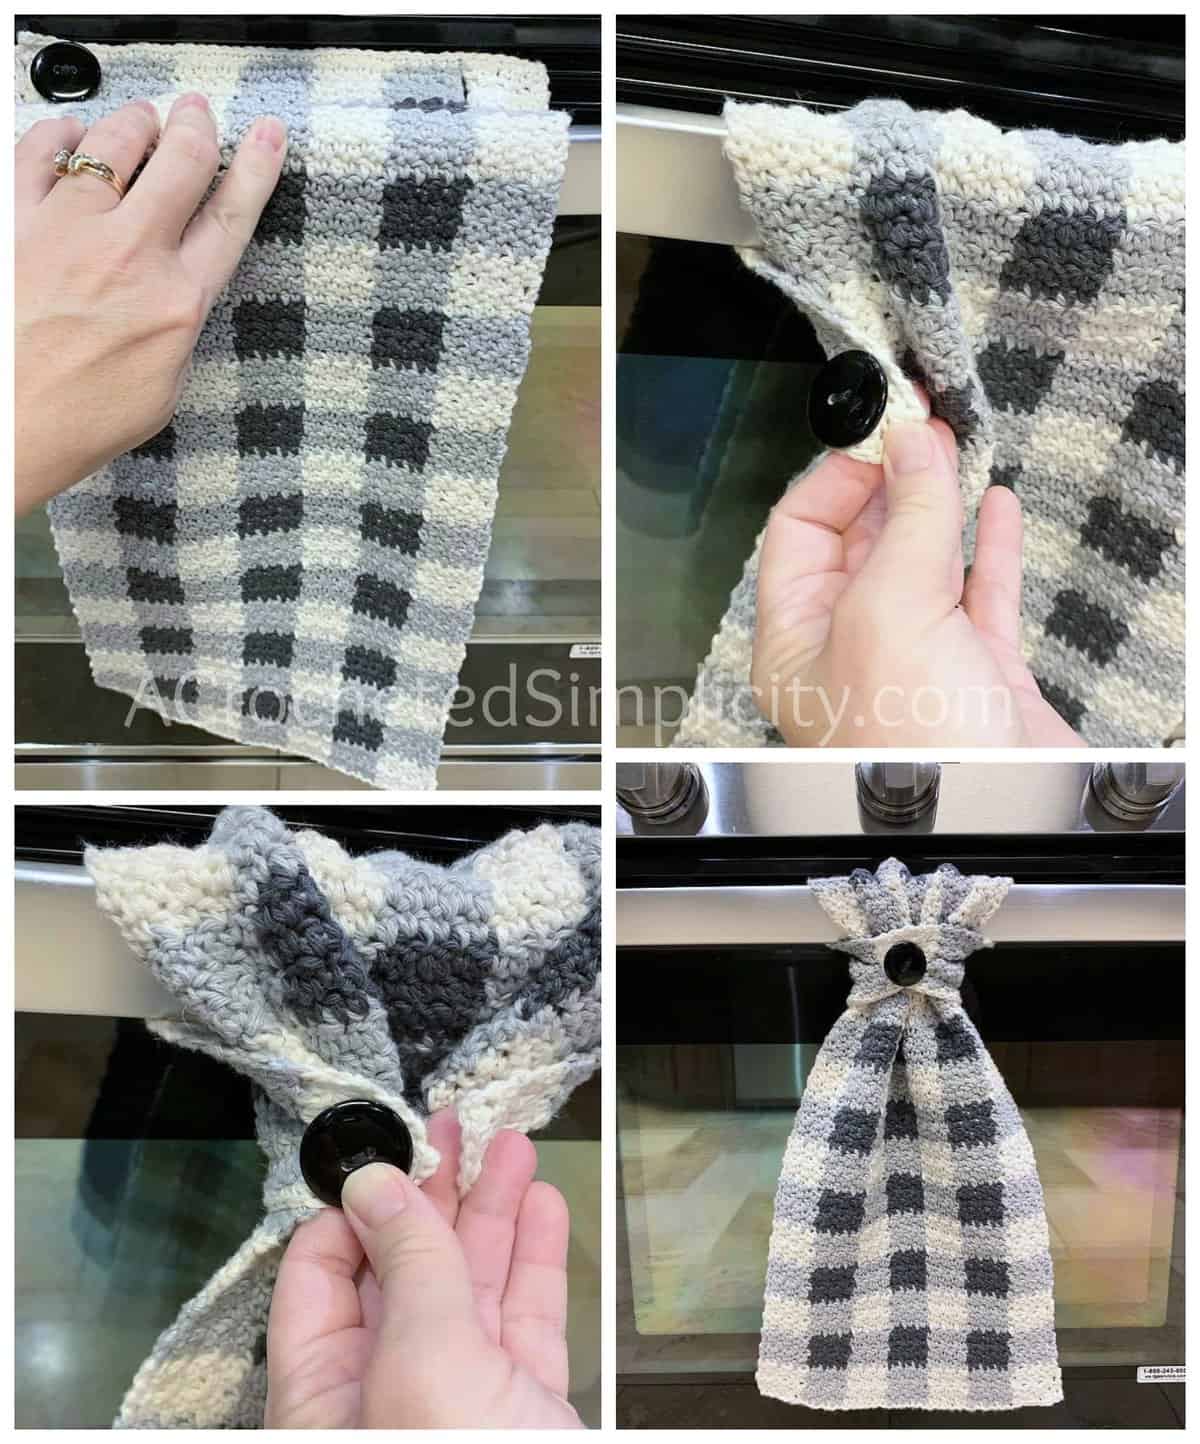
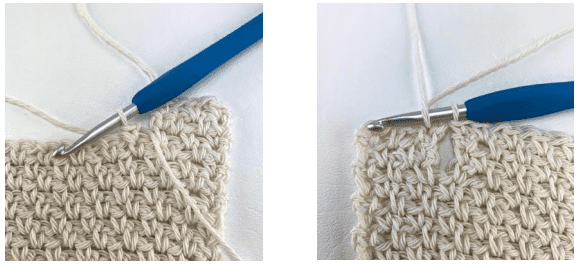
Step 1 (photo top, left): With the right side of the towel facing you, fold the top edge (with the button and buttonhole) over and around the oven door handle.
Step 2 (photo top, right): Bring the corner of the towel with the button, around to the front, from the left side. Bring the corner of the towel with the buttonhole, around to the front, from the right side.
Step 3 (photo bottom, left): Put the button through the buttonhole to secure it.
Step 4 (photo bottom, right): Step back and enjoy your talents!
MORE FREE CROCHET PATTERNS FROM A CROCHETED SIMPLICITY
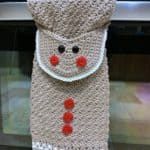
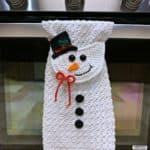
If you enjoy this crochet pattern for your home, you may enjoy these other projects as well. And if you just want to browse, you can find all of our free crochet patterns HERE.


I Made it! Now What?
Pin this post!: Save this dish towel crochet pattern to your Pinterest boards so that you can come back and make it again.
Leave a comment below: We love to hear your feedback.
Share Your Finished Projects on Facebook or Instagram: I love to see your finished projects! Share with us on social media and tag me @acrochetedsimplicity or use the hashtag #ACrochetedSimplicity so I can find your posts.
Join us in the Facebook Community Group!
Come share your finished projects with us in the A Crocheted Simplicity Crochet Community Group on Facebook. Join us for fun community events such as crochet alongs, join in on crochet conversations, ask questions, get advice, and share your love for crochet!

Hi I am a bit confused
Row 4 says to repeat row 2 switch to MC.
Was I supposed to cut my MC? So I can attach it to the end of row 4.? Which is on the other side of the row.
Hope I make sense.
Thanks
Hi Lori,
Yes, I fastened off my yarn when I was switching colors because I wanted a clean edge on the sides.
Jennifer
Thanks
looks like a simple pattern to make!!!!!
How do I decide what is the Right Side vs the Wrong Side?
Hi Chris,
In the instructions I’ve marked Row 2 as the right side. So when you are working or after you work Row 2, place a stitch marker on the front of those sts, if you need them to keep track.
Jennifer
Just love these designs. I thought this farmhouse one would be good for the scraps left over from making potholders. Thank you for the patterns (reinder, snowman, santa, etc.)
Your designs are beautiful
Thank you so much! The towels are so beautiful!
I love hanging kitchen towels, particularly Farmhouse style.
Hey!
LOVE the Lemon Scrubby and Sunshine kitchen towel AND the Farmhouse kitchen towel.
Those are genius methods of hanging the towels !! We’ve been wrestling with the HANGING to towel and KEEPING IT HANGING instead of picking it up off the floor 50 times or just throwing it in the washer every single time. NOT FUN either way.
THANK YOU for sharing your craft. I’ll be watching for your patterns both freebies and paid as well. I greatly appreciate the freebies though.
Hi Susie,
Thanks for your lovely note!
Happy Crocheting,
Jennifer
Hi there. Your beginning chain really should read 43 chains stitches. If your starting in the second stitch back hump, then you need to skip two chains in order for 1. The correct count and 2. The correct lining of stitches when you finished row 2. Otherwise your count is off and beginners (like a friend of mine) will continue to have trouble proceeding with the pattern.
Hi Gigi,
The foundation chain is correct as written. When working into the 2nd ch, you’re only skipping one chain, not two. You’re working into that 2nd chain. I hope this helps.
Happy Crocheting,
Jennifer