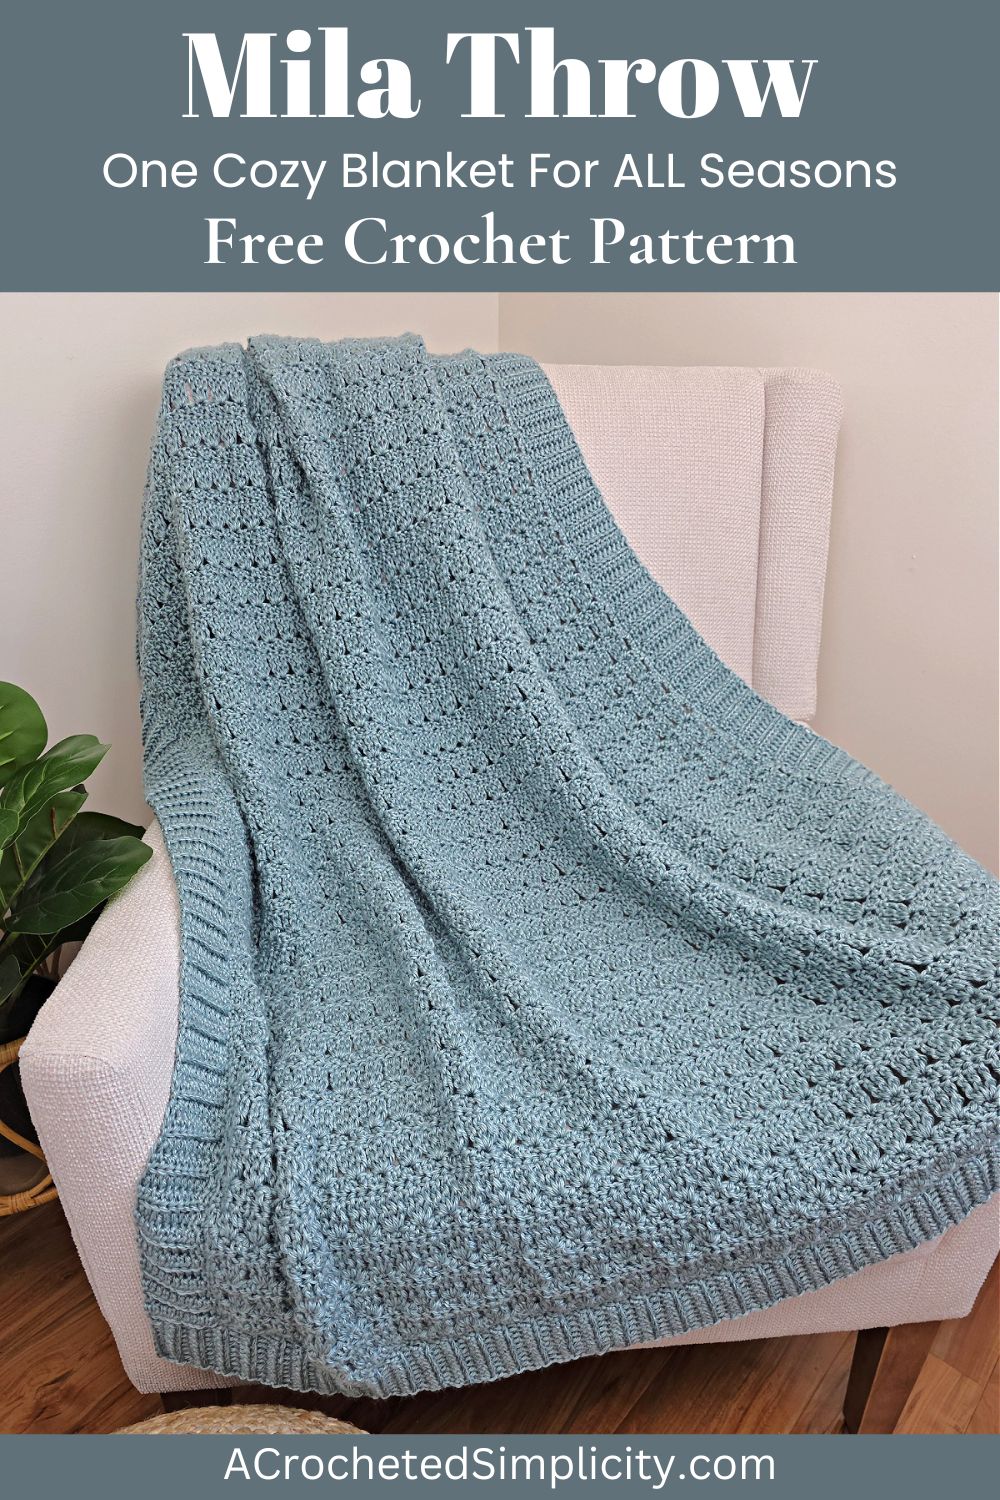
Mila Crochet Throw Blanket
While big complicated projects are certainly rewarding, sometimes you just want to kick back and relax with something beginner-friendly that has a row repeat that’s easy to get the hang of, like this crochet throw blanket pattern.
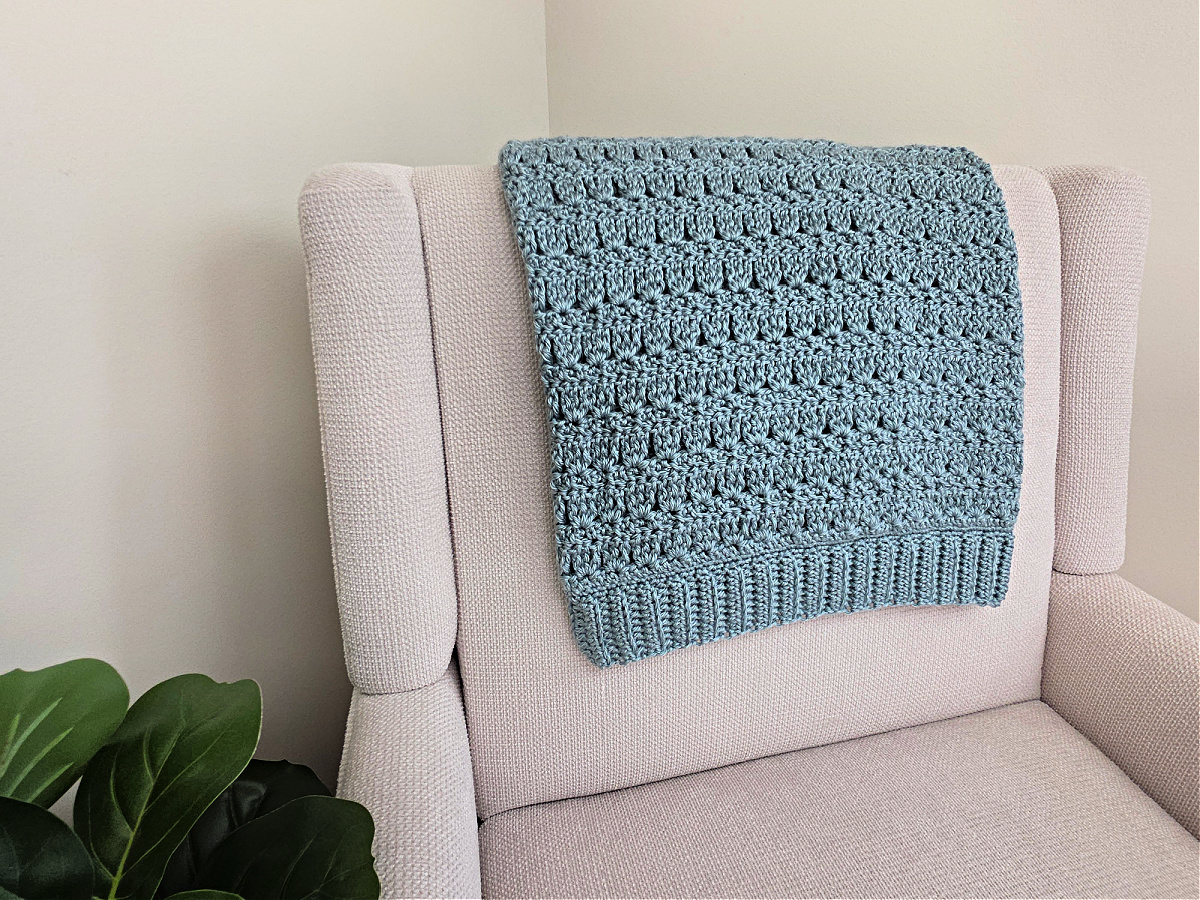
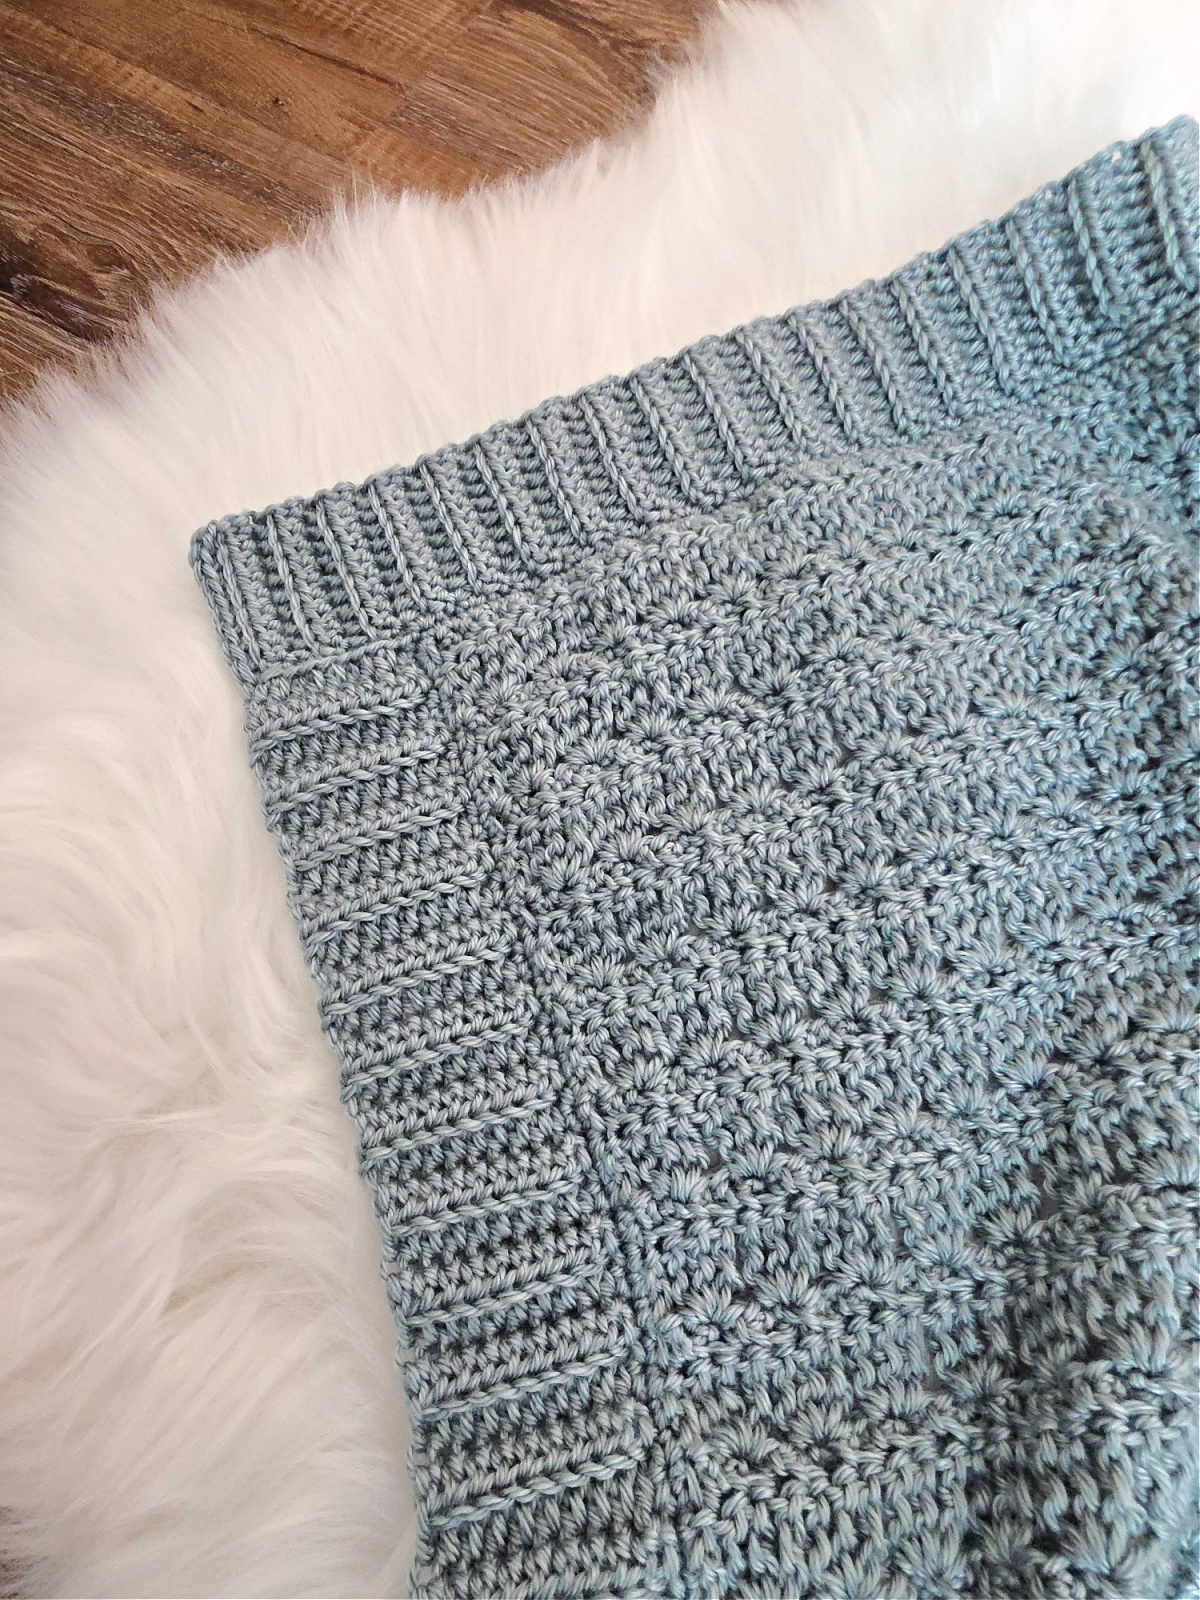
The stitch used gives a beautiful lattice look to it and it all comes together with a nice thick ribbed border. So grab your favorite crochet hook, see if you have enough of your yarn of choice in your stash (or take a quick run to the craft shop) and scroll down to get started on this gorgeous throw.
You’ll find the crochet throw blanket pattern free below, or you can find an ad-free printable PDF (including all photo tutorials) on Ravelry, or on Etsy (aff).
I highly encourage that you use one color throughout the blanket although, of course, you have the creative liberty to make it as colorful as you want. Since throw blankets are often used to add accents to any living space, using solid yarn helps pull the decor together seamlessly. It’s up to you whether you choose more neutral shades or more vibrant ones.
Related: If you want something more challenging with fantastic texture to it, make sure to check out my Cascading Cable Blanket Pattern.
How to Crochet a Throw Blanket
While other throw blankets may have complicated constructions, this one really doesn’t. This crochet throw blanket is crocheted back and forth in rows. You’ll finish a row and turn your work to start the next one. This also allows you to adjust the width and length according to your requirements (aside from the standard measurements given in the Size Chart below).
After your blanket is the intended length, you’ll finish it off by crocheting a ribbed border around the perimeter.
How To Get The
Mila Crochet Throw Blanket Pattern
Option 1: Scroll down for the free throw blanket pattern right here in this blog post.
Option 2: Purchase the ad-free printable PDF from one of my shops:
Adjusting the Size of Your Blanket
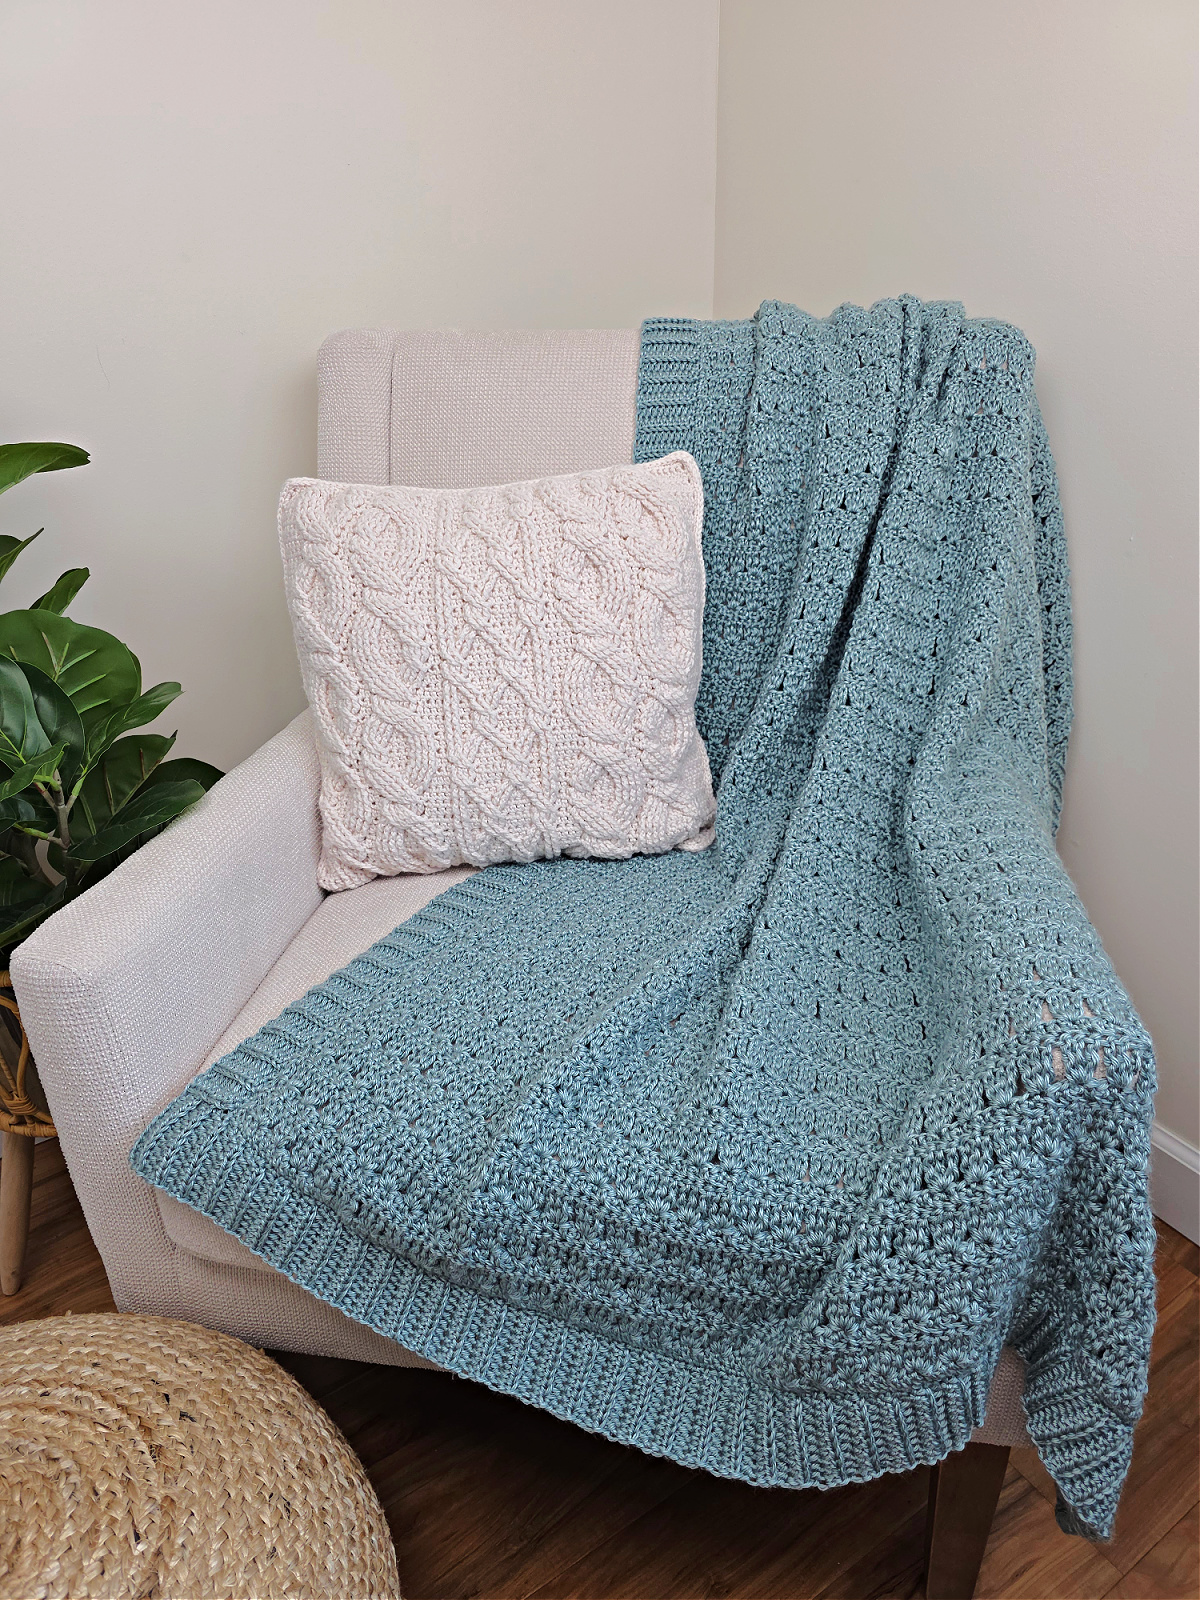
The crochet blanket pictured is lapghan size. The written crochet pattern includes instructions to make a crochet baby blanket, lapghan, small throw, and large throw.
You can easily increase the length of your blanket by crocheting more rows. You can increase the width of your blanket by increasing the foundation chain.
For help determining what size to make your beginner-friendly crochet blanket, check out my Standard Blanket Size Chart.
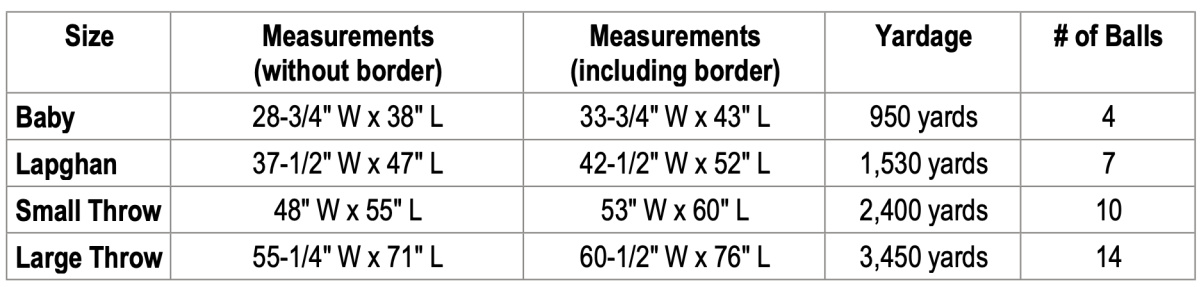
Size and Yardage Chart
In order to achieve the right size of your blanket, be sure to check how much yarn you’ll need beforehand.
Yarn
For the Cascading Cable Crochet Blanket Pattern, I chose Lion Brand Heartland in Congaree. This was a great yarn to achieve the kind of drape, warmth, and coziness I wanted for my blanket without it being overly bulky or thin enough to let the cool air in.
Lion Brand Heartland is great for making so many different types of crochet projects such as sweaters, cowls, hats, mittens or anything that needs a durable, machine-washable yarn. It’s a worsted weight / 4 and you can find it in many beautiful solid colors as well as some tweed options.
For help determining what size to make your crocheted blanket, check out my Standard Blanket Size Chart.
How to Style a Crochet Throw Blanket
- Living Room: Drape it over the back of your sofa or an armchair for a chic yet inviting look.
- Bedroom: Layer it at the foot of your bed for added warmth and a luxurious aesthetic.
- Reading Nook: Pair it with a comfy chair, a good book, and a cup of tea for the ultimate cozy corner.
- Seasonal Decor: Use crochet blankets in warm, earthy tones for fall and winter or light pastels for spring and summer.
Mila Throw – Free Crochet Blanket Pattern
The crochet throw blanket pattern is free below, but if you love to work offline, I’ve got a couple other great options for you.
Purchase the ad-free, printable PDF, (including all photo tutorials) on Ravelry, or on Etsy (aff).
Save this pattern to your Ravelry favorites.
Purchase the Mila Crochet Blanket Kit (aff): Lion Brand has a full kit of the Mila Crochet Blanket, available on their website. The includes your choice of colors and a digital copy of the crochet pattern.
This post contains affiliate links.
Materials
- Yarn: Aran / Worsted Weight / 4 / Yarn, Lion Brand Heartland in Congaree was used for the crochet throw blanket shown in the photos.
- Yardage: See Size Chart above
- Crochet Hooks: J/10/6.00mm; I/9/5.50mm; or size needed to obtain gauge (My favorite crochet hooks are the Clover Amour Crochet Hooks, I’ve never had an ache in my hand since switching).
- Measuring Tape
- Scissors
- Yarn Needle
- Locking Stitch Markers or Scraps of Yarn
Abbreviations (US Terms)
- ch(s): chain(s)
- sl st: slip stitch
- st(s): stitch(es)
- sc: single crochet
- hdc: half double crochet
- hdc2tog: half double crochet two together
- tr: treble crochet
- Alt-tr: alternate treble crochet
- ext sc: extended single crochet
- yo: yarn over
- BLO: back loop only
- FLO: front loop only
- Rep: repeat
- Rnd: round
- RS: Right Side
- WS: Wrong Side
Experience Level
- Easy
Gauge
- Gauge is given throughout the pattern in each individual section.
- Gauge Swatch Instructions are given below.
Sizes
- Baby, Lapghan, Small Throw, Large Throw
- See size chart above.
Special Stitches
- Extended Single Crochet (ext sc): Insert hook into stitch indicated, yo, pull up a loop, yo, pull thru 1 loop on hook, yo, pull thru remaining two loops on hook.
- Alternate Treble Crochet (alt-tr): After turning your work, do not ch, instead, insert your hook into the first st, yo, pull up a loop, yo, pull thru both loops, insert your hook between the legs of the st just made, yo, pull up a loop, yo, pull thru both loops, insert your hook between the legs of the st just made, yo, pull up a loop, yo, pull through one loop, yo, pull thru remaining loops.
- Join yarn with a standing single crochet: Begin with a slip knot on your hook, insert your hook into the stitch or space indicated, yo, pull up a loop, yo and draw thru both loops on hook.
Pattern Notes
- Turning chains are not included in stitch count unless noted otherwise.
- Yarn Notes: Lion Brand Yarns Heartland (100% Acrylic / 251 yards / 230 m / 142 g / 5 oz) was used for the sample in the photos. Another comparable worsted weight yarn may be used. Gauge isn’t crucial.
- Yardage & Color
- Congaree: #136-183D
- Yardage: see size chart above.
- Changes for Sizes as Follows: Baby (Lapghan, Small Throw, Large Throw)
- Stitch Counts as Follows: (Baby, Lapghan, Small Throw, Large Throw)
- Blanket shown in the photos is lapghan size.
- Construction Notes: This crochet throw blanket is crocheted back and forth in rows. After your blanket is the intended length, you’ll finish it off by crocheting a ribbed border around the perimeter.
Mila Crochet Throw Blanket – Written Pattern
Gauge Swatch
Gauge: With a 5.50mm crochet hook: 20 sts = 5-7/8″; In the stitch pattern as written below: 6 rows = 3-1/2″.
Set-up: With yarn & a 6.00mm crochet hook, ch 21.
Row 1 (RS): Switch to a 5.50mm crochet hook, working into the back humps of the foundation ch, ext sc into the 2nd ch from your hook and in each ch across. Turn. (20 sts)
Row 2: Alt-tr in the first st, skip the next st, 3 tr in the next st, * skip each of the next 2 sts, 3 tr in the next st, rep from * across to the last 2 sts, then skip the next st, tr in the last st. Turn. (20 sts) This breaks down to 6 groups of 3 tr + 1 Alt- tr + 1 tr.
Row 3: Ch 1, BOTH LOOPS ext sc in the first st, * FLO ext sc in the next st, BLO ext sc in the next st, rep from * across to the last st, then BOTH LOOPS ext sc in the last st. Turn. (20 sts)
Rows 4 – 5: Rep Rows 2 – 3.
Row 6: Rep Row 2.
Your swatch should measure approximately 5-7/8″ W x 3-1/2″ H.
Body of Blanket Instructions
Gauge: With a 5.50mm crochet hook: 20 sts = 5-7/8″; In the stitch pattern as written below: 6 rows = 3-1/2″.
Changes for Sizes as Follows: Baby (Lapghan, Small Throw, Large Throw)
Stitch Counts as Follows: (Baby, Lapghan, Small Throw, Large Throw)
Set-up: With yarn & a 6.00mm crochet hook, ch 99 (129, 165, 189).
Row 1 (RS): Switch to a 5.50mm crochet hook, working into the back humps of the foundation ch, ext sc into the 2nd ch from your hook and in each ch across. Turn. (98, 128, 164, 188 sts)
Gauge Check (not crucial): The width of Row 1 should be approximately 28-3/4″ (37-1/2″, 48″, 55-1/4″) W.
Row 2: Alt-tr in the first st, skip the next st, 3 tr in the next st, * skip each of the next 2 sts, 3 tr in the next st, rep from * across to the last 2 sts, then skip the next st, tr in the last st. Turn. (98, 128, 164, 188 sts)
Row 3: Ch 1, BOTH LOOPS ext sc in the first st, * FLO ext sc in the next st, BLO ext sc in the next st, rep from * across to the last st, then BOTH LOOPS ext sc in the last st. Turn. (98, 128, 164, 188 sts)
Rep Rows 2 – 3 (make sure to end with a repeat of Row 3) until your blanket measures approximately 38″ (47″, 55″, 71″) L.
Do NOT turn after completing the last Row 3 repeat. Place a locking stitch marker in each corner stitch. Continue on to Prepare Edge for Ribbed Border.
Prepare Edge for Ribbed Border
Make sure you have a locking stitch marker in each corner stitch.
Gauge Note & Tip: Exact gauge is not crucial. Simply adjust your hook size so that your edge lays flat. As you’re working this section, if your edge becomes wavy, this means that your gauge is too loose. Try going down a hook size or two. If your edges start cinching in, this means your gauge is too tight. Try going up a hook size or two.
Rnd 1 (RS): Continuing on from the Body of Blanket, rotate to work along the first long edge of the blanket, work 3 sc into the first ext sc, crochet along the first long edge by working 3 sc into each tr and 1 sc into each ext sc across to the next corner, work 3 sc into the next corner st, work 1 sc into each st across to the next corner, work 3 sc into the next corner st, crochet along the next long edge by working 3 sc into each tr and 1 sc into each ext sc across to the next corner, work 3 sc into the next corner st, work 1 sc into each st across to the first st. Join with a sl st to the 1st st. Stitch count is not crucial, but you should have the same number of stitches along opposite edges.
Move stitch markers up to the middle sc in each corner.
Do not fasten off. Continue on to the Ribbed Border Edge #1.
Ribbed Border – Edge #1
Gauge Note & Tip: Exact gauge is not crucial. Simply adjust your hook size so that your ribbed edge lays flat. As you’re working the Ribbed Border, if your ribbed edge becomes wavy, this means that your row height is too tall. Try going down a hook size or two.
Ribbing is approximately 2.5″ wide.
Set-up: Continuing on from Preparing the Edge for Ribbed Border, sl st over to the next corner st.
Row 1 (RS): Ch 10, working into the back hump of the ch, hdc in the 2nd ch from your hook, hdc in each of the next 7 chs, hdc2tog in the next ch & same st as ch 10. Do not turn. (9 sts)
Row 2: ( sl st into the next st along the edge of the blanket ) 2 times (these 2 sl sts do not count as sts), TURN, BLO hdc in each st across the previous row. Turn. (9 sts)
Row 3: Ch 1, BLO hdc in the first st, BLO hdc in each of the next 7 sts, hdc2tog in the BLO of the next st and both loops of the next st along the edge of the blanket. Do not turn. (9 sts)
Rep Rows 2 – 3 across the edge of the blanket until you reach the next corner marked with a SM.
If you end with 1, 2, or 3 stitches before the corner SM, read the following for completing the ribbing for that edge.
Continue on to Ribbed Border Edges #2, #3, & #4.
Working the Final Rows of Ribbing along any Edge:
- 1 Stitch Remaining: If you repeat Rows 2 – 3 all the way across an edge of the blanket and have 1 stitch remaining after the last Row 3 repeat, work a Modified Row 2 (see instructions below). Continue to work ribbing along the next edge of the blanket. If this is your final edge, fasten off, weave in ends and block, if desired.
- 2 Stitches Remaining: If you repeat Rows 2 – 3 all the way across an edge of the blanket and have 2 stitches remaining after the last Row 3 repeat, simply repeat Row 2 one more time. Continue to work ribbing along the next edge of the blanket. If this is your final edge, fasten off, weave in ends and block, if desired.
- 3 Stitches Remaining: If you repeat Rows 2 – 3 all the way across an edge of the blanket and have 3 stitches remaining after the last Row 3 repeat, work the following:
- Modified Row 2 (see instructions below)
- Row 3 repeat
- Modified Row 2
- Continue to work ribbing along the next edge of the blanket. If this is your final edge, fasten off, weave in ends and block, if desired.
- Modified Row 2: sl st into the next st along the edge of the blanket (1 time) (this sl st does not count as a st), TURN, BLO hdc in each st across the previous row. Turn. (9 sts)
Ribbed Border – Edges #2, #3 & #4
Repeat Ribbed Border Instructions Rows 1 – 3, then repeat Rows 2 – 3 across the edge of the blanket until you reach the next corner marked with a SM.
If you end with 1, 2, or 3 stitches before the corner SM, read the notes above for completing the ribbing for that edge.
The Mila Blanket is more than just a warm throw; it’s a piece of art that adds personality and warmth to your home. Whether you’re making one yourself or purchasing a handmade creation, these blankets are an investment in comfort and style!
I Made It! Now What?
Pin this post! Save this crochet throw blanket pattern to your Pinterest boards so that you can come back and make it again.
Leave a comment below: We love to hear your feedback.
Share Your Finished Projects on Facebook or Instagram: I love to see your finished projects! Share with us on social media and tag me @acrochetedsimplicity or use the hashtag #ACrochetedSimplicity so I can find your posts.
Join us in the Facebook Community Group!
Come share your finished projects with us in the A Crocheted Simplicity Crochet Community Group on Facebook. Join us for fun community events such as crochet alongs, join in on crochet conversations, ask questions, get advice, and share your love for crochet!

More Crochet Blanket Patterns I Think You’ll Love
More Crochet Blanket Patterns Free
Are you looking for more free crochet blanket patterns? We have several more free crochet patterns for a crochet throw blanket pattern, hexagon crochet blanket, crochet baby blanket patterns, and more.
If you’re looking for how to crochet a granny square, you’ll also find several crochet squares for blanket.