Super Easy Way to Add a Zipper to Your Crochet Projects!
Are you looking for a super easy way to add a zipper to your crochet projects? Look no further! This technique is the easiest you’ll find and best of all, it requires no special tools! Are you intrigued?
~Click HERE to sign-up to receive our newsletter!~
~Click HERE to Pin-It to Save it for Later~
What you’ll need:
- Crochet Project to add a zipper to
- Zipper (proper length for your project)
- Pins
- Sewing Needle
- Thread that coordinates with your crochet project
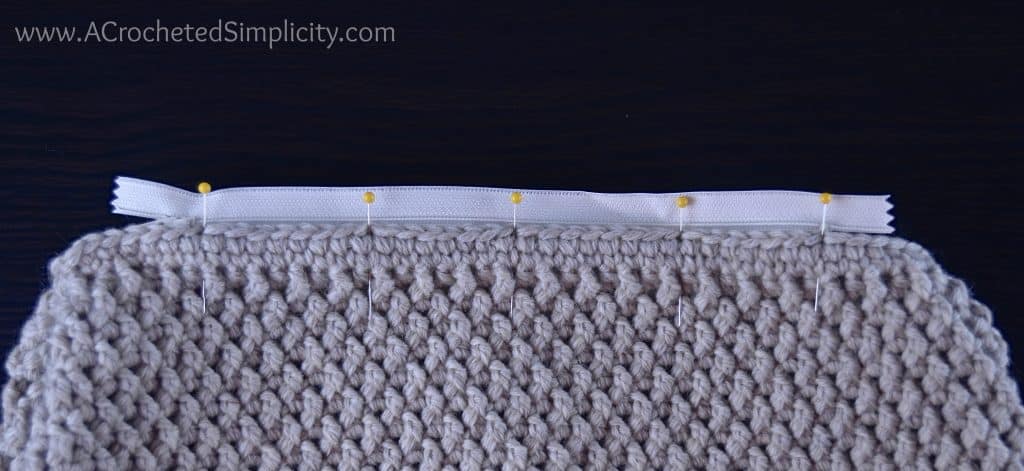
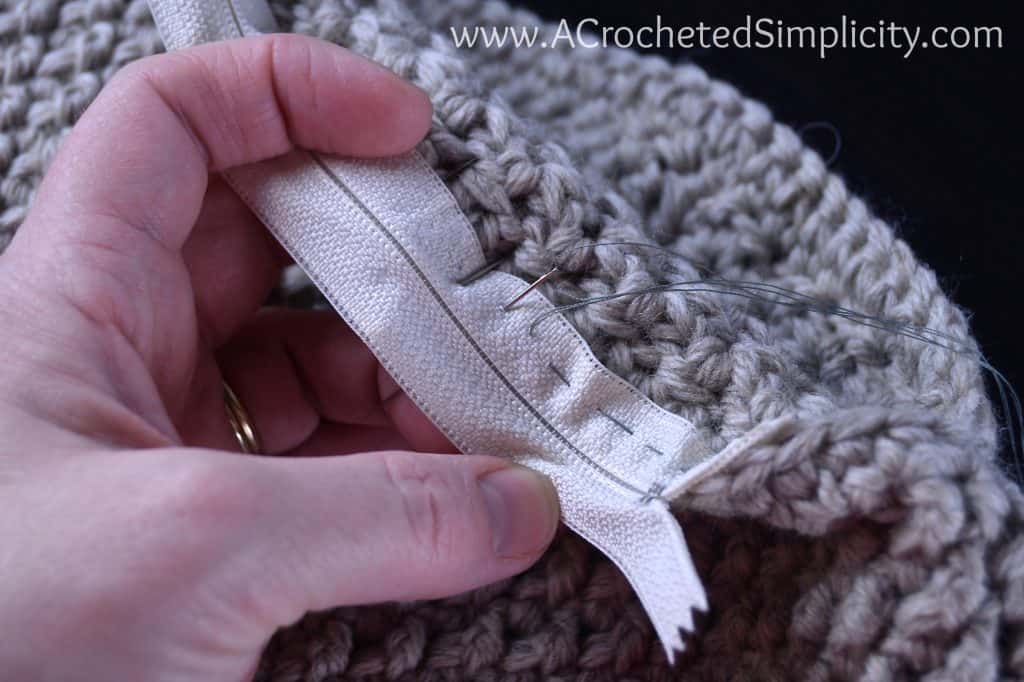
Step 1 (photo above): Center one side of the zipper on the inside edge of your project (my project shown is a bag). With the right side of the zipper facing up, pin it to the wrong side of the last row/round of your project, every couple inches, to hold it in place while you sew it on.
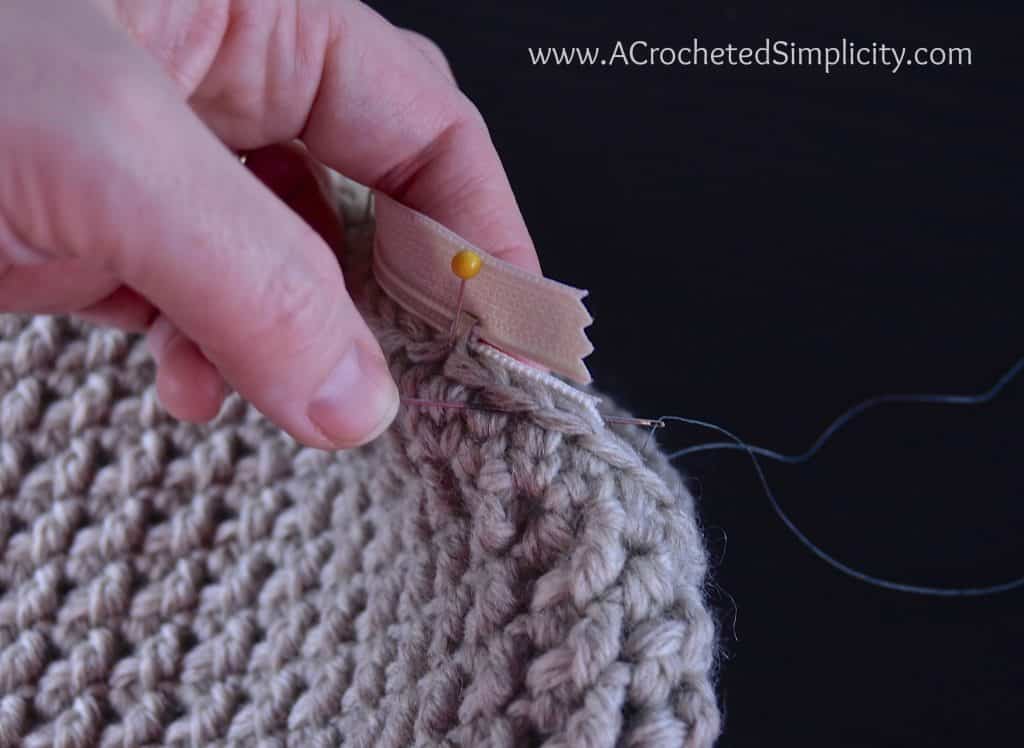
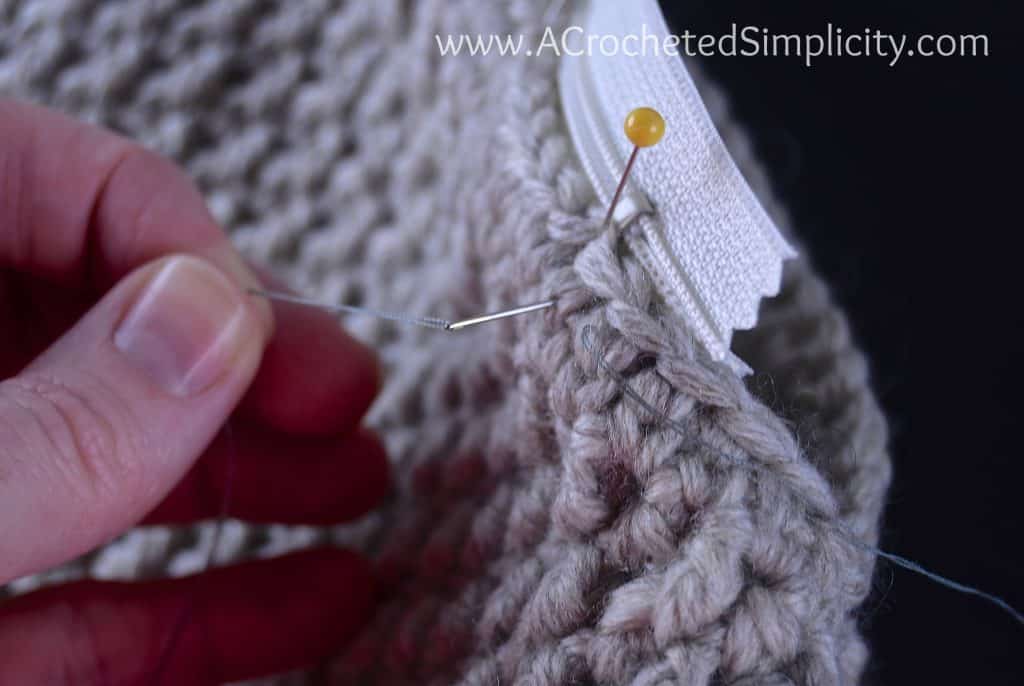
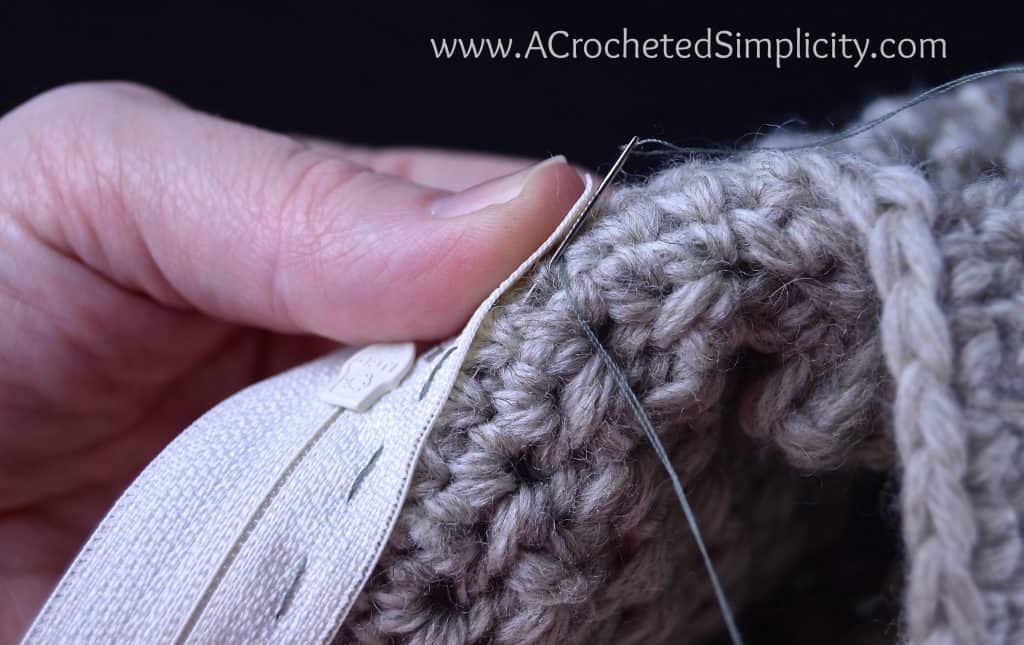
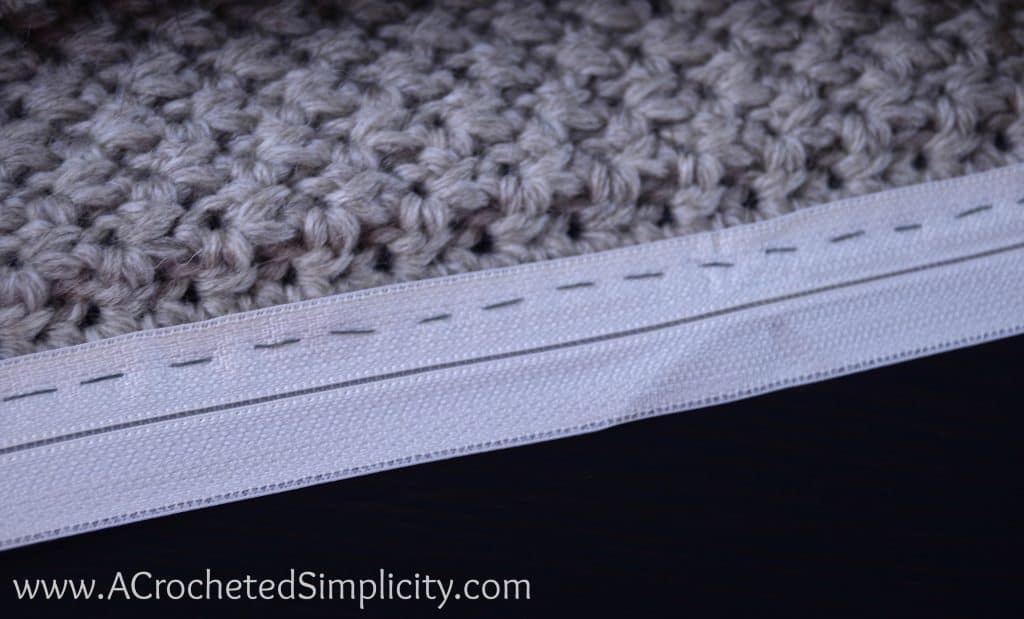
Step 2 (photos above & below): Using a needle and thread, knot one end of your thread, then beginning on the inside of your project, sew the zipper to the last row/round using a basting stitch (see basting stitch instructions below). Remove the pins as you work. Weave in ends and fasten off. I worked only one row of stitches to secure my zipper to my project, you may choose to work 2 rows of parallel basting stitches.
How to work a basting (or tack) stitch: Make evenly spaced stitches by working the needle in and out of the fabric from bottom to top, then top to bottom. End on the inside of your project with a knot. See the following 4 photos below for a visual.
Step 3: After you’ve sewn the zipper to one side of your project, open it up, pin it to the opposite side of the project and sew it on in the same manner as the first side.
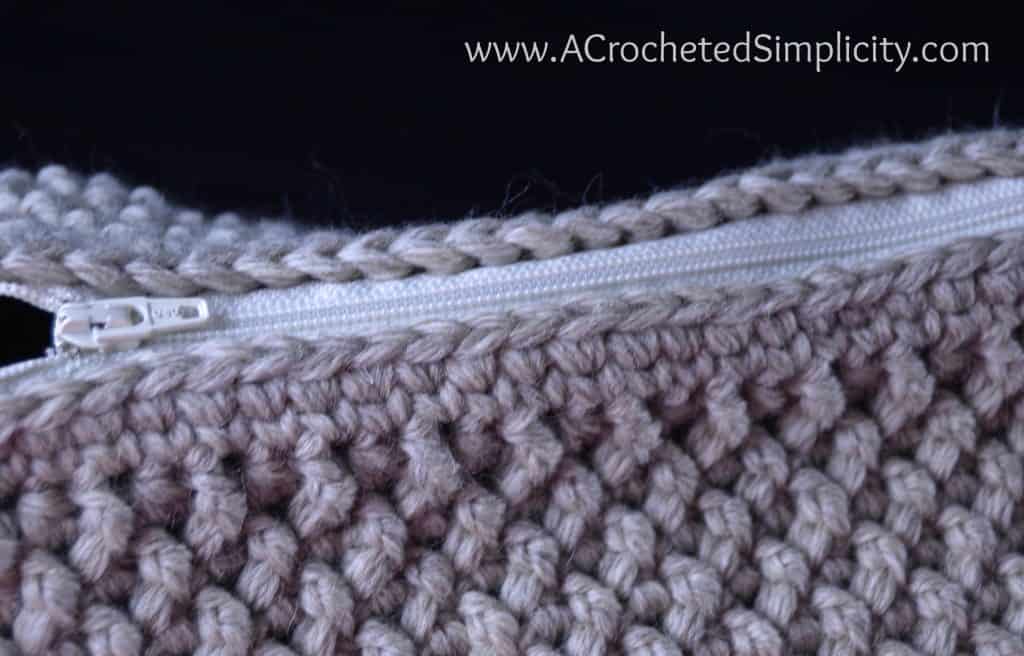
Wasn’t that much easier than you anticipated?!?! 😀
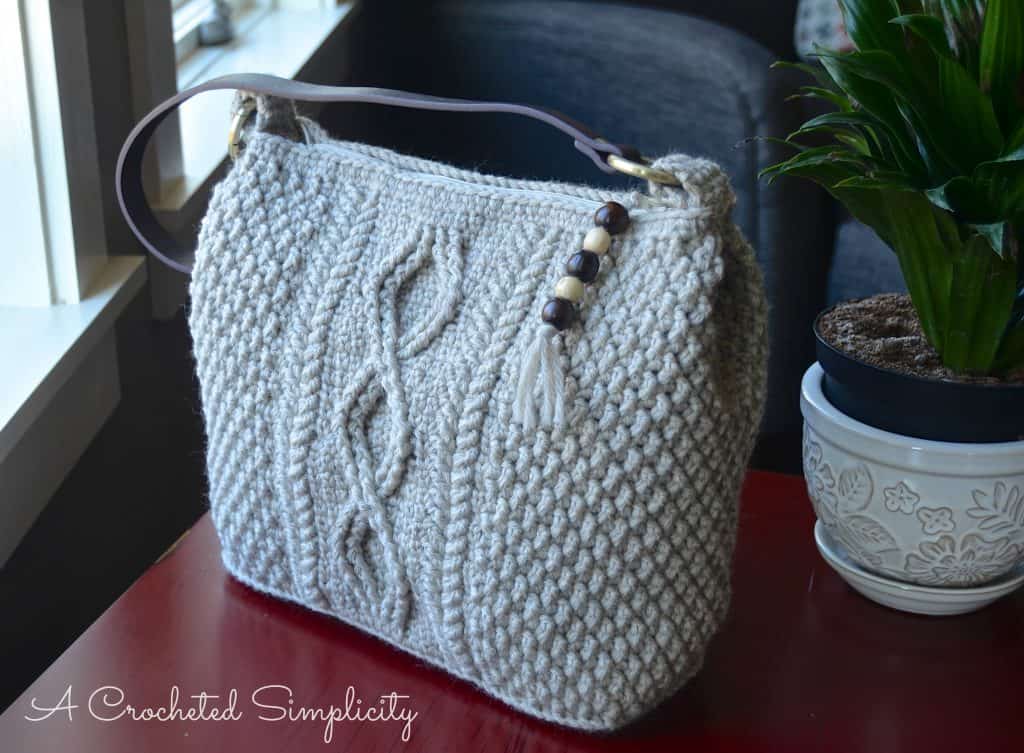
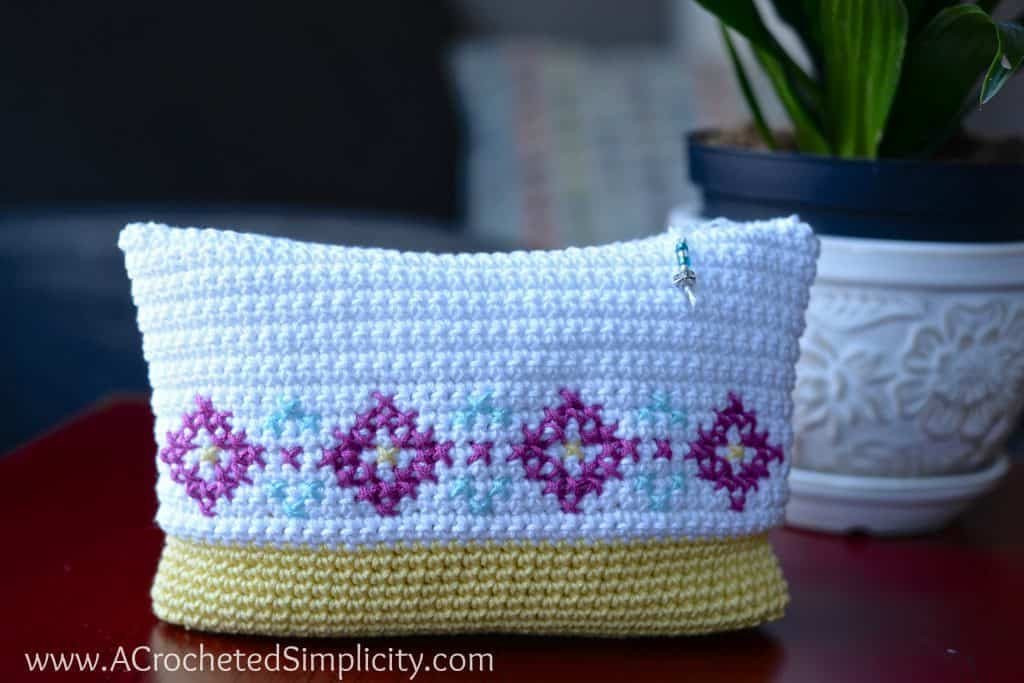
Now that you’ve mastered this super easy technique, put your new skills to work with the Cateline Cabled Bag. Click the photo above to be taken to the crochet pattern! Or click the photo below to be taken to the Free Crochet Pattern for the Cross Stitch Make-Up Bag / Pouch.
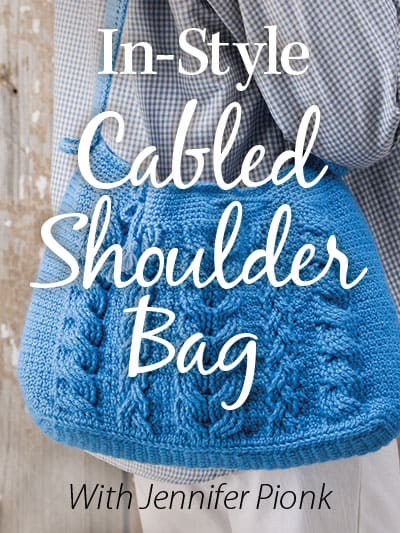
Are you intimidated by crocheted cables? Would you love to learn? Take an Annies Video Class with me and let me ease your fears of crocheted cables! Click on the photo below to watch a free preview. You can also see the other 2 classes I have available! (affiliate link)
I LOVE seeing your finished projects! Please feel free to share them in the A Crocheted Simplicity Crochet Community group on Facebook!
Happy Crocheting!


Just what I was looking for. Thank you