Crochet Drink Coasters – The Sun’s Out!
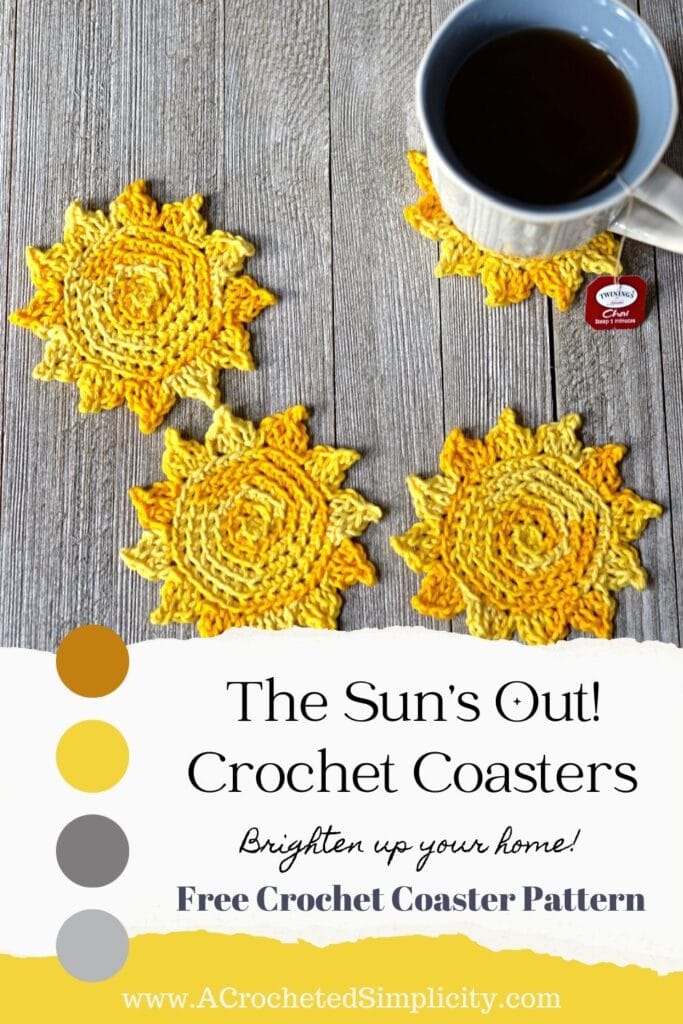
Learn to make The Sun’s Out! crochet drink coasters and brighten up your living space!
Crochet coasters make great gifts, even if you need a last-minute gift for friend, family member, or co-worker. They’re also great items to make and sell at craft fairs.
Keeping a couple sets on hand for when you have company is always a good idea.
You’ll find the free crochet pattern for coasters below, or an ad-free print friendly PDF (including any photo tutorials) on Ravelry.
If you’re looking for crochet projects to make and sell at craft fairs, Crochet drink coasters are the perfect projects! Not only do they work up quickly and are cute, but they make great scrap buster projects.
Keep a couple crochet coaster sets on hand so when you get invited to a housewarming party, you’ll be prepared.
These coasters were our very 1st Mini-Mystery Crochet Along project!
Yarn
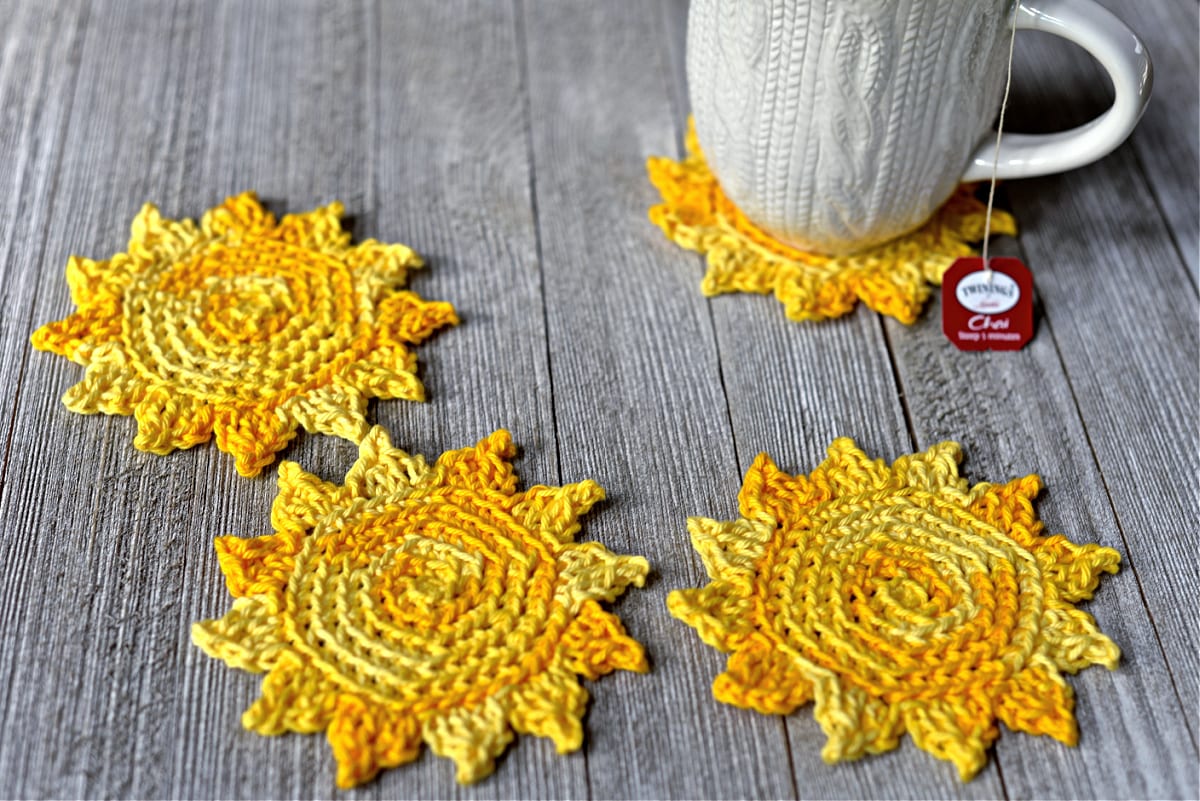
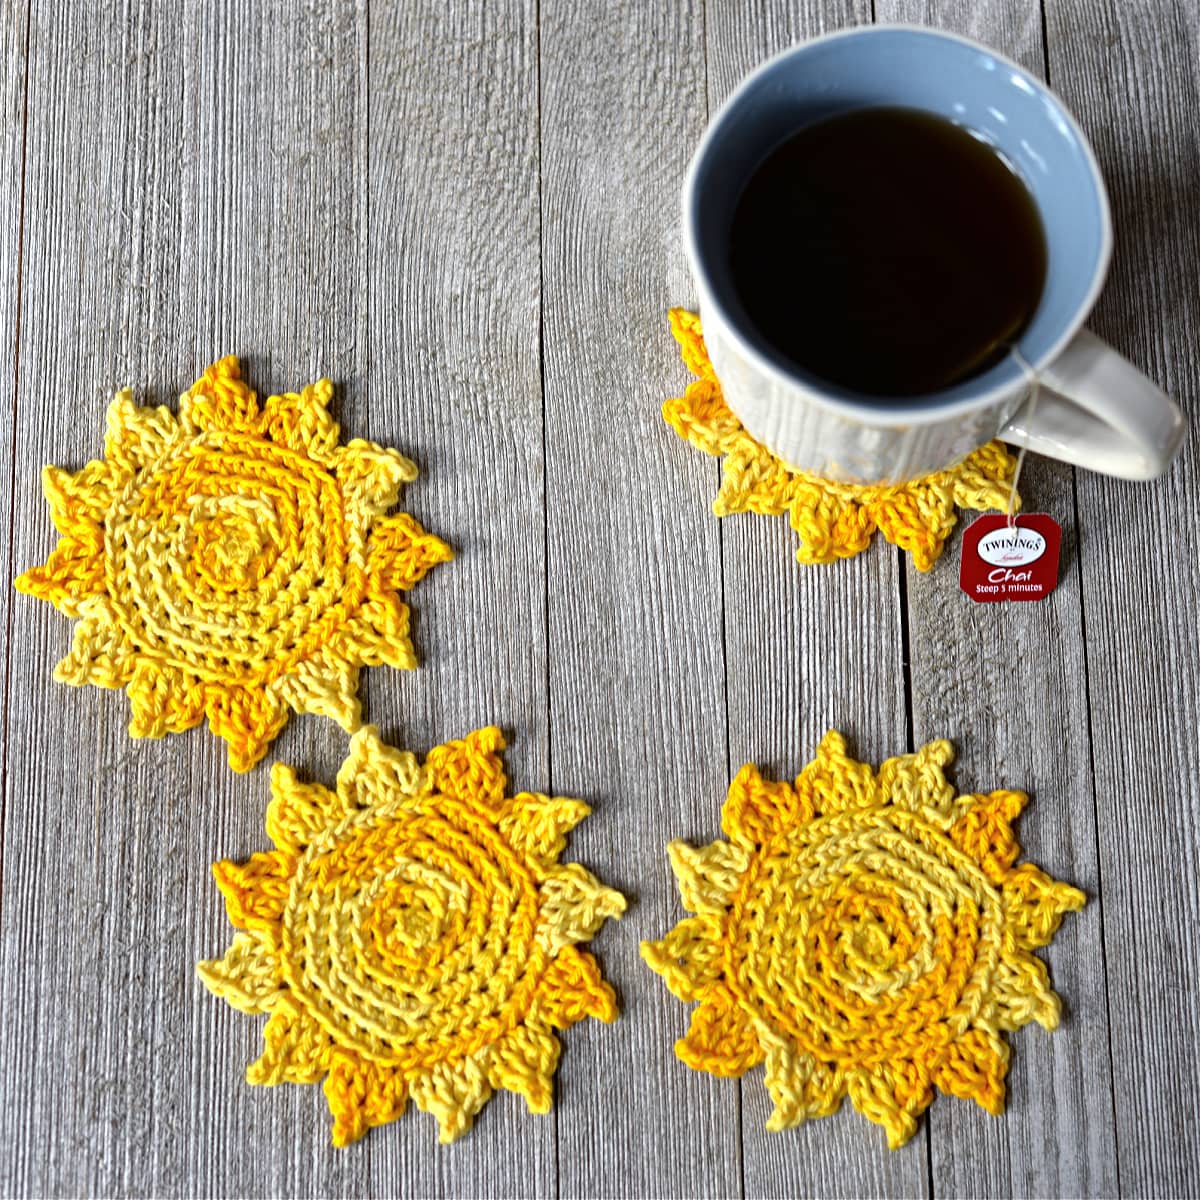
I’ve used both Knit Picks Dishie Multi & Red Heart Yarn’s Scrubby Smoothie for my coasters, but the crocheted coasters shown in the photos were made using Knit Picks Dishie Multi in the Sunshine colorway.
I was able to make a set of 6 drink coasters with only one ball of Knit Picks Dishie cotton yarn!
Many other worsted weight cotton yarns will work just as well as gauge is not crucial for this project.
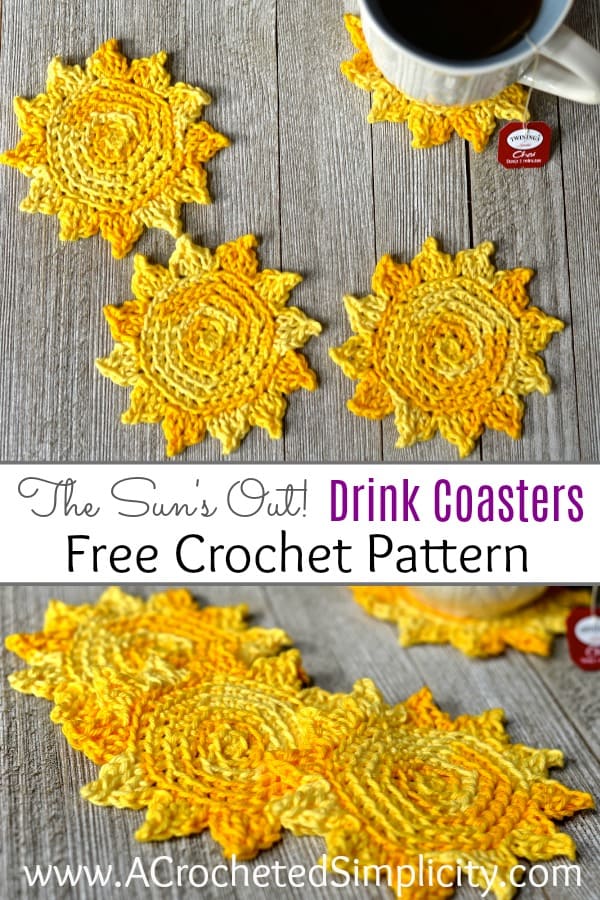
The Sun’s Out! – Free Crochet Drink Coaster Pattern
The free coaster crochet pattern is below, but if you love to work offline, I’ve got a couple other great options for you.
Purchase the ad-free, printable PDF, including any photo tutorials, on Ravelry.
This post contains affiliate links.
Materials
- Yarn: Worsted Weight / 4 Cotton Yarn I’ve used both Knit Picks Dishie Multi & Red Heart Yarn’s Scrubby Smoothie for mine, but many other worsted weight cotton yarns will work just as well.
- Yardage: approximately 25 yards per coaster
- Crochet Hook: H/8/5.00mm (My favorite crochet hooks are the Clover Amour Hooks, I’ve never had an ache in my hand since switching)
- Scissors
- Yarn Needle
- Scrap piece of yarn to use as a stitch marker
Abbreviations (U.S. Terms)
- ch(s): chain(s)
- sl st(s): slip stitch(es)
- sc: single crochet
- dc: double crochet
- st(s): stitch(es)
- RS: right side
- Rep: repeat
- Rnd: round
- BLO: back loop only
Experience Level
- Easy
Gauge
- Gauge is not crucial for this project
- Finished Size: 4.25″
Pattern Notes
- I tend to crochet on the tighter side. You may need to go down a hook size (or two) to meet gauge if you crochet on the looser side, but gauge isn’t crucial for this project.
- Knit Picks Dishie Multi in Sunshine was used for the drink coasters shown in the photos Worsted Weight / 4 / 100% cotton / 100 g / 190 yards per ball.
- Coaster Construction: This crochet coaster pattern is worked in the round from the center out. You’ll work in a spiral to create a circle. Lastly, you’ll work one round of stitches to create the flames around the sun.
Crochet Drink Coaster Pattern
Note: This crochet drink coaster is worked in continuous rounds (a spiral) to keep from having an unsightly seam. Do not join at the end of each round, instead, use a scrap piece of yarn to keep track of the beginning of each round. Move the scrap of yarn up as you complete each round.
Designer Note: If you prefer beginning with a ch 2, sl st into the 2nd ch from your hook to form a ring, instead of a Magic Ring, you can certainly use that method with no issues.
Rnd 1 (RS): With yarn & a 5.00mm crochet hook, begin with a Magic Ring, ch 1, work 6 sc into the Magic Ring. (6 sts)
Rnd 2: Working in BLO, 2 sc in each st around. (12 sts)
Rnd 3: Working in BLO,*2 sc in the next st, sc in the next st, rep from * around. (18 sts)
Rnd 4: Working in BLO, *2 sc in the next st, sc in each of the next 2 sts, rep from * around. (24 sts)
Rnd 5: Working in BLO, *2 sc in the next st, sc in each of the next 3 sts, rep from * around. (30 sts)
Rnd 6: Working in BLO, *2 sc in the next st, sc in each of the next 4 sts, rep from * around. (36 sts)
Do not fasten off. Continue on to the Flames.
Coaster size at this point should be approximately 3″ in diameter.
Flames
Rnd 1 (RS): Working in BLO, (ch 2, dc in the next st, ch 3, sl st in the 3rd ch from your hook, dc in the next st, ch 1, sl st in the same st as the dc you just worked, sl st in the next st) work from ( to ) 11 times, then ch 2, dc in the next st, ch 3, sl st in the 3rd ch from your hook, dc in the next st, ch 1, sl st in the same st as the dc you just worked. (12 flames)
Fasten off. Weave in ends.
Questions Crocheters Frequently Ask About Crochet Drink Coasters
If you have any questions that I haven’t answered below, always feel free to reach out to me, (e-mail me: ACrochetedSimplicity at Gmail dot Com), and I’ll do my best to help!
What yarn is best for crochet coasters?
100% Cotton yarn is my #1 yarn choice for coasters because it’s most absorbent, durable, and easy to care for…just throw it in the washer as you would your dishcloths.
Acrylic yarns can also be used for crochet drink coasters, but acrylic yarns aren’t as absorbent as cotton yarns and if your drink is really hot, acrylic can and will melt!
Why is my crochet coaster not flat?
If your crochet hook is too small for the yarn you’re using, the edges of your crochet circle may curl. Coasters will also curl if you crochet tightly and your gauge is off.
One of the easiest ways to prevent your coaster from curling is to go up a crochet hook size or two.
What is the best size for a crochet coaster?
Standard size coasters are between 3.5 and 4.5 inches. The most common size coasters is 4 inch size. This free pattern for crochet coasters makes a 4.25″ size.
How many crochet coasters can I make with 1 ball of yarn?
The answer to this question is: it depends. It depends on the yarn you’re using and the coaster crochet pattern.
Each of The Sun’s Out! crochet coasters uses approximately 24 yards of yarn. One ball of Knit Picks Dishie Multi (such as the Sunshine colorway I used for these coasters) has 190 yards. So I was able to make a set of 6 crochet coasters with only one ball of Knit Picks Dishie yarn.
I MADE IT! NOW WHAT?
Pin this post!: Save this crochet coaster pattern to your Pinterest boards so that you can come back and make it again.
Leave a comment below: We love to hear your feedback.
Share Your Finished Projects on Facebook or Instagram: I love to see your finished projects! Share with us on social media and tag me @acrochetedsimplicity or use the hashtag #ACrochetedSimplicity so I can find your posts.
JOIN US IN THE FACEBOOK COMMUNITY GROUP!
Come share your finished projects with us in the A Crocheted Simplicity Crochet Community Group on Facebook. Join us for fun community events such as crochet alongs, join in on crochet conversations, ask questions, get advice, and share your love for crochet!

More Free Crochet Patterns For Home Decor I Think You’ll Love
More Crochet Coaster Patterns
Do you need more ideas for crochet coasters? We have a few more free crochet patterns for coasters for you to check out!
Thank you Jennifer for such an inviting and exciting community to belong too and for all the fun events!
You’re welcome, Heidi! I’m glad you’re a part of the community! 🙂
excited! Thank you for doing the mini cal
You’re welcome!
Oooh exciting…..
I have never participated before.
I’m glad you’re joining us!
thank you
You’re welcome!
I guess that means you have to be a member of your facebook site to join this? That leaves me out so I will say “have fun” for the rest of you.
Hi Theresa – Please read the Information Guide blog post. Many emailed me after I sent the newsletter out and asked if I could also host this in my Ravelry group. I want to try and accommodate everyone so I set it up in my Ravelry group as well. The link to the Ravelry group is in the blog post titled: Mini-Mystery Crochet Along – Information Guide.
Thanks,
Jennifer
That’s was a lot of fun. Thank you
You’re welcome!
Just saw this a tad late. I’ll do the next one
I absolutely love this pattern. I bought the same sunshine multi yarn and used a G hook. It was so easy to make and turned out beautifully. I plan to include these in gifts for my children’s teachers for teacher appreciation week.
Hi Melissa,
I’m glad to hear you’re enjoying the pattern and making as gifts. 🙂
Happy Crocheting,
Jennifer
can I make the sun coaster bigger?
Absolutely! Just make sure that the last round before the flames is divisible by 3.