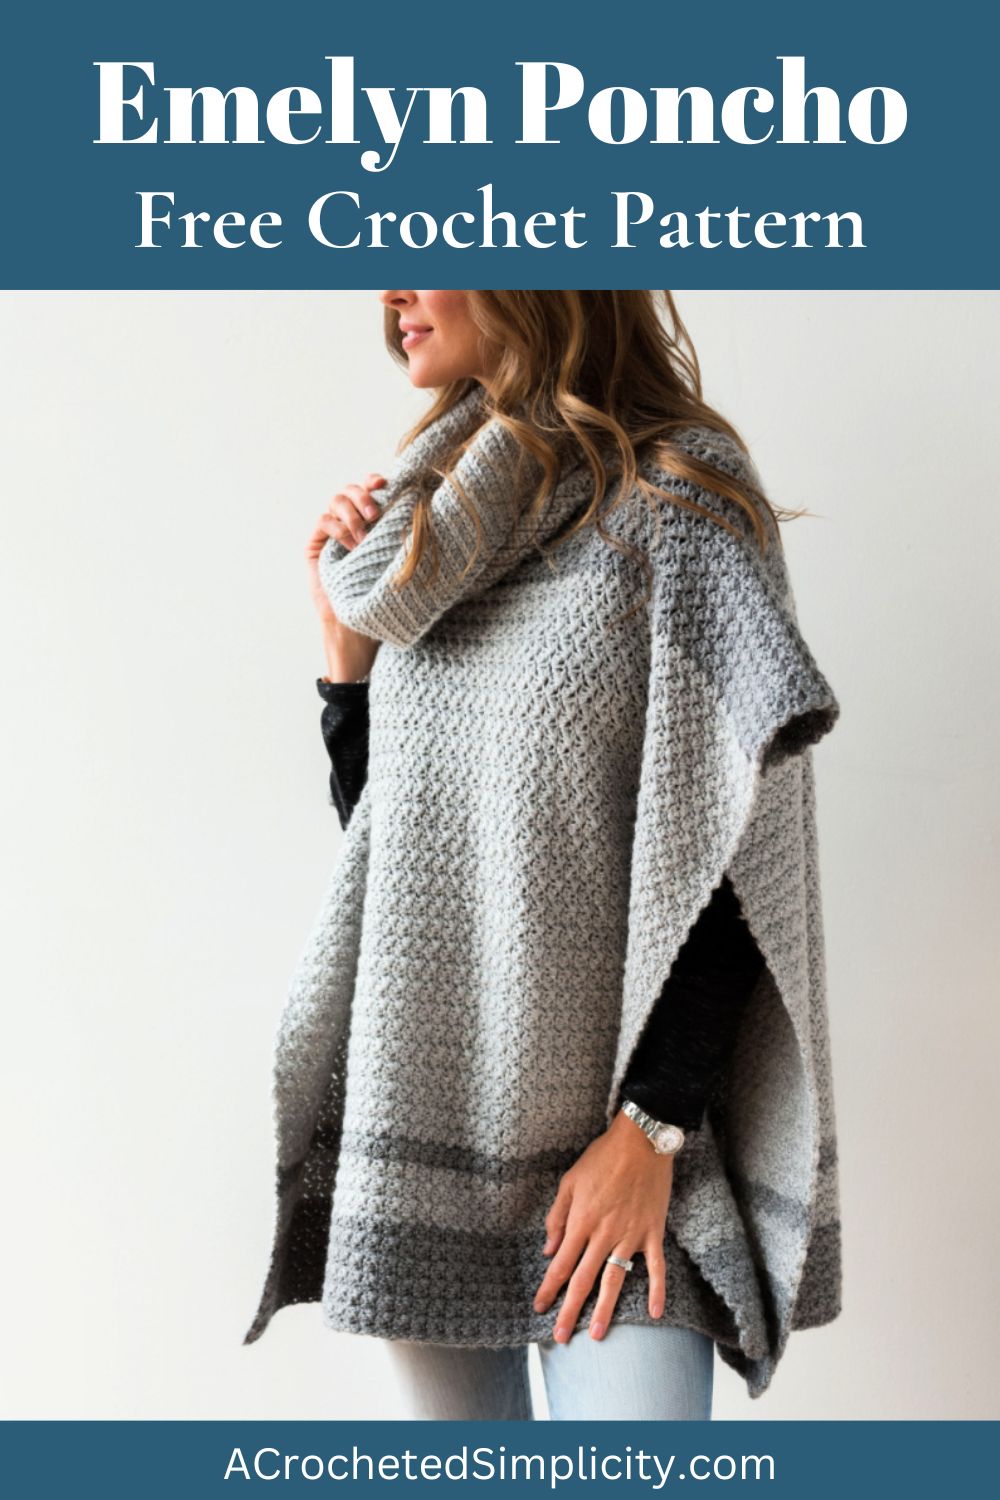
Emelyn Crochet Pattern For A Poncho
This crochet pattern for a poncho is one of those handmade projects that combines practicality with elegance. The Emelyn Crochet Poncho is the kind of piece which wraps you in warmth while simultaneously making a style statement.
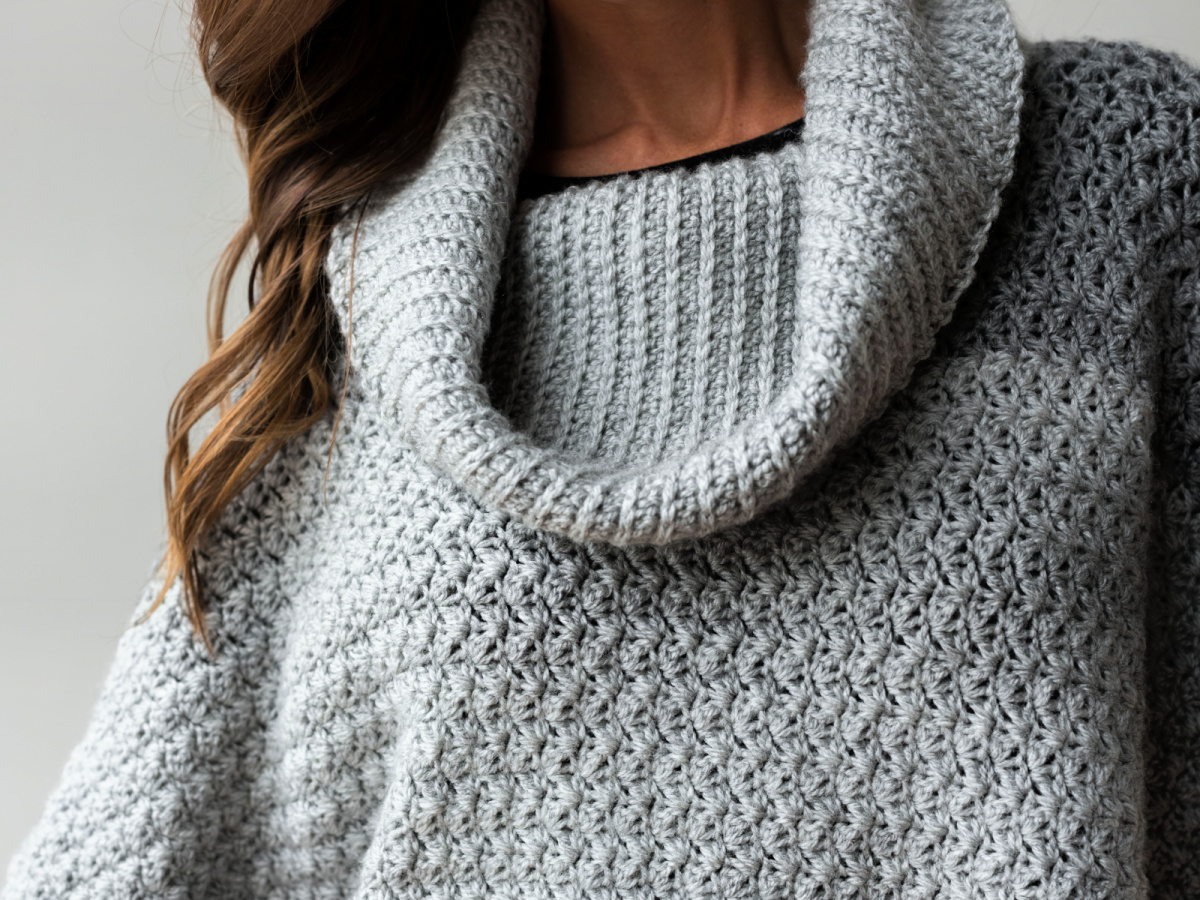
The thick collar adds extra coziness and sophistication, turning a simple poncho into a chic outer layer perfect for chilly mornings, evening walks, or cozy indoor moments. Dress it up with slacks or dress it down with jeans!
You’ll find the free crochet pattern for a poncho in the post below, or you can find an ad-free printable PDF (that includes FOUR sizes for kids and adult + all photo tutorials + schematic), on Ravelry, or Etsy (aff).
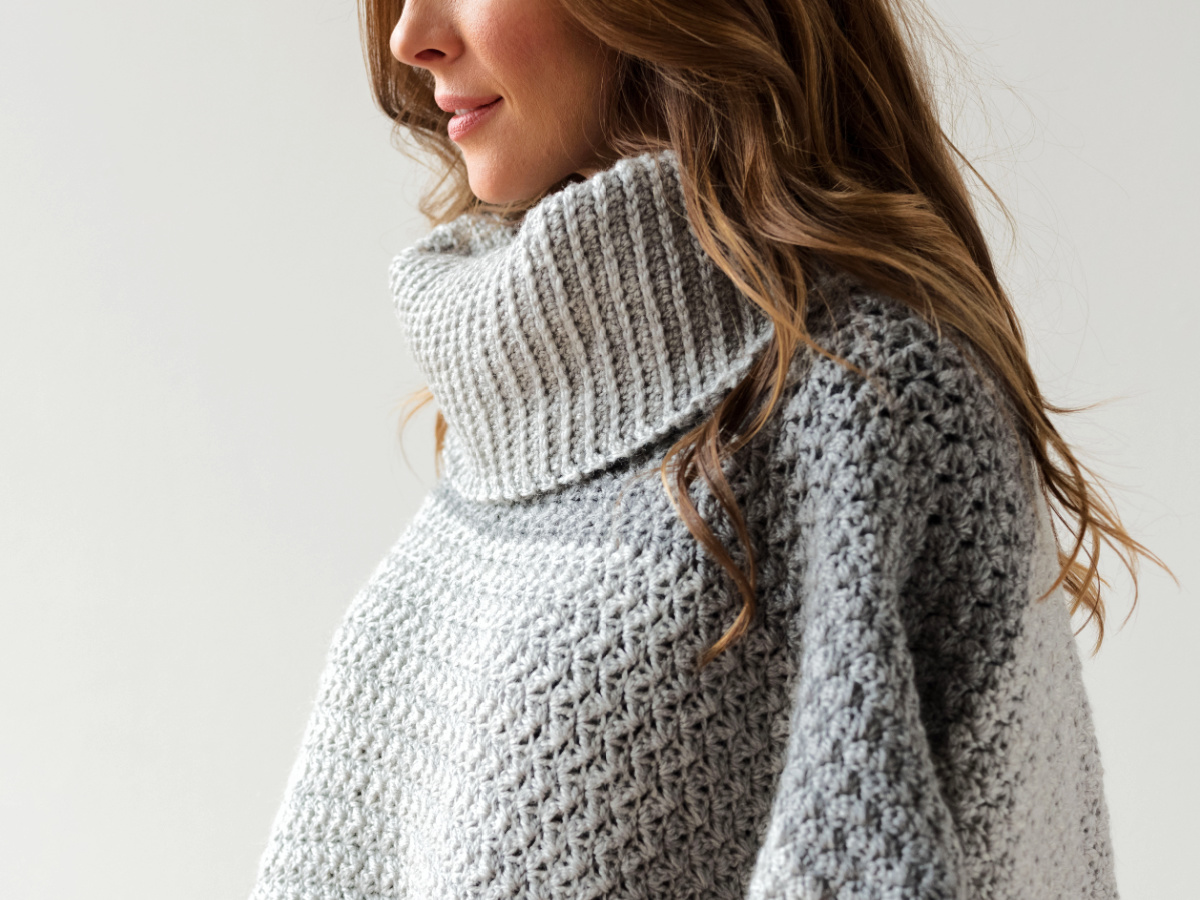
The stitch combination for the main body of the poncho adds nice texture to it and is solid enough to not let the air through. However, if you notice, there are the slightest holes which allow for ventilation making this a piece you won’t easily get stuffy in.
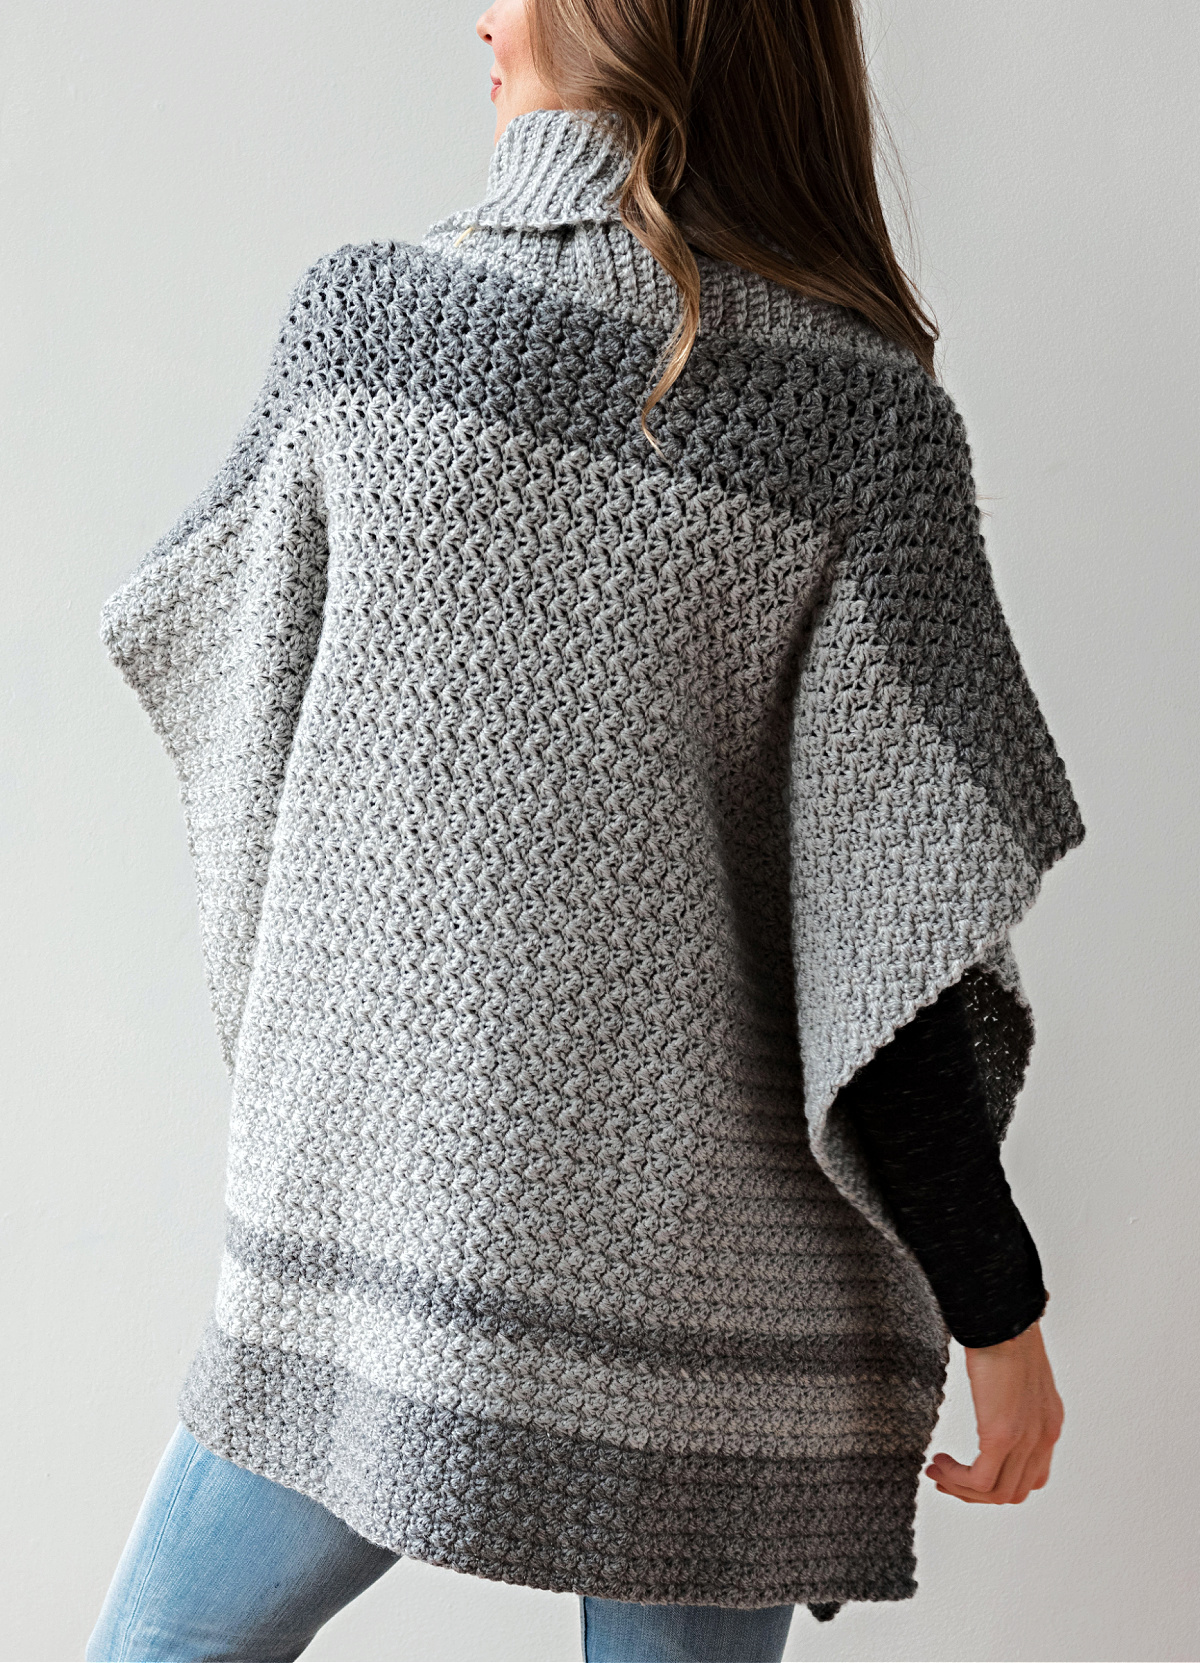
If you’re caught in a bit of snow, this crochet poncho will keep you protected and you can pull up the collar over your face to act as a cowl. There’s so much to be achieved from just one beautifully designed crochet pattern for a poncho that you’re sure to come to love!
Related: If you want to make another poncho that comes with a mommy-and-me option, you should check out the Wasilla Poncho.
How to Crochet a Poncho
Ponchos are fairly straightforward to make because they’re usually worked in one piece and don’t have a lot of seaming involved. For this particular poncho, you’ll crochet up the main body first starting from the hem and working up to the shoulders.
During this, you’ll also create the neck opening which will then be prepared for the cowl-like collar. Once the main body is done, make the collar and do the final seaming to give the poncho its shape.
And that’s all there is to it! No confusing steps and no point you can get lost at (especially if you’ve gone through all of the instructions carefully).
How To Get The
Emelyn Crochet Pattern For A Poncho
Option 1: Scroll down for the free poncho crochet pattern right here in this blog post.
Option 2: Purchase the ad-free printable PDF from one of my shops:
Best Yarn for Crochet Ponchos
For crochet ponchos, while there are many options to choose from, I used an acrylic and wool blend yarn. The added wool content gives it extra warmth and makes it the ideal garment for cold winters. Because of the acrylic, it holds its shape well and has good stitch definition, which is especially great for patterns that have unique combinations such as this one.
This yarn is also readily available and comes in a variety of colors which allows you to choose just the right one for whoever is receiving this crochet poncho.
Yarn
This crochet poncho was designed with a worsted weight yarn to make sure it would be warm enough to be worn on colder winter days. I chose not to use a bulky yarn for fear it would then be too thick to be worn in the transitioning months of autumn and spring (we want to get the most wear out of this everyday piece) and it wouldn’t have that beautiful drape to it.
Lion Brand Wool-Ease is an excellent choice for this adult crochet poncho pattern. This is a worsted weight / 4, acrylic and wool blend yarn and it’s currently available in glitter, multi, prints, and frosts. This yarn offers a smooth even texture in a contemporary color palette with plenty of neutral tones.
Emelyn Crochet Pattern For A Poncho – Free Pattern
The crochet women’s poncho pattern is free below, but if you love to work offline, I’ve got a couple other great options for you.
Purchase the ad-free, printable PDF, (that includes FOUR sizes for kids and adult + all photo tutorials + schematic), on Ravelry, or on Etsy (aff).
This post contains affiliate links.
Materials
- Yarn: Worsted Weight / 4 / Yarn, Lion Brand Wool-Ease [80% acrylic / 20% wool (197 yds / 180 m / 85 g / 3 oz)].
- Color & Yardage:
- MC: 1,680 yards
- CC: 500 yards
- Crochet Hook: K/10.5/6.5mm; J/10/6.00mm; H/8/5.00mm or size needed to obtain gauge (My favorite crochet hooks are the Clover Amour Crochet Hooks, I’ve never had an ache in my hand since switching).
- Measuring Tape
- Locking Stitch Markers
- Scissors
- Yarn Needle
Abbreviations (US Terms)
- ch: chain
- sl st: slip stitch
- st(s): stitch(es)
- sc: single crochet
- dc: double crochet
- ext sc: extended single crochet
- sc2tog: single crochet decrease
- yo: yarn over
- MC: main color
- CC: contrasting color
- rep: repeat
- RS: Right Side
- WS: Wrong Side
- BLO: back loop only
- FLO: front loop only
Experience Level
- Easy
Gauge
- In poncho stitch pattern: 16 sts = 5″ + 10 rows = 4″
- Cowl in pattern stitch: 12 sts x 10 rows = 3″
Sizes
- Adult – One Size: 35″ W x 28″ L
- Girls Sizes also available
Special Stitches
- Extended Single Crochet (ext sc): Insert hook into stitch indicated, yo, pull up a loop, yo, pull thru 1 loop on hook, yo, pull thru remaining two loops on hook.
Pattern Notes
- Beginning chain(s) are not included in stitch counts.
- The first stitch of each row is worked in the same stitch as the turning chain, unless otherwise specified.
- Yarn Notes: Lion Brand Wool-Ease was used for the sample shown, [80% acrylic / 20% wool (197 yds / 180 m / 85 g / 3 oz)].
- Colors
- Grey Heather (MC): #620-151
- Oxford Grey (CC): #620-152
- Another comparable weight yarn may be used as long as gauge is met.
- Work all color changes on the last pull thru of the last stitch before new color. Make sure to work all color changes on the WS.
Emelyn Crochet Poncho – Written Pattern
Gauge & Gauge Swatch for Poncho
Gauge: In poncho stitch pattern: 16 sts = 5″ and 10 rows = 4″
Row 1 (WS): Using a 6.5mm crochet hook, ch 16, switch to a 6mm crochet hook, working into the back hump of your foundation chain, skip 1 ch, (sc, dc) in the 2nd ch from your hook, *skip the next ch, (sc, dc) in the next ch, rep from * across. Turn. (16 sts)
Rows 2 – 10: Ch 1, skip the 1st st, (sc, dc) in the next st, *skip the next st, (sc, dc) in the next st, rep from * across. Turn.
Fasten off. Your swatch should measure 5″ W X 4″ H.
Adult Poncho
Set-Up: Using a 6.5mm crochet hook and CC, Ch 112.
Row 1 (RS): Switch to a 6mm crochet hook, working into the back hump of your foundation ch, skip 1 ch, (sc, dc) in the 2nd ch from your hook, *skip the next ch, (sc, dc) in the next ch, rep from * across. Turn. (112 sts)
Row 2: Ch 1, skip the 1st st, (sc, dc) in the next st, *skip the next st, (sc, dc) in the next st, rep from * across. Turn.
Rep Row 2 until work measures 4″.
Tip: Keep track of how many rows of each different colored section you work so you can repeat it on the opposite side of the poncho.
Switch to MC, Rep Row 2 for 2″.
Switch to CC, Rep Row 2 for 1″.
Switch to MC, Rep Row 2 for 17″. *If you’d prefer a longer poncho, I suggest adding length here. BUT keep in mind that acrylic yarn will stretch when worn. How much will it stretch? You’ll have to do a hanging gauge swatch with the yarn you’re using to calculate that.
Switch to CC, Rep Row 2 for 4″. This will be at the top of the shoulders. Your piece should measure 28″.
Create Neck Opening – Row 1 (CC): Ch 1, skip the 1st st, (sc, dc) in the next st, *skip the next st, (sc, dc) in the next st, rep from * 17 times, loosely ch 36, skip each of the next 37 sts, (sc, dc) in the next st, **skip the next st, (sc, dc) in the next st, rep from ** across. Turn. (112 sts)
Row 2: Ch 1, skip the 1st st, (sc, dc) in the next st, *skip the next st, (sc, dc) in the next st, rep from * across. Turn.
Rep Row 2 until work measures 4″ from top of shoulder.
Switch to MC, Rep Row 2 for 17″.
Switch to CC, Rep Row 2 for 1″.
Switch to MC, Rep Row 2 for 2″.
Switch to CC, Rep Row 2 for 4″.
Fasten off. Weave in ends. Continue on to Cowl Neck.
Note: If you’ve never added a stretchy knit-look band to your projects before, such as the cowl in this poncho, I have a video tutorial that can help you out in this post. The technique in the video tutorial is the same as this pattern but instead of the single crochet (sc), you’ll be using the extended single crochet (ext sc).
Cowl
Prepare Neck Opening: Using a 5.0mm crochet hook and MC, with wrong side of poncho facing you and working into sts around the neck opening, join yarn with a sc at the back of the neck opening, 2 sc in each of the next 2 sts, *sc in the next st, 2 sc in each of the next 2 sts, rep from * around to last 2 sts, sc in each of the last 2 sts. Join with a sl st to 1st st. (122 sts)
Row 1 (RS of Cowl, wrong side of poncho): Switch to 6.00mm crochet hook, continue with MC, ch 39, working into the back hump of the chain, ext sc in 2nd ch from hook, ext sc in next 36 chs, sc2tog in next ch & same st as ch 39. (38 sts)
Note: The right side of the cowl neck will be worked on the wrong side of the poncho so that when it’s folded down, the right side of the cowl neck is on the right side of the poncho.
Row 2: Sl st into next st along edge of cowl, turn, BLO sl st across.
Row 3: Ch 1, turn, BLO ext sc in next 37 sts, BLO sc2tog in next st & next st along neck opening of cowl.
Rows 121: Repeat Rows 2 – 3.
Seam – Row 122: With the Right Side of the cowl neck facing you bring the first row up to meet the last row. Position your working yarn so that it’s on the inside of the cowl. Slip stitch the rows together using the following method: insert your hook (from front to back) into the FLO of the 1st stitch of Row 1, insert your hook (from back to front) into the BLO of the 1st stitch of the last row, yo, pull thru all loops on your hook. Continue in this way across the cowl to complete the seam.
Fasten off. Weave in ends. Turn poncho right side out, fold the cowl neck down and wear!
I MADE IT! NOW WHAT?
Pin this post!: Save this crochet women’s poncho pattern to your Pinterest boards so that you can come back and make it again.
Leave a comment below: We love to hear your feedback.
Share Your Finished Projects on Facebook or Instagram: I love to see your finished projects! Share with us on social media and tag me @acrochetedsimplicity or use the hashtag #ACrochetedSimplicity so I can find your posts.
Join us in the Facebook Community Group!
Come share your finished projects with us in the A Crocheted Simplicity Crochet Community Group on Facebook. Join us for fun community events such as crochet alongs, join in on crochet conversations, ask questions, get advice, and share your love for crochet!
