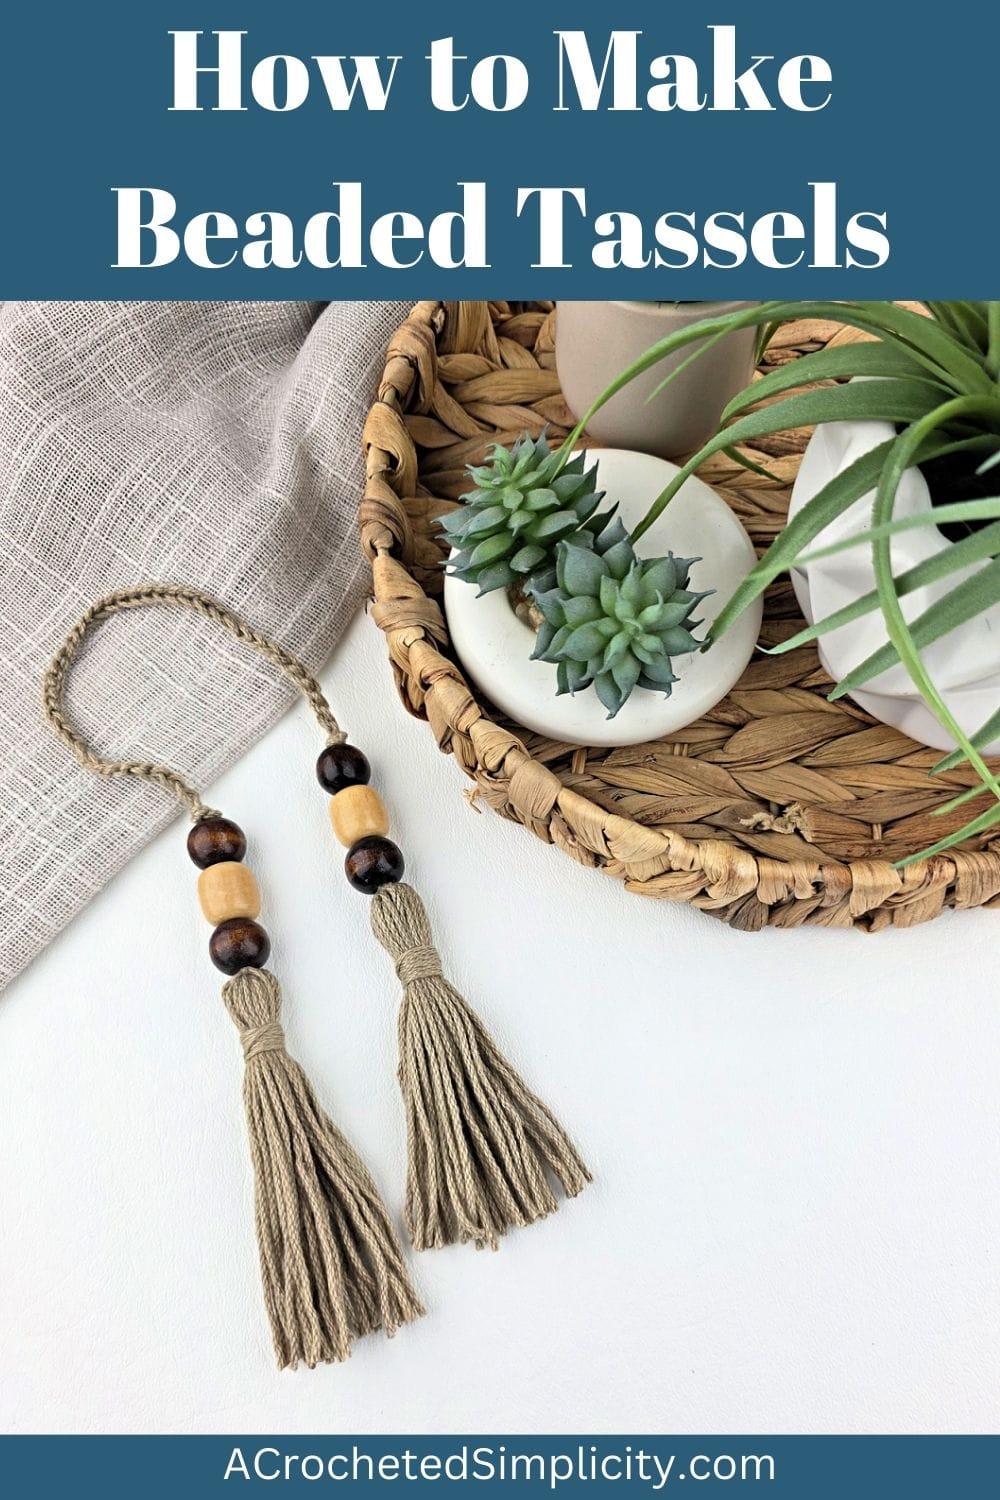
How to Make Beaded Tassels
Love your new bag but feel like it’s missing something? Make these beaded tassels in any color of yarn to dress it up! These can also be attached to other projects, including the edges of a tablerunner, the ends of a wall hanging, and you can even loop them around a curtain to hold it together!
You’ll find the free tutorial on how to make beaded tassels in the post below. Once you see how easy it is to make them, you’ll be adding them to all of your accessories.
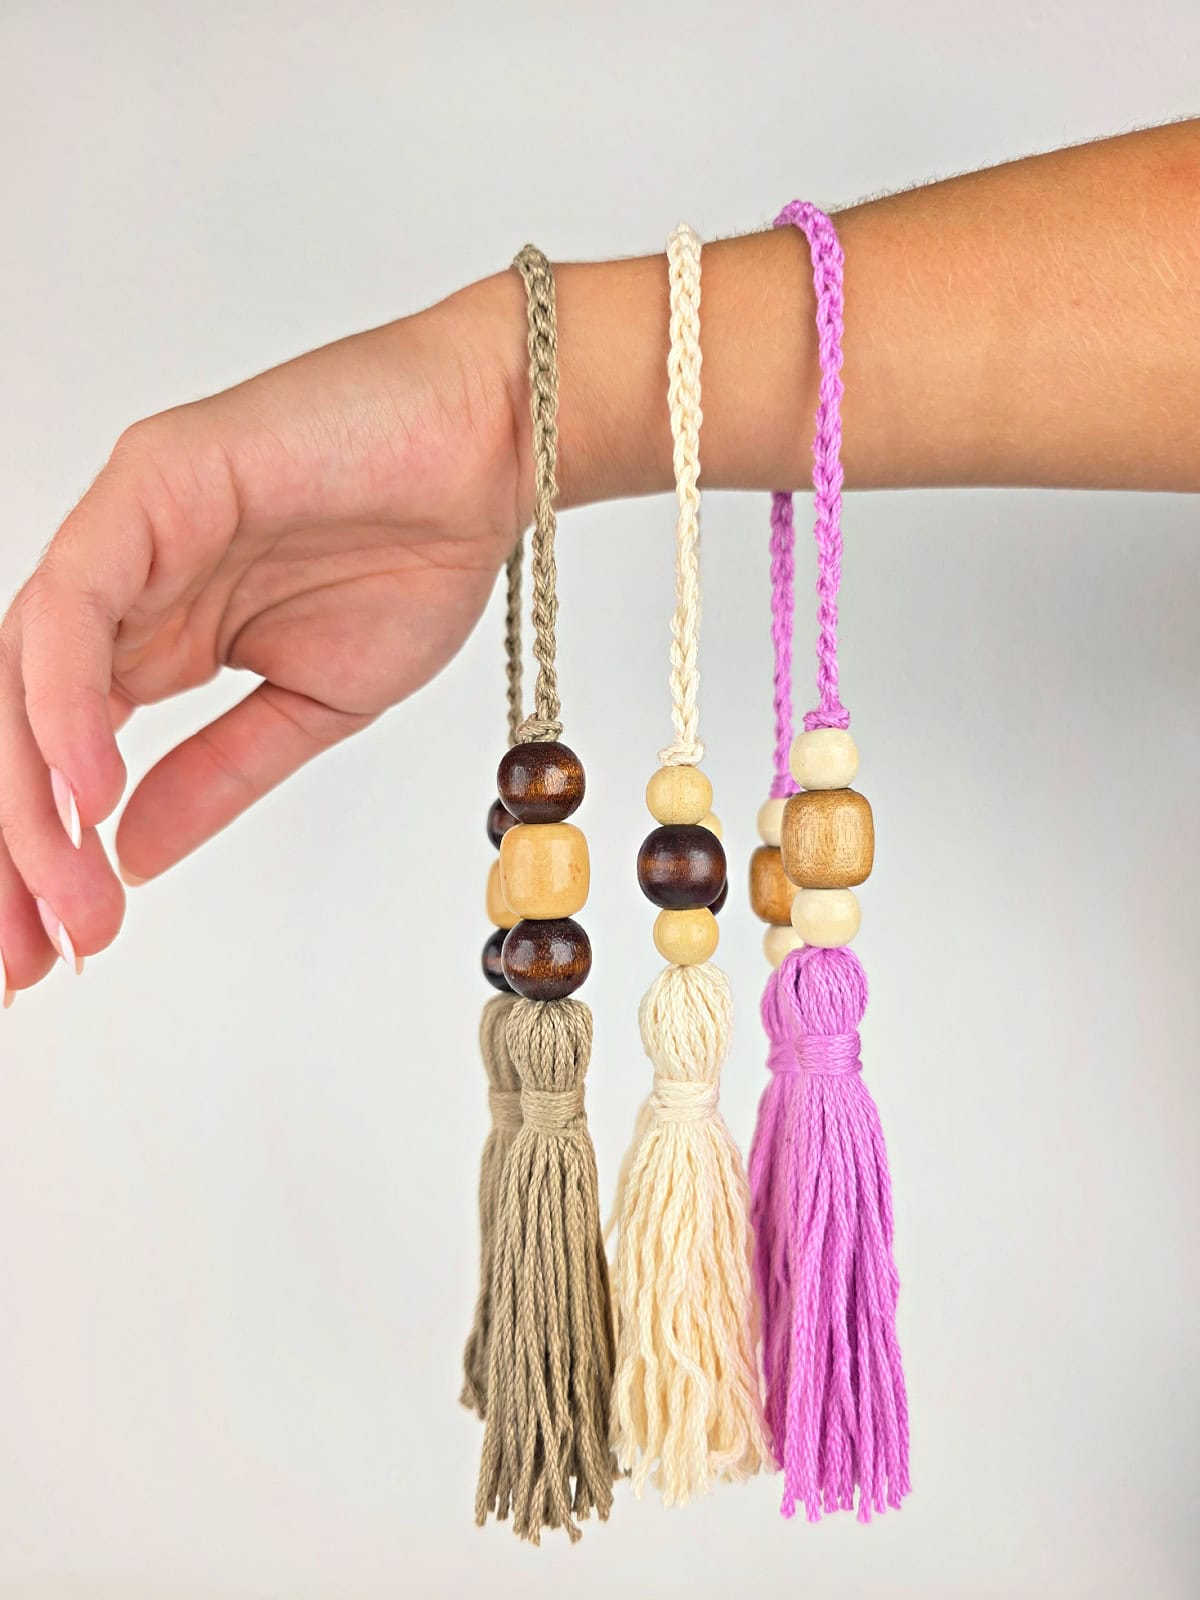
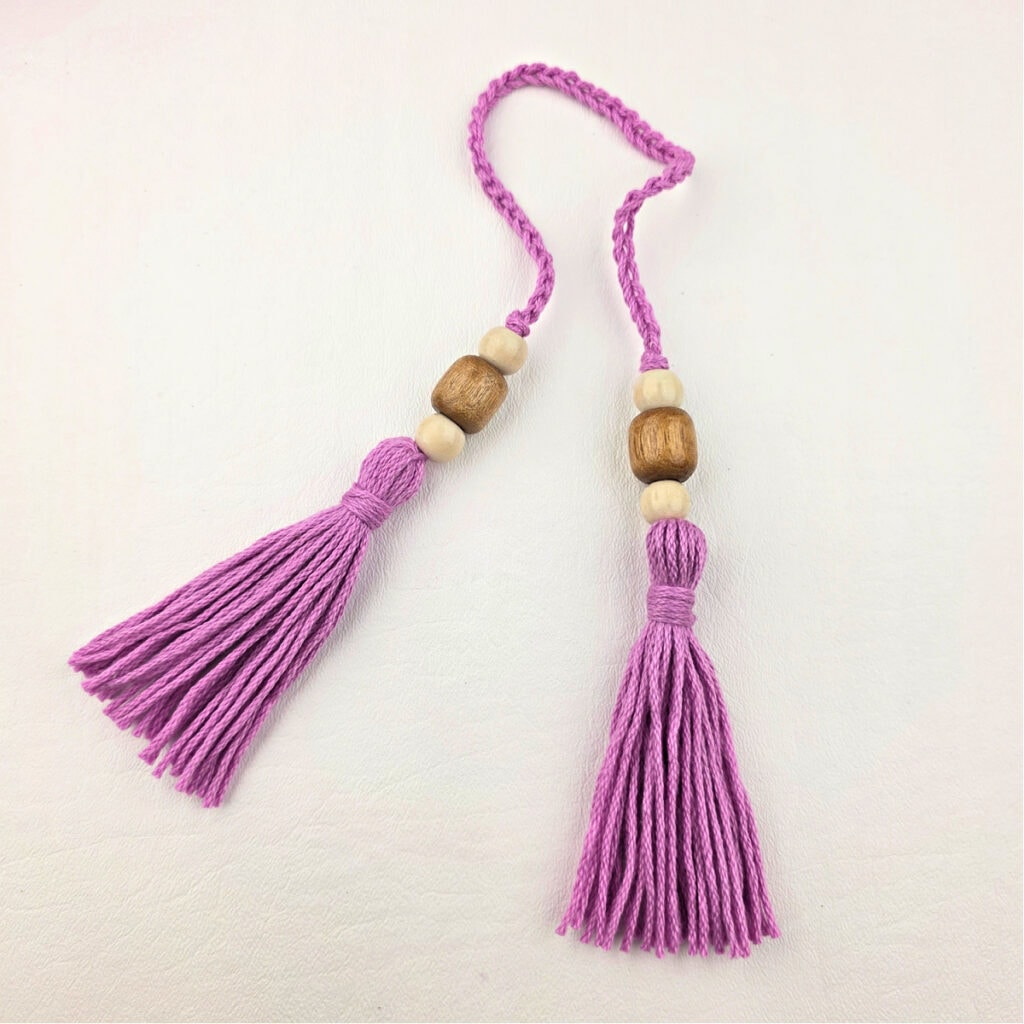
I’ve used solid colors to make my sample beaded tassels but they would look just as amazing if you used a variegated yarn. Use up your scrap bits of yarn for unique colorways! And if you don’t have enough to make two tassels, you can make just one with this single tassel tutorial.
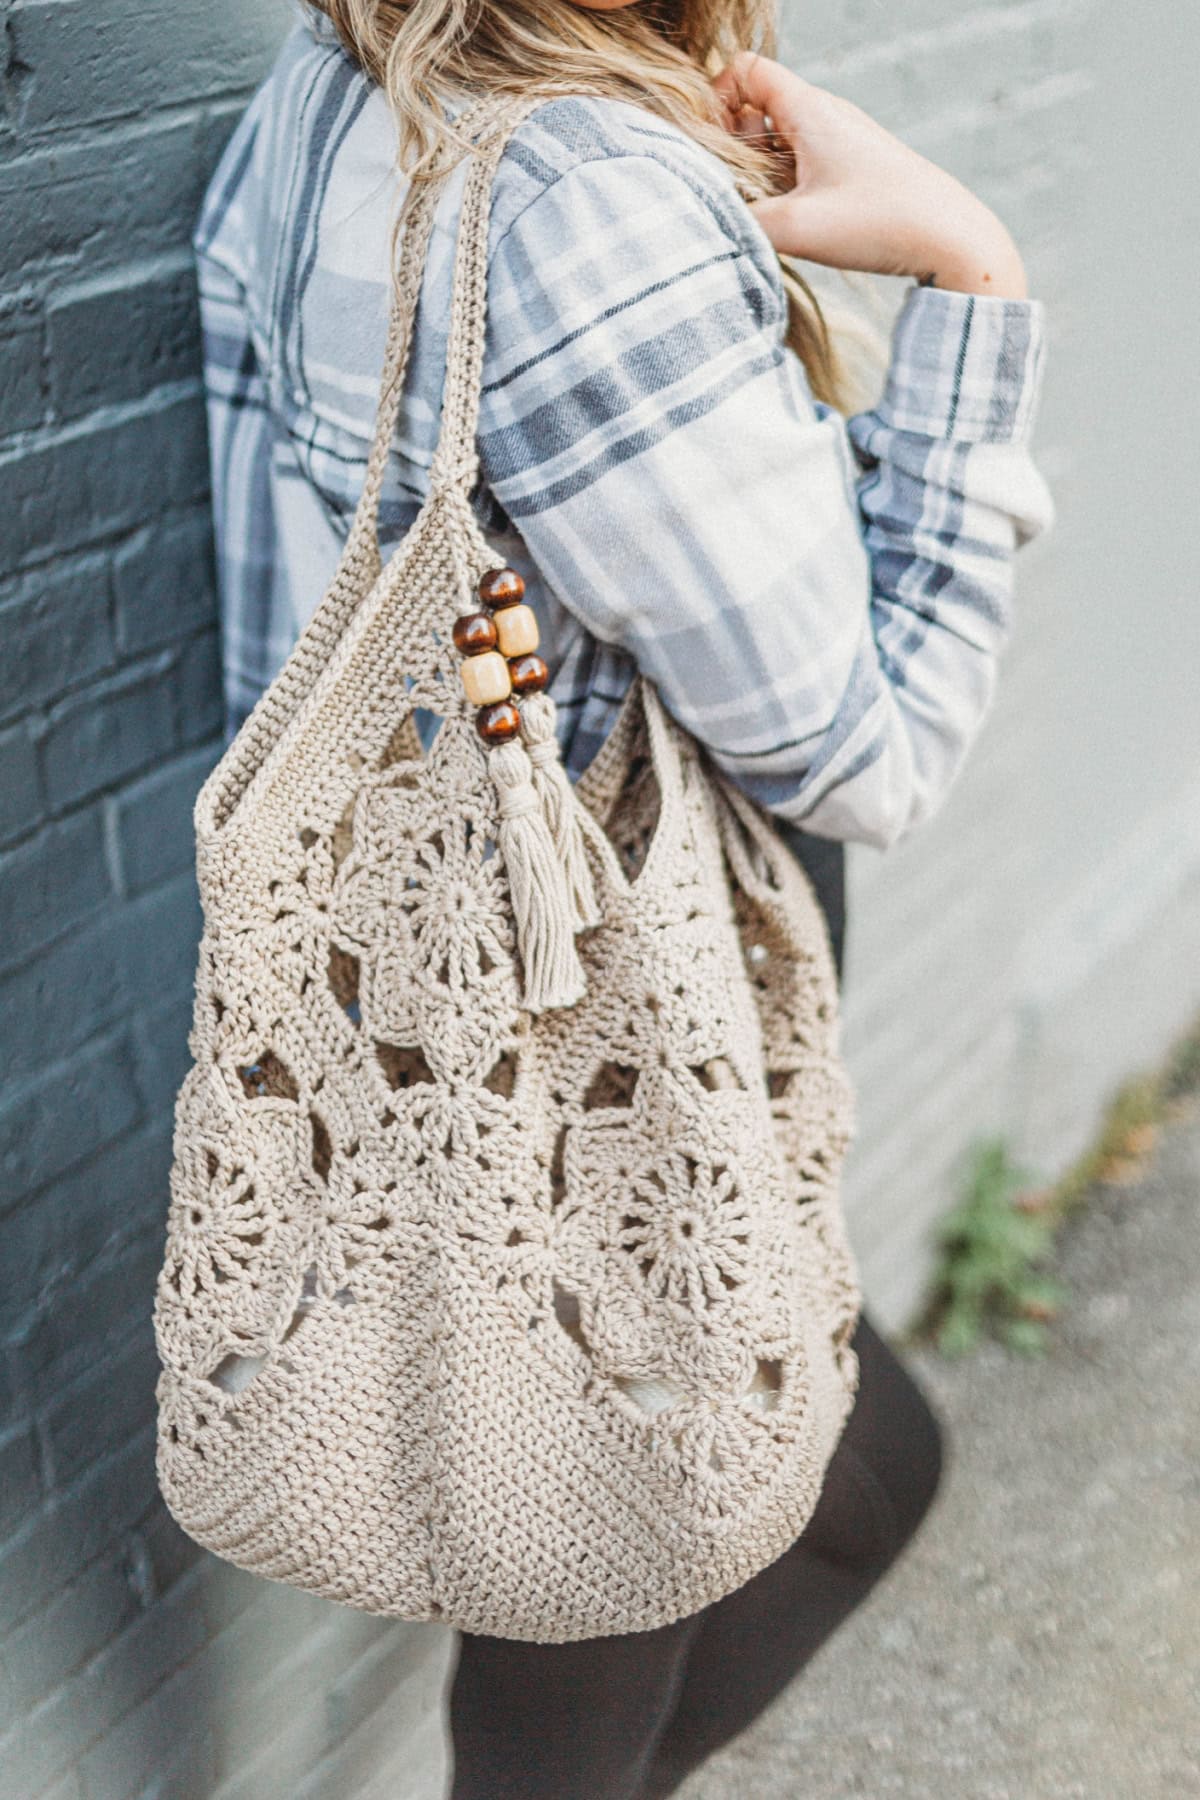
I added beaded tassels to my Aisling Granny Squares Bag and they completed the vision I had for this spacious everyday tote bag!
What Are Beaded Tassels Used For
Beaded tassels can be used in countless ways, but here are some of the most popular:
- Jewelry: Beaded tassel earrings, necklaces, and bracelets add movement and flair to handmade accessories.
- Crochet & Knit Projects: Add a beaded tassel to a crochet shawl, scarf, or market bag for a polished finish.
- Home Décor: Use oversized tassels with beads as curtain tiebacks, throw pillow accents, or decorative garlands.
- Keychains & Bag Charms: Bright, bold beaded tassels are perfect for customizing tote bags or keyrings.
- Seasonal Décor: Holiday garlands, Christmas ornaments, and party decorations all get a stylish upgrade with beaded tassels.
Tips for Perfect Beaded Tassels
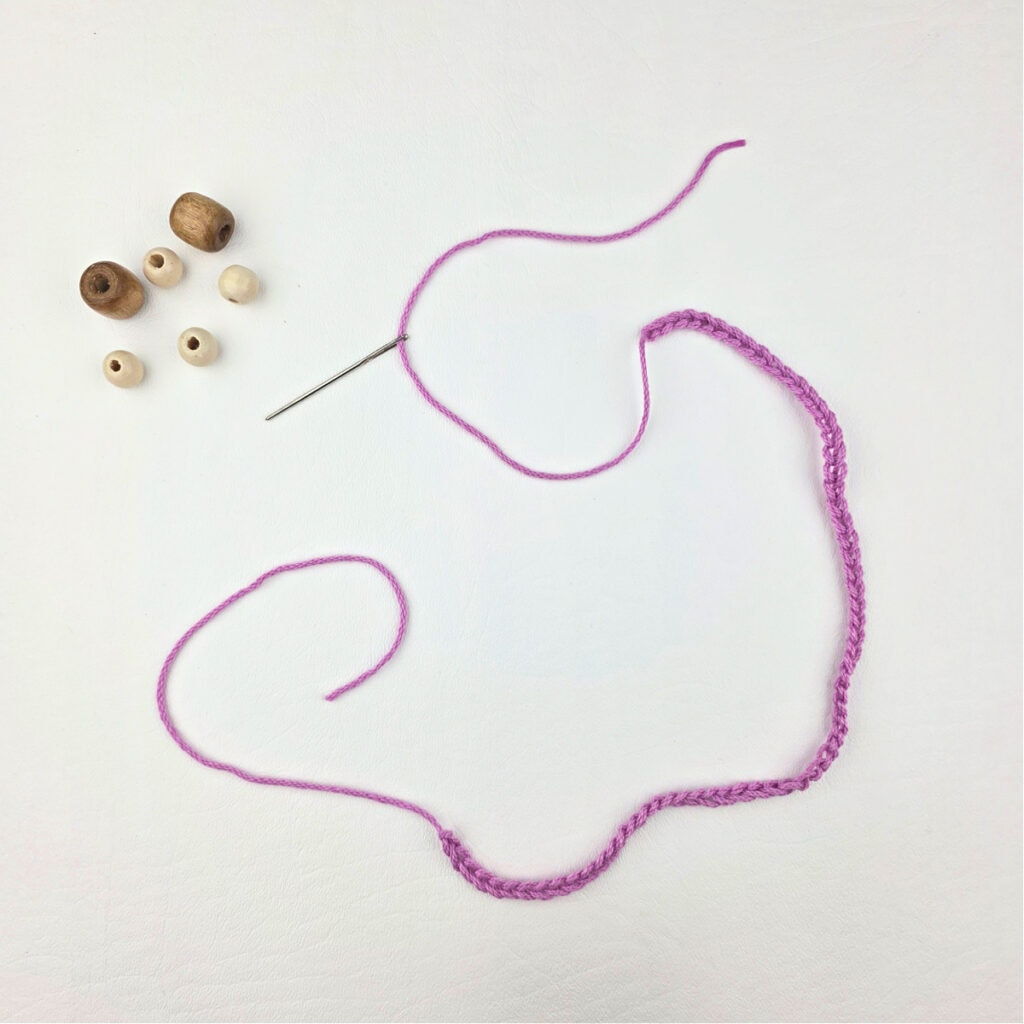
- Use a beading needle for easier threading with small beads.
- Mix bead sizes and textures for an eclectic, boho look.
- For jewelry tassels, keep them lightweight by using seed beads and fine thread.
- For home décor tassels, go bold with chunky wooden beads and thicker yarn.
- Always secure knots tightly to prevent beads from slipping off.
Yarn
There’s really no right or wrong option when making these beaded tassels and for my samples, I chose Lion Brand Yarn 24/7 Cotton which is 100% mercerized cotton.
Usually when we’re making our projects, there’s yarn left over which isn’t enough to add any more rows or create anything new out of, but is just enough for small accessories like these beaded tassels. However, make sure you use yarn that knots together nicely and won’t come apart too easily when pulled!
How to Make Beaded Tassels – Free Tutorial
This post contains affiliate links.
Materials
- Yarn: Worsted Weight / 4 / Yarn, Lion Brand Yarn 24/7 Cotton in Taupe, Orchid, and Ecru was used for the samples in the photos [100% Mercerized Cotton (186 yds / 170 m / 100 g / 3.5 oz)].
- Yardage and Colors:
- Approximately 12 yards per completed double end tassel as shown in the photos.
- Orchid: #761-145E
- Ecru: #761-098C
- Taupe: #761-122
- ANY yarn may be used. Adjust your crochet hook for the weight yarn you’re using and make sure that your wooden beads have a large enough hole in them for the crochet yarn chain to pass through.
- The tassels shown in the photos were made with approximately 12 yards of worsted weight yarn. The yardage for your tassels will vary based on the weight yarn you’re using, the size of your template, and the number of times you wrap the yarn around your template.
- Crochet Hook: G/6/4.00mm or hook size suitable for the weight yarn you’re using. (My favorite crochet hooks are the Clover Amour Crochet Hooks, I’ve never had an ache in my hand since switching).
- Measuring Tape
- Locking Stitch Markers
- Scissors
- Yarn Needle
- (6) Wooden Beads (optional)
Abbreviations (US Terms)
- ch(s): chain(s)
Experience Level
- Easy
Gauge
- Not crucial for this project.
Sizes
- 20″ L (end to end – easily adjustable)
How to Make Beaded Tassels – Written Tutorial
Beaded Tassels
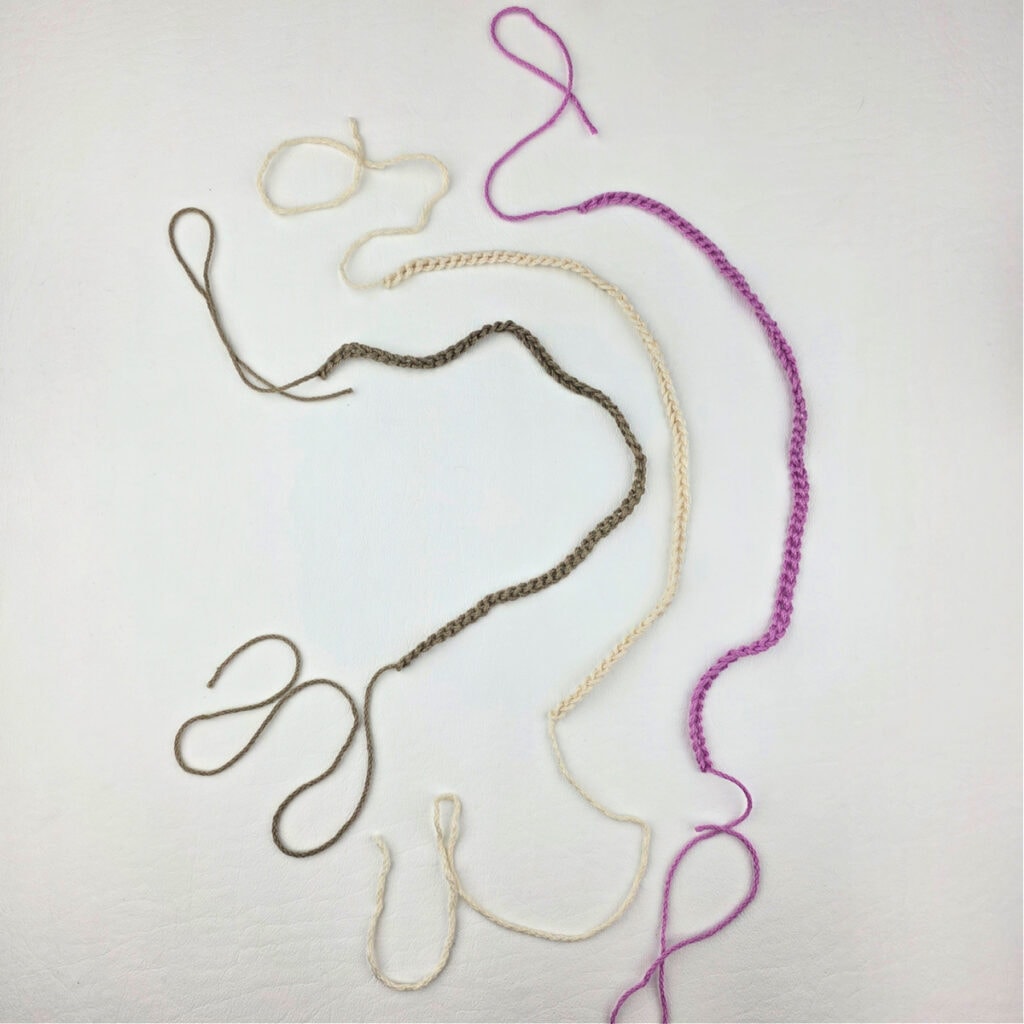
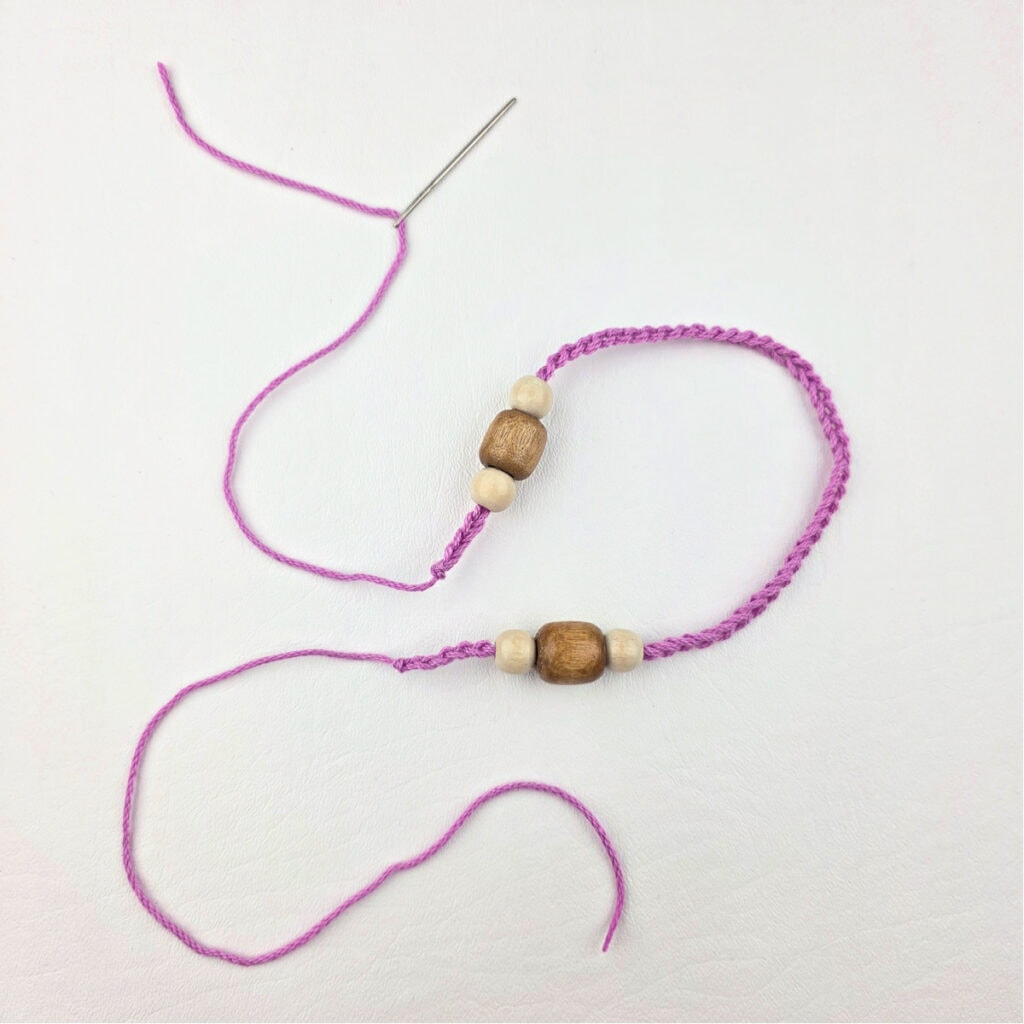
Step 1: With yarn and a 4.00mm crochet hook, begin by leaving a 8″ – 10″ long tail of yarn, then crochet a chain approximately 12″ L. Fasten off leaving an 8″ – 10″ long tail of yarn.
Adjusting Beaded Tassel Length
There are two ways to adjust the length of your beaded tassels. You can adjust the length of the crochet chain in Step 1. You can also adjust the length of the cardboard in Step 3.
Beaded Tassel Length = Chain Length + (Yarn Tassel Length) x 2
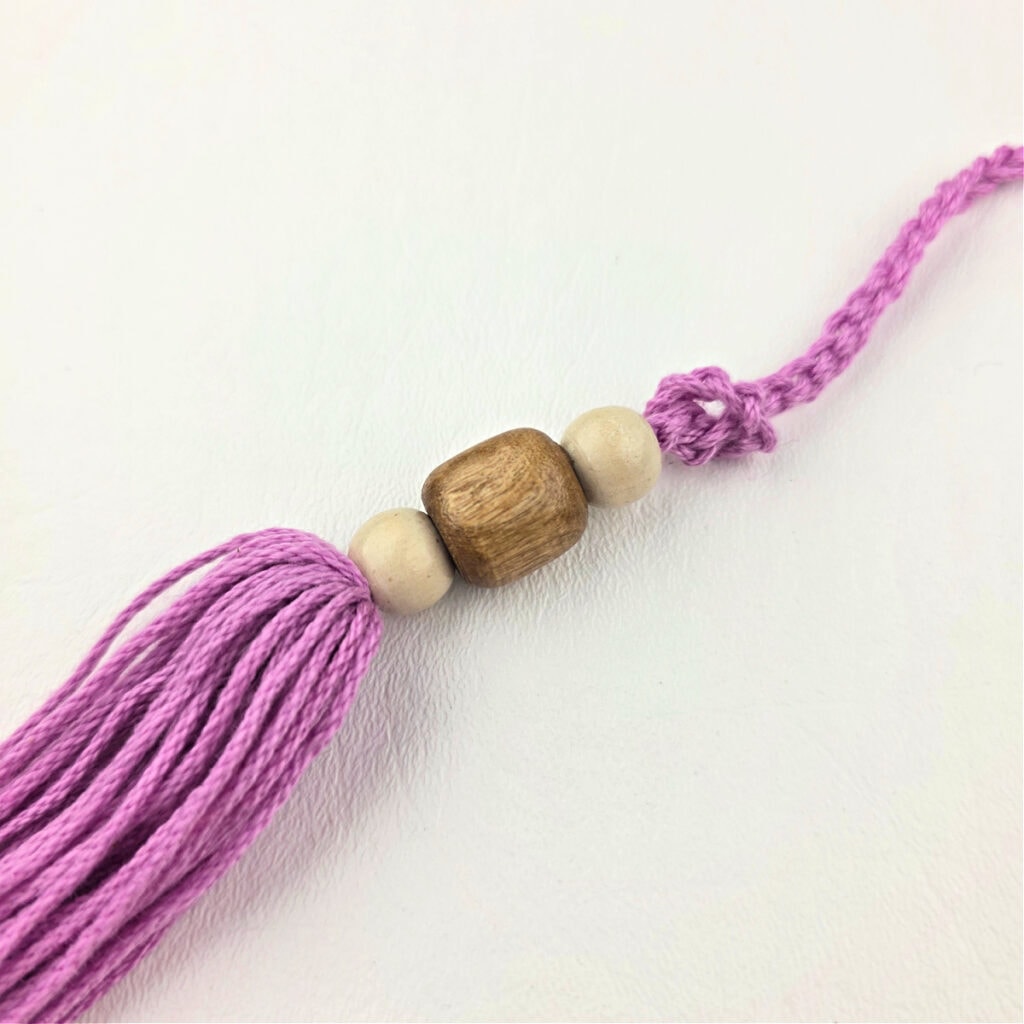
Step 2: Using a yarn needle, thread 6 wooden beads onto the chain as shown.
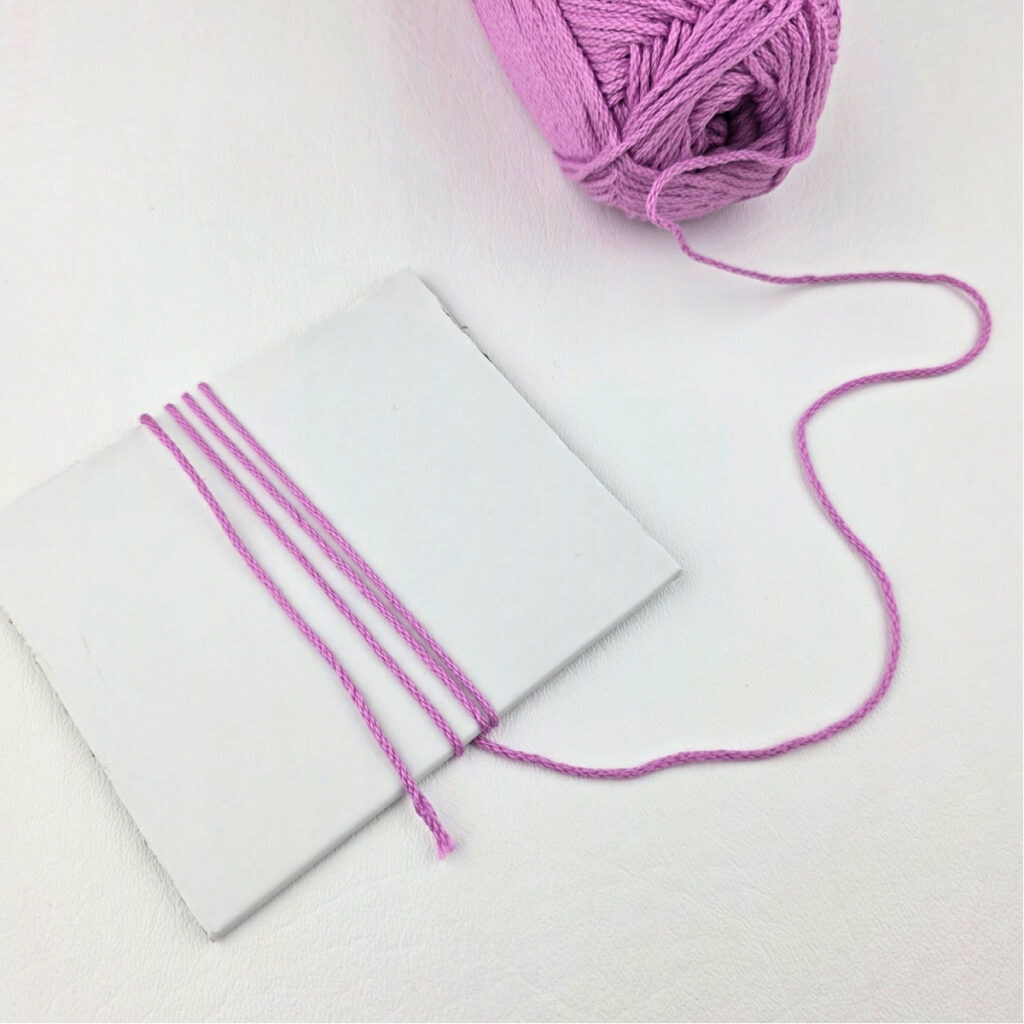
Step 3: Cut a sturdy piece of cardboard the length that you’d like your finished yarn tassel to be. The cardboard shown in the photos is 4″ long. The width of the cardboard isn’t crucial, but I prefer mine to be at least 3″ wide.
Cardboard Alternative: If you cannot find a suitable piece of cardboard, find a household object that is close to the length of the yarn tassels you’d like to make. A few items that work well are: small books and smartphones.
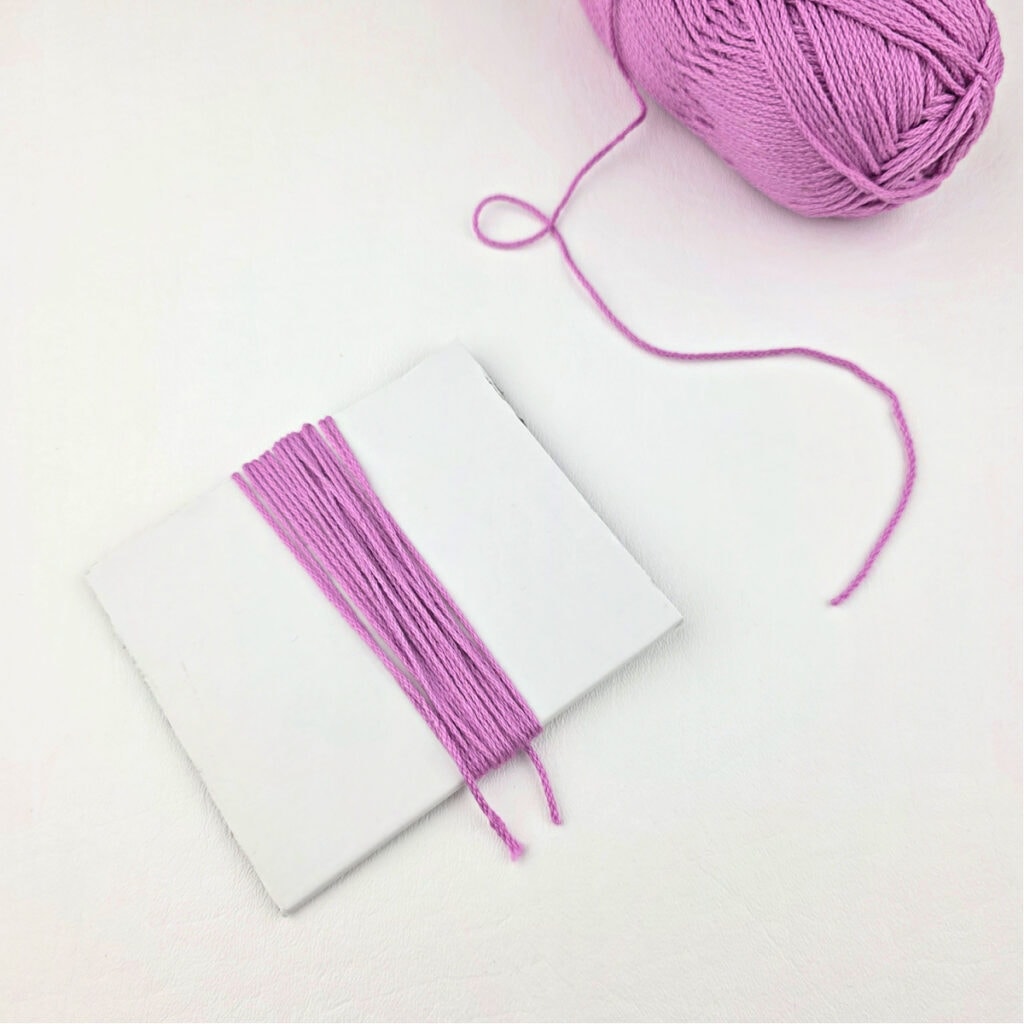
Step 4: Wrap the yarn around the length of your cardboard (or the item you’ve chosen to use as a template). Continue to wrap the yarn around the template until your tassel is as full as you’d like. Cut your yarn. For the tassels shown, I wrapped the yarn around the cardboard 20 times. For a super bulky yarn, 10 times is plenty. For a lighter weight yarn, you may want to wrap it more than twenty times. The key thing to remember here is that the more you wrap, the thicker your tassels will be, and if you overwrap, your tassel may become a bell shape.
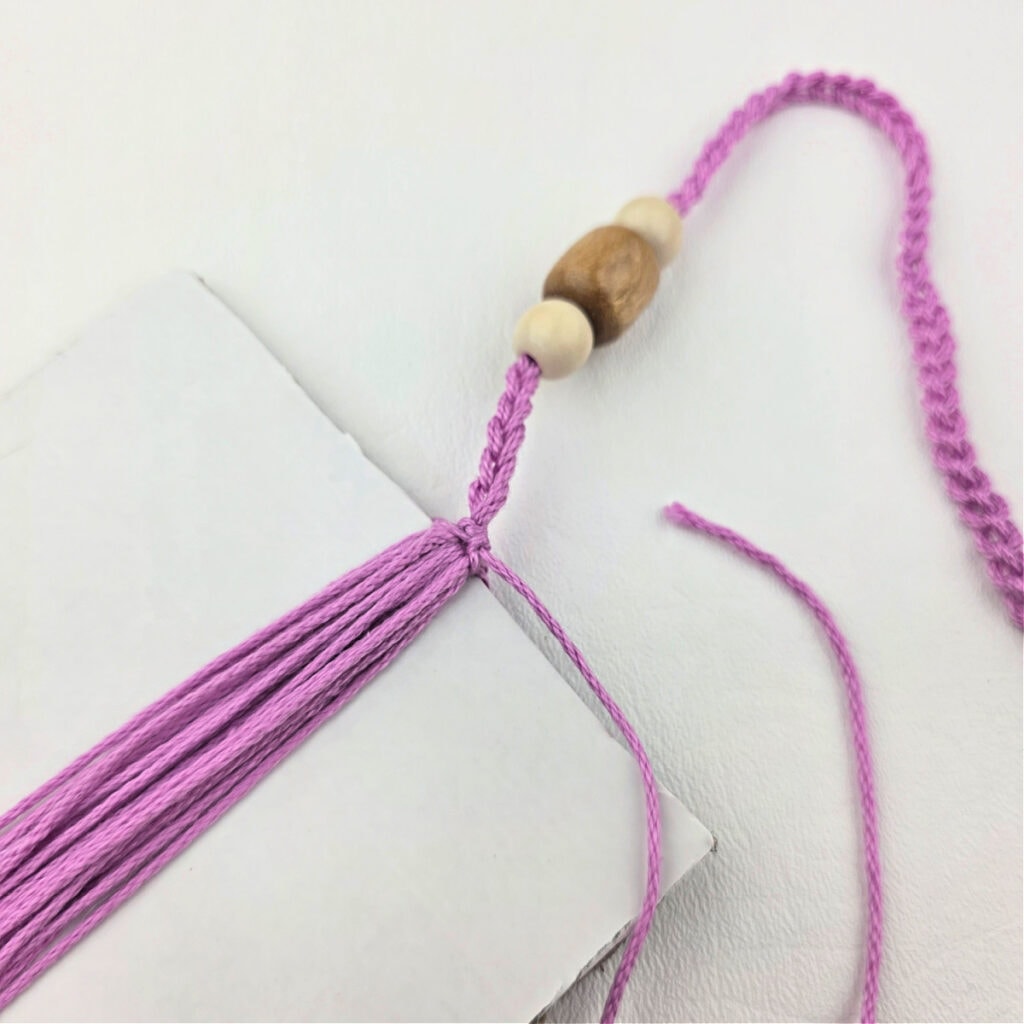
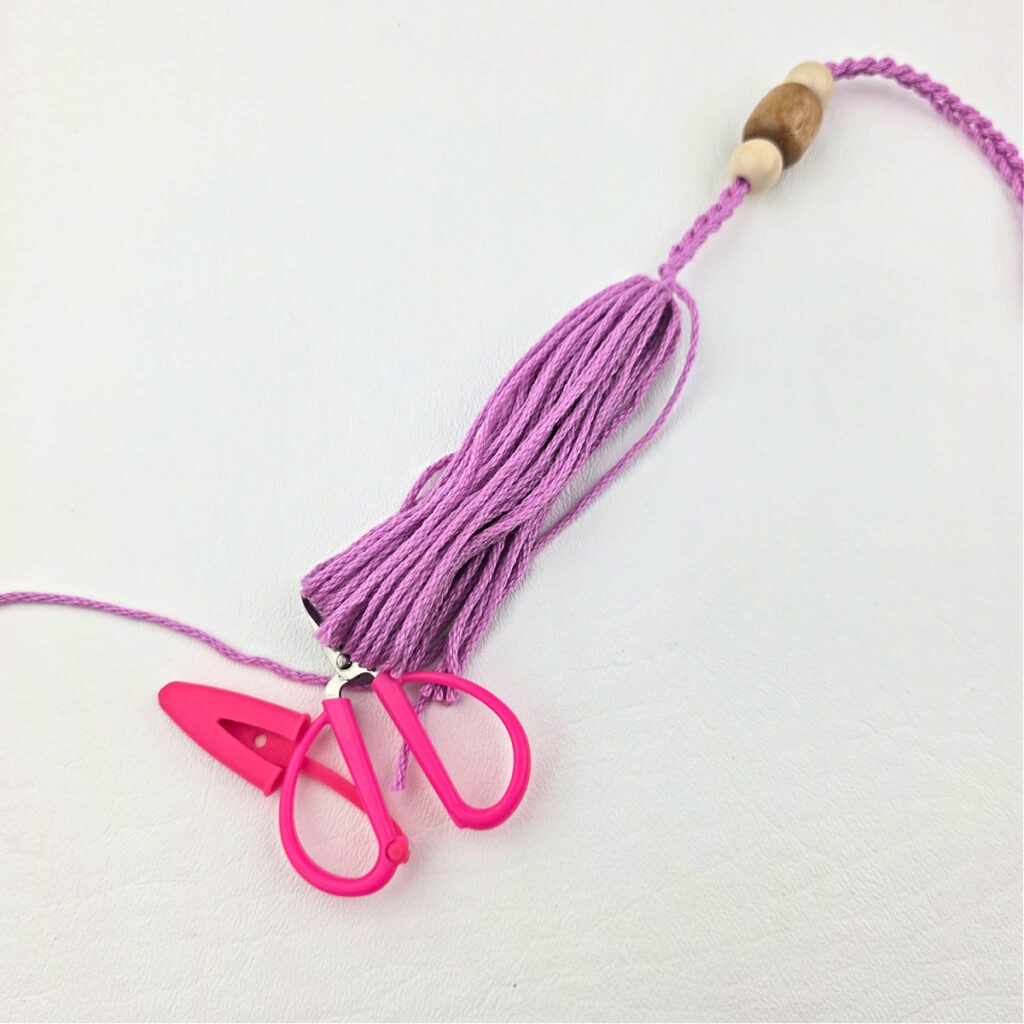
Step 5: With a yarn needle and tail of yarn from one end of the crochet chain, insert the needle under the wrapped yarn, near the edge of the cardboard as shown in the photo below. Double knot the tail of yarn as close to the chains as possible. Lay the leftover tail of yarn, from the crochet chain, alongside the yarn tassel. It will later become part of the yarn tassel.

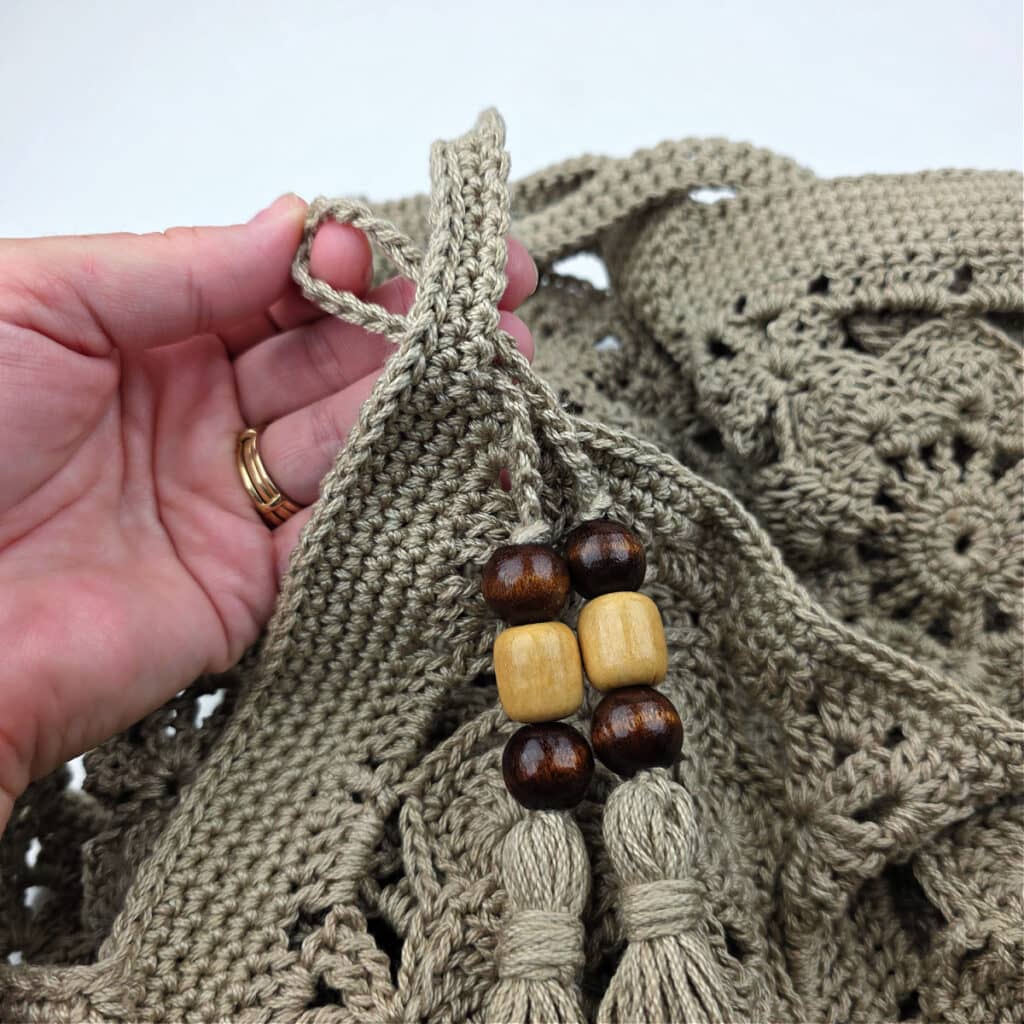
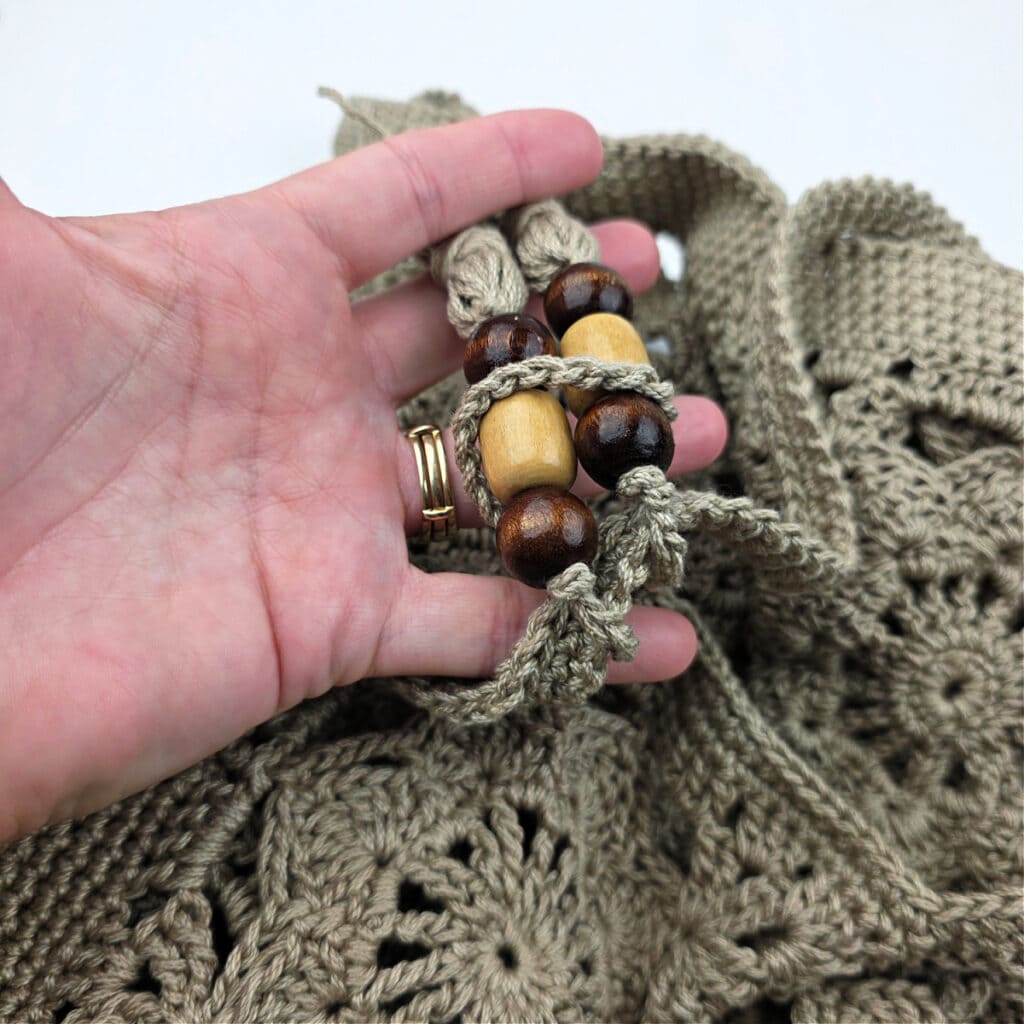
Step 6: Slide the yarn off the cardboard tassel template. Use a pair of scissors to cut the loops of yarn opposite the side you tied the crochet chain to.
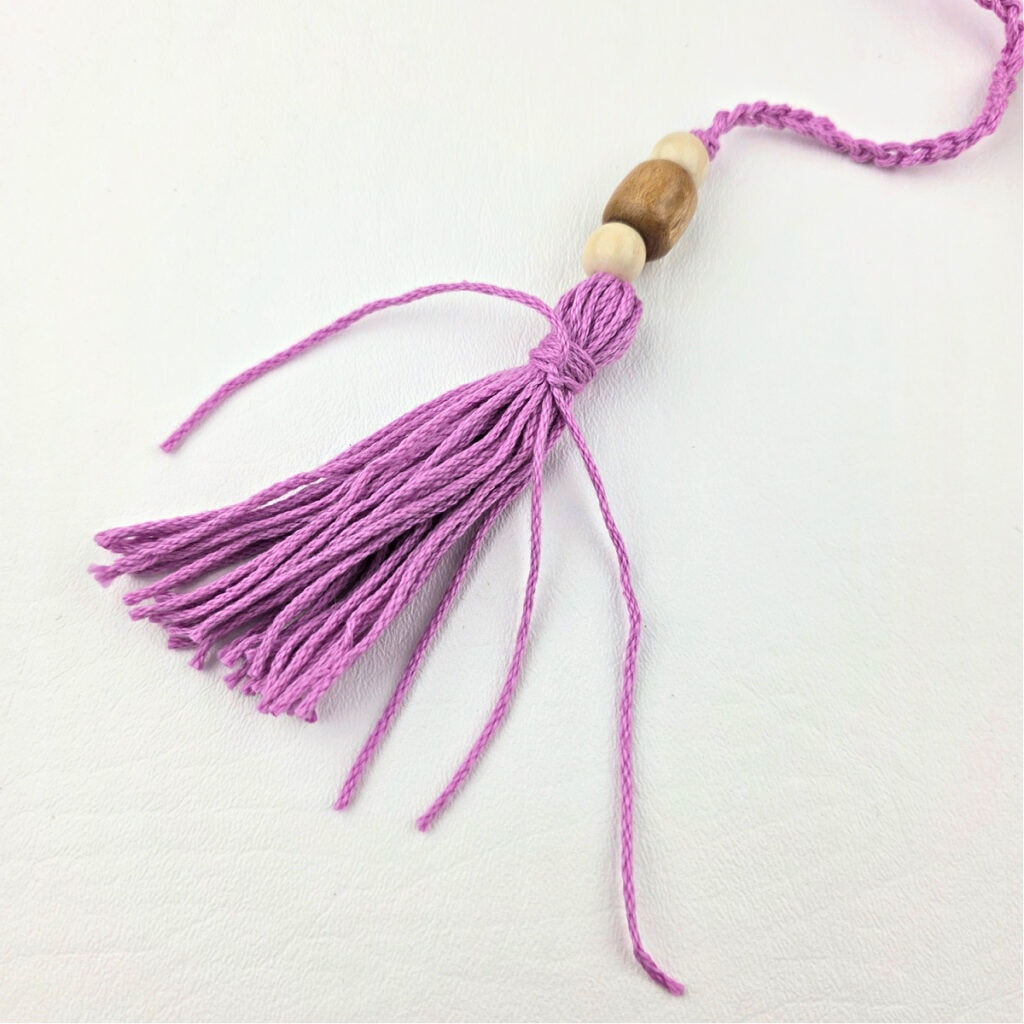
Step 7: Slide the wooden beads down closest to the tassels. Knot the chain just above the 3rd bead to keep them in place.
Step 8: Cut an 8″ – 10″ piece of yarn. Wrap this piece of yarn several times around the top of the tassel approximately 3/4″ from the knot at the top. Double knot the yarn to secure it and tuck the ends inside the tassel using a yarn needle or crochet hook.
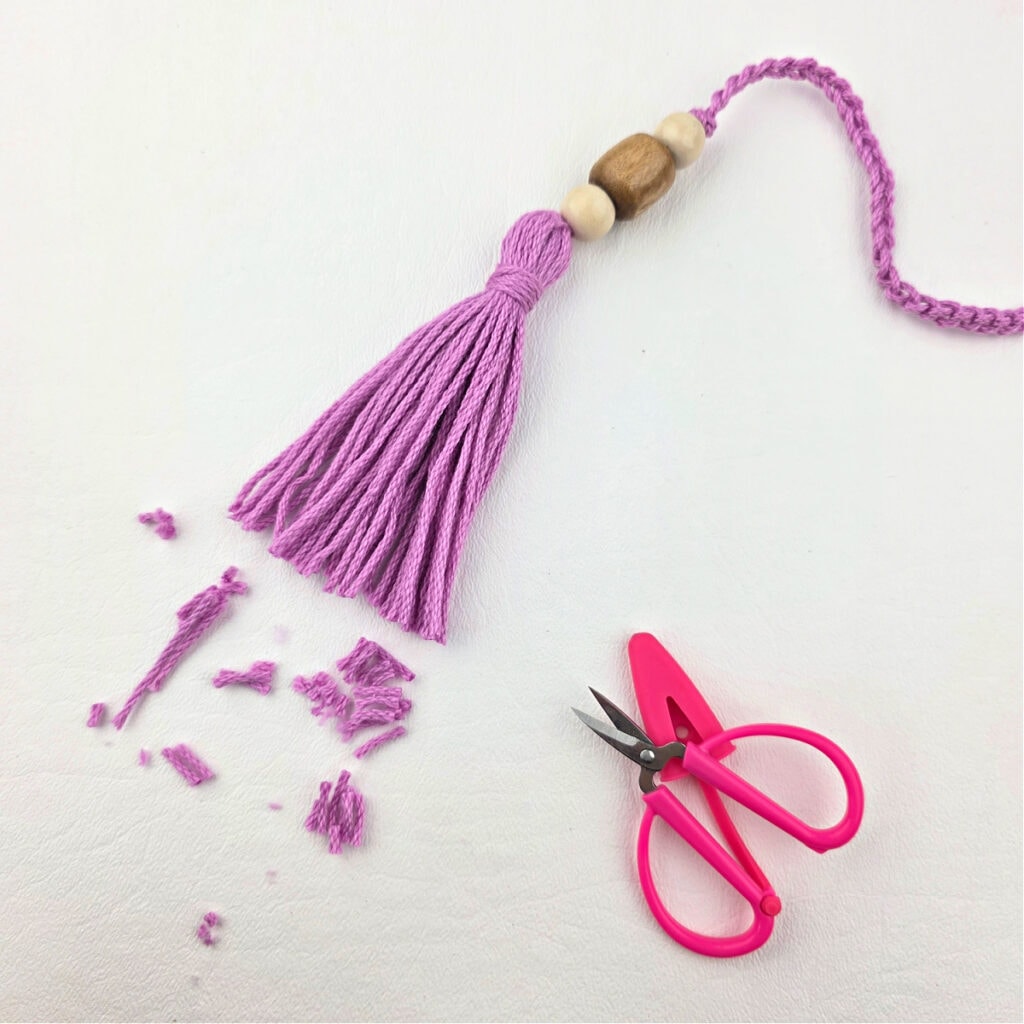
Step 9: With scissors, trim the yarn tassel ends to even them out, if needed.
Step 10: Repeat steps 4 – 9 to complete the beaded tassel.
How to Attach the Beaded Tassels to a Bag
Whether you’re a jewelry maker, crocheter, or DIY enthusiast, beaded tassels are a must-try trend. Add them to your handmade projects today and watch your creations shine with unique style and charm.
I MADE IT! NOW WHAT?
Pin this post!: Save this beaded tassels tutorial to your Pinterest boards so that you can come back and make it again.
Leave a comment below: We love to hear your feedback.
Share Your Finished Projects on Facebook or Instagram: I love to see your finished projects! Share with us on social media and tag me @acrochetedsimplicity or use the hashtag #ACrochetedSimplicity so I can find your posts.
Join us in the Facebook Community Group!
Come share your finished projects with us in the A Crocheted Simplicity Crochet Community Group on Facebook. Join us for fun community events such as crochet alongs, join in on crochet conversations, ask questions, get advice, and share your love for crochet!

More Free Patterns for Crochet Bags I think will look GREAT with Beaded Tassels
More Crochet Patterns for Crochet Purses & Handbags
Are you looking for more crocheted purse patterns? We have several more free & premium crochet patterns for bags, backpacks, purses, and totes. We have a variety of free crochet bag patterns and premium crochet bag patterns.