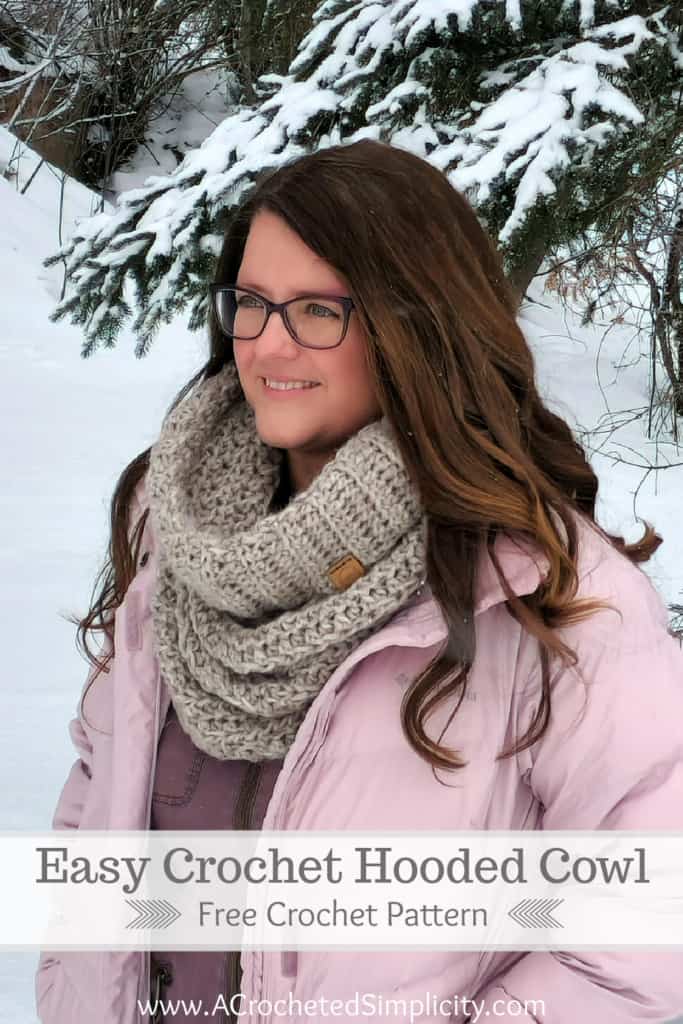
Easy Crochet Hooded Cowl
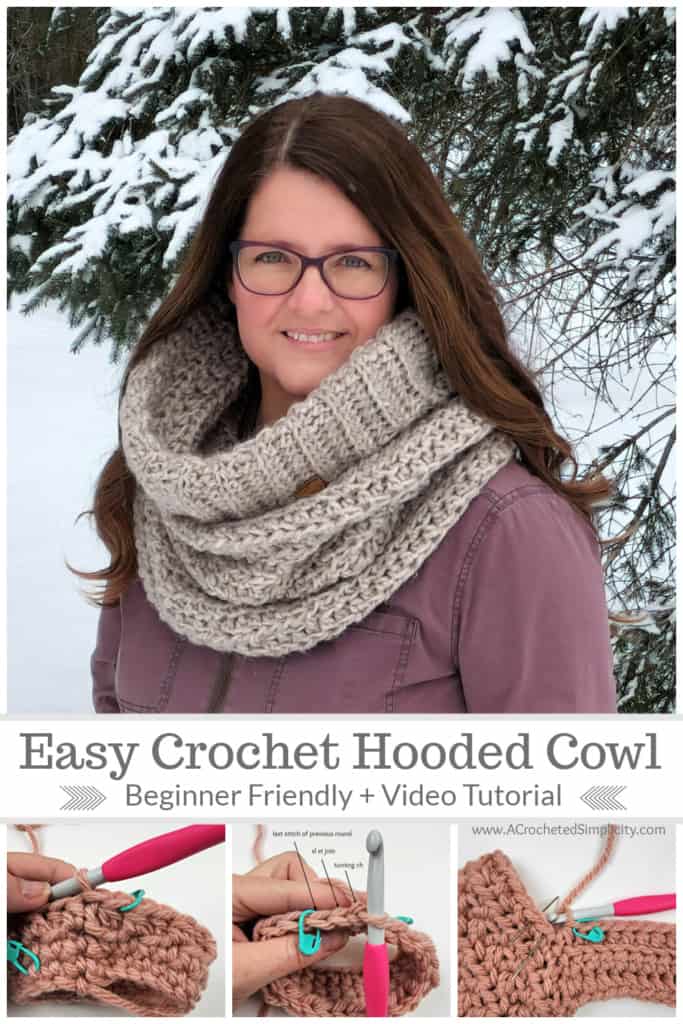

Learn to crochet this quick and easy crochet hooded cowl in just one weekend.
Basic crochet stitches + Bulky yarn = A quick crochet project!
You can find the free crochet hooded cowl pattern in this post below, or an ad-free print friendly version on Love Crafts, Ravelry, or on Etsy (aff).
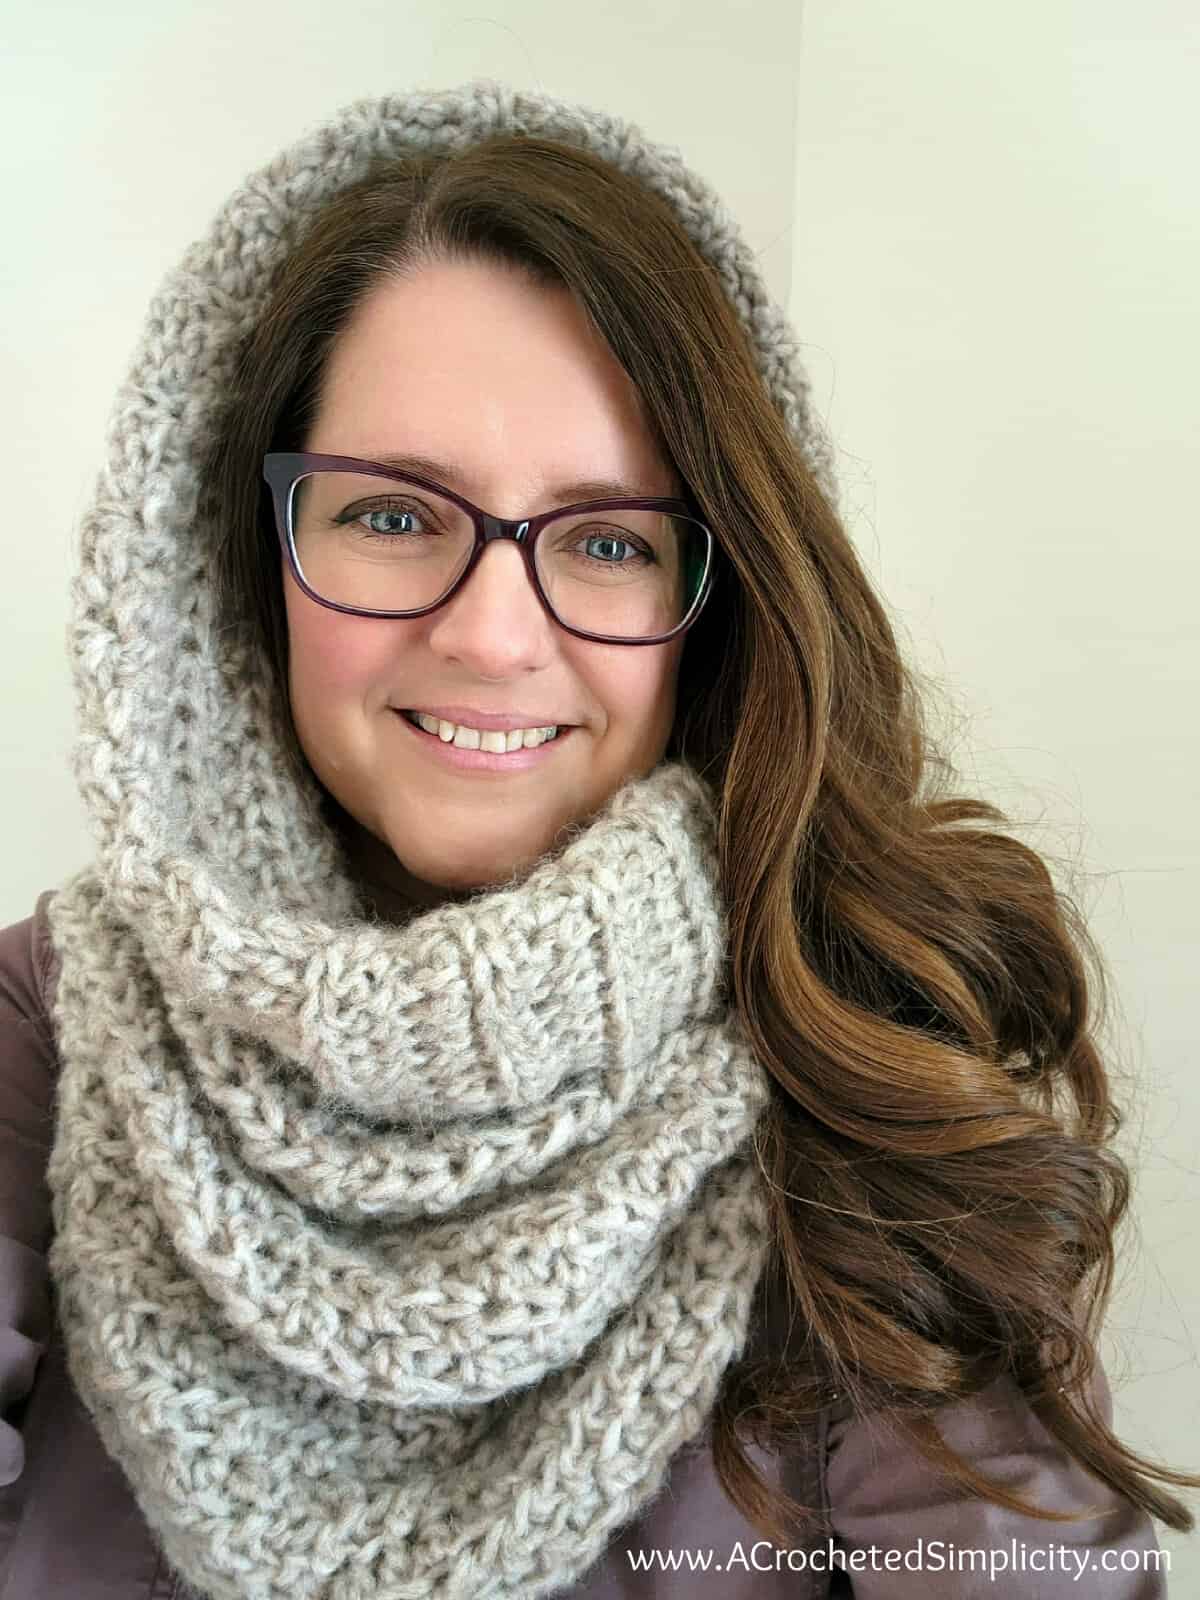
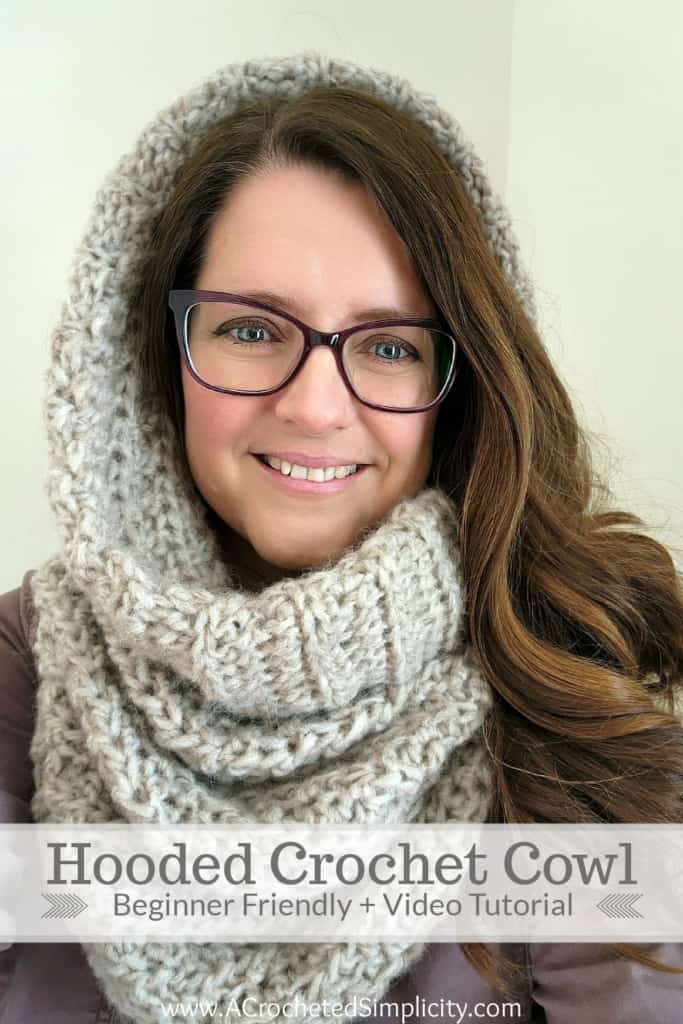
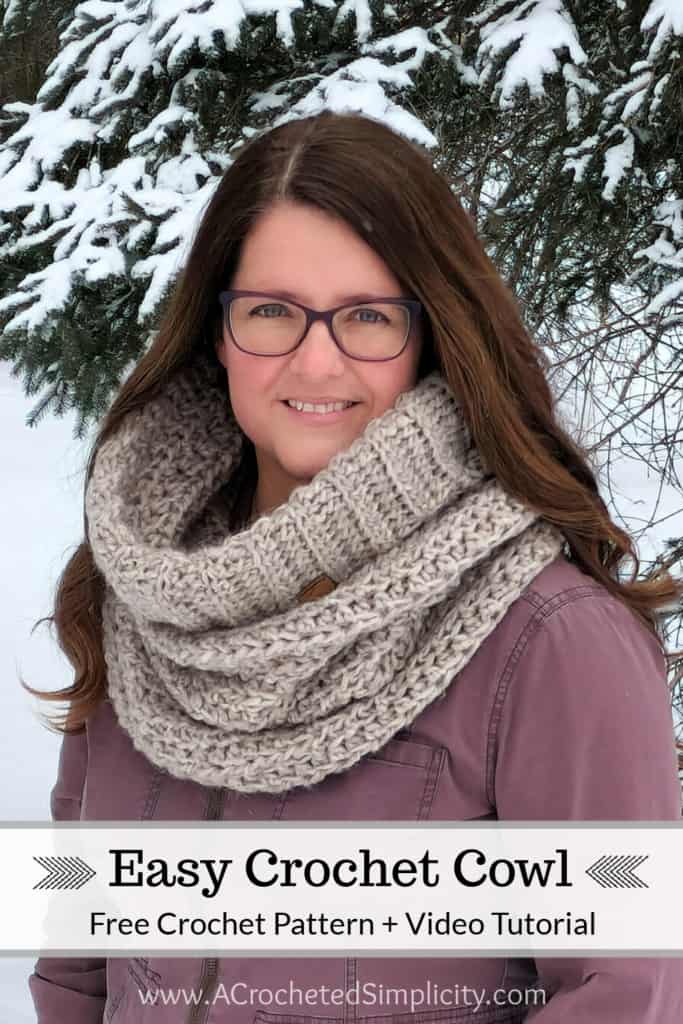
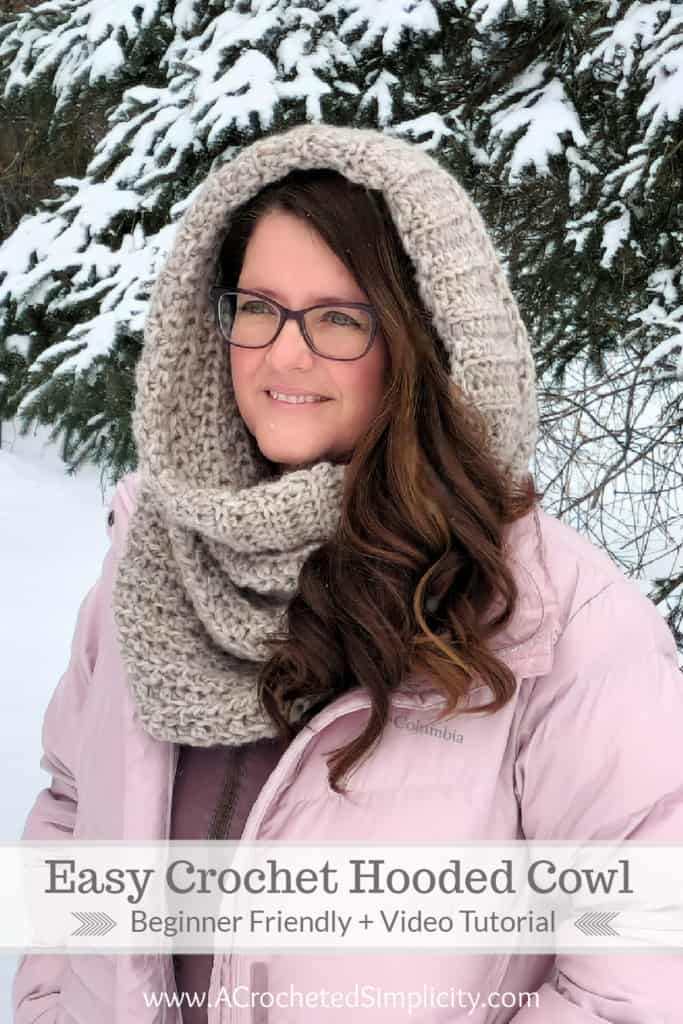
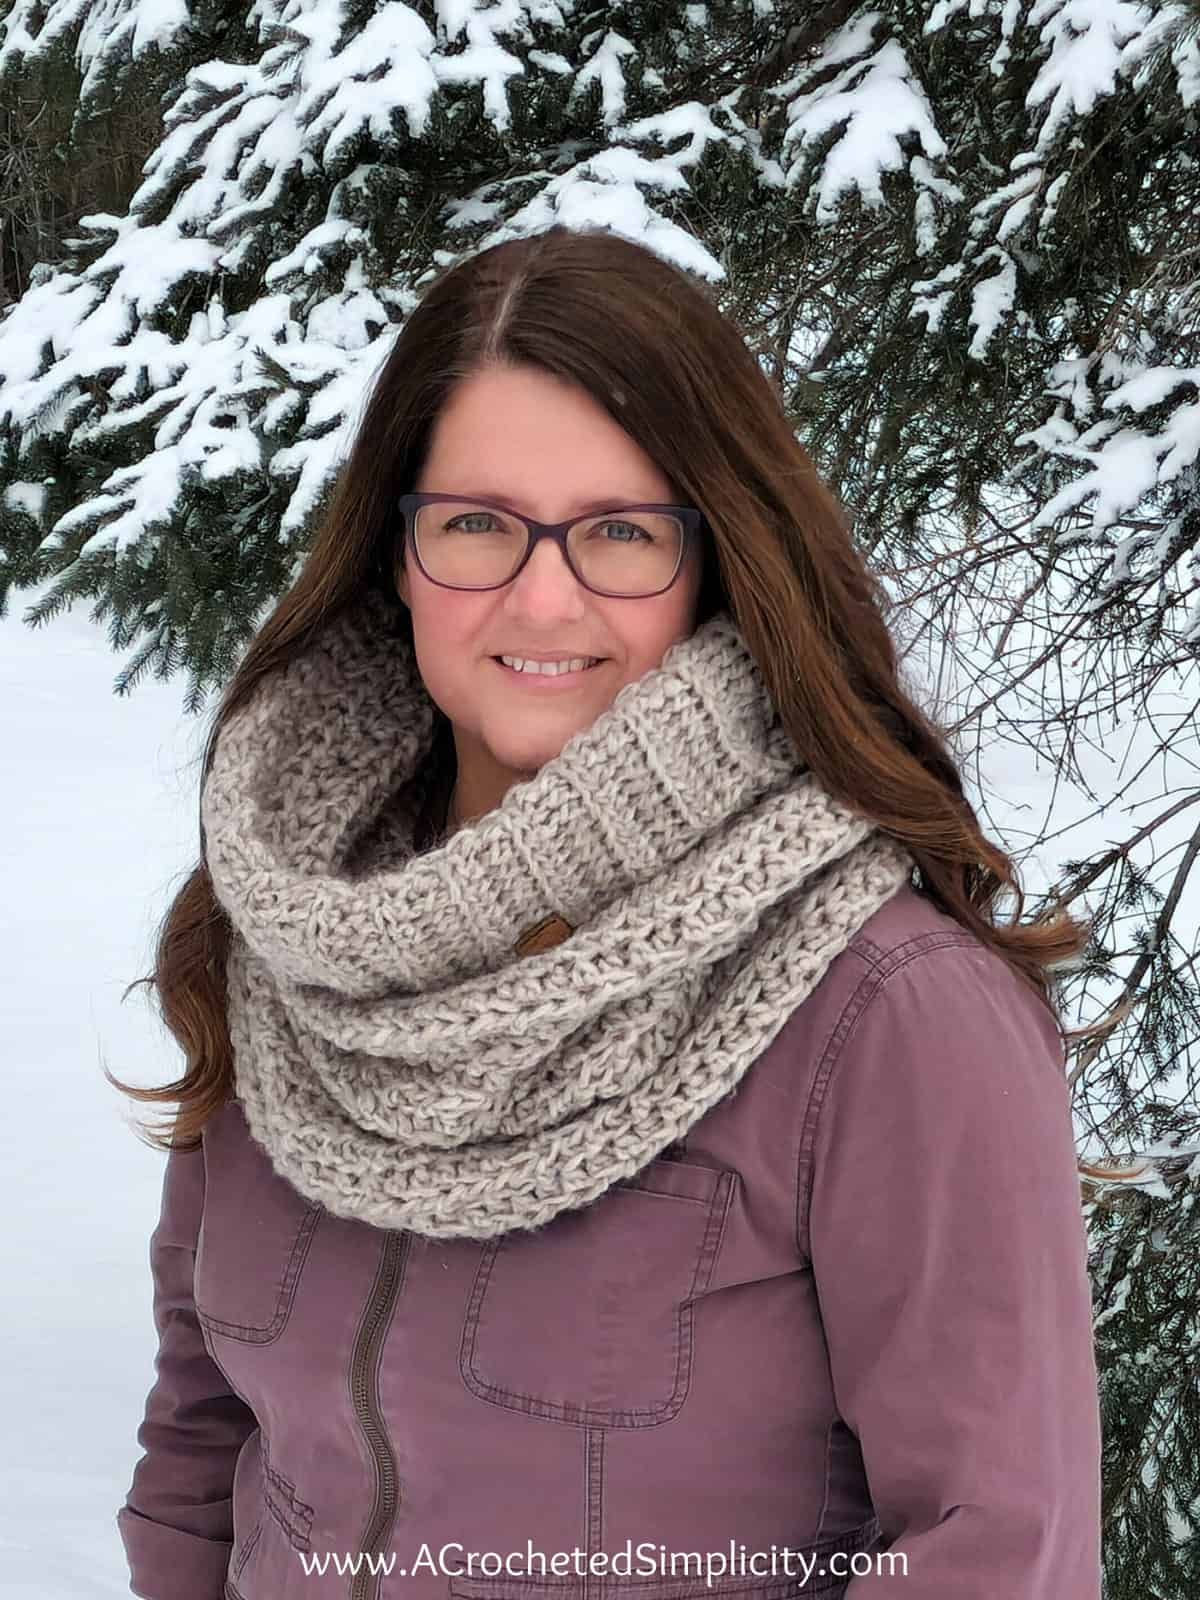
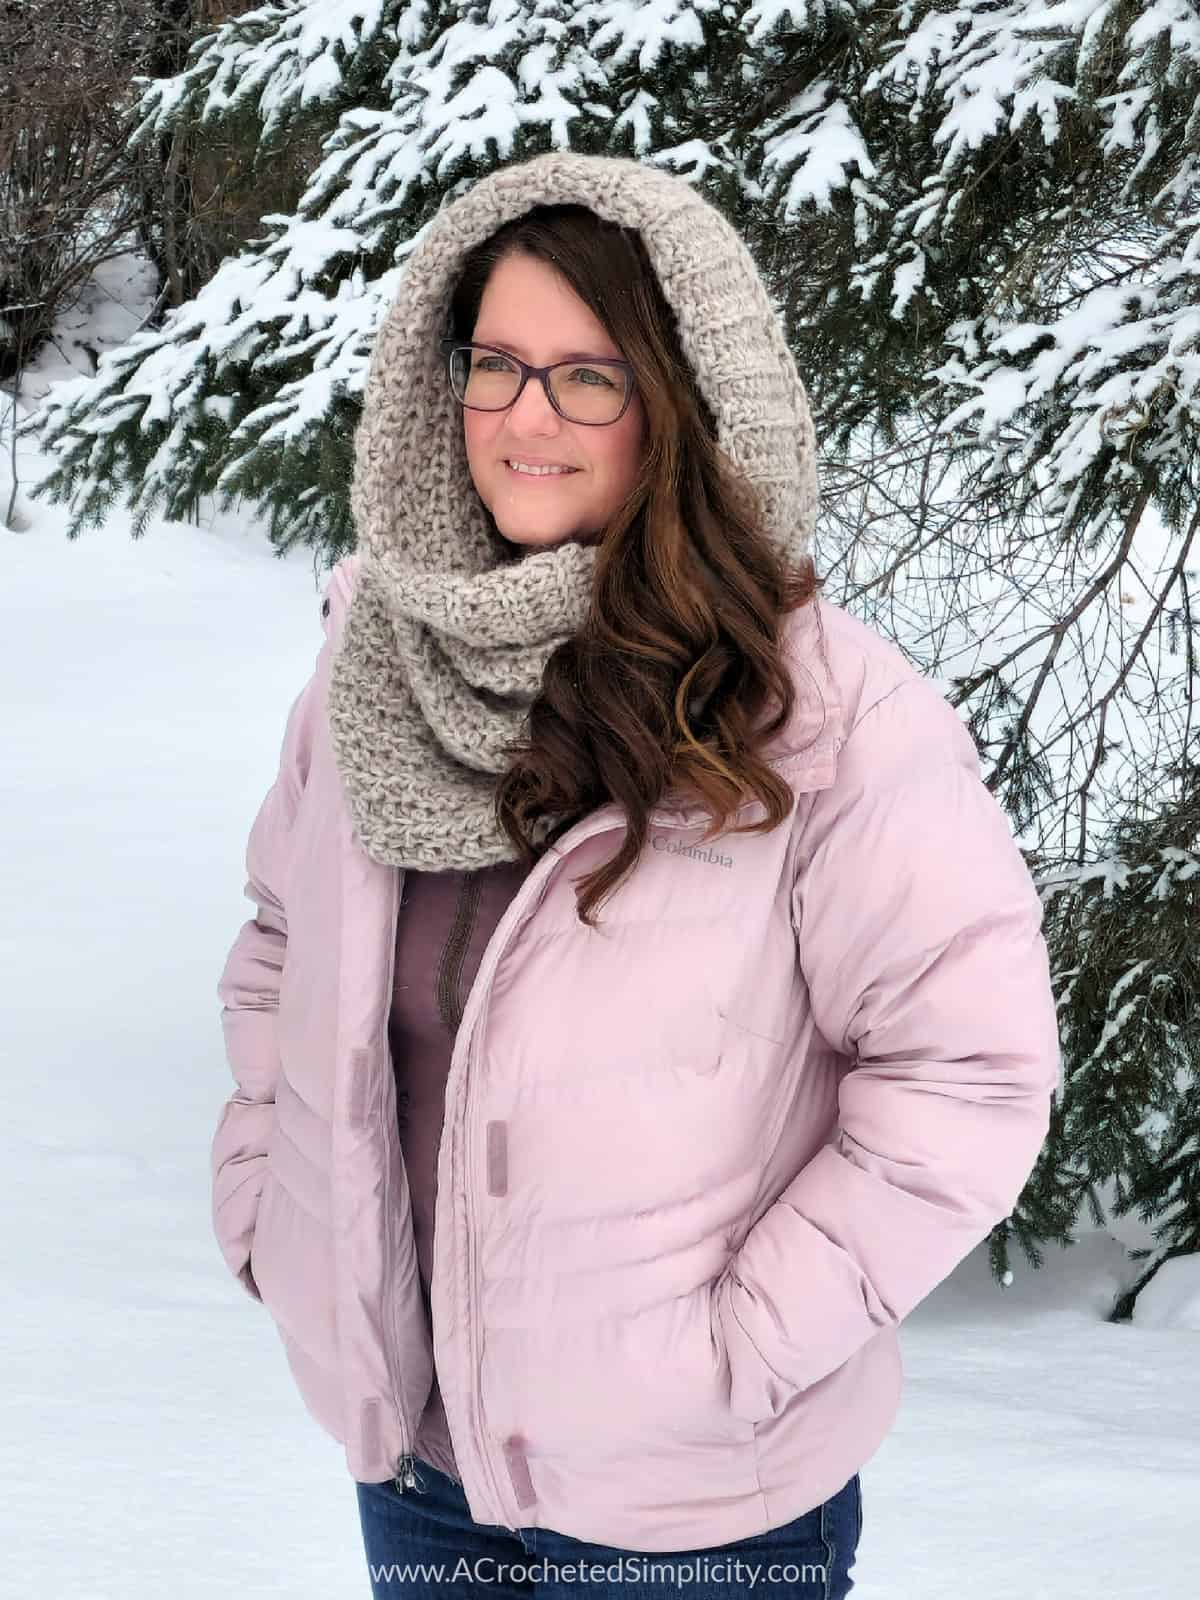
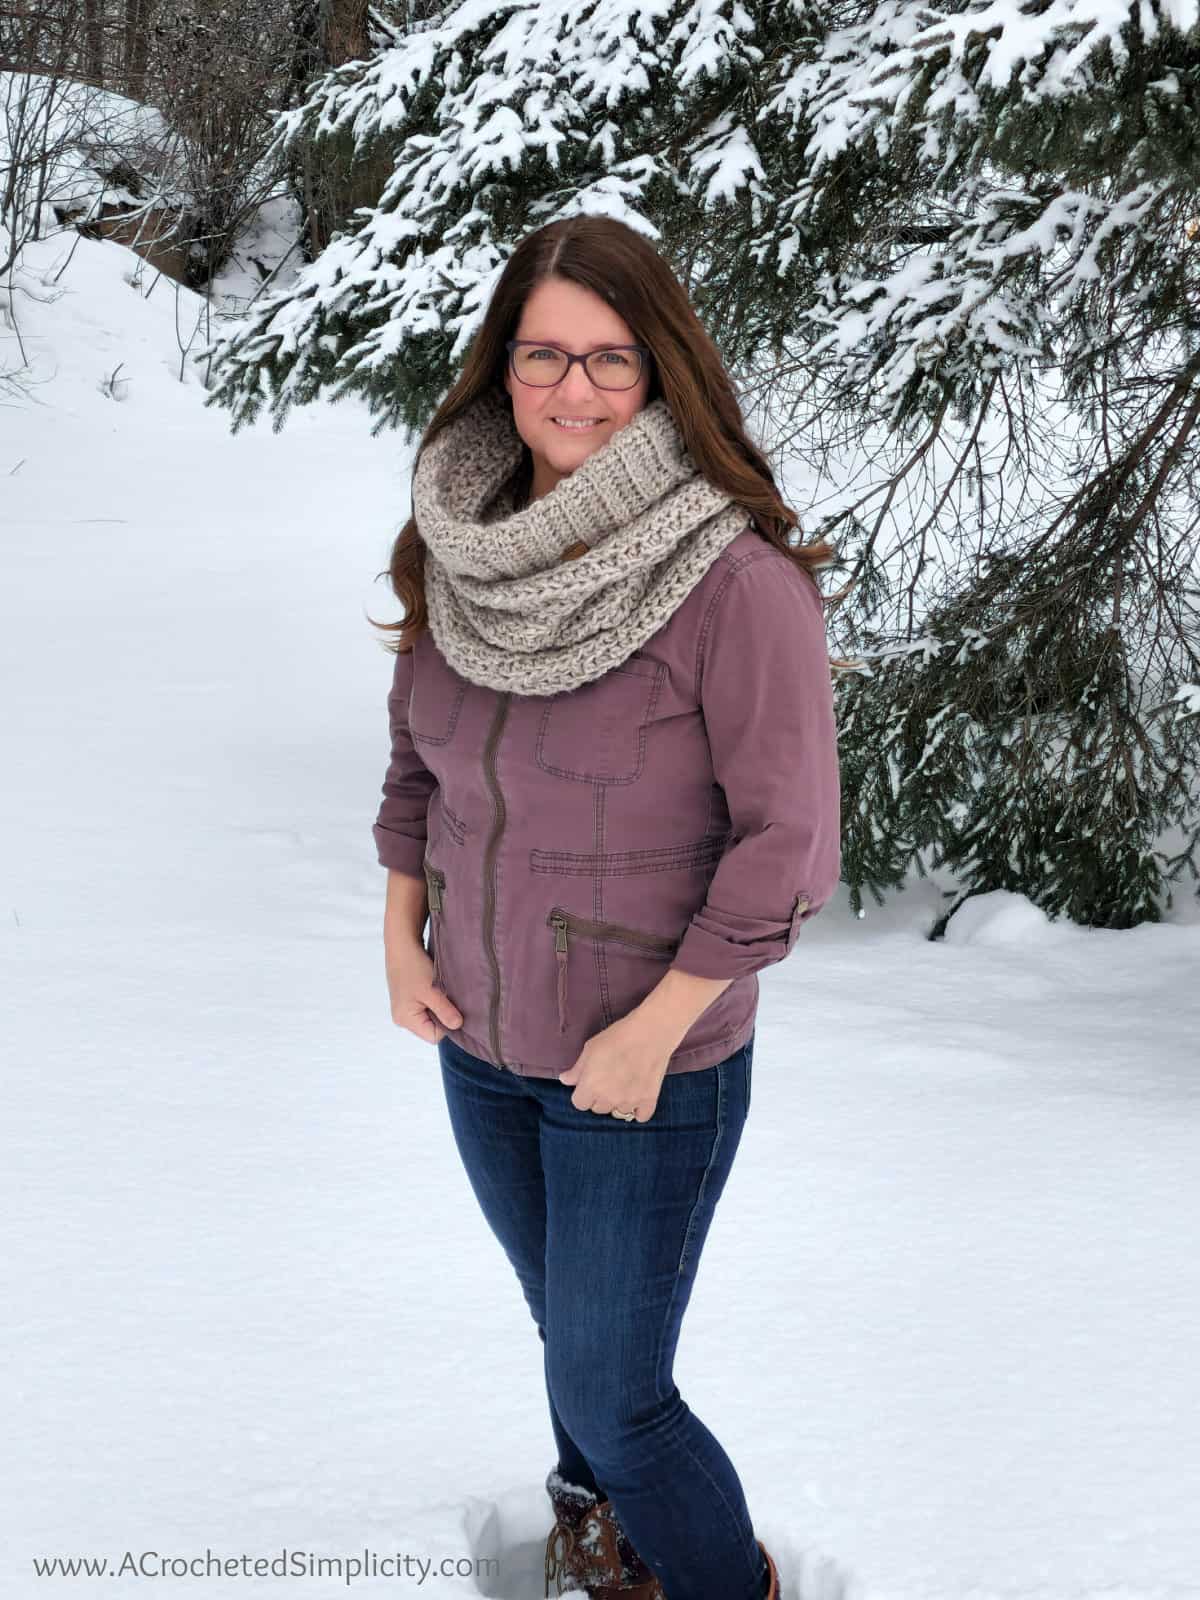
This hooded crochet cowl is perfect for layering in the winter. On sunny winter days I wear it down as a regular crochet cowl, but on the bitter cold winter days I pull it up over my head and wear it as a crochet hood.
Beginner Friendly Crochet Hooded Cowl
If you’ve asked, “How do you crochet a cowl for beginners?”, then you’ve come to the right place!
Is this a beginner friendly crochet hooded cowl pattern? Yes, it is!
If you know beginner crochet stitches such as how to crochet a chain, single crochet, and half double crochet, I have faith that you will successfully crochet this easy crochet hooded cowl pattern!
I’ve also included a step by step photo tutorial AND a video tutorial to help ensure this is a crochet hooded cowl for beginners.
How big should a crochet cowl be? Check out our frequently asked questions at the bottom of this blog post!
Yarn
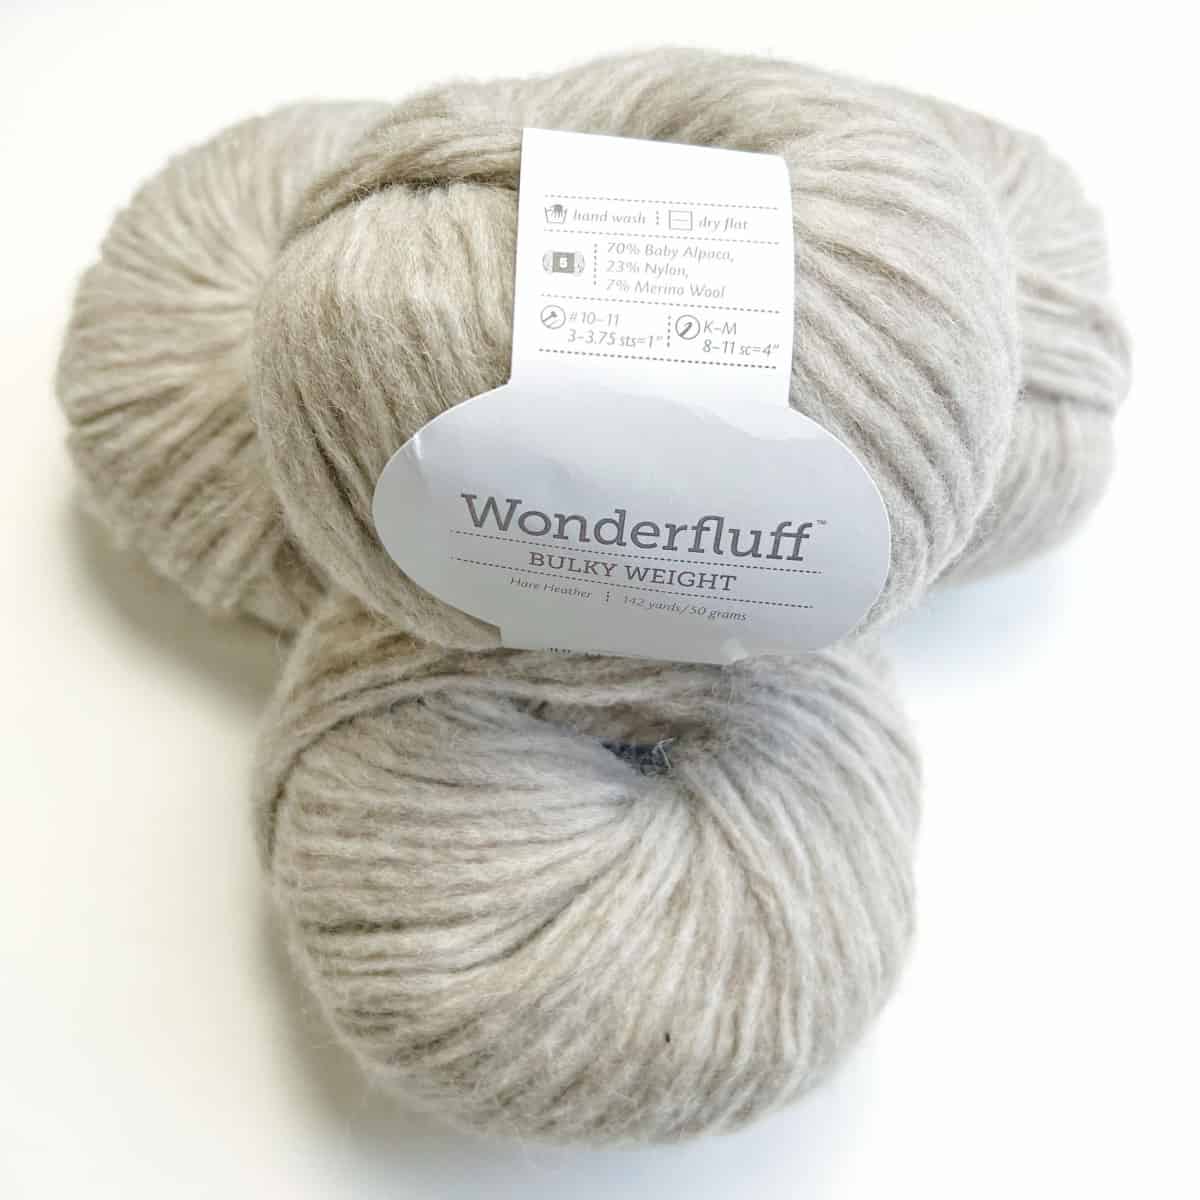
I used Wonderfluff yarn, in Hare Heather, from We Crochet for this chunky cowl crochet pattern.
Wonderfluff is a very lightweight, yet bulky weight #5 yarn. It is 70% baby alpaca, 23% nylon, and 7% merino wool. Oh my is it ever dreamy!
The Hare Heather colorway is gorgeous! It’s a beautiful light tan color with tiny bits of cream and brown that combine into a soft taupe shade.
We Crochet says it is, “Softer than a kitten, fluffier than a cloud.” And I totally agree with them!
Yarn Substitutions
Wonderfluff is classified as a bulky yarn because of the halo around it, but I feel it works up closer to a worsted weight yarn.
To test this theory, I worked up a small swatch using a worsted weight yarn and an 8.00mm crochet hook and was able to achieve the same gauge.
The drape wasn’t the same, but it was close.
But hello, what acrylic yarn can compete with a yarn comprised of baby alpaca and merino wool? 😉
I’ve included instructions below on how to substitute ANY weight yarn for your hooded crochet cowl.
If you make your crochet cowl using a fingering weight or sport weight yarn, please make sure to share in our Facebook crochet community!
HOW TO CROCHET THE EASY CROCHET HOODED COWL – VIDEO TUTORIAL
Although this is an easy crochet hooded cowl that uses basic crochet stitches, I have a few tips and tricks to share with you. I felt it was easiest to share them in a YouTube crochet hooded cowl video tutorial.
Do you love crochet video tutorials, make sure to subscribe to our channel because there are more great tutorials coming your way!

Easy Crochet Hooded Cowl – Free Crochet Pattern
The free crochet hooded cowl pattern is below, but if you love to work offline, I’ve got a couple other great options for you.
Purchase the ad-free, printable PDF, including all photo tutorials, on Love Crafts, Ravelry, or on Etsy (aff).
Materials
- Yarn: Bulky Weight Yarn / 5; Knit Picks Wonderfluff was used for the cowl in the photos.
- Hare Heather 4 balls (approximately 450 yards)
- Crochet Hook: L/8.00mm ( Clover Amour Hooks are my personal favorites)
- Locking Stitch Markers
- Scissors
- Tapestry Needle
Many of the materials are available for purchase through our affiliates:
 Clover 1055/L Amour Crochet...Shop on Amazon
  Clover Lock Ring Markers, 2...Shop on Amazon
  Lion Brand Yarn 400-5-5002 ...Shop on Amazon
  Fiskars 154110-1001 Non-sti...Shop on Amazon
ABBREVIATIONS (US TERMS)
- ch(s): chain(s)
- st(s): stitch(es)
- sl st(s): slip stitch(es)
- sc: single crochet
- hdc: half double crochet
- hdc2tog: half double crochet 2 together
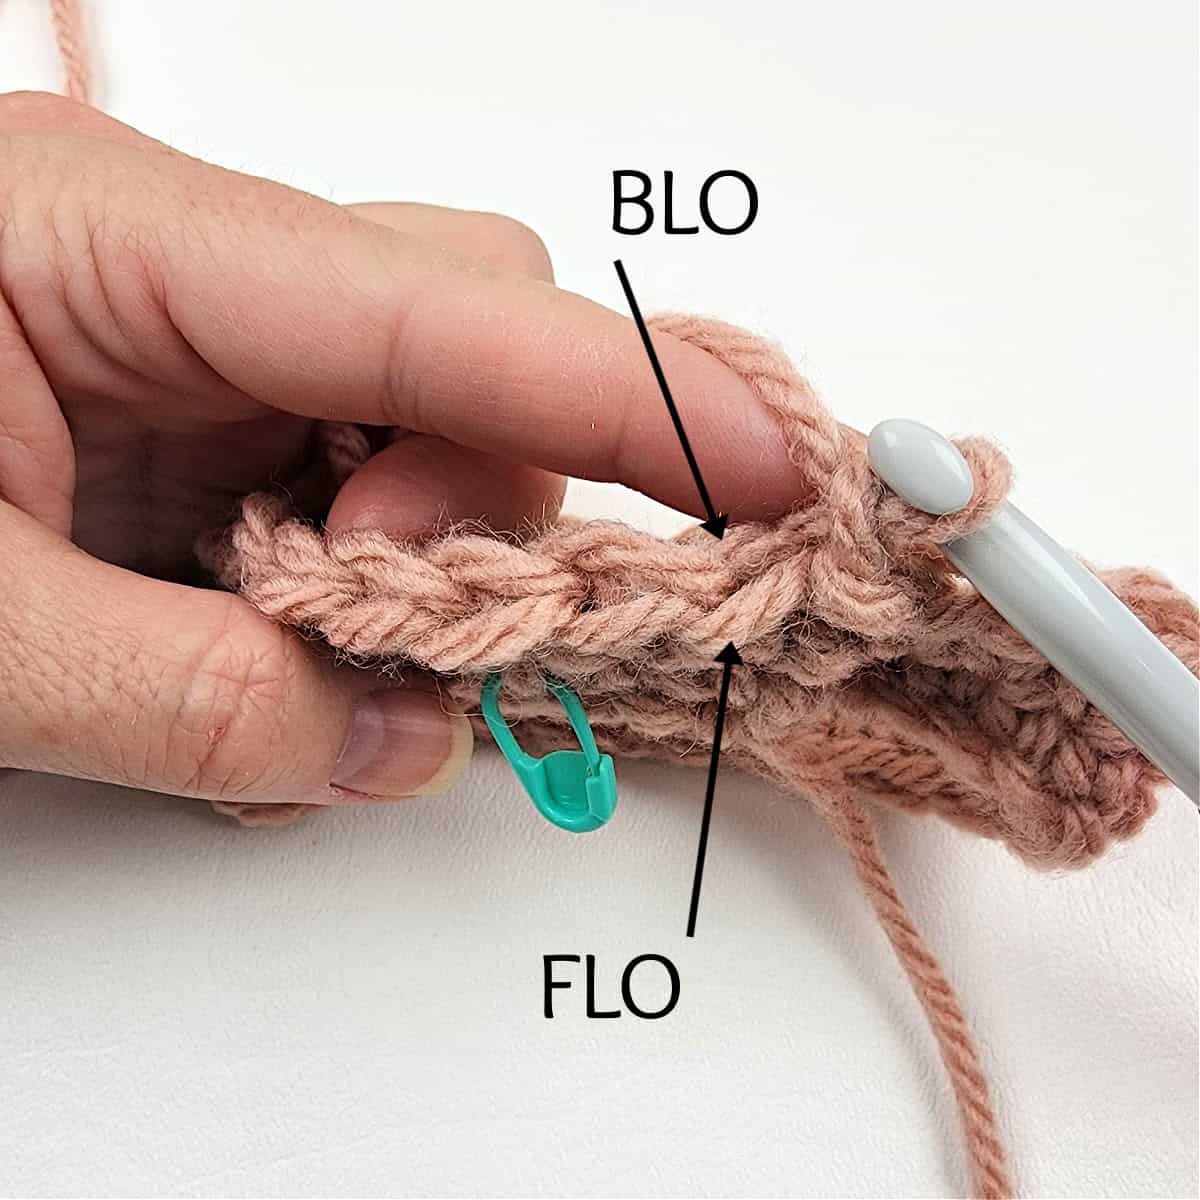
- FLO: front loop only
- BLO: back loop only
- Rnd: round
- RS: right side
- SM: stitch marker
- Rep: repeat
GAUGE
- Body of Cowl in hdc: 12 sts = 5″ (stitch height isn’t crucial)
- Ribbing: 10 sts = 3.75″; 6 rows = 3.5″
Size
- 15″ W x 26.5″ L (when laid flat with ribbing unfolded)
- Instructions are included to easily adjust sizing.
Experience Level
- Beginner / Easy
Notes
- Turning chains are not included in stitch count.
- Knit Picks Wonderfluff was used for the cowl in the photos, 70% Baby Alpaca, 23% Nylon, 7% Merino Wool (142 yards / 50 g).
- Yarn Notes
- Colorway: Hare Heather
- Yardage: 450 yards (4 balls)
- Wonderfluff is classified as a bulky yarn / #5 because of the halo around it, but I feel it works up closer to a worsted weight yarn.
- Use ANY weight yarn: If you’d like to use a yarn other than Wonderfluff, see the instructions below on adjusting your hook size and foundation chain.
- Adjust Size: If you’d like to adjust the width of your cowl, increase or decrease your foundation chain in multiples of 6.
- This easy hooded crochet cowl is worked in joined and turned rounds from the bottom up. Once the body of the cowl is completed, a ribbed cuff is added.
- Video Tutorial: https://youtu.be/rykBJs2hud0
How to Use ANY Weight Yarn
If you prefer working with yarn weights other than a bulky weight / 5 yarn, use the following instructions to use ANY weight yarn you’d like!
Step 1: Choose any weight yarn and a crochet hook.
• Tip: I suggest using a hook larger than what is recommended on the yarn label. Using a larger crochet hook will give your crochet hooded cowl more drape.
Step 2: Set-Up: Crochet a chain in multiples of 6, until you reach approximately 30″ L. Be careful not to twist your chain, then join with a sl st to the back hump of the first chain.
Step 3: Begin with Round 1 below and follow the instructions to crochet your hooded cowl.
Note: This may go without saying, but your stitch count will then be different than what is listed below. All other written instructions will remain the same.
I’d love to see the Easy Crochet Hooded Cowl in a sport or fingering weight yarn. I think it would be PERFECT for walks on the beach!
Easy Crochet Hooded Cowl Pattern Instructions
If you enjoy crocheting along with a video tutorial, check out the Easy Crochet Hooded Cowl video tutorial!
Body of Cowl
Set-up: With yarn & an 8.00mm crochet hook, ch 72, be careful not to twist the chain, then join with a sl st to the back hump of the first ch. (72 sts)
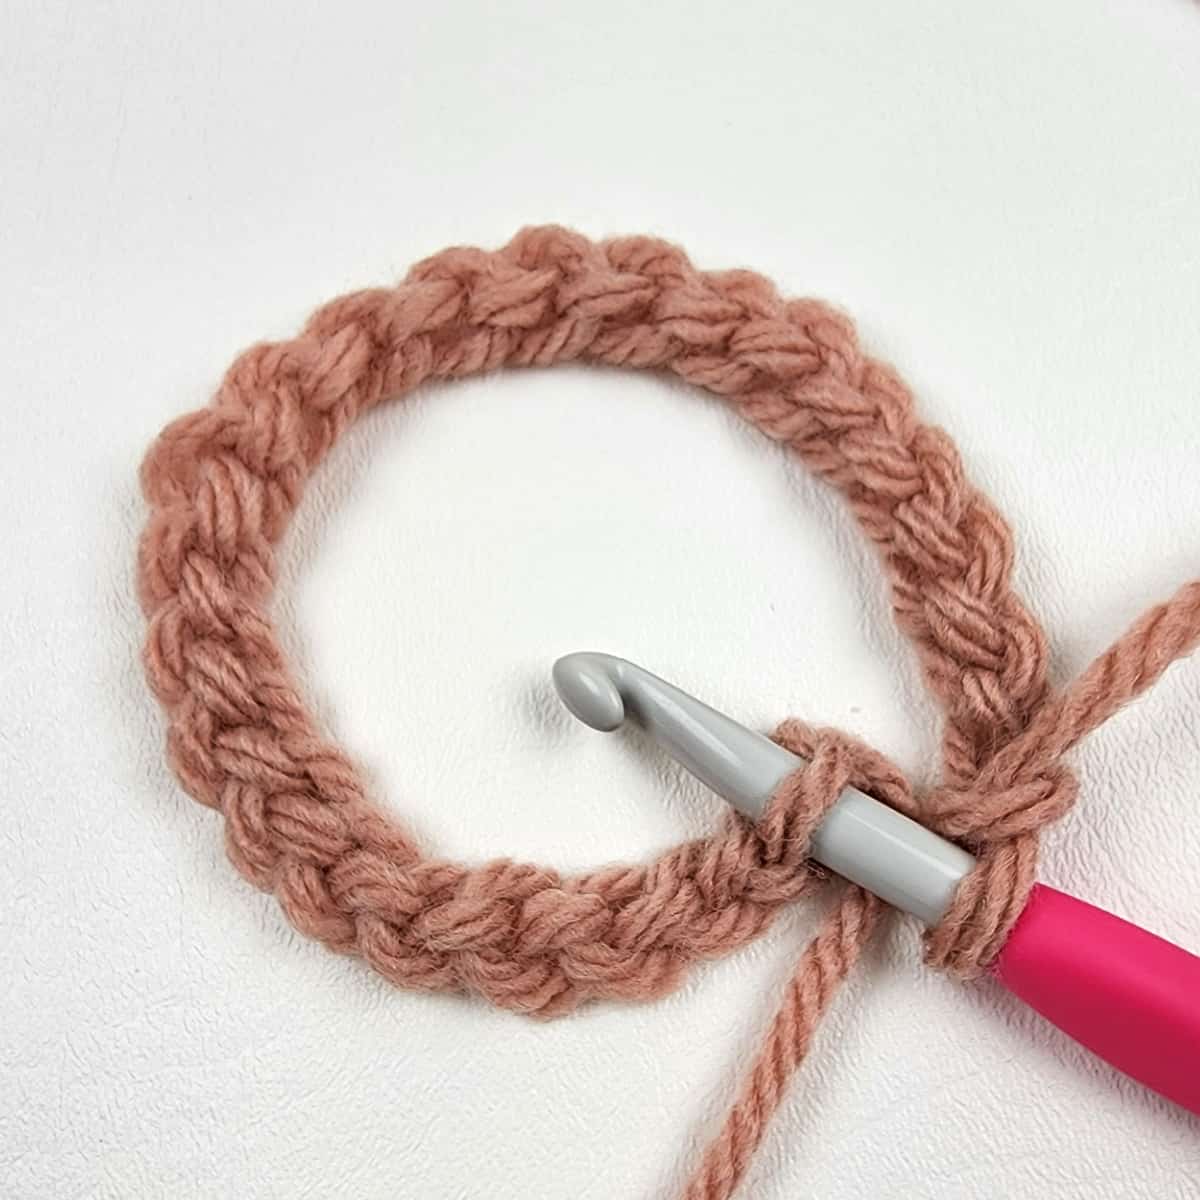
Pro Tip! If you’re having a hard time NOT twisting your chain before joining, lay it on a flat surface, with the back humps of the chain facing up (as shown in the photo above). Then, carefully insert your hook under the back hump of the first chain and complete a slip stitch to join.
Rnd 1 (RS): Ch 1, working into the back humps of the foundation ch, sc in each ch around. Join with a sl st to the 1st st. (72 sts)
Rnd 2: Ch 1, sc in each st around. Join. (72 sts)
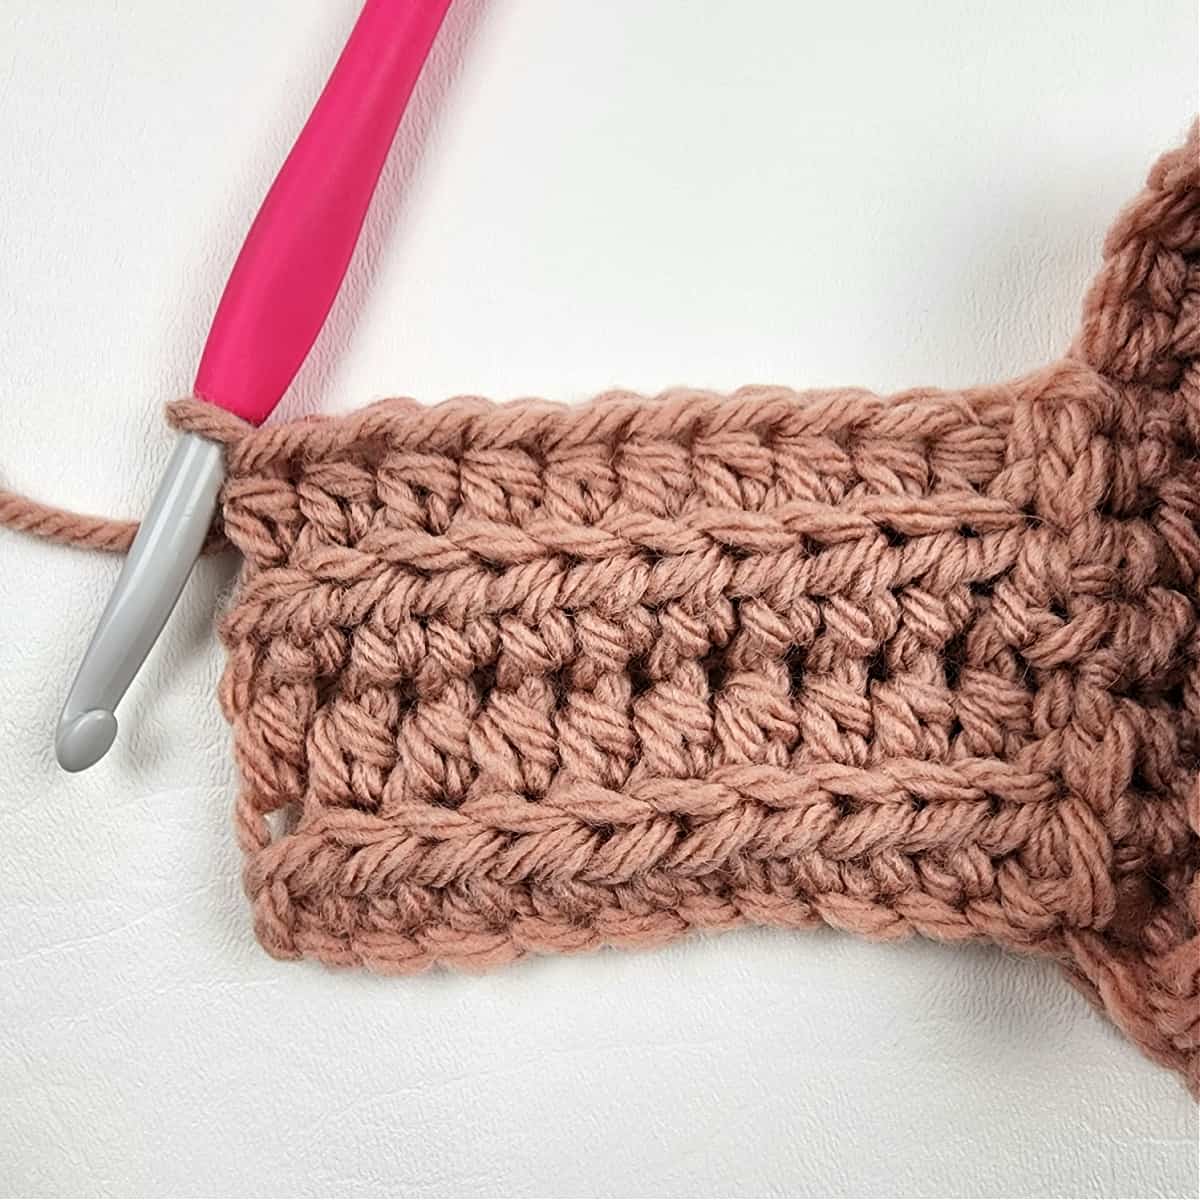
Rnd 3: Ch 1, ( hdc in FLO, hdc in BLO ) rep from ( to ) around. Join. TURN. (72 sts)
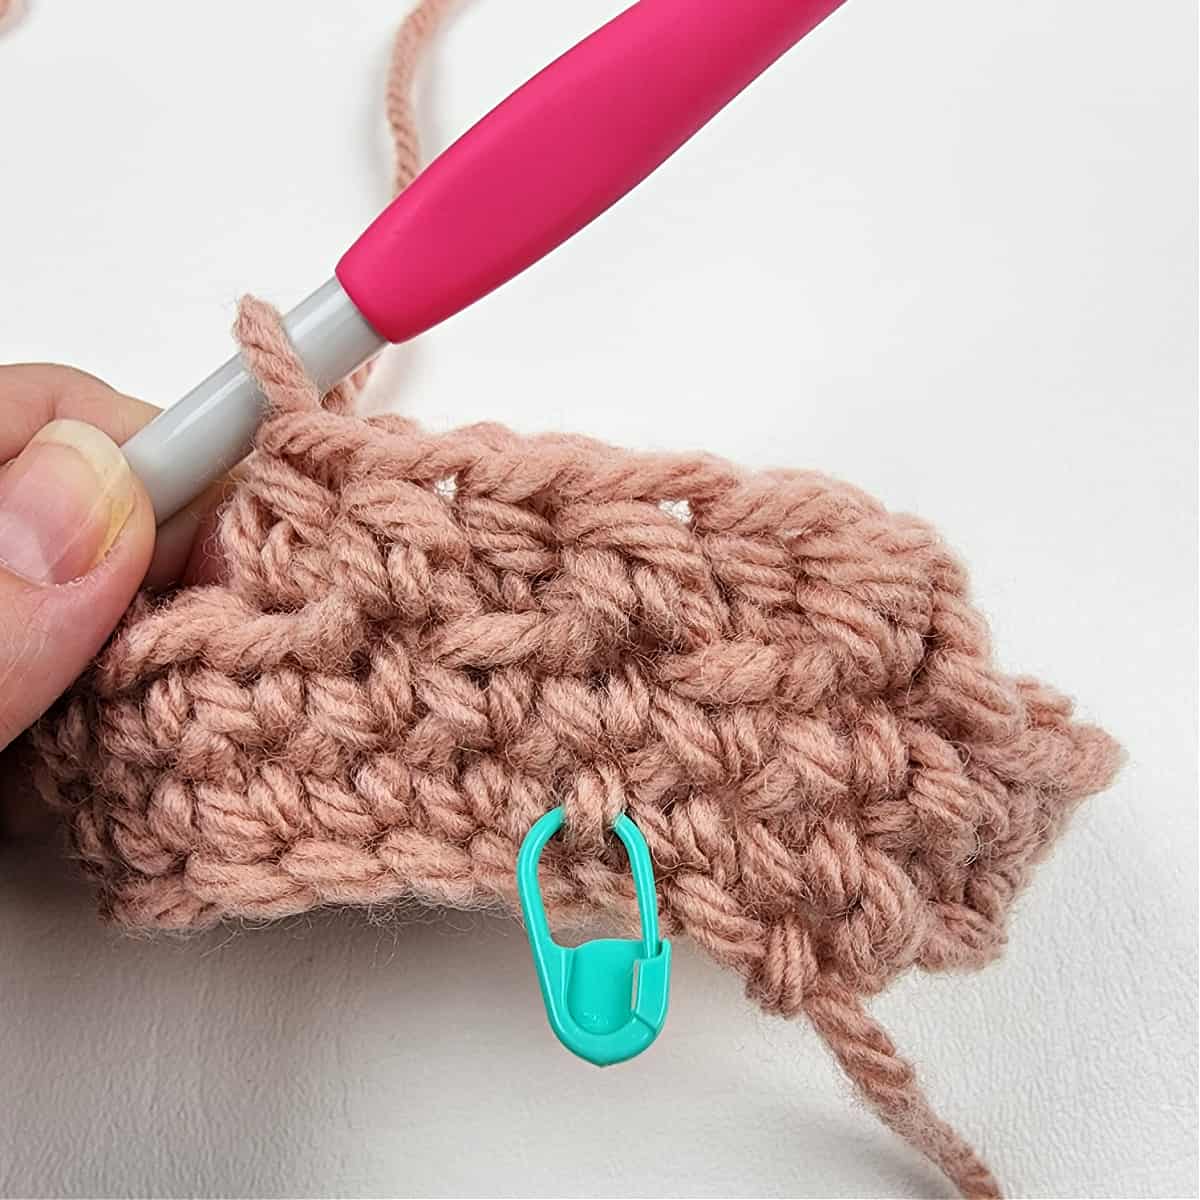
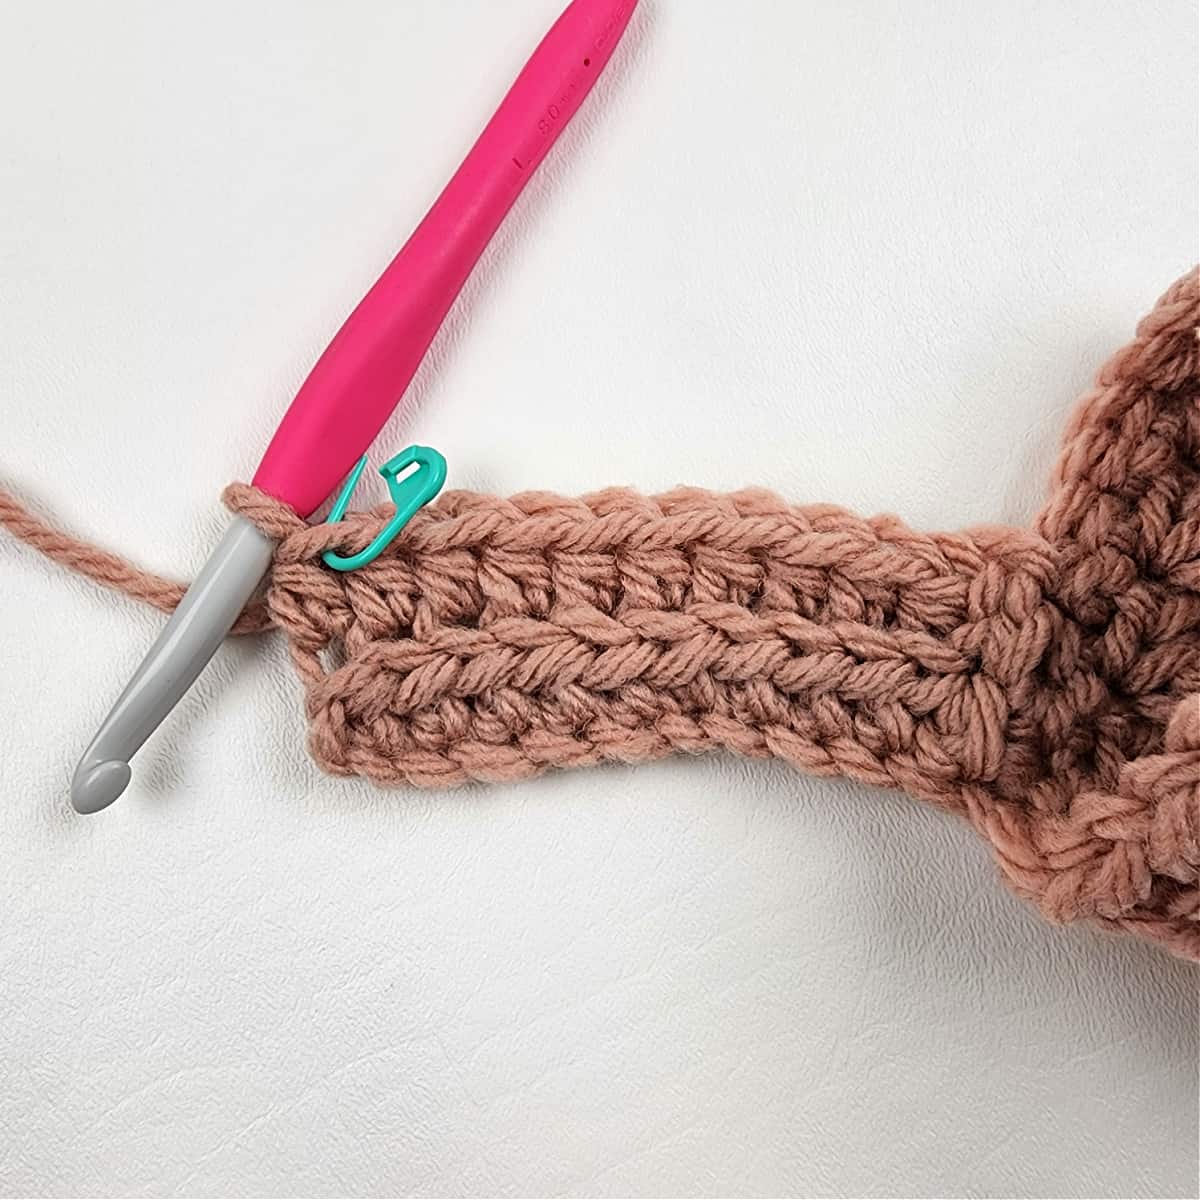
Tip! Place a stitch marker in any stitch on the right side of your cowl to mark it as the right side.
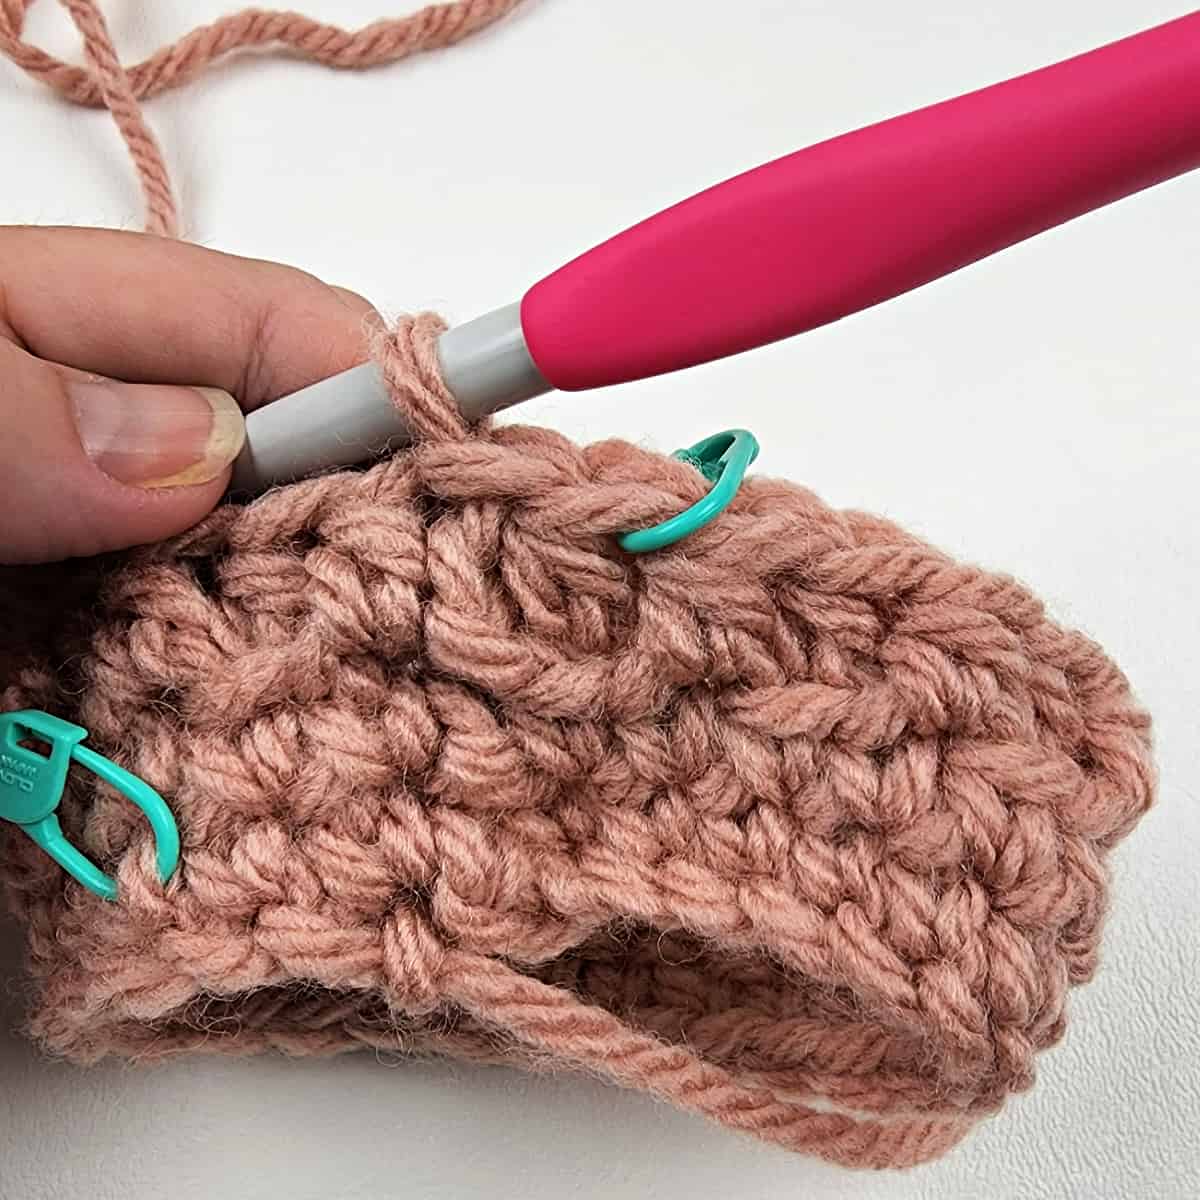
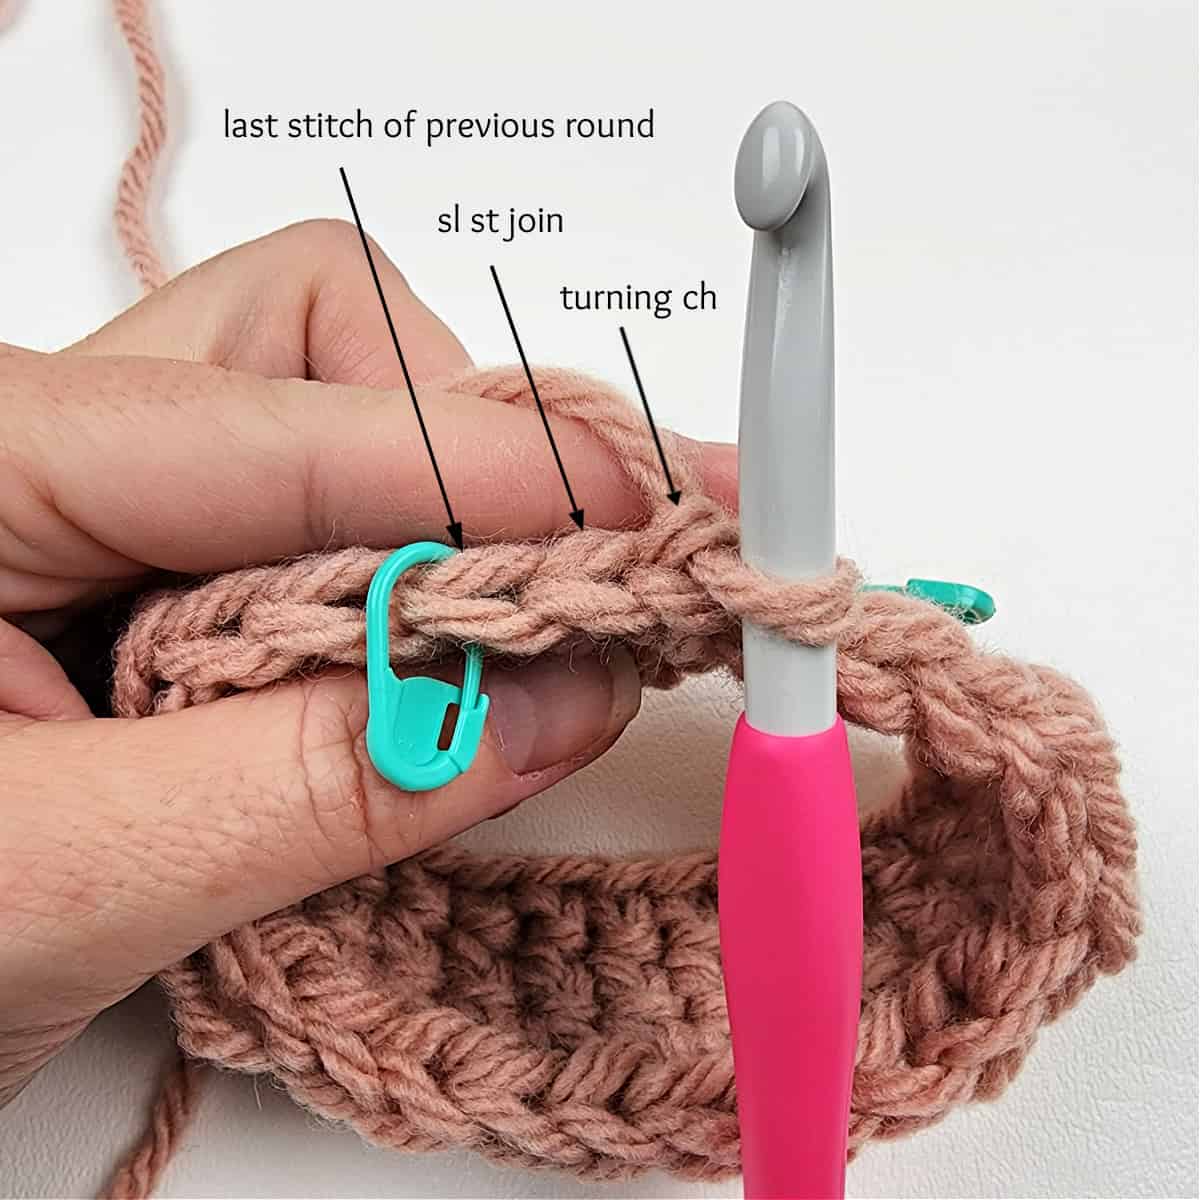
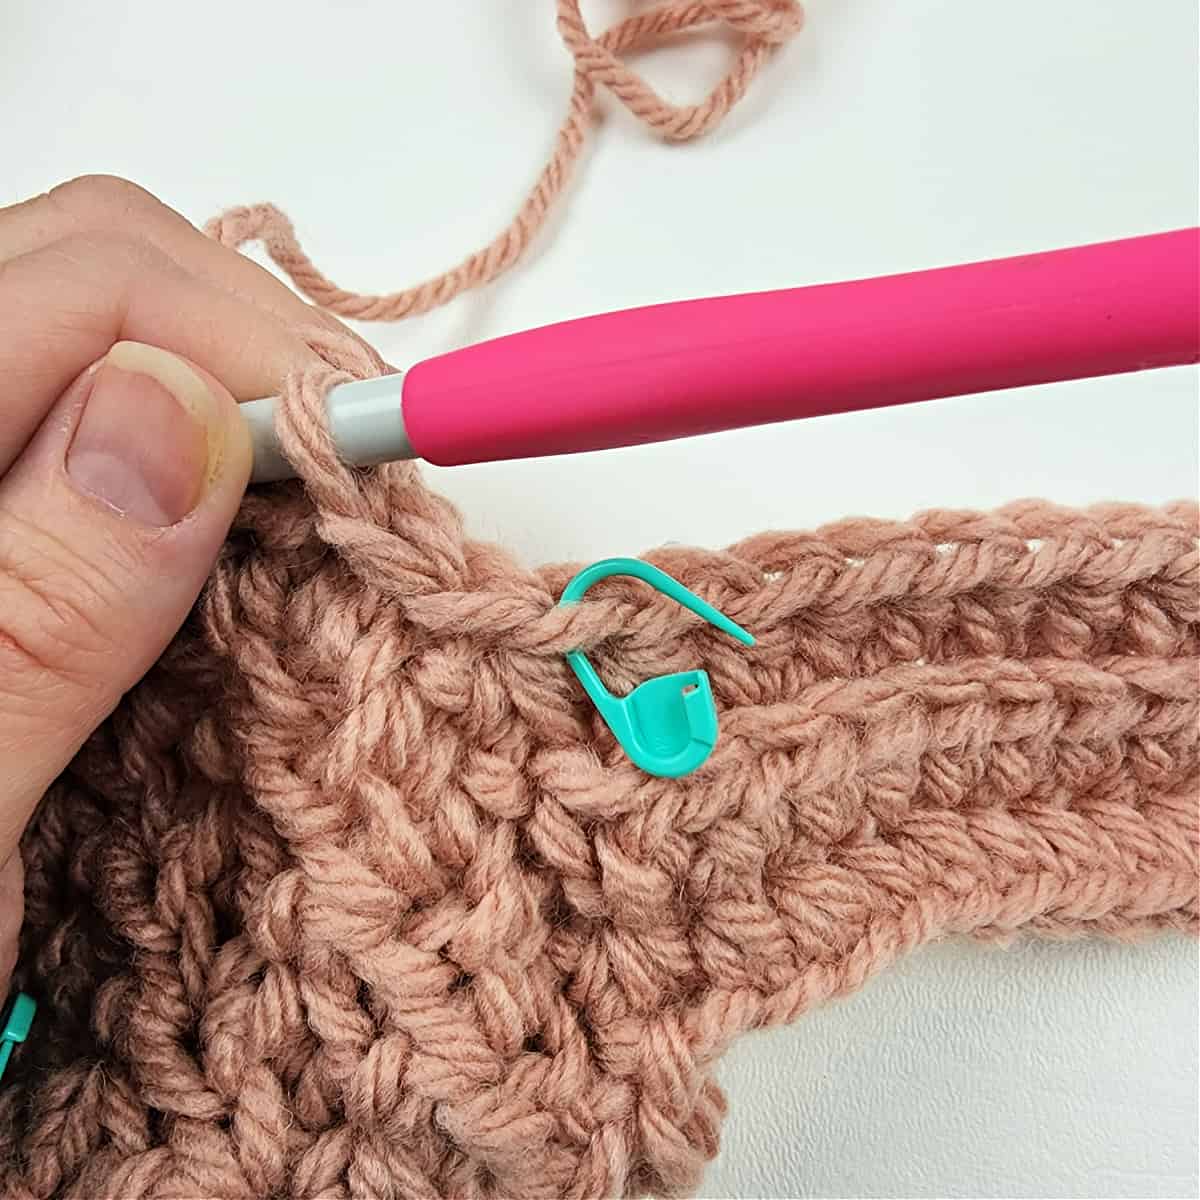
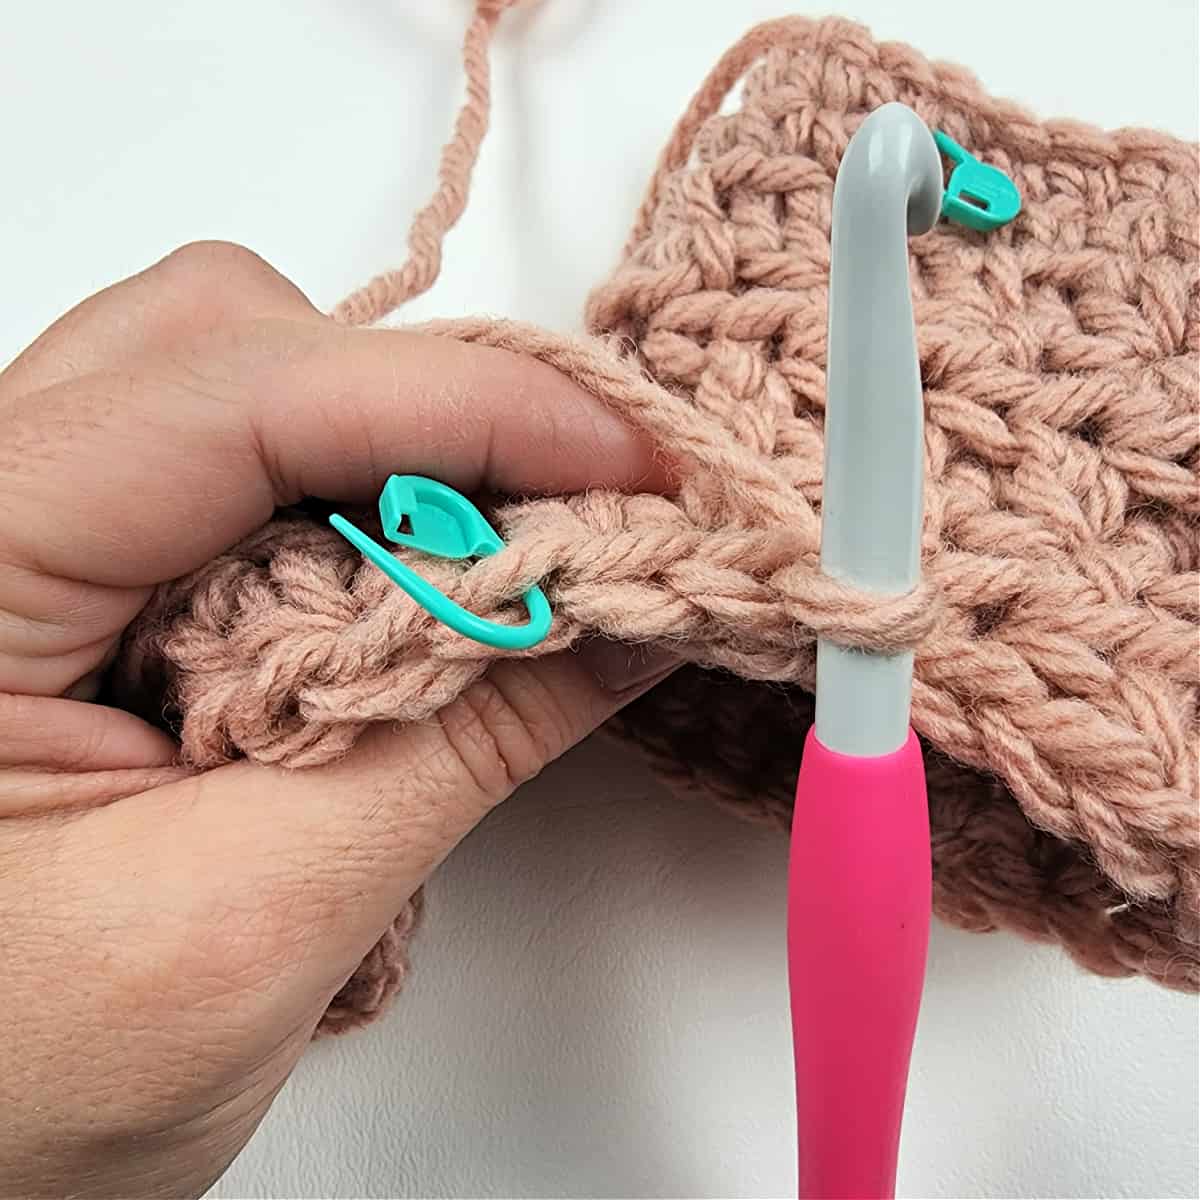
Tip! Beginning with Round 3, place a stitch marker in the last hdc of every round. Then when you turn to work the next round, you can easily see the first stitch you need to work into.
Rnd 4: Ch 1, ( hdc in BLO, hdc in FLO ) rep from ( to ) around. Join. TURN. (72 sts)
Complete the Body of Cowl
Rep Rnds 3 – 4 (making sure to end with a Rnd 4), until your cowl measures approximately 23″ L.
When laid flat, the size of your cowl at this point should be approximately 15″ W x 23″ L.
Do not fasten off. Continue on to Prepare Edge for Ribbed Cuff.
Prepare Crochet Cowl Edge for Ribbed Cuff
Rnd 1 (RS): Ch 1, ( sc in FLO, sc in BLO ) rep from ( to ) around. Join. (72 sts)
Do not fasten off. Continue on to Ribbed Cuff.
Ribbed Crochet Cuff
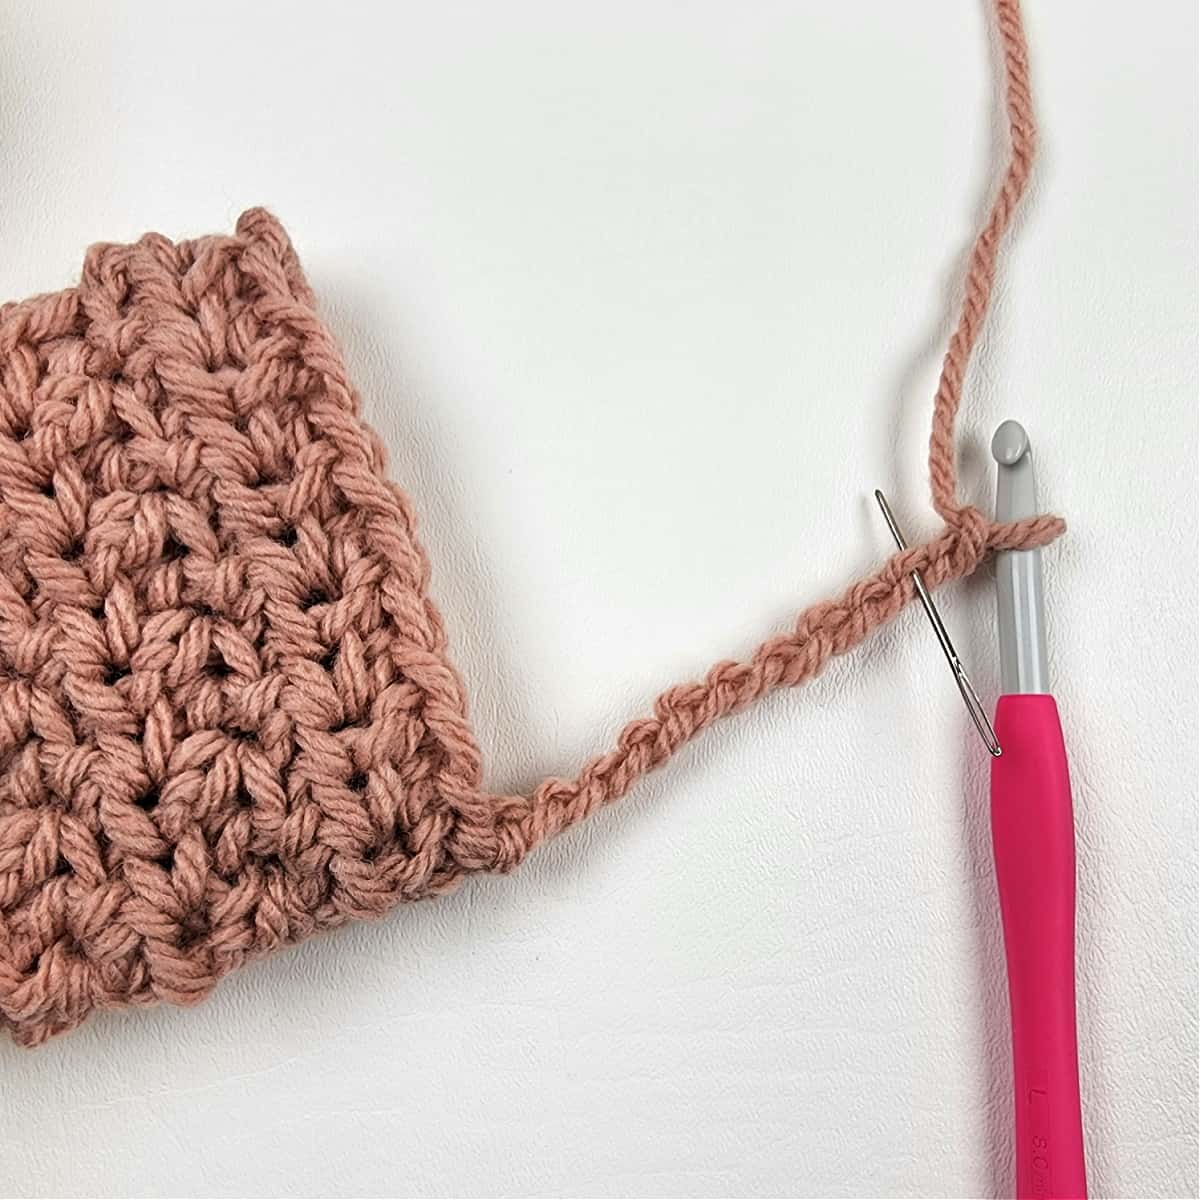
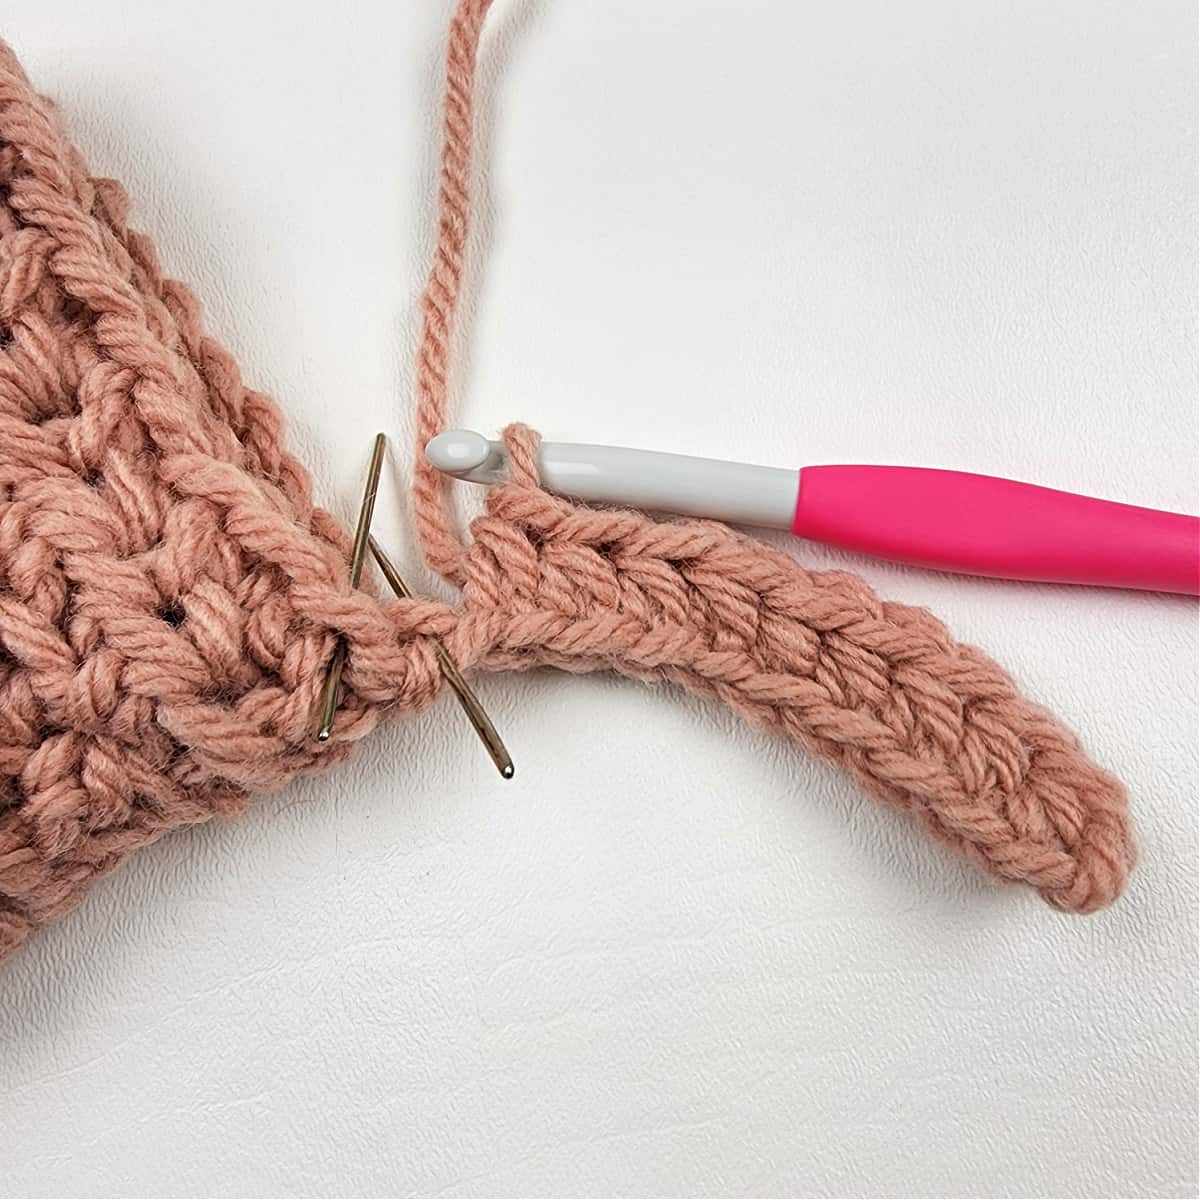
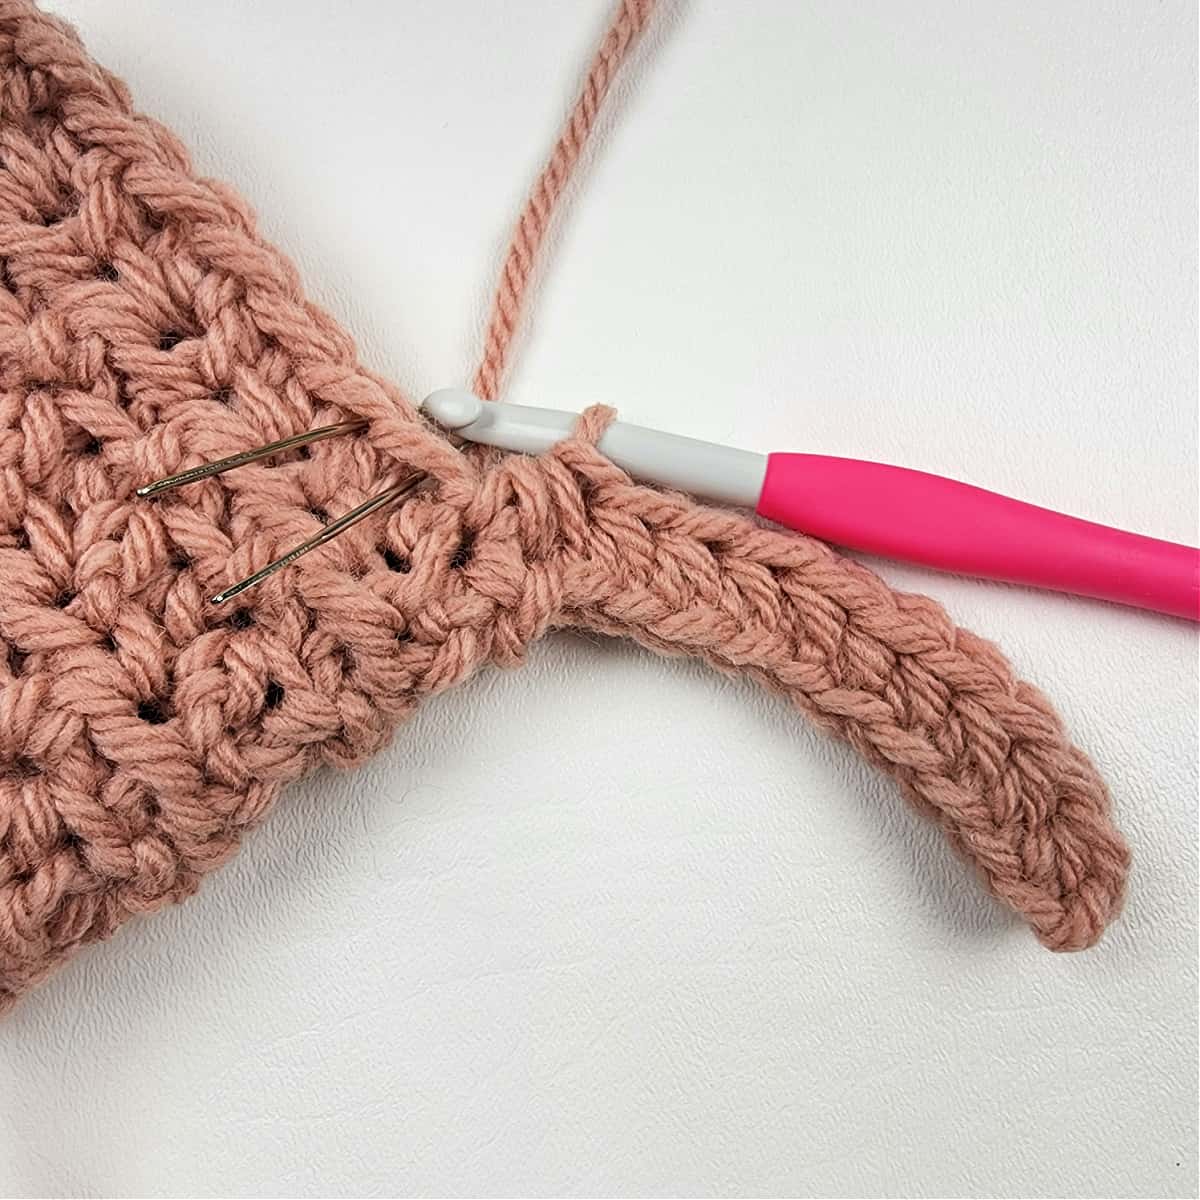
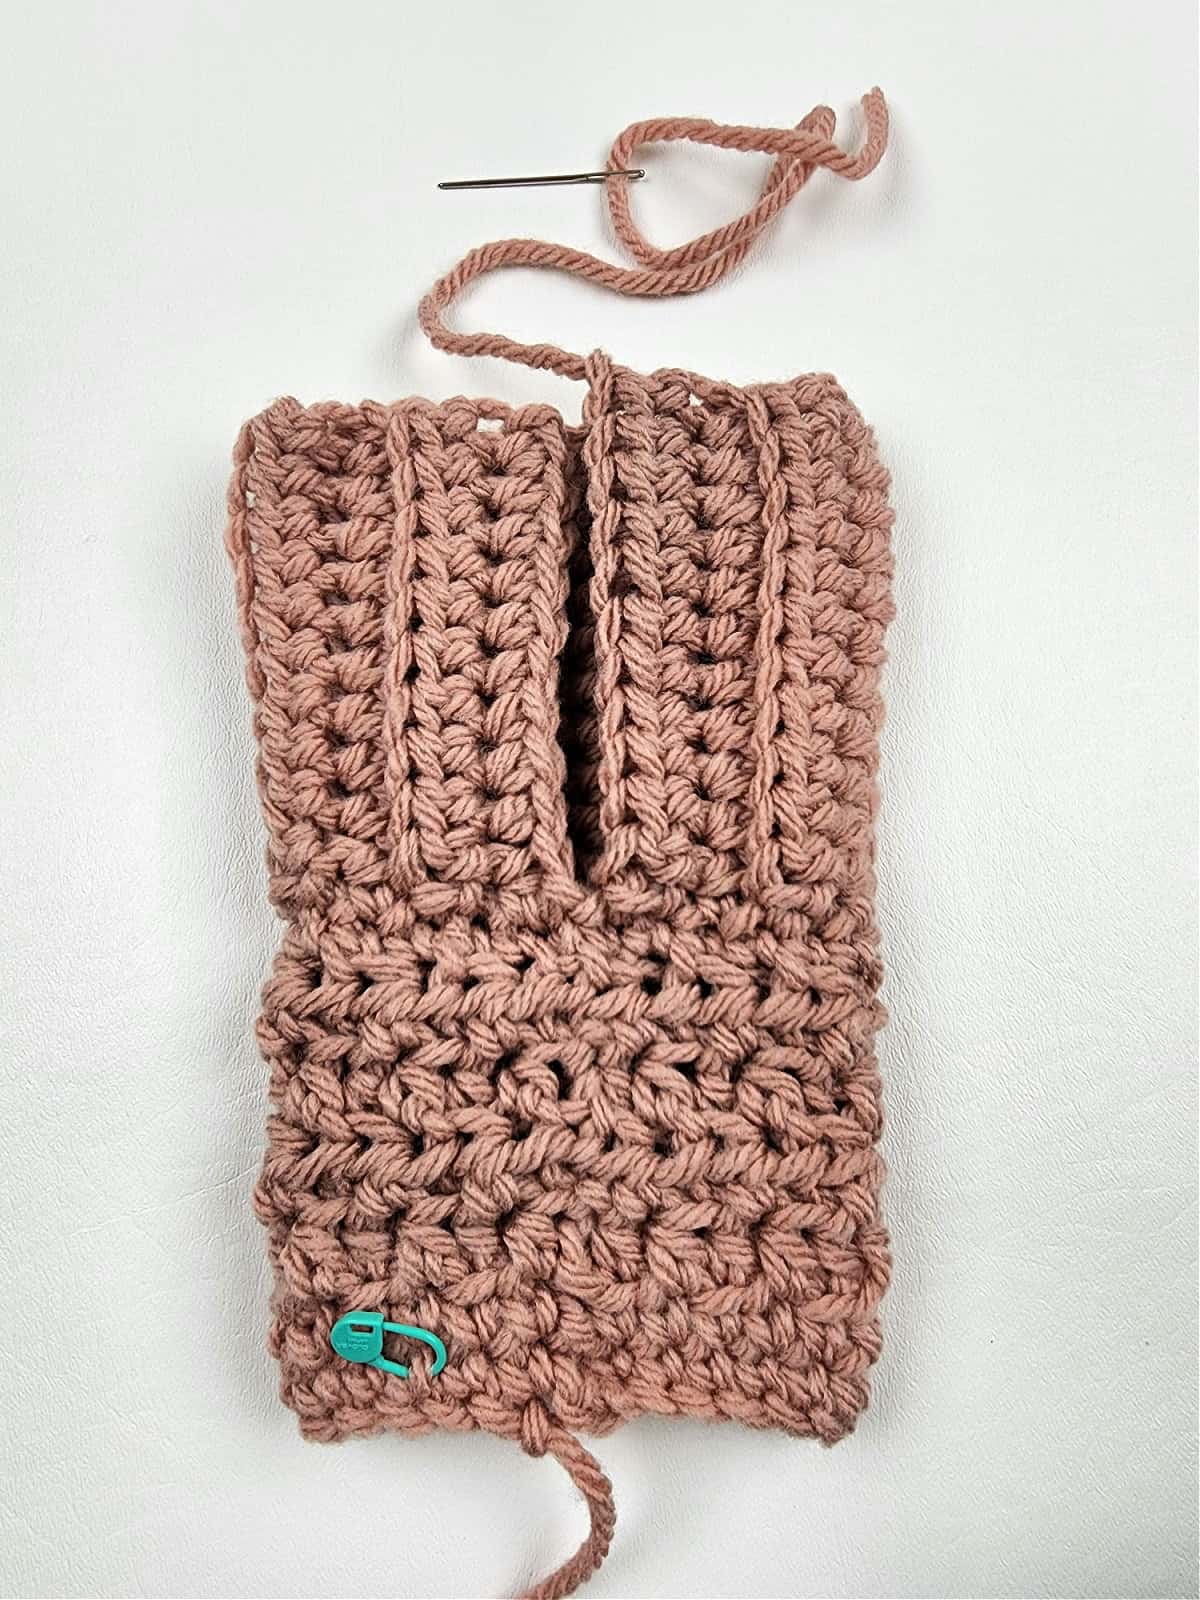
Row 1: Ch 11, working in the back humps of the ch, hdc in the 2nd ch from your hook, hdc in each of the next 8 chs, hdc2tog in the next ch & same st as ch 11. Do not turn. (10 sts)
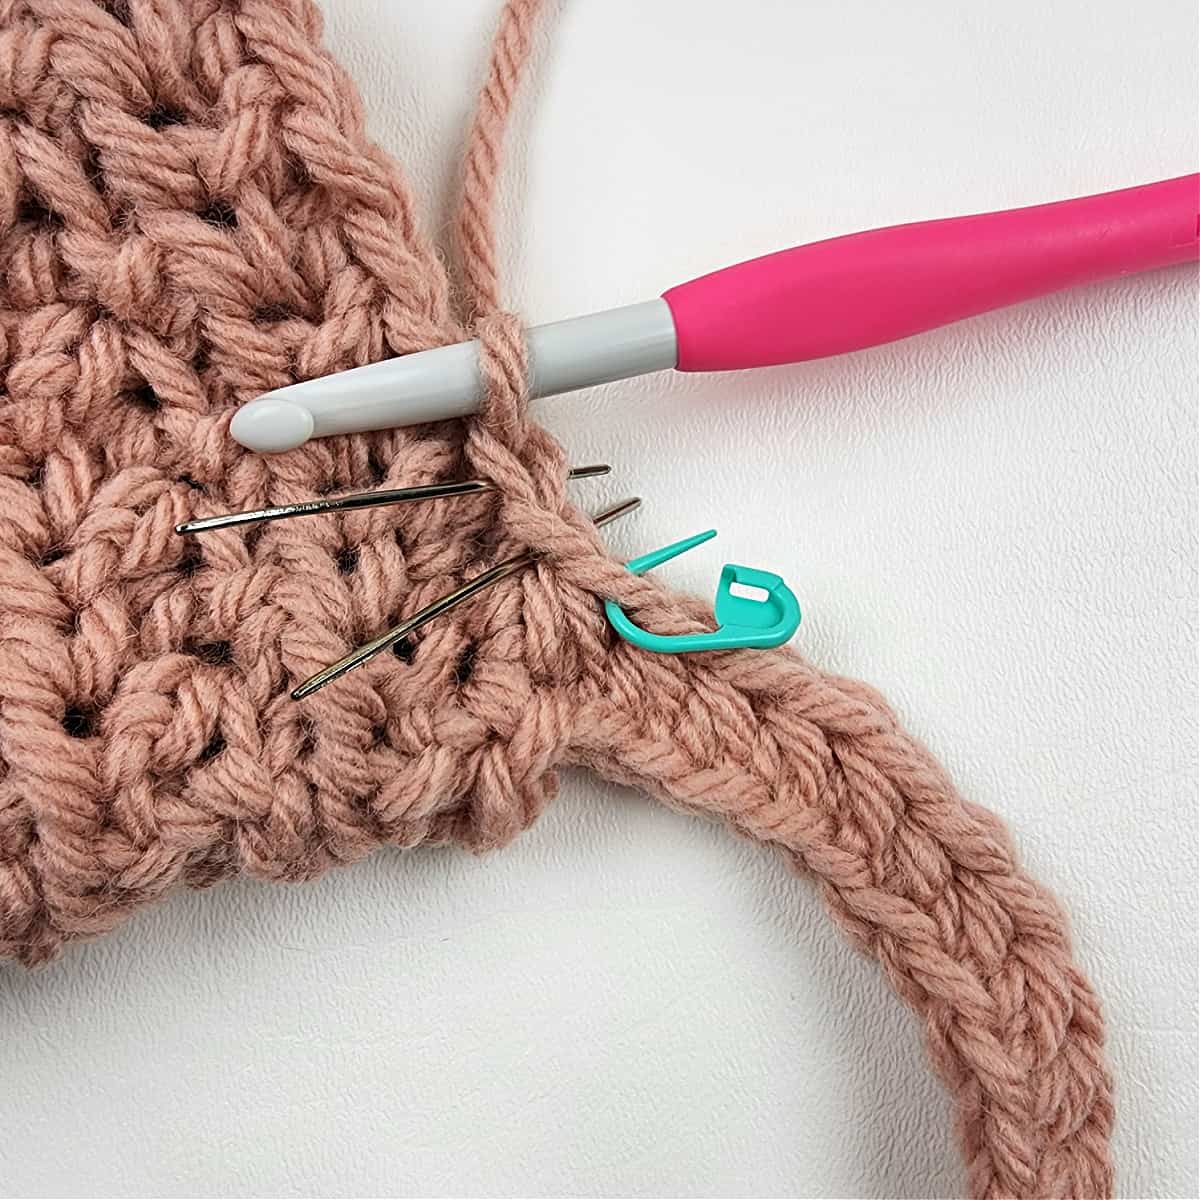
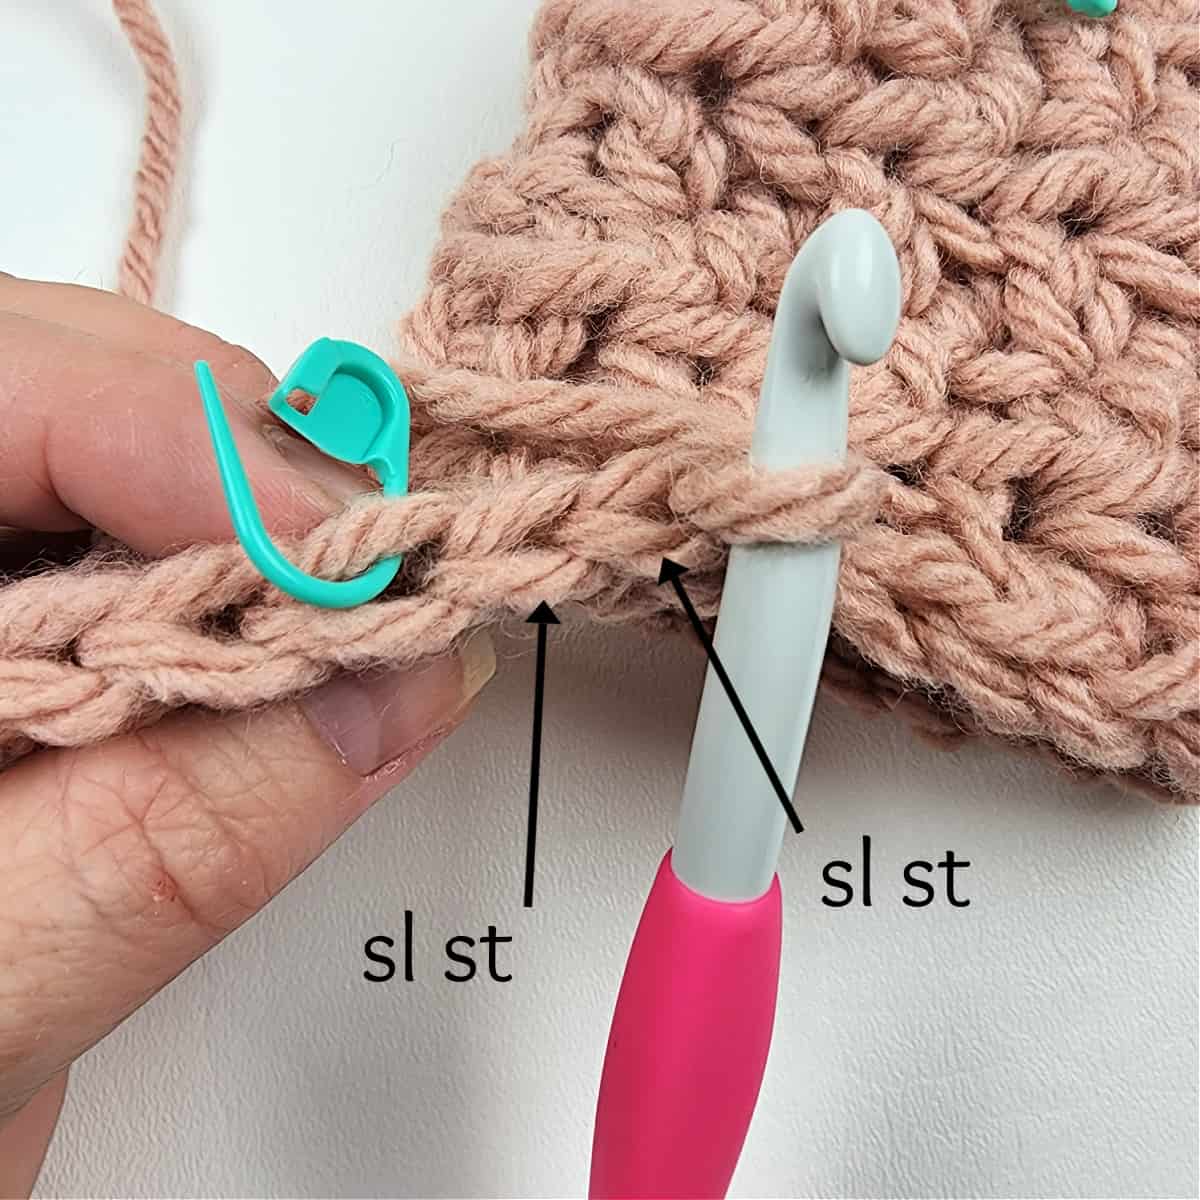
Row 2: ( sl st into the next st along the edge of the cowl ) 2 times (these 2 sl sts do not count as sts), TURN, BLO hdc in each st across the previous row. Turn. (10 sts)
Row 3: Ch 1, BLO hdc in the first st, BLO hdc in each of the next 8 sts, hdc2tog in the BLO of the next st and both loops of the next st along the edge of the cowl. Do not turn. (10 sts)


Row 4: ( sl st into the next st along the edge of the cowl ) 2 times (these 2 sl sts do not count as sts), TURN, BLO hdc in each st across the previous row. Turn. (10 sts)
Rows 6 – 48: Rep Rows 3 – 4.
Fasten off leaving a 12″ tail of yarn. Use a yarn needle and the tail of yarn to whipstitch the last row to the first row.
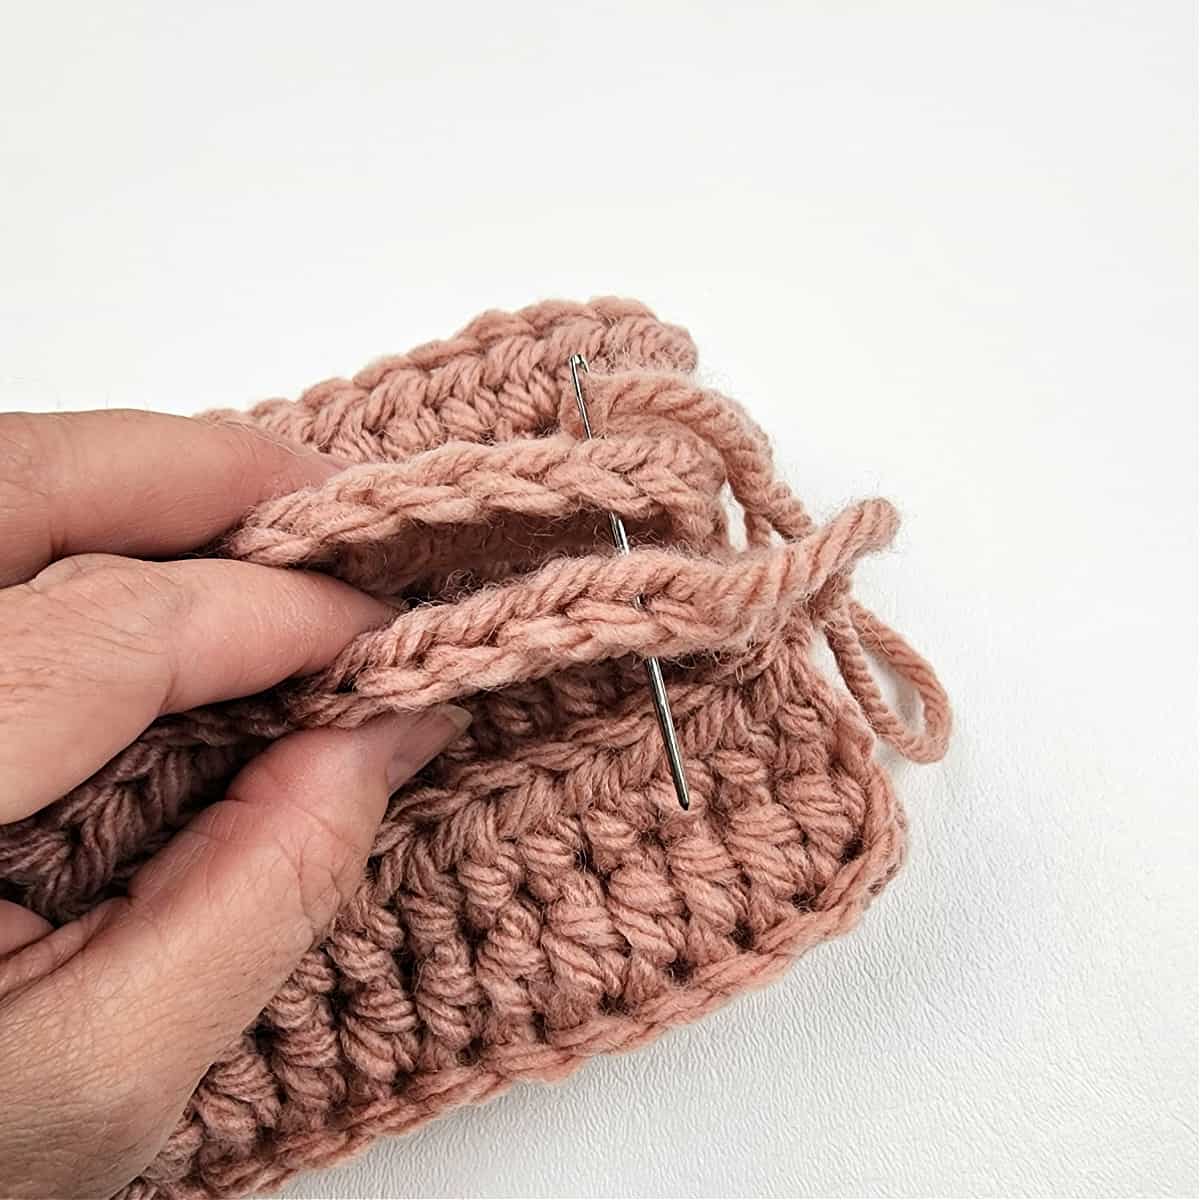

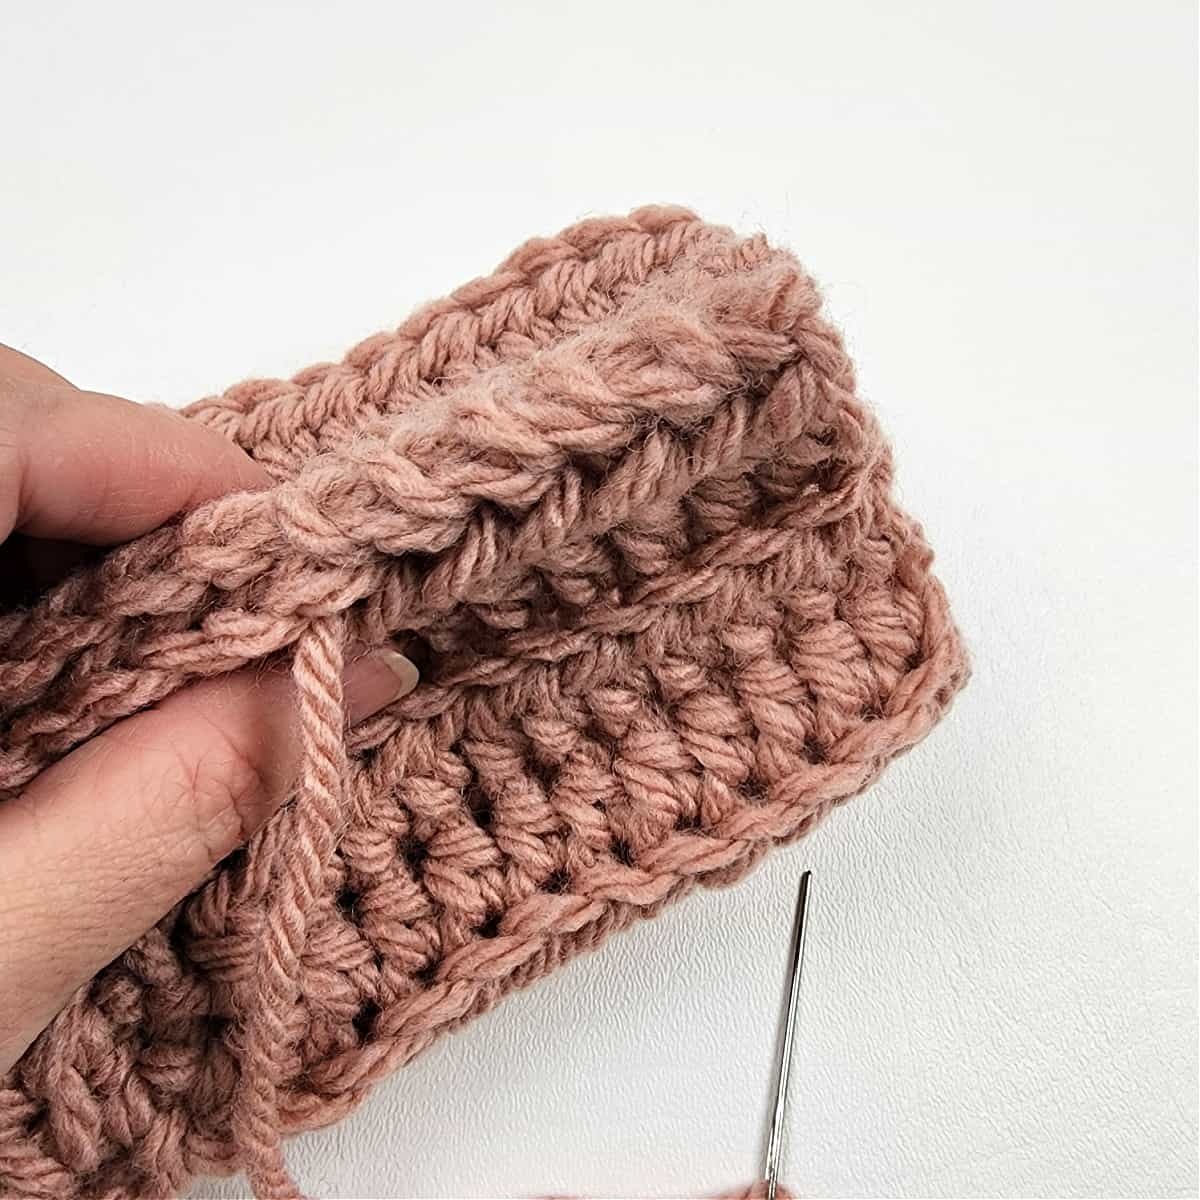
Weave in ends.
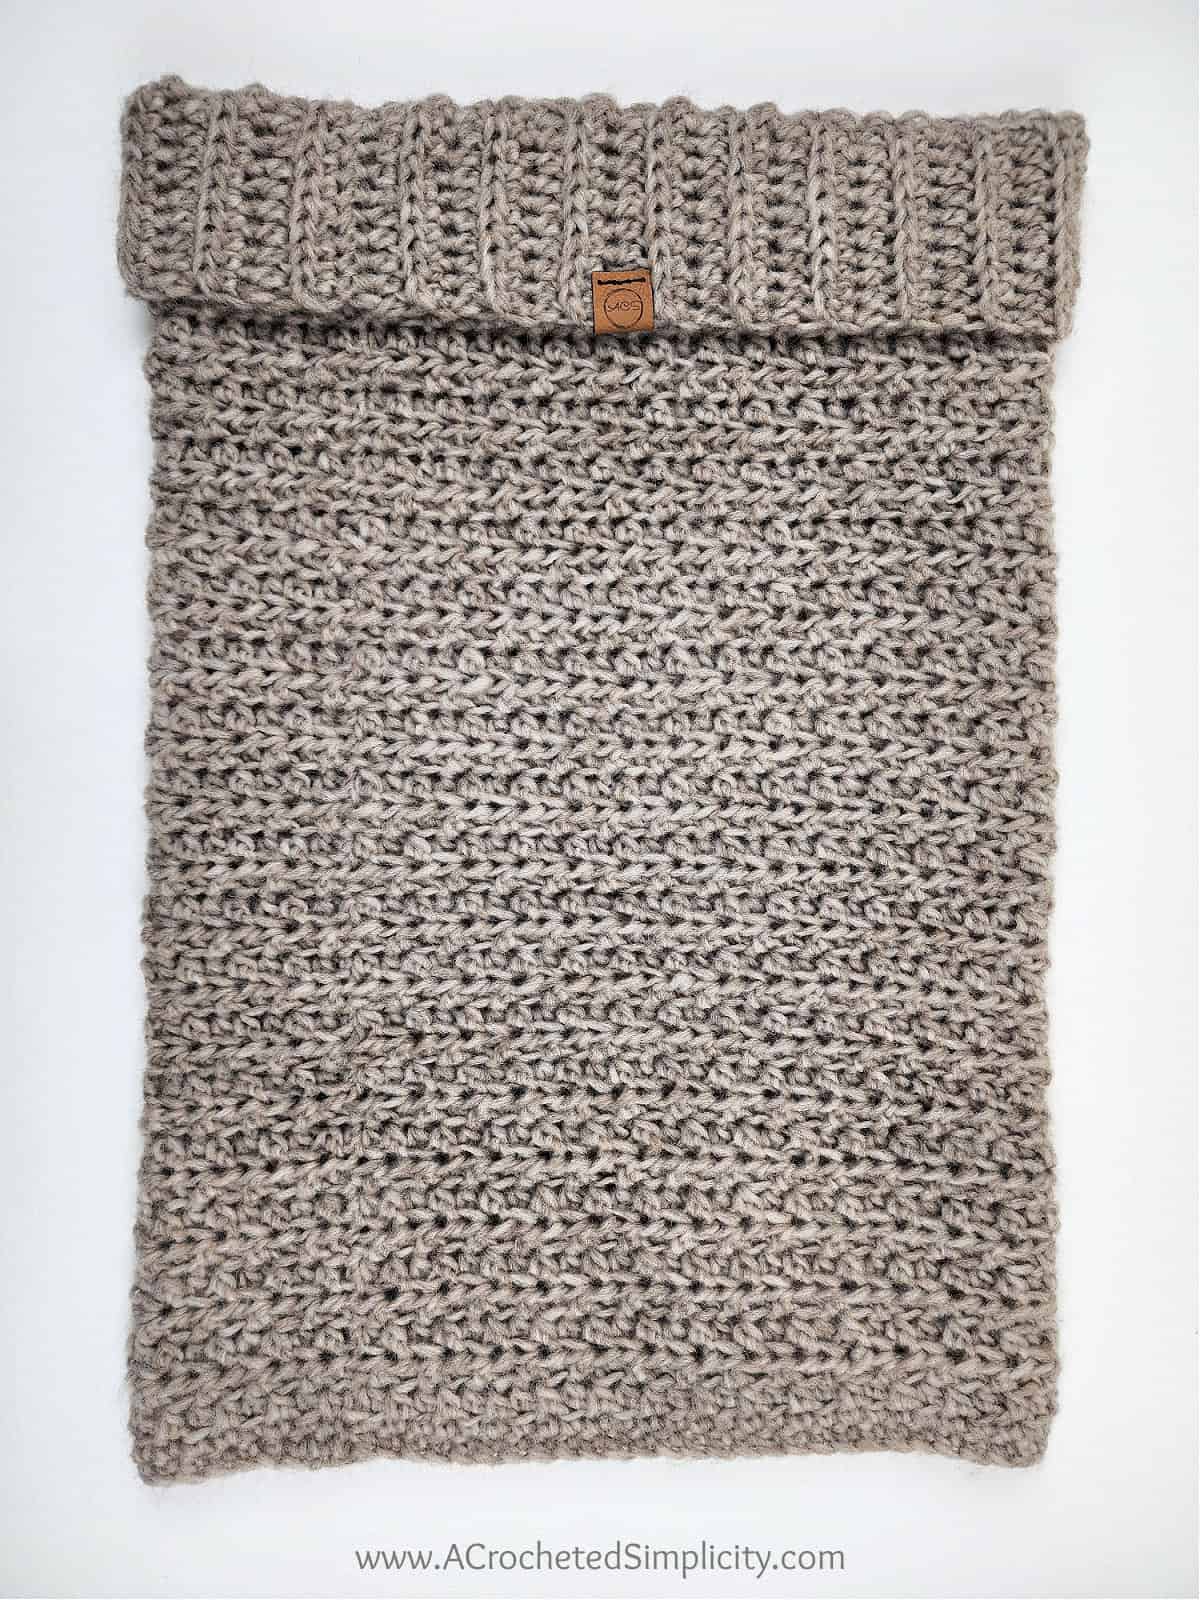
Wear It!
Insert your head into the bottom opening of the crochet cowl (the end opposite of the ribbed cuff). Fold the ribbed cuff down.
Wear it down like a traditional cowl or a wear it up like a crochet hood, whatever it is you fancy!
Frequently Asked Questions – FAQ’s
What are the measurements of a crochet cowl?
Standard cowl sizes vary based on personal preference, but the following is a good rule of thumb:
– Snug Fitting Cowl: 22″ – 23″ circumference x 8″ – 14″ H (depending how slouchy you’d like it).
– Loose Fitting Cowl: 30″ circumference x 8″ – 14″ H.
– Infinity Scarf: 60″ circumference x 6″ – 8″ H.
What is the standard size of a crochet hooded cowl?
The standard size of a crochet hooded cowl is 30″ circumference x 24″ H.
What is the difference between a crochet cowl and a hooded crochet cowl?
The answer is simple, the height. Both will be 30″ around, but a hooded cowl is much taller.
– A crochet cowl is typically 8″ – 14″ H.
– A hooded crochet cowl is typically 22″ – 25″ H.
Is a cowl the same as a snood?
Nowadays, you’ll see these terms used interchangeably thanks in part to the hit Netflix show, Wednesday.
– A crochet hooded cowl pattern may also be called a crochet snood pattern. The standard size of a crochet snood is 30″ circumference x 24″ H.
– A crochet infinity scarf pattern may also be referred to as a crochet snood. To be worn up and over your head as a snood, your infinity scarf should be approximately 60″ circumference x 12 – 15″ H.
What is the difference between a cowl and an infinity scarf?
You’ll likely see both referred to as cowls, but a true infinity scarf is typically double the circumference of a cowl.
– A standard size cowl is most commonly 30″ around, whereas an infinity scarf is typically 60″ around. They are usually both the same height.
– A cowl slips over the head and worn like a tube around the neck, but an infinity scarf can be worn long or wrapped in a figure eight (or infinity symbol) around the neck.
– You can see examples of both styles in my Diamonds Cowl & Infinity Scarf Pattern.
Are you intimidated by knit-look crochet? Would you love to learn my tips & tricks? Take an Annies Video Class with me and let me ease your fears and help you increase your skills! Click on the photo below to watch a free preview. You can also see the other 4 video classes I have available! (affiliate link)

Please share your finished ACS projects with us in the A Crocheted Simplicity Crochet Community Group on Facebook! Use hashtag #ACrochetedSimplicity when sharing on social media so I can find your posts!

Thank you for this gorgeous pattern. It is wonderful, and I thank you for all the time you put in explain in print and pictures, all the details to help us be successful creating the Hooded Cowl. I am going to give this a try while it is still cold enough to be worn. NM gets cold, but never gets a beautiful now like yours.
You’re so welcome! Thank you for your kind words. <3
I love cowls. This one looks lovely and warm. I like that this one turns into a cozy hood. Looking forward to making it.
There are so many of your designs that I want to make. Keep designing!
Such a beautiful project. I’ll enjoy making it for my daughter. Wish you a happy New year
This pattern looks so warm and cozy. Nice and thick for cold days.
This is so pretty and it would be just as pretty using a lighter weight yarn. Thank you for sharing your talent with us.
This is lovely. I finished it and was wondering if it will stretch and eventually drape like it shows you wearing it. It seems small however, I did crochet it the exact measurements. I am hoping to achieve the same look if possible.
Hi,
The yarn I used is very “airy” which really helped to give this cowl the drape shown. If you’re using a yarn that is more dense, you can always go up a hook size or two for a better drape.
Happy Crocheting,
Jennifer
Thank you so much. I will definitely try going up a hook or two on my next go around!!