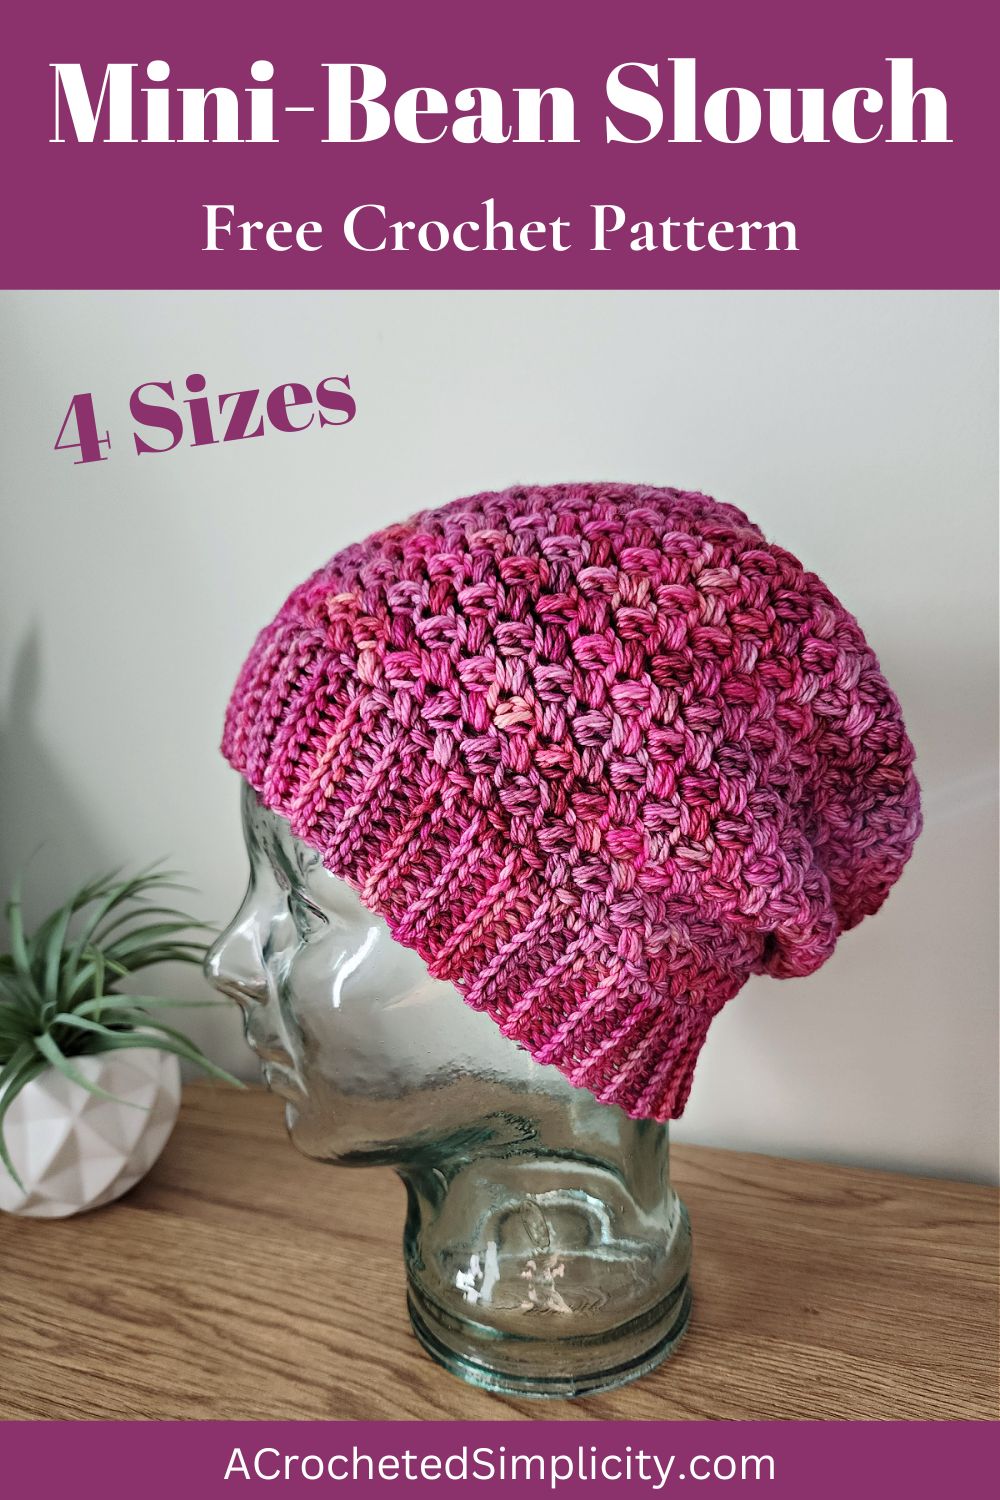
Mini Bean Stitch Crochet Hat
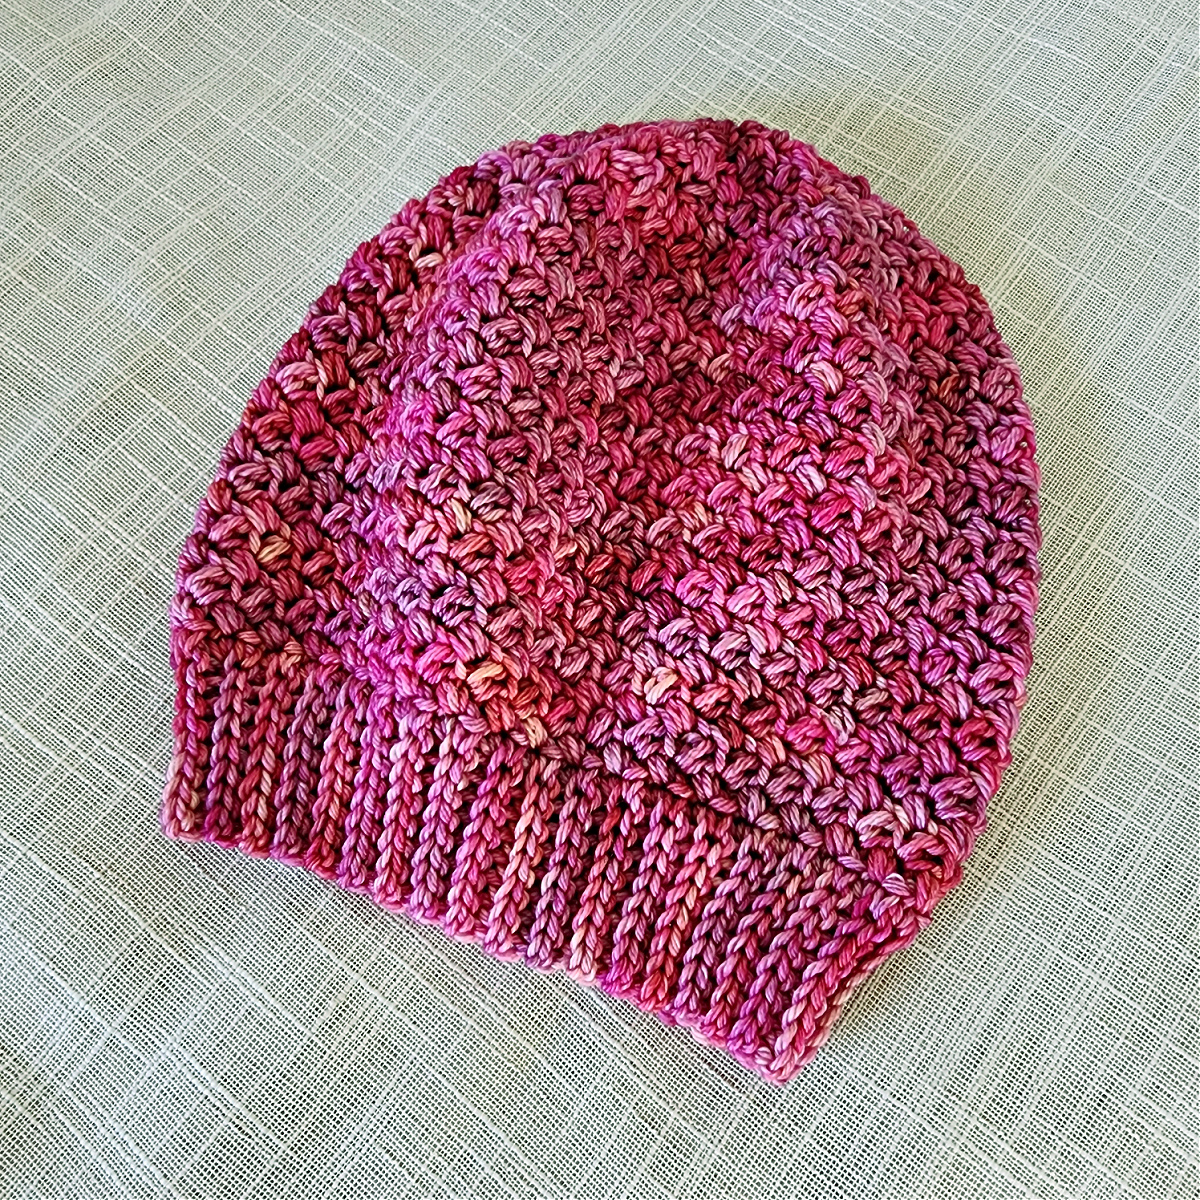
The Bean Stitch is a beautifully textured crochet stitch that creates a soft and plush look which appears similar at the front and back. If you haven’t added this to your crochet library, this mini bean stitch crochet hat is the perfect pattern to do so. Practice your beans and create something practical and chic while you’re at it!
The Mirabelle Slouch is one of those hats that you can carry with you everywhere. Fold it into your coat pocket when you’re indoors and whip it out when you step outside in the cold to protect your ears from the chill.
You’ll find the free mini bean stitch crochet hat pattern in the post below, or you can find an ad-free printable PDF (that includes all photo tutorials), on Ravelry, or Etsy (aff).
With winter setting in rapidly and the air getting chillier by the day, it’s so important to have those warm accessories on hand that’ll keep us cozy against the wind.
I took the word beanie quite literally when I designed this piece with the Bean Stitch. While perfecting those stitches, you can make a matching set for the whole family. Another great option is to make a mommy-and-me set with the child and adult sizes mentioned below and gift it to a loved one.
Related: If you want to make another easy hat pattern with lots of warmth packed in it, you should check out the Short Row Hat.
How to Crochet a Hat
This mini bean stitch crochet hat pattern has a beginner-friendly construction with minimal seaming to make it a stress-free journey from start to finish. It’s a basic bottom-up crochet pattern that starts at the ribbed brim.
The hat band is worked first in short rows and then the ends are seamed together to allow you to work continuously for the body of the hat.
The body of the hat is worked in continuous rounds from the band up to the crown which is shaped according to the size you’re making. The only end you have to weave in is the tail to cinch the top closed.

How To Get The
Mini Bean Stitch Hat Pattern
Option 1: Scroll down for the free beanie crochet pattern right here in this blog post.
Option 2: Purchase the ad-free printable PDF from one of my shops:
Best Yarn for Crochet Hats
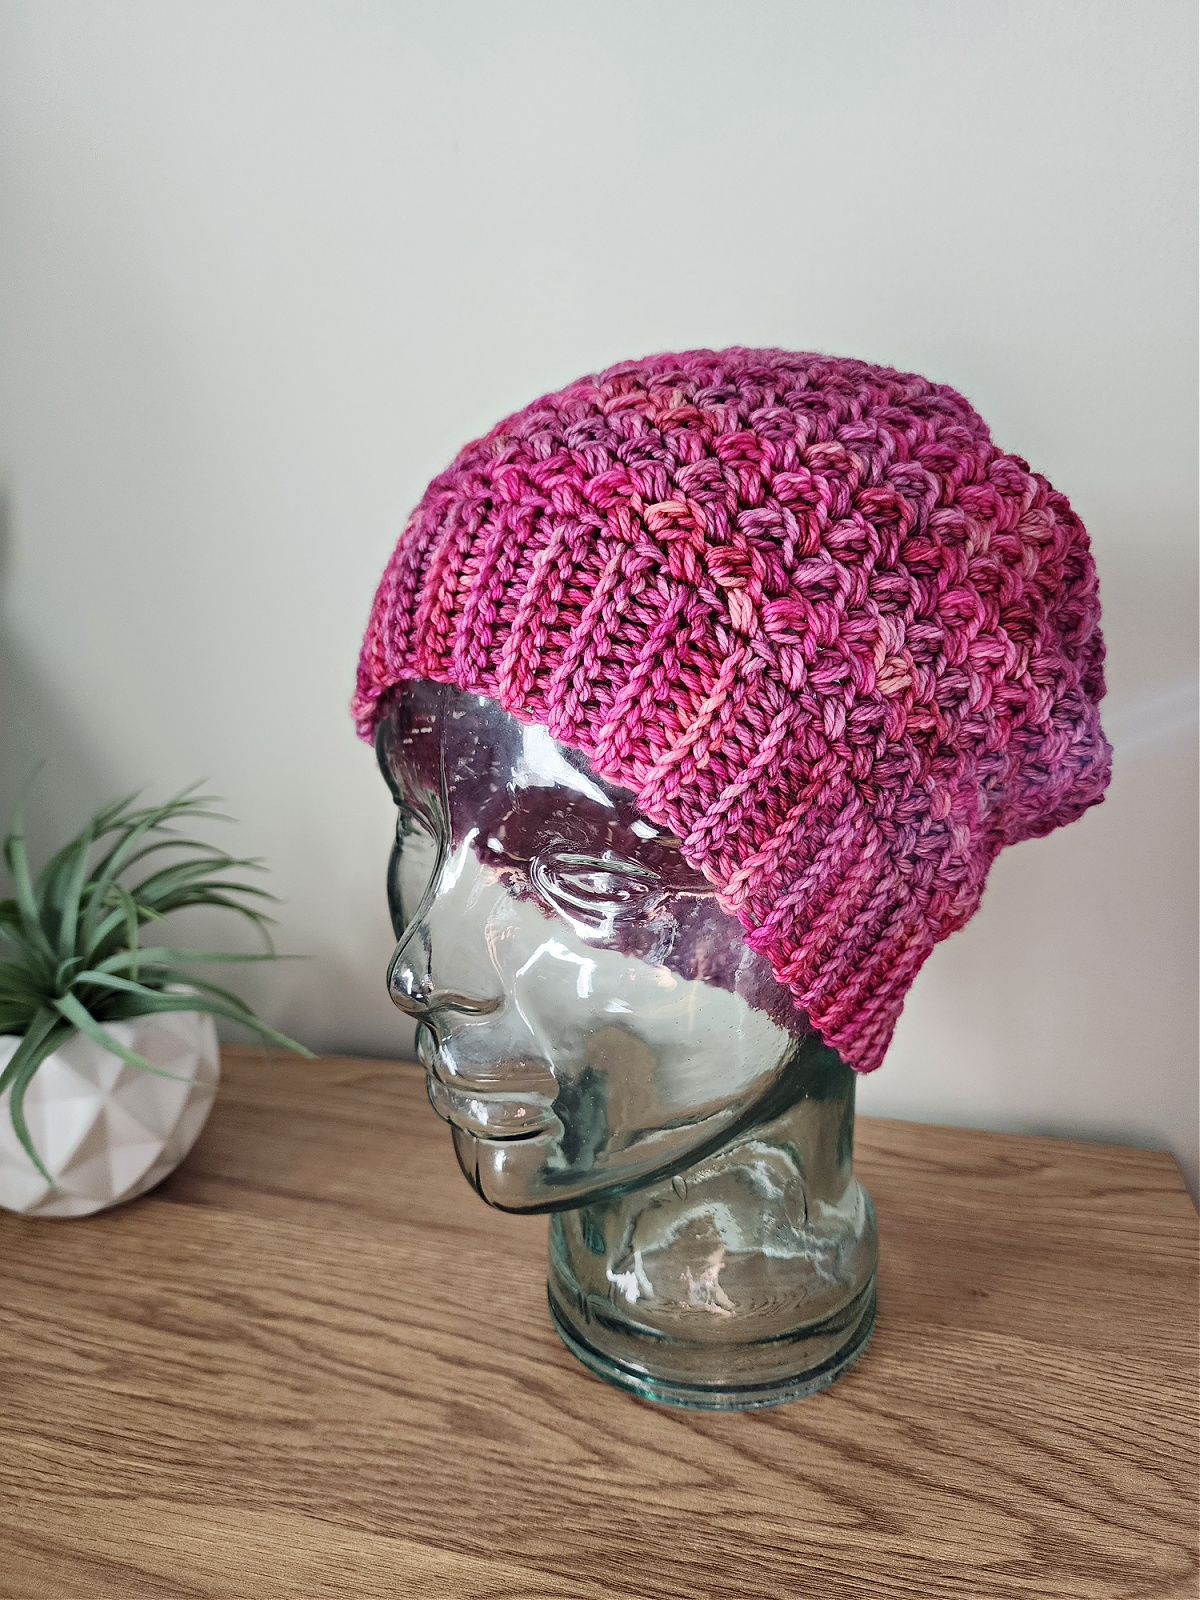
For crochet hats, while there are many options to choose from, I used a merino wool, silk, and cashmere blend yarn. The wool content gives it warmth while the silk and cashmere blend allows for a luxuriously soft feel to it that makes it the ideal winter accessory. It’s so important to use a yarn that doesn’t scratch or cause your head to overheat. There has to be good ventilation while maintaining the element of protection. This yarn accomplished all of that!
It comes in a variety of colors which allows you to choose just the right one for whoever is receiving this crochet beanie.
Yarn
This crochet beanie hat was designed with a worsted weight yarn to make sure it would strike the right balance between being too heavy and too light. I chose not to use a bulky yarn for fear it would then be too thick to be worn in the transitioning months of autumn and spring as we want to get the most wear out of this everyday piece.
I chose Madelinetosh Pashmina Worsted for my crochet hat. This is a worsted weight / 4, merino wool, silk, and cashmere blend yarn which offers a smooth even texture in a contemporary color palette with plenty of neutral tones.
Mini Bean Stitch Hat – Free Pattern
The crochet beanie hat pattern is free below, but if you love to work offline, I’ve got a couple other great options for you.
Purchase the ad-free, printable PDF, (that includes all photo tutorials), on Ravelry, or on Etsy (aff).
This post contains affiliate links.
Materials
- Yarn: Worsted Weight / 4 / Yarn, Madelinetosh Pashmina Worsted was used for the sample in the photos [75% Superwash Merino wool / 15% Silk / 10% Cashmere (210 yds / 192 m].
- Yardage: 200 – 270 yards (depending on size)
- Crochet Hook: J/10/6.0mm; I/9/5.50mm; or size needed to obtain gauge (My favorite crochet hooks are the Clover Amour Crochet Hooks, I’ve never had an ache in my hand since switching).
- Measuring Tape
- Scissors
- Yarn Needle
Abbreviations (US Terms)
- ch(s): chain(s)
- sl st(s): slip stitch(es)
- sc: single crochet
- MBS: mini-bean stitch
- MBS2tog: mini-bean stitch decrease
- st(s): stitch(es)
- yo: yarn over
- BLO: back loop only
- Rep: repeat
- Rnd: round
- RS: right side
- yo: yarn over
Experience Level
- Easy
Gauge
- Body of Hat: 7.25 sts = 2″
Sizes
- Choose size based on wearer’s head size when possible.
- Toddler: 18″ – 19″ circ. (200 yards)
- Child: 19″ – 20.5″ circ. (220 yards)
- Teen / Adult Small: 20″ – 22″ circ. (250 yards)
- Adult Medium / Large: 23″ – 24″ circ. (270 yards)
Special Stitches
- Mini-Bean Stitch (MBS): Insert your hook into the specified stitch, yo, pull up a loop, yo, insert your hook into the same st, yo, pull up a loop, yo, pull through all loops on your hook.
- Mini-Bean Stitch Decrease (MBS2tog): Insert your hook into the next stitch, yo, pull up a loop, yo, skip the next ch-1, insert your hook into the next st, yo, pull up a loop, yo, pull through all loops on your hook. *Each MBS2tog decreases stitch count by 2 stitches.
Pattern Notes
- Beginning chain(s) are not included in stitch count unless noted otherwise.
- I tend to crochet on the tighter side. You may find yourself needing to go down a hook size (or two) to properly meet gauge.
- Yarn Notes: The sample shown was made using Madelinetosh Poshmina Worsted (210 yards / 192 m / 75% Merino Wool / 15% Silk / 10% Cashmere). Other worsted weight yarns can be easily substituted as long as gauge is met.
- Constructions Notes: The hat band is worked first and then the body of the hat is worked in continuous rounds from the band up to the crown.
Mini Bean Stitch Crochet Hat – Written Pattern
All Sizes
Changes for Sizes Written as follows: Toddler (Child, Teen/Adult Small, Adult Med/Lg)
Tip: The biggest piece of advice I can give you, that will make this pattern much more enjoyable, is to make sure you work your slip stitches loosely. If you do not, working the next row will be much harder than it needs to be and it will greatly affect your gauge.
Important Note: DO NOT (even if you’re really, really tempted to) stretch the hat band while you’re working it as this could greatly affect the positive ease of your finished band.
Hat Band
Gauge: In slip stitch 8 sts = 2″; 11.50 rows = 2″
Row 1 (RS): Using a 5.50mm crochet hook, ch 8 (8, 9, 9), working into the back hump of the chain, sl st in 2nd ch from hook and each ch across. Turn. (7, 7, 8, 8 sts)
Row 2: Ch 1, BLO sl st in each st across. Turn.
Rows 3 – 65 (69, 73, 79): Rep Row 2. Your unstretched band should measure approximately: 11″ (12″, 13″, 14″) (sl st ribbing stretches a lot)
Row 66 (70, 74, 80) Seam Row: With RS facing out, bring the first row up to meet the last row (the first row should be in front if you kept the RS facing out). Position your working yarn so that it’s on the inside of the band.
Ch 1, slip stitch the rows together using the following method: insert your hook (from front to back) into the FLO of the 1st stitch of Row 1, insert your hook (from back to front) into the BLO of the 1st stitch of the last row, yo, pull thru all loops on your hook. Continue in this way across the band to complete the seam. (7, 7, 8, 8 sts)
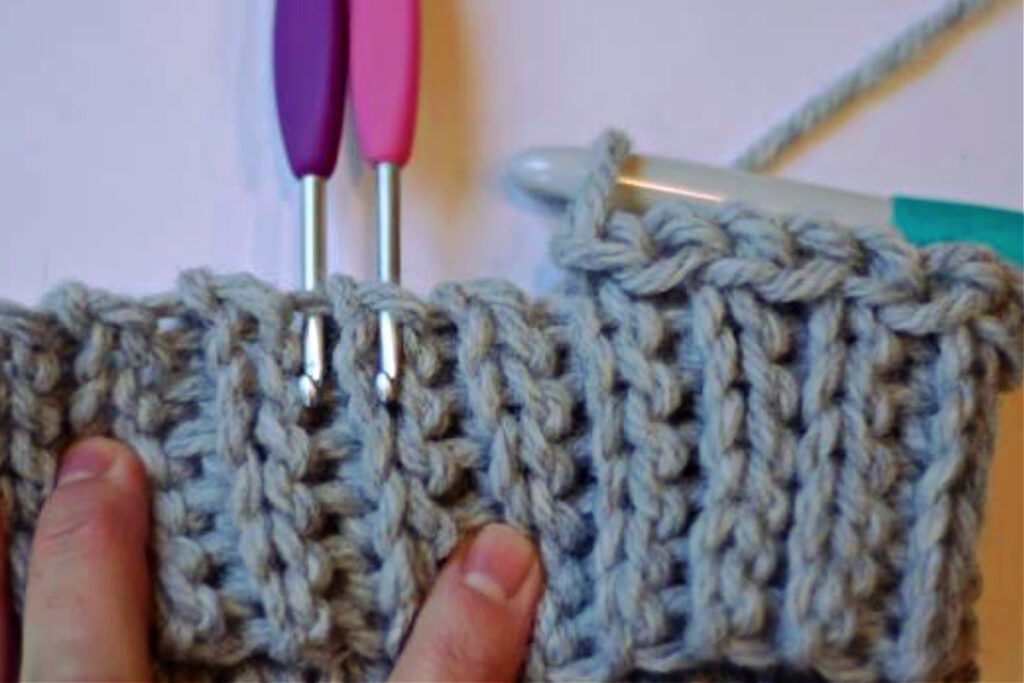
Tip: If you’ve never worked a slip stitch band before, and are unsure on how to get the best results and count the rows, I have tutorials for both of these. Check out this post to learn how to count the rows and this one for lots of excellent tips on working slip stitch crochet.
Body of Hat
Gauge: In stitch pattern (MBS, ch-1, skip 1): 7.25 sts = 2″
Rnd 1 (RS): Continuing on from the band, with a 6.0mm crochet hook, ch 1, sc in the side of each row around, add one more sc in the side of the last row. Join with a sl st to the 1st stitch. (67, 71, 75, 81 sts)
Rnd 2 (RS): Ch 1, MBS in the next st, (ch 1, skip the next st, MBS in the next st) rep from ( to ) around. Join. Turn. (67, 71, 75, 81 sts)
Note: Beginning with the next round, work ALL MBS into a MBS from the previous round, not into the ch-1 spaces.
All Sizes: Rep Rnd 2 until hat measures 7″ (7-1/2″, 8″, 8-1/2″) (including band). Do not fasten off. Continue on to Crown Shaping.
Crown Shaping – Toddler
Rnd 1 (RS): Ch 1, [ (MBS in the next st, ch 1, skip the next st) twice, MBS2tog over the next 2 MBS skipping over a ch-1, ch 1, skip the next st ] rep from [ to ] around to the last 3 sts, then MBS in the next st, ch 1, skip the next st, MBS in the next st. Join. Turn. (51 sts)
Rnd 2: Ch 1, [ (MBS in the next st, ch 1, skip the next st) twice, MBS2tog over the next 2 MBS skipping over a ch-1, ch 1, skip the next st ] rep from [ to ] around to the last 3 sts, then MBS in the next st, ch 1, skip the next st, MBS in the next st. Join. Turn. (39 sts)
Rnds 3 – 4: Ch 1, MBS in the next st, (ch 1, skip the next st, MBS in the next st) rep from ( to ) around. Join. Turn. (39 sts)
Rnd 5: Ch 1, [* (MBS in the next st, ch 1, skip the next st) twice, MBS2tog over the next 2 MBS skipping over a ch-1 *, ch 1, skip the next st ] rep from [ to ] around to the last 7 sts, then work from * to *. Join. Turn. (29 sts)
Rnd 6: Ch 1, [ (MBS in the next st, ch 1, skip the next st) twice, MBS2tog over the next 2 MBS skipping over a ch-1, ch 1, skip the next st ] work from [ to ] 3 times, then work (MBS in the next st, ch 1, skip the next st) twice, MBS in the next st. Join. Turn. (23 sts)
Rnd 7: Ch 1, ( MBS in the next st, ch 1, skip the next st, MBS2tog over the next 2 MBS skipping over a ch-1, ch 1, skip the next st) work from ( to ) 3 times, then work (MBS in the next st, ch 1, skip the next st) twice, MBS in the next st. Join. (17 sts)
Fasten off leaving an 8″ tail. Using a yarn needle, weave tail of yarn in and out of every stitch from the last round, pull gently to cinch closed. Secure with a knot on the inside of the hat. Weave in ends.
Crown Shaping – Child
Rnd 1 (RS): Ch 1, [* (MBS in the next st, ch 1, skip the next st) twice, MBS2tog over the next 2 MBS skipping over a ch-1 * , ch 1, skip the next st ] rep from [ to ] around to the last 7 sts, then work from * to *. Join. Turn. (53 sts)
Rnd 2: Ch 1, [ (MBS in the next st, ch 1, skip the next st) twice, MBS2tog over the next 2 MBS skipping over a ch-1, ch 1, skip the next st ] rep from [ to ] around to the last 5 sts, then work (MBS in the next st, ch 1, skip the next st) twice, MBS in the next st. Join. Turn. (41 sts)
Rnds 3 – 4: Ch 1, MBS in the next st, (ch 1, skip the next st, MBS in the next st) rep from ( to ) around. Join. Turn. (41 sts)
Rnd 5: Ch 1, [ (MBS in the next st, ch 1, skip the next st) twice, MBS2tog over the next 2 MBS skipping over a ch-1, ch 1, skip the next st ] rep from [ to ] around to the last st, then work MBS in the next st. Join. Turn. (31 sts)
Rnd 6: Ch 1, [* (MBS in the next st, ch 1, skip the next st) twice, MBS2tog over the next 2 MBS skipping over a ch-1 *, ch 1, skip the next st ] work from [ to ] 3 times, then work from * to *. Join. Turn. (23 sts)
Rnd 7: Ch 1, ( * MBS in the next st, ch 1, skip the next st, MBS2tog over the next 2 MBS skipping over a ch-1 *, ch 1, skip the next st) work from [ to ] 3 times, then work from * to *. Join. (15 sts)
Fasten off leaving an 8″ tail. Using a yarn needle, weave tail of yarn in and out of every stitch from the last round, pull gently to cinch closed. Secure with a knot on the inside of the hat. Weave in ends.
Crown Shaping – Teen/Adult Small
Rnd 1 (RS): Ch 1, [ (MBS in the next st, ch 1, skip the next st) twice, MBS2tog over the next 2 MBS skipping over a ch-1, ch 1, skip the next st ] rep from [ to ] around to the last 3 sts, then work MBS in the next st, ch 1, skip the next st, MBS in the next st. Join. Turn. (57 sts)
Rnd 2: Ch 1, [ (MBS in the next st, ch 1, skip the next st) twice, MBS2tog over the next 2 MBS skipping over a ch-1, ch 1, skip the next st ] rep from [ to ] around to the last st, then work MBS in the next st. Join. Turn. (43 sts)
Rnds 3 – 4: Ch 1, MBS in the next st, (ch 1, skip the next st, MBS in the next st) rep from ( to ) around. Join. Turn. (43 sts)
Rnd 5: Ch 1, [ (MBS in the next st, ch 1, skip the next st) twice, MBS2tog over the next 2 MBS skipping over a ch-1, ch 1, skip the next st ] rep from [ to ] around to the last 3 sts, then MBS in the next st, ch 1, skip the next st, MBS in the next st. Join. Turn. (33 sts)
Rnd 6: Ch 1, [ (MBS in the next st, ch 1, skip the next st) twice, MBS2tog over the next 2 MBS skipping over a ch-1, ch 1, skip the next st ] rep from [ to ] around to the last st, then MBS in the next st. Join. Turn. (25 sts)
Rnd 7: Ch 1, ( MBS in the next st, ch 1, skip the next st, MBS2tog over the next 2 MBS skipping over a ch-1, ch 1, skip the next st) rep from [ to ] around to the last st, then work MBS in the next st. Join. (17 sts)
Fasten off leaving an 8″ tail. Using a yarn needle, weave tail of yarn in and out of every stitch from the last round, pull gently to cinch closed. Secure with a knot on the inside of the hat. Weave in ends.
Crown Shaping – Adult Medium/Large
Rnd 1 (RS): Ch 1, [ (MBS in the next st, ch 1, skip the next st) twice, MBS2tog over the next 2 MBS skipping over a ch-1, ch 1, skip the next st ] rep from [ to ] around to the last st, then MBS in the next st. Join. Turn. (61 sts)
Rnd 2: Ch 1, [ (MBS in the next st, ch 1, skip the next st) twice, MBS2tog over the next 2 MBS skipping over a ch-1, ch 1, skip the next st ] rep from [ to ] around to the last 5 sts, then work (MBS in the next st, ch 1, skip the next st) twice, MBS in the next st. Join. Turn. (47 sts)
Rnds 3 – 4: Ch 1, MBS in the next st, (ch 1, skip the next st, MBS in the next st) rep from ( to ) around. Join. Turn. (47 sts)
Rnd 5: Ch 1, [* (MBS in the next st, ch 1, skip the next st) twice, MBS2tog over the next 2 MBS skipping over a ch-1 *, ch 1, skip the next st ] rep from [ to ] around to the last 7 sts, then work from * to *. Join. Turn. (35 sts)
Rnd 6: Ch 1, [ (MBS in the next st, ch 1, skip the next st) twice, MBS2tog over the next 2 MBS skipping over a ch-1, ch 1, skip the next st ] rep from [ to ] around to the last 3 sts, then MBS in the next st, ch 1, skip the next st, MBS in the next st. Join. Turn. (27 sts)
Rnd 7: Ch 1, ( MBS in the next st, ch 1, skip the next st, MBS2tog over the next 2 MBS skipping over a ch-1, ch 1, skip the next st) work from ( to ) 4 times, then work MBS in the next st, ch 1, skip the next st, MBS in the next st. Join. (19 sts)
Fasten off leaving an 8″ tail. Using a yarn needle, weave tail of yarn in and out of every stitch from the last round, pull gently to cinch closed. Secure with a knot on the inside of the hat. Weave in ends.
I MADE IT! NOW WHAT?
Pin this post!: Save this crochet beanie hat pattern to your Pinterest boards so that you can come back and make it again.
Leave a comment below: We love to hear your feedback.
Share Your Finished Projects on Facebook or Instagram: I love to see your finished projects! Share with us on social media and tag me @acrochetedsimplicity or use the hashtag #ACrochetedSimplicity so I can find your posts.
Join us in the Facebook Community Group!
Come share your finished projects with us in the A Crocheted Simplicity Crochet Community Group on Facebook. Join us for fun community events such as crochet alongs, join in on crochet conversations, ask questions, get advice, and share your love for crochet!

More Crochet Hat Patterns I Think You’ll Love
- Easy Short Row Hat
- Eloise Slouch
- Fireside Hat
- Touch of Plaid Beanie & Slouch
- Houndstooth Slouch
- Avalon Beanie & Slouch
- Zig Zag Slouch
- Arrows Beanie & Slouch
More Crochet Hat Patterns
Are you looking for more crochet hat patterns? We have several more patterns for all kinds of crochet beanies, slouches, hats, and more including matching sets for mothers and daughters and even for fathers and sons.