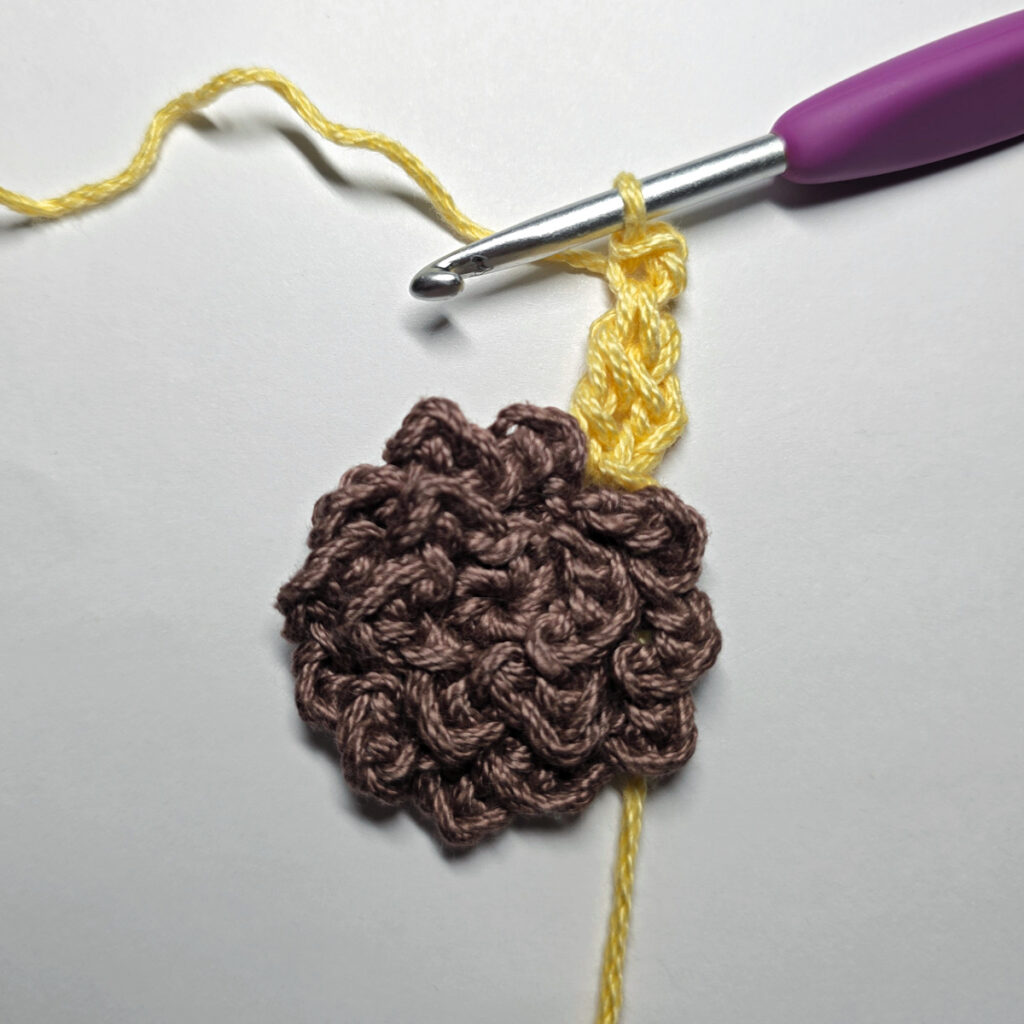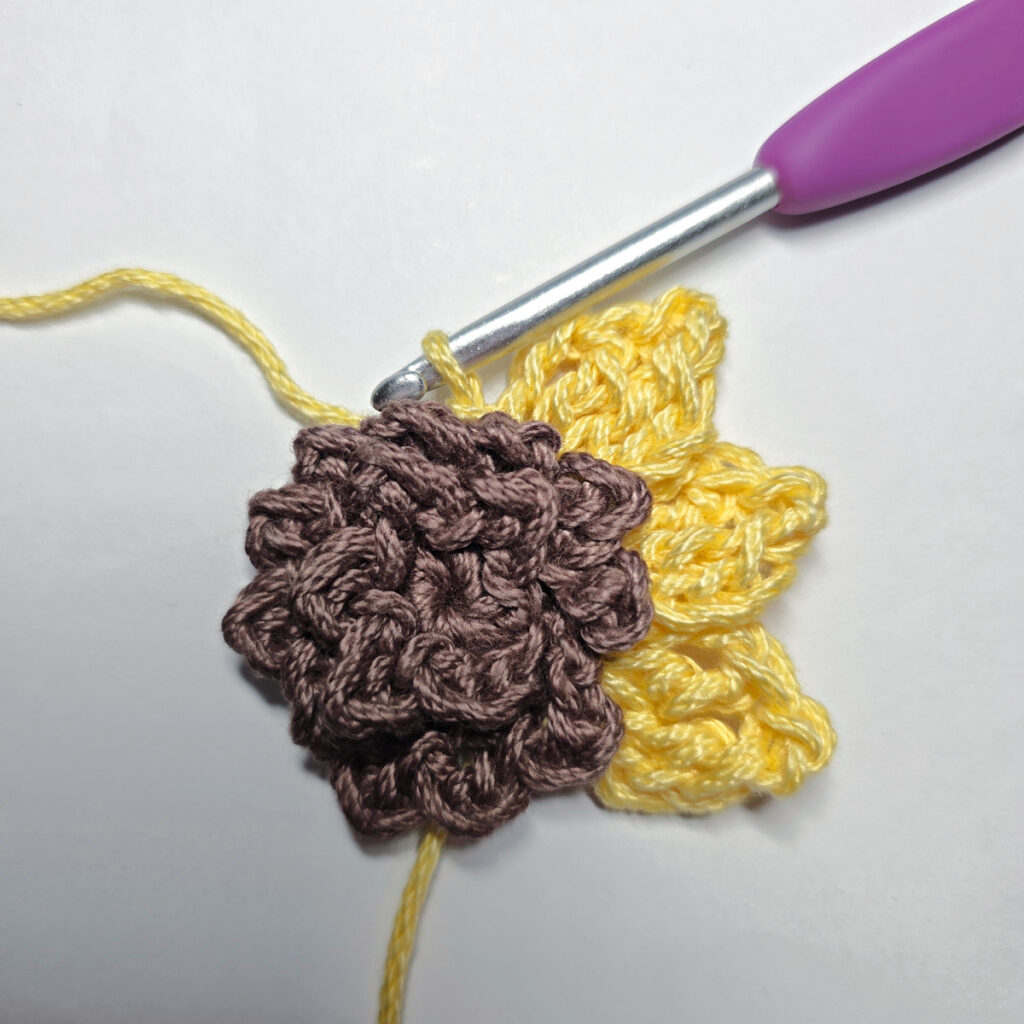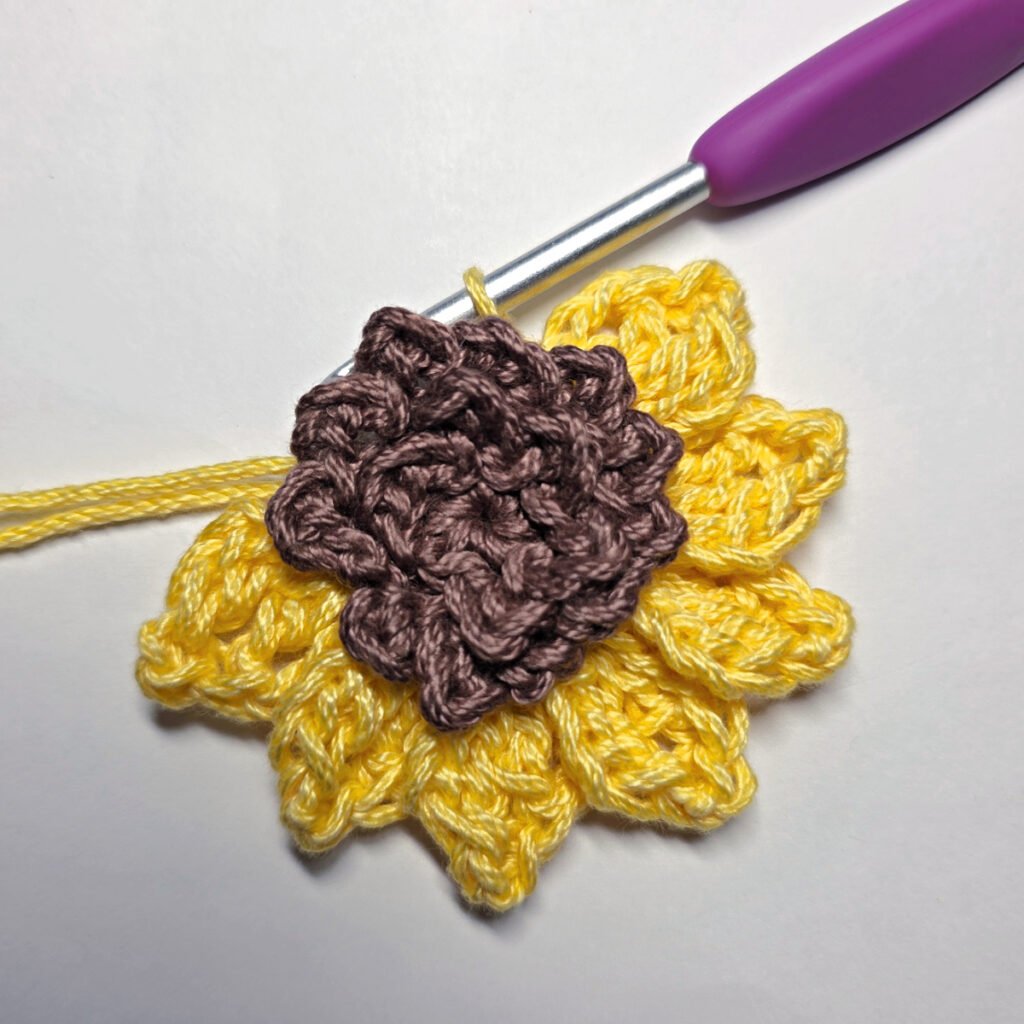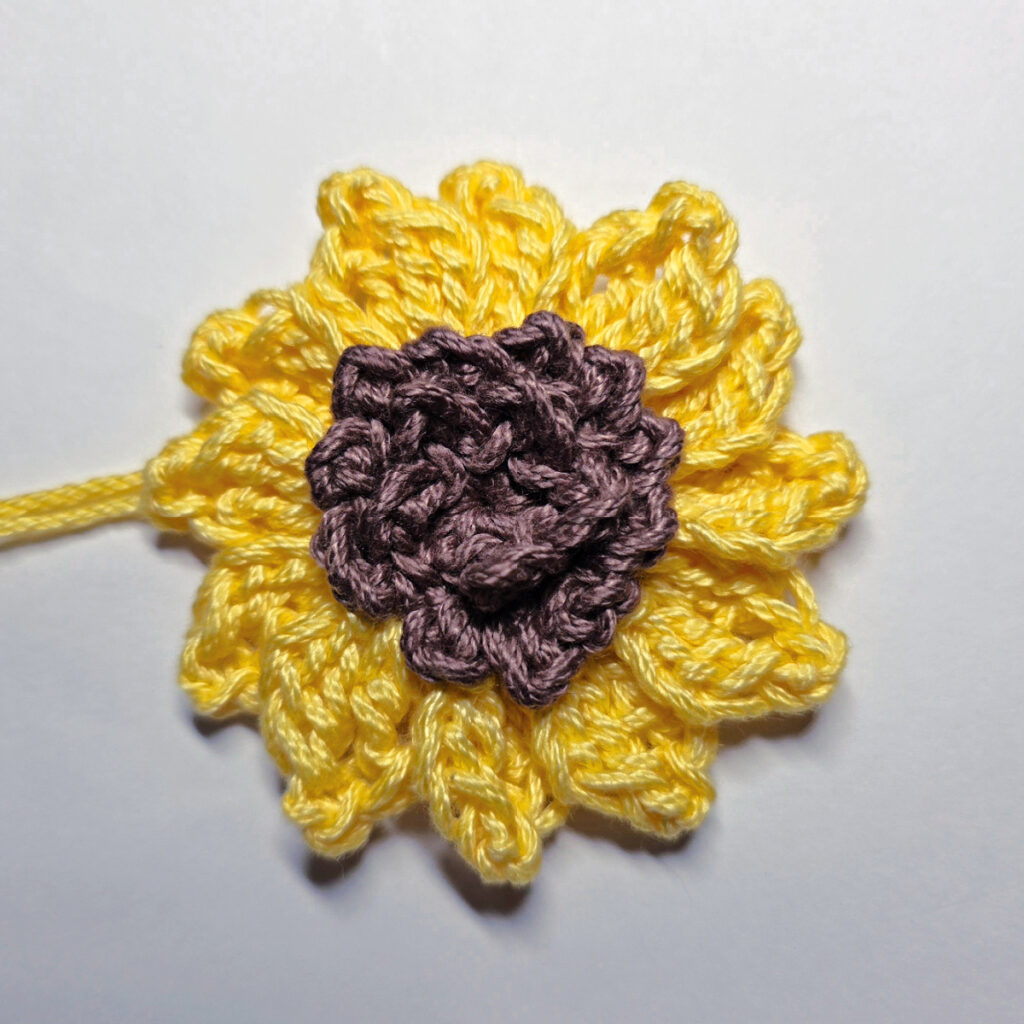
Mini-Mystery Crochet Along – October 2026
Are you ready for another Mini-Mystery Crochet Along (MMCAL)?
Whether you’re a beginner or a seasoned crocheter, Mini-Mystery Crochet Alongs are a fun, free community event for ALL skill levels!
There’s no better way to learn a new crochet stitch or technique than in a community setting with your peers.
You never know what you’re capable of crocheting until you’re crocheting “blindly” (so to speak).
MINI-MYSTERY CROCHET ALONG FAQ’S
“What is a MMCAL?” Check out our Frequently Asked Questions in the Mini-Mystery Crochet Along Information Guide.
Please Notify Me of Future MMCAL’S
If you haven’t already done so, please make sure to subscribe to our e-mail list! Use the subscription form in the sidebar, or on the Subscribe page.
I will send out a newsletter a couple days before each MMCAL begins to give you time to choose yarn from your stash and get everything ready.
NO SPAM – PINKY PROMISE! UNSUBSCRIBE ANY TIME.
How Do I Join in The MMCAL Fun?
- Step 1: Make sure you’ve joined the A Crocheted Simplicity Crochet Community on Facebook, or the A Crocheted Simplicity Ravelry Group (or both).
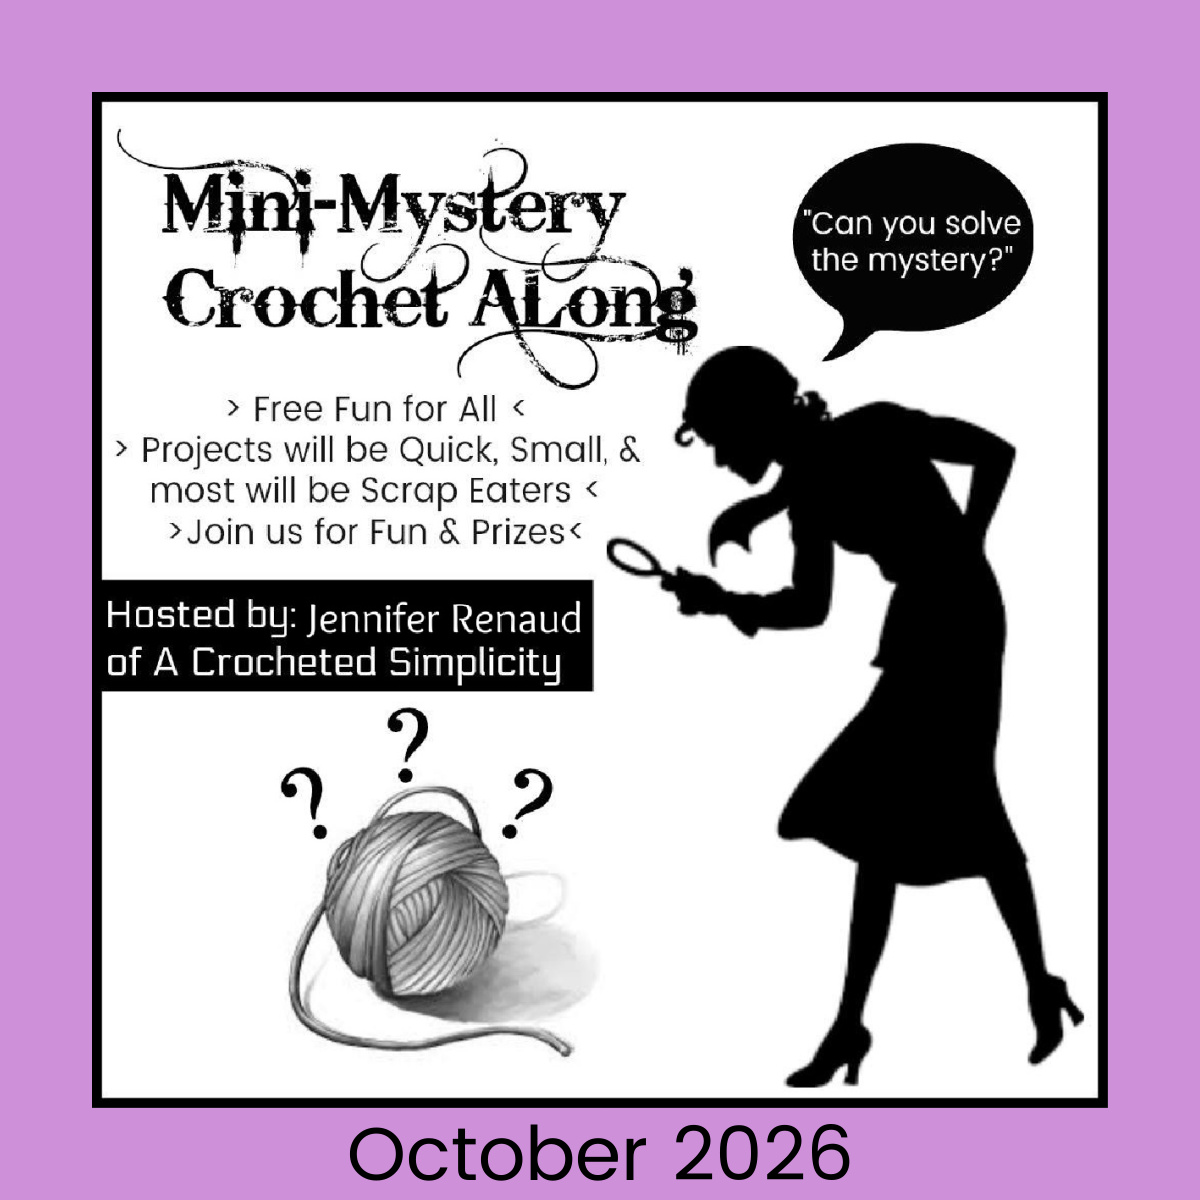
- Step 2: Locate the black & white MMCAL graphic (shown above) in either the Facebook Community Group or Ravelry Group.
- Comment, ask questions, and post your progress photos on this specific MMCAL post in the community groups.
- Step 3: Crochet Along with us!
- Crochet 1 (or more) MMCAL project. Crochet as many as you’d like and each will gain you more entries!
- Each Segment will be available for free in this blog post below. See the current MMCAL Schedule Below.
- Step 4: Enter to Win Prizes!
- Once you complete each segment, add a photo of your progress to the post in the group for that project. You will need to add at least 1 photo for each segment in order to be entered to win all of the prizes.
- Earn up to FOUR entries for each completed mystery crochet along project you complete and post photos of each segment.
- Photo of Materials = 1 Entry
- Photo of Segment #1 = 1 Entry
- Photo of Segment #2 = 1 Entry
- Photo of Segment #3 = 1 Entry
I will number all photos throughout the weekend. You’ll want to keep track of your numbers as I put them all in a random number generator to draw the winners of the prizes! 🙂
Create a project page on Ravelry, if you’d like. If you’re not sure how, check out our quick tutorial!
Mini-Mystery Crochet Along Schedule, Material List & Prizes
Our Mini-Mystery Crochet Along will be posted in 3 segments.
THIS blog post will be updated with each new segment, according to the schedule below.
MMCAL Schedule
- Material List: SCROLL DOWN – It’s available NOW in this blog post below!
- Segment 1: Friday, October 2, 2026 at 9am CST. **Segment #1 will be posted below by 9am CST Friday**
- Segment 2: Saturday, October 3, 2026 at 9am CST.
- Segment 3: Sunday, October 4, 2026 at 9am CST.
- MMCAL Closes Monday, October 5, 2026 @ noon CST: MMCAL Closes & winners will be drawn. Winners will be announced Monday evening, October 5, 2026.
This post contains affiliate links.
Materials
- Yarn: Worsted Weight / 4 yarn
- Fiber: I used Lion Brand 24/7 Cotton for my samples, but you can substitute other comparable yarns. Acrylic yarns will work great too!
- Yardage & Colors
- Color A: 7 yards
- Color B: 3 yards
- Color C: 2 yards
- Color D: 1 yard
- Color E: 8 yards
- Color F: 4 yards
- Crochet Hook: G/6/4.00mm, or size needed to obtain gauge (My favorite crochet hooks are the Clover Amour Crochet Hooks, I’ve never had an ache in my hand since switching).
- Scissors
- Yarn Needle
- Measuring Tape
Abbreviations (US Terms)
- ch(s): chain(s)
- sl st(s): slip stitch(es)
- st(s): stitch(es)
- sc: single crochet
- hdc: half double crochet
- dc: double crochet
- Rnd: round
- Rep: repeat
- RS: right side
- yo: yarn over
- Surface Crochet
TUTORIAL PHOTOS: If you’re stuck and need a visual, scroll down in this blog post (after the segment has been posted) to the tutorial photos. They will be near the bottom of the post to keep from spoiling the mystery for those who prefer to crochet blindly.
Segment #1
Segment #1 is broken up into smaller sections called Parts. Make sure you complete all 5 Parts.
Note: This section is worked in continuous rounds to keep from having an unsightly seam. Do not join at the end of each round, instead use a scrap piece of yarn to keep track of the beginning of each round. Move the scrap of yarn up as you complete each round.
Segment #1 – Part 1
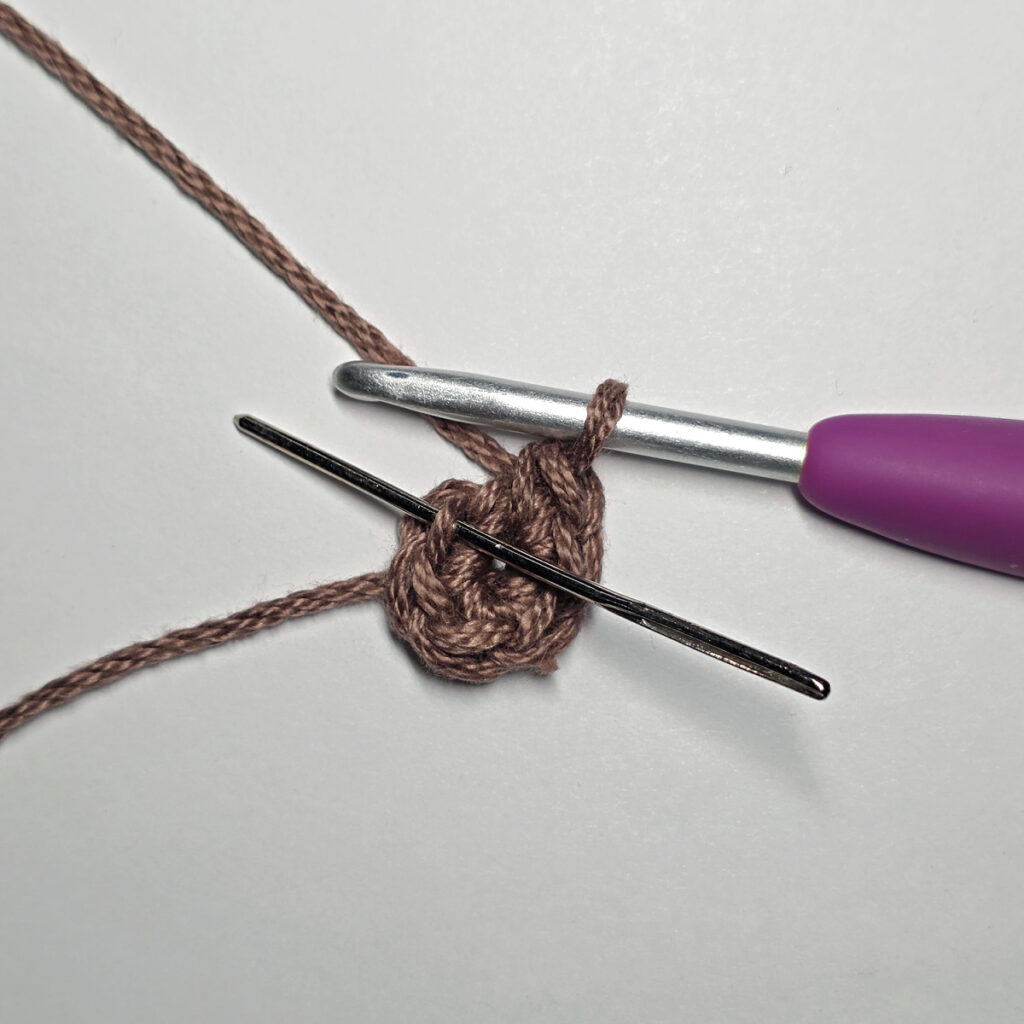
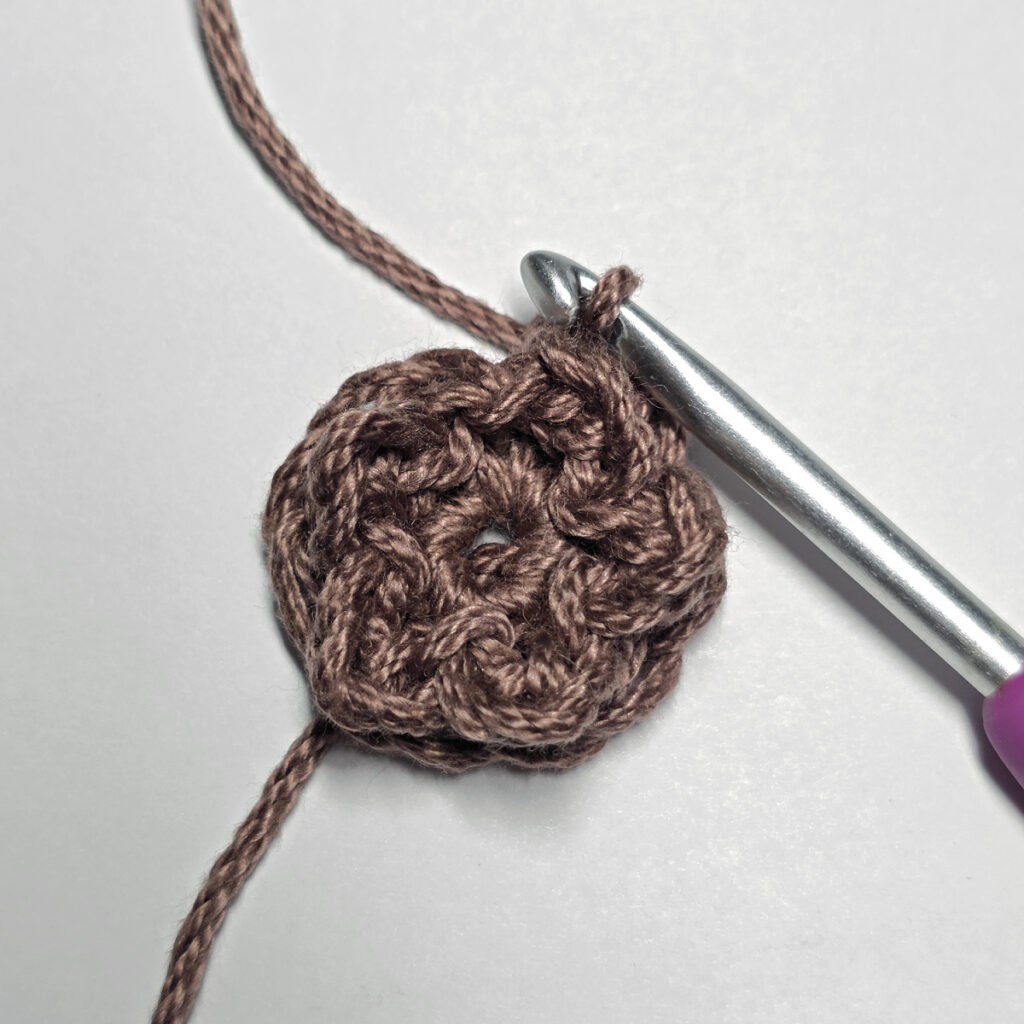
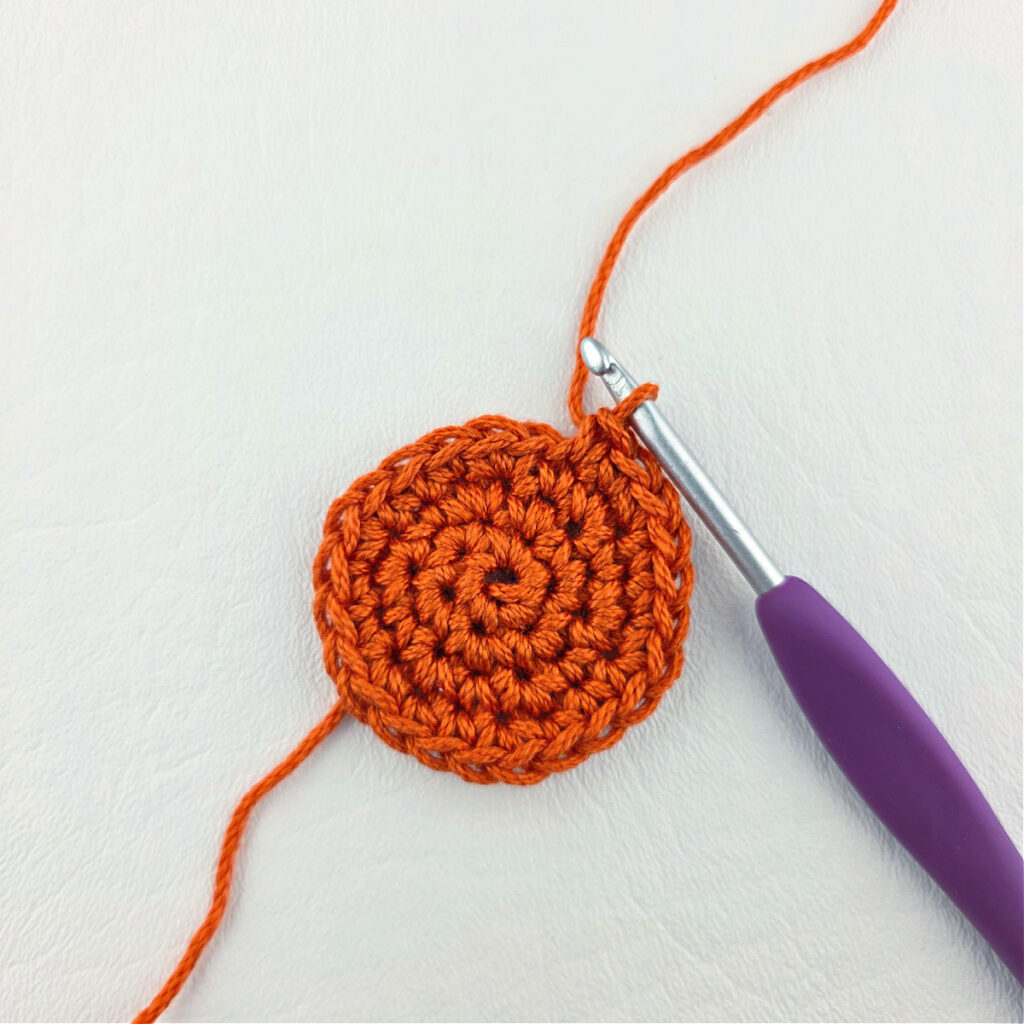
Rnd 1 (RS): With Color A yarn & a 4.00mm crochet hook, ch 2, work 6 sc into the 2nd ch from your hook. (6 sts)
Rnd 2: 2 sc in each st around. (12 sts)
Rnd 3: * 2 sc in the next st, sc in the next st, rep from * around. (18 sts)
Rnd 4: * 2 sc in the next st, sc in each of the next 2 sts, rep from * around. (24 sts)
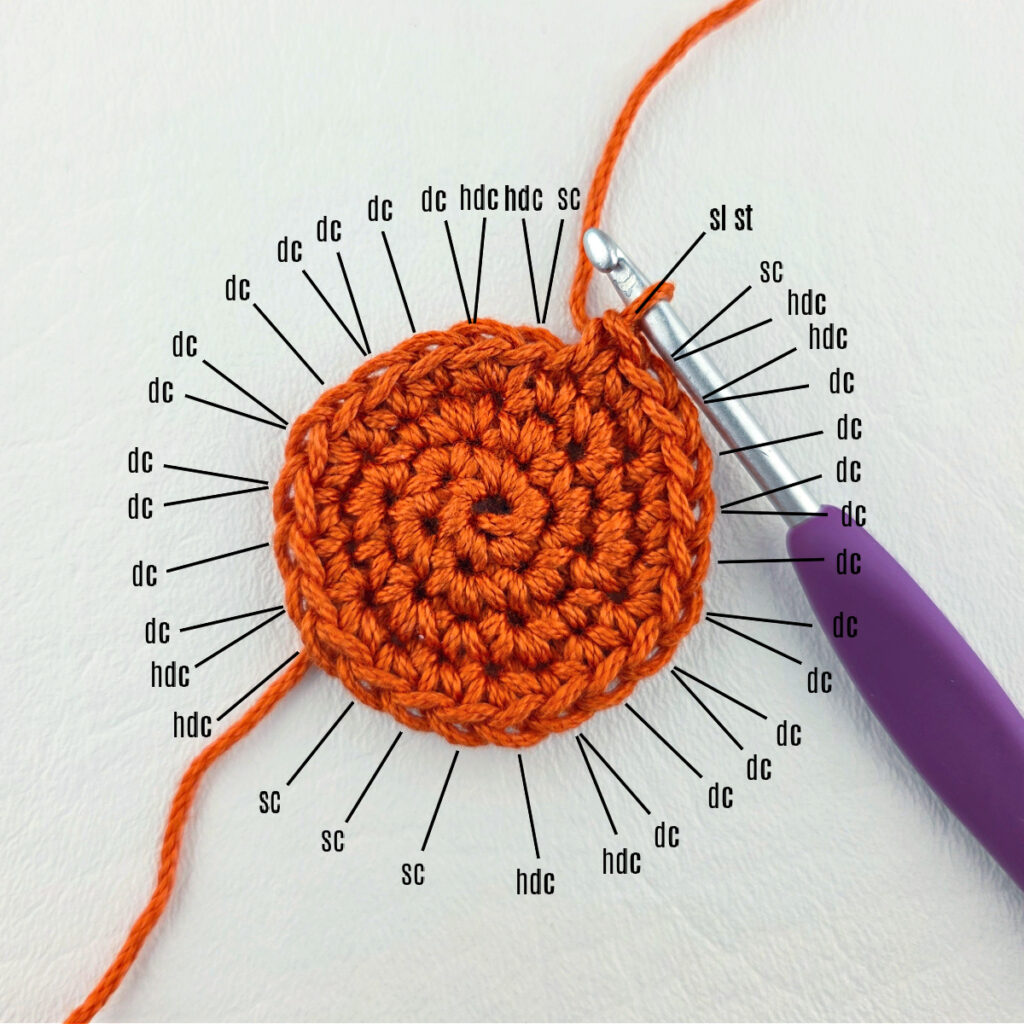
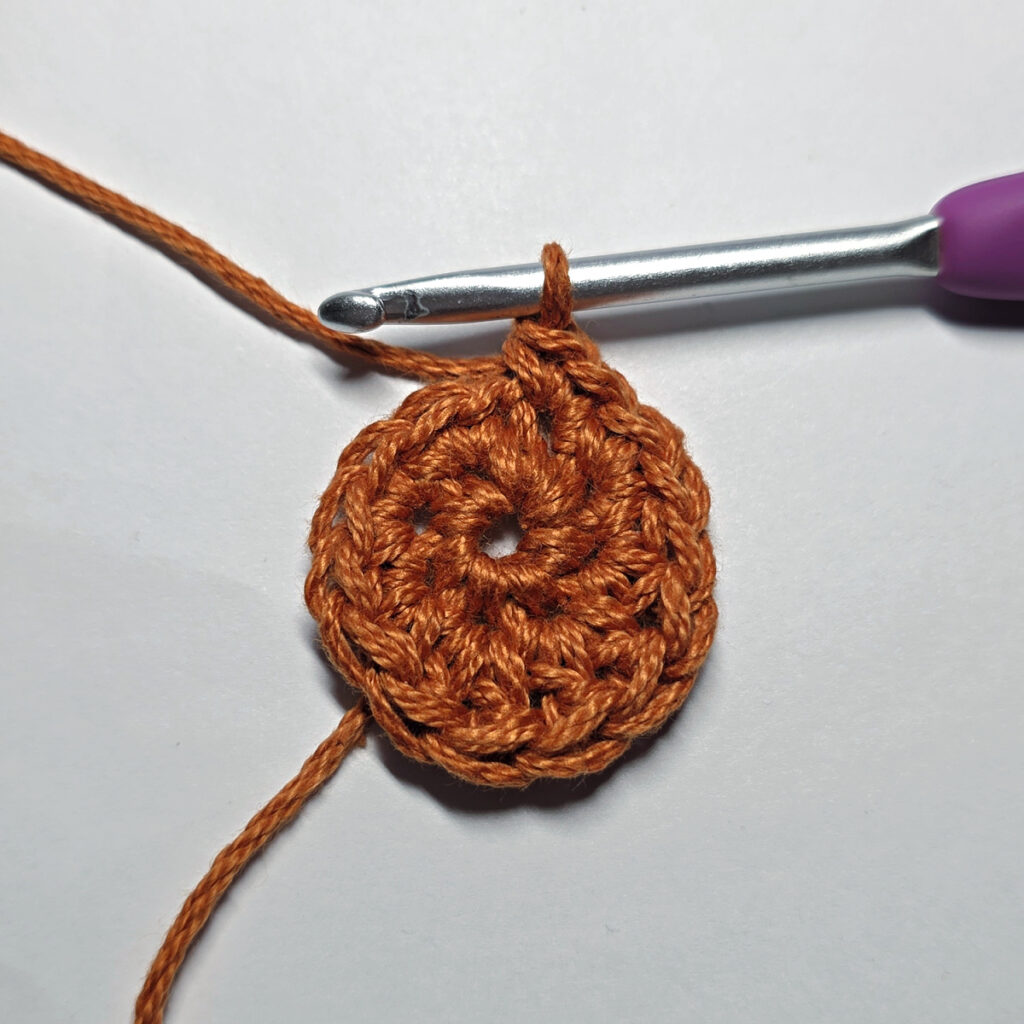
Rnd 5: (sc, hdc) in the first st, (hdc, dc) in the next st, dc in the next st, 2 dc in the next st, dc in the next st, 2 dc in each of the next 2 sts, dc in the next st, (dc, hdc) in the next st, hdc in the next st, sc in each of the next 3 sts, hdc in the next st, (hdc, dc) in the next st, dc in the next st, 2 dc in each of the next 2 sts, dc in the next st, 2 dc in the next st, dc in the next st, (dc, hdc) in the next st, (hdc, sc) in the next st, sl st in the last st. (36 sts)
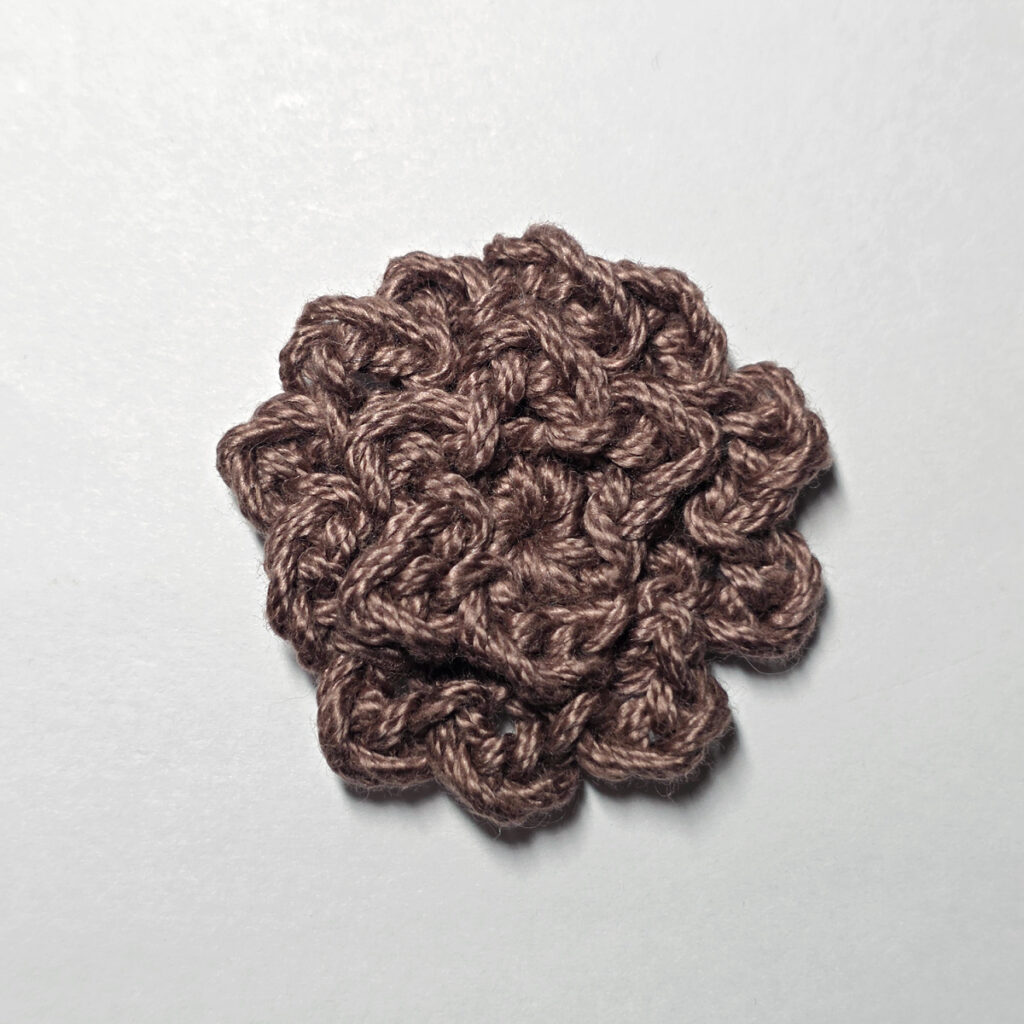
Do not fasten off. Continue on to Segment #1 – Part #2. Part 1 measures approximately 2-3/4″ across, at the widest point.
Segment #1 – Part #2
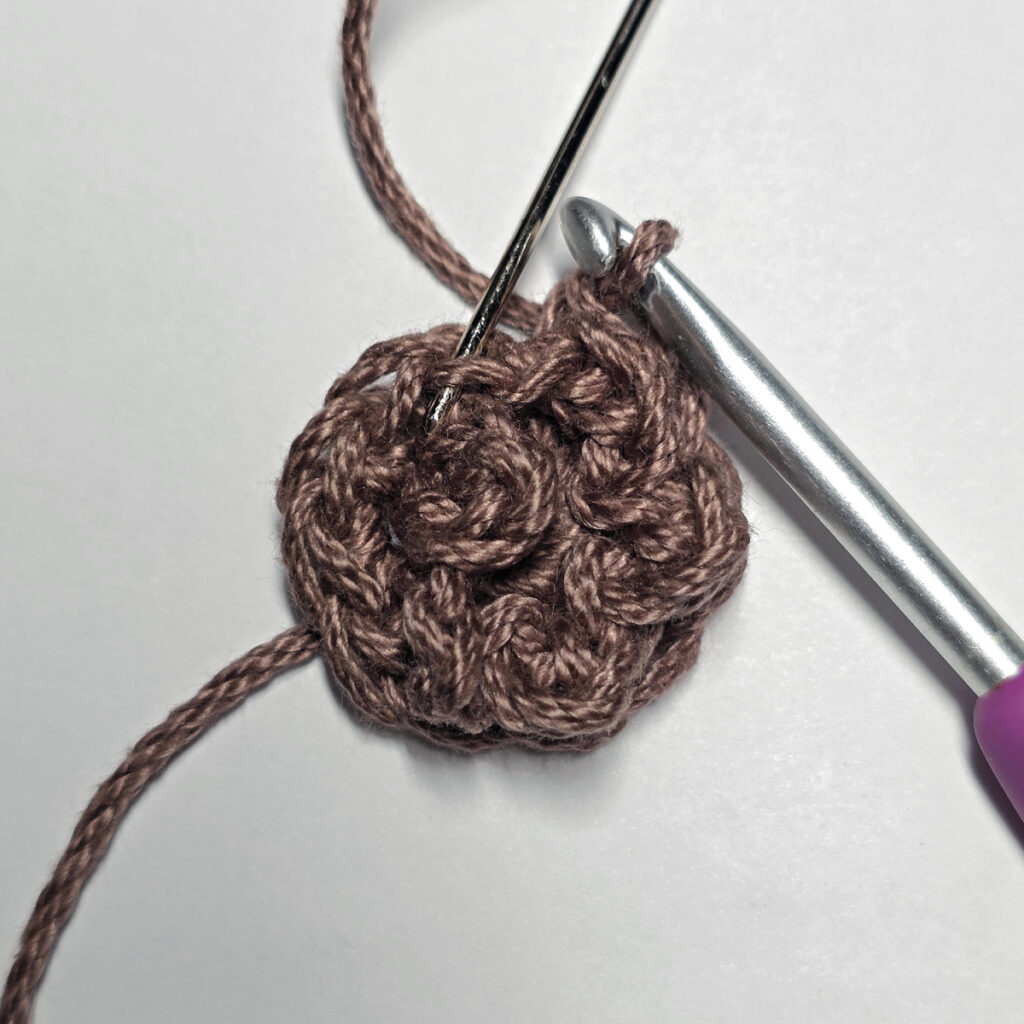
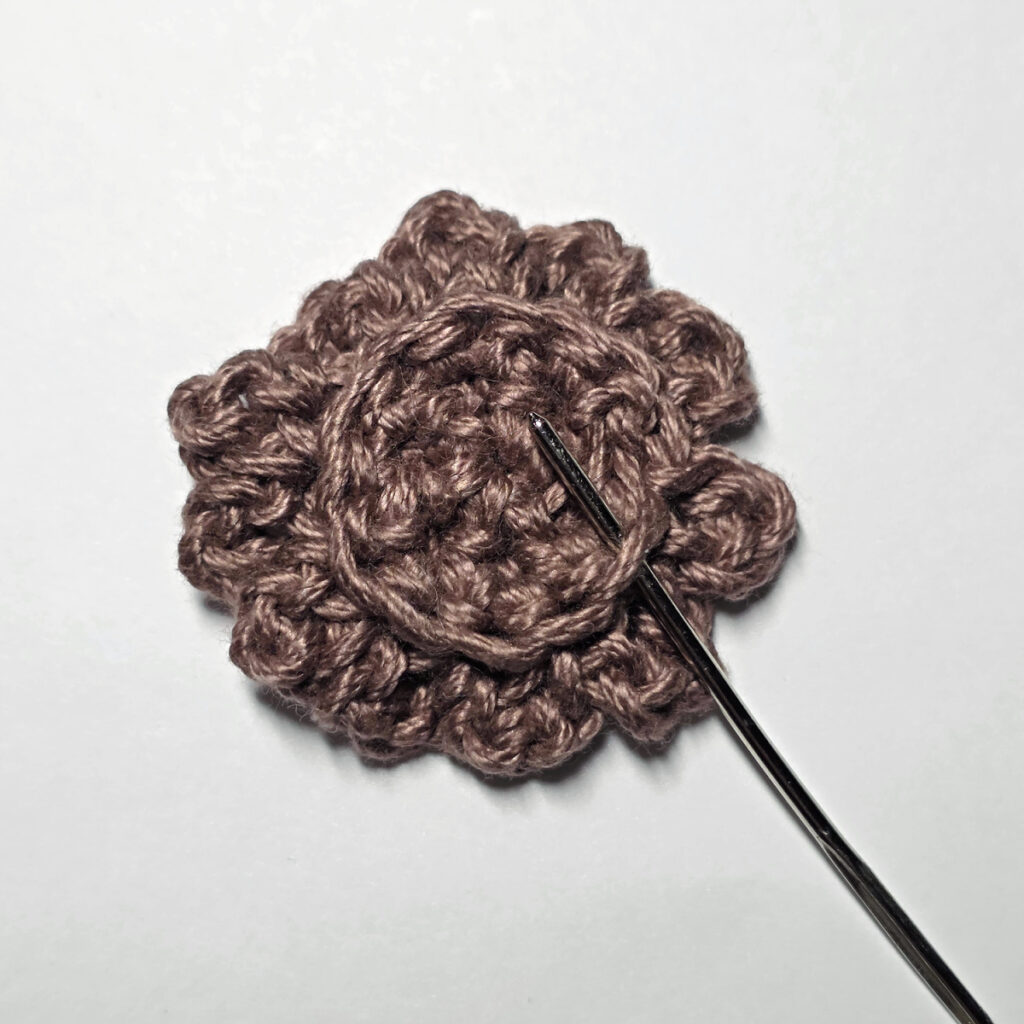
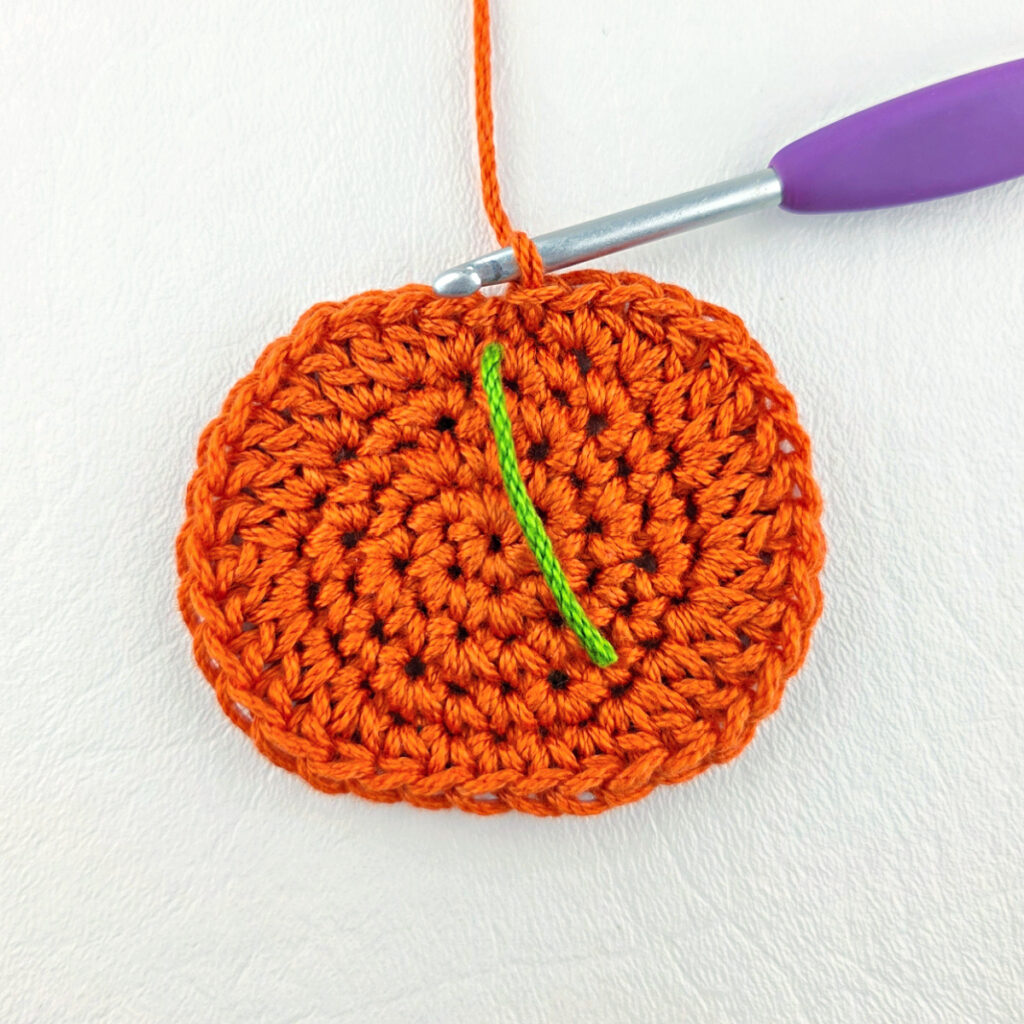
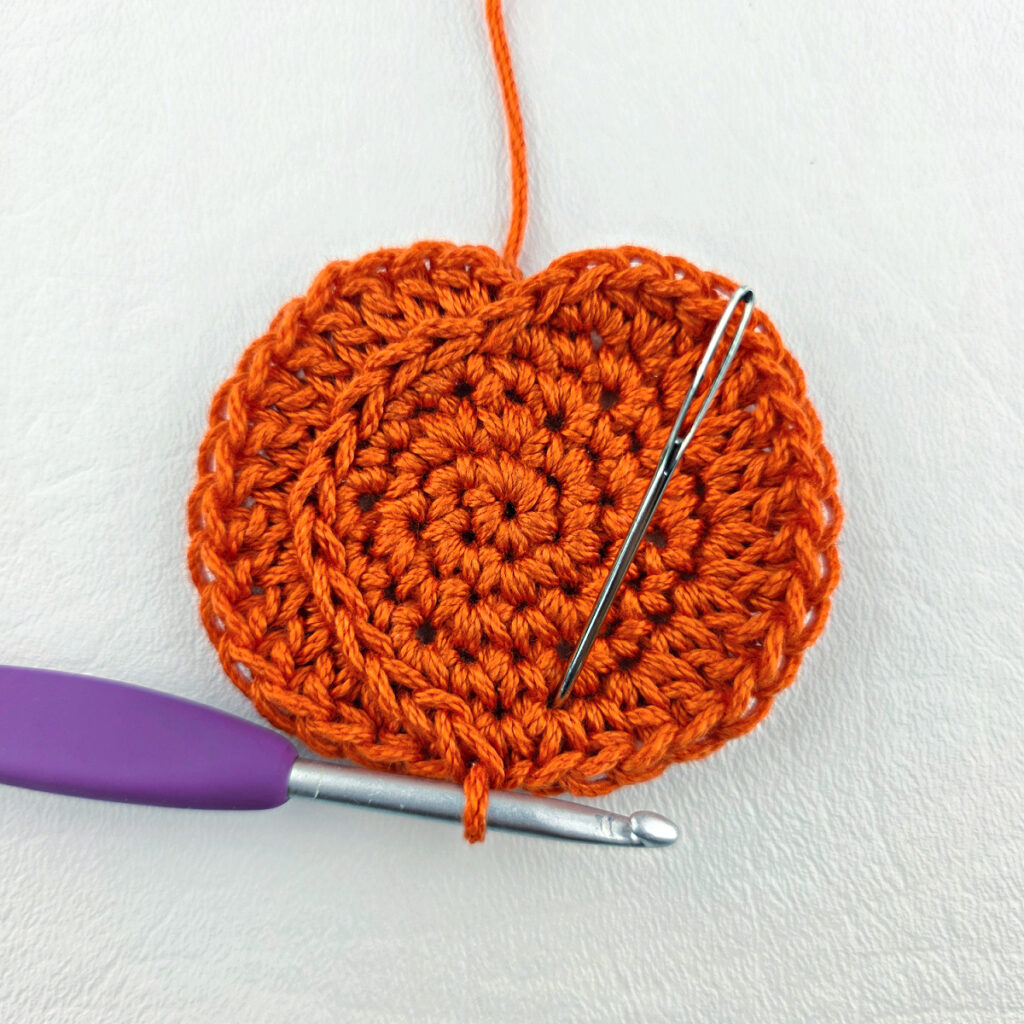
In this section, you’ll use slip stitches to add surface crochet details to this segment. These slip stitches are worked into stitches from round 4 of Part #1.
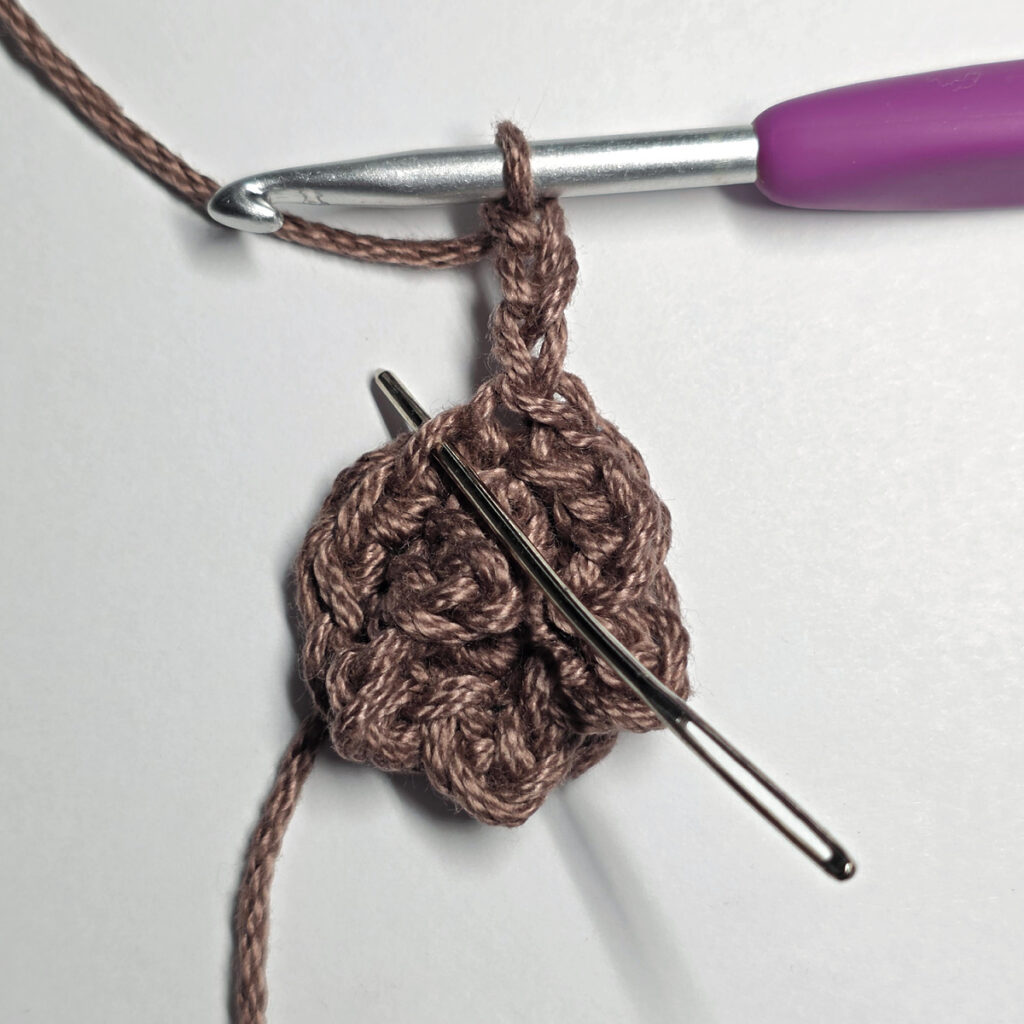
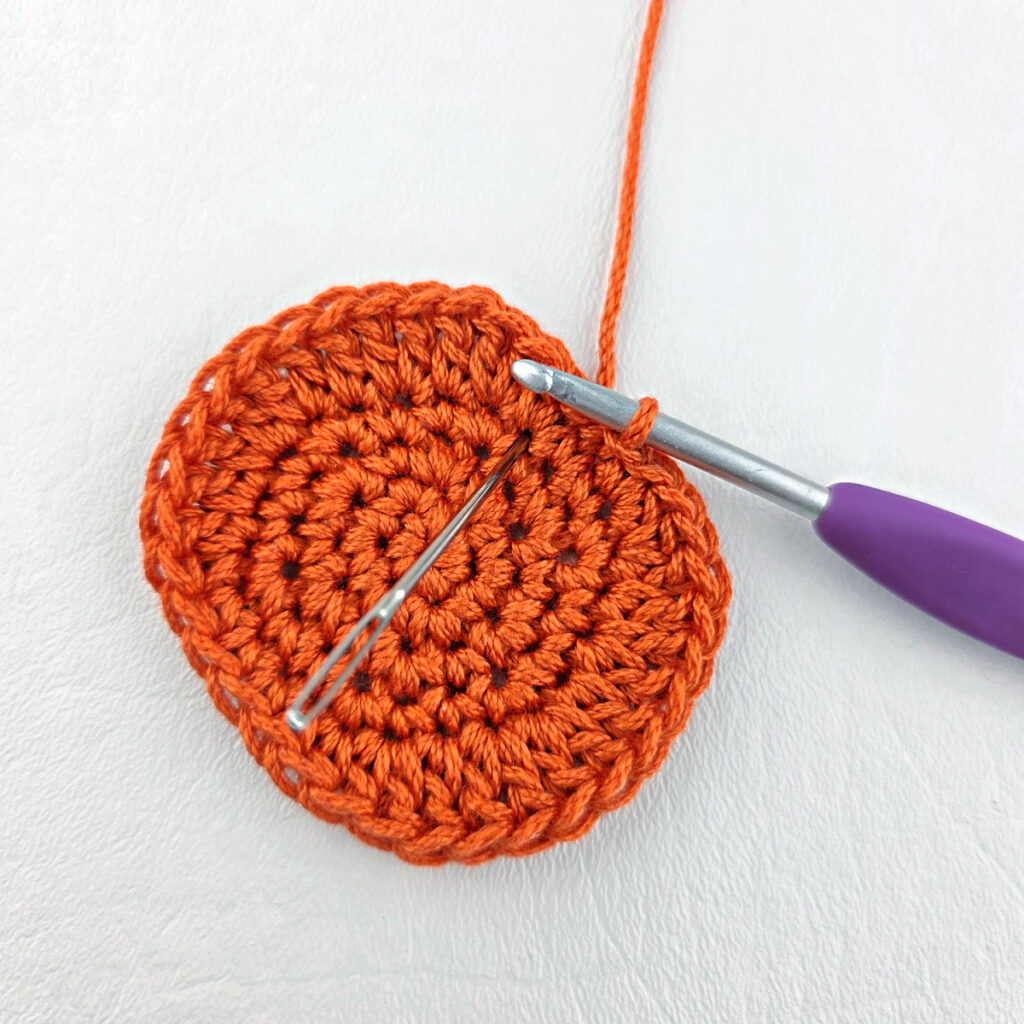
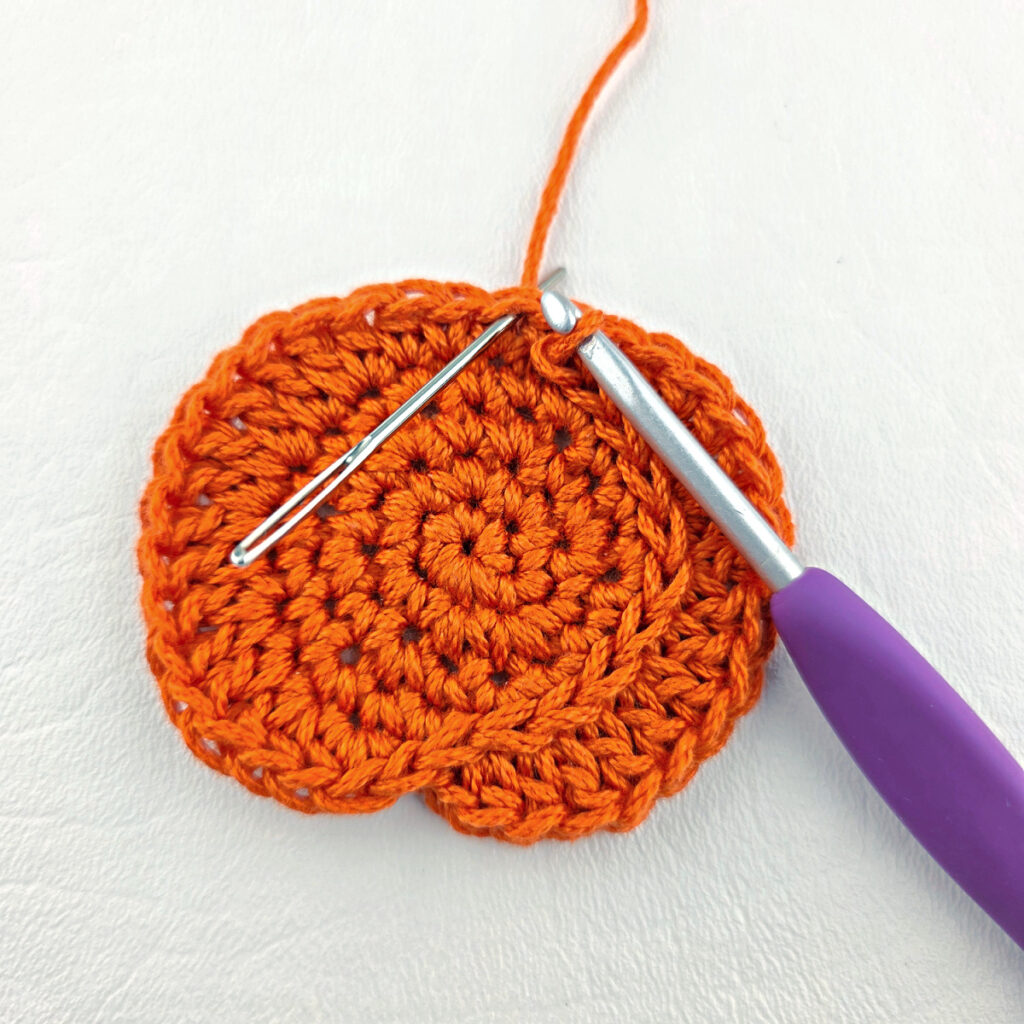
Continuing on fromPart #1, slip stitch into each of the next 11 sts from Rnd 4, slip stitch into the next sc from Rnd 5 (this is the middle of the 3 sc at the bottom of the piece), skip the next st from Rnd 4, then sl st in each of the next 10 sts from Rnd 4. Lastly, sl st into the same st as the last from Rnd 5.
Fasten off. Weave in ends. Continue on to Segment #1 – Part #3.
Segment #1 – Part #3
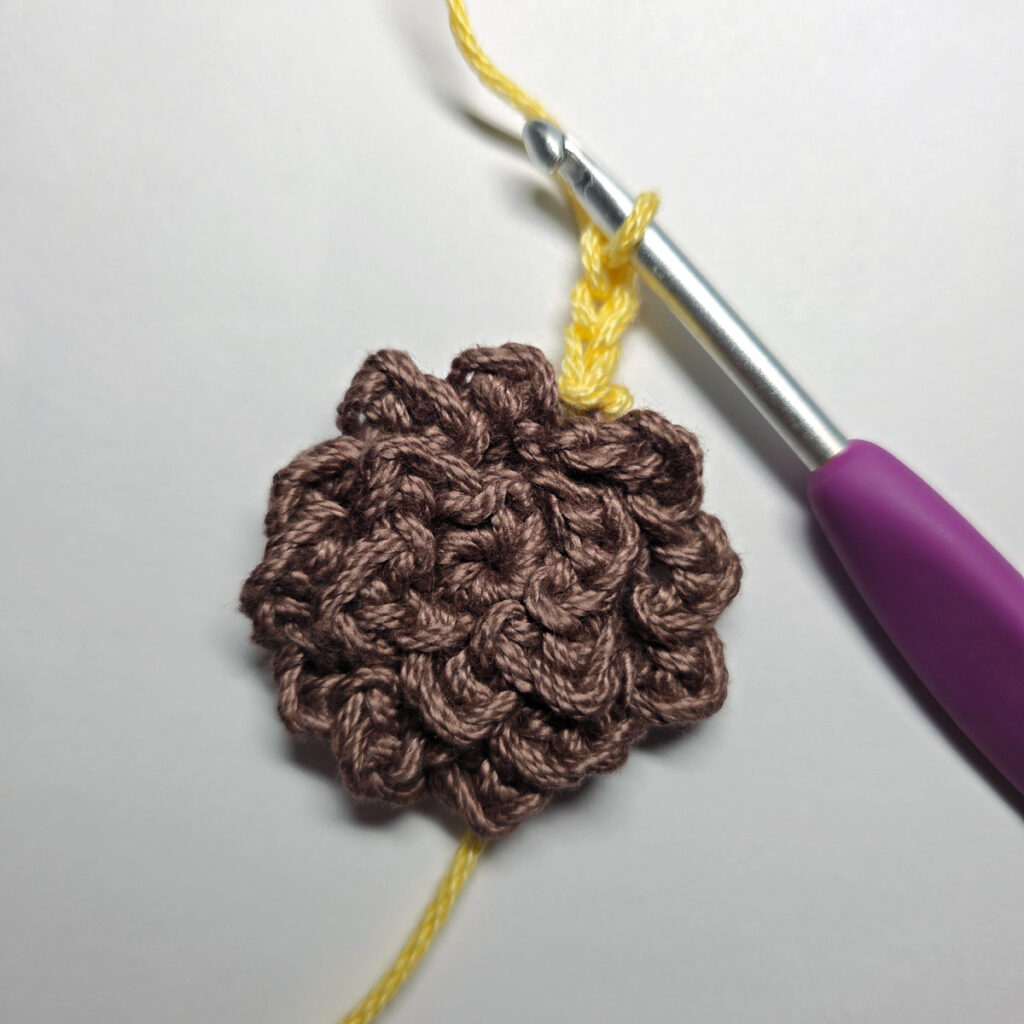
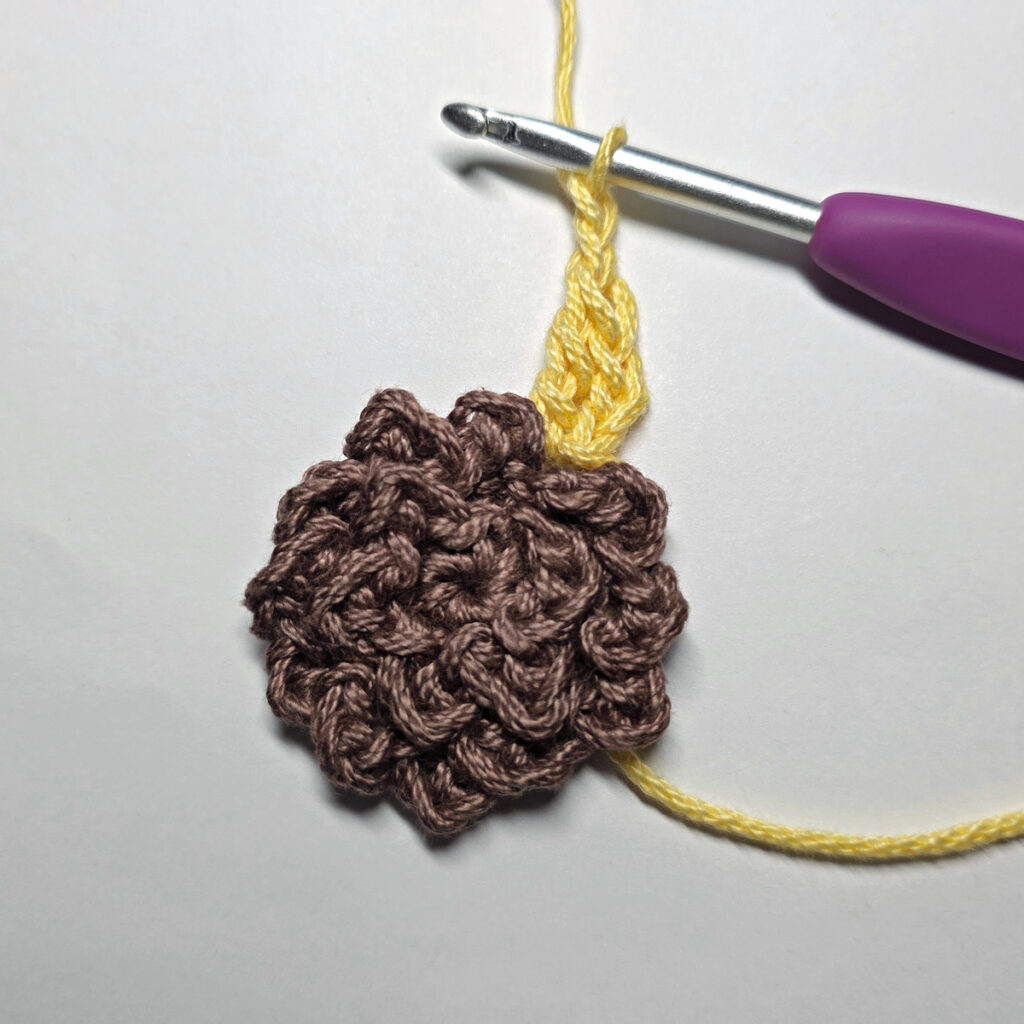
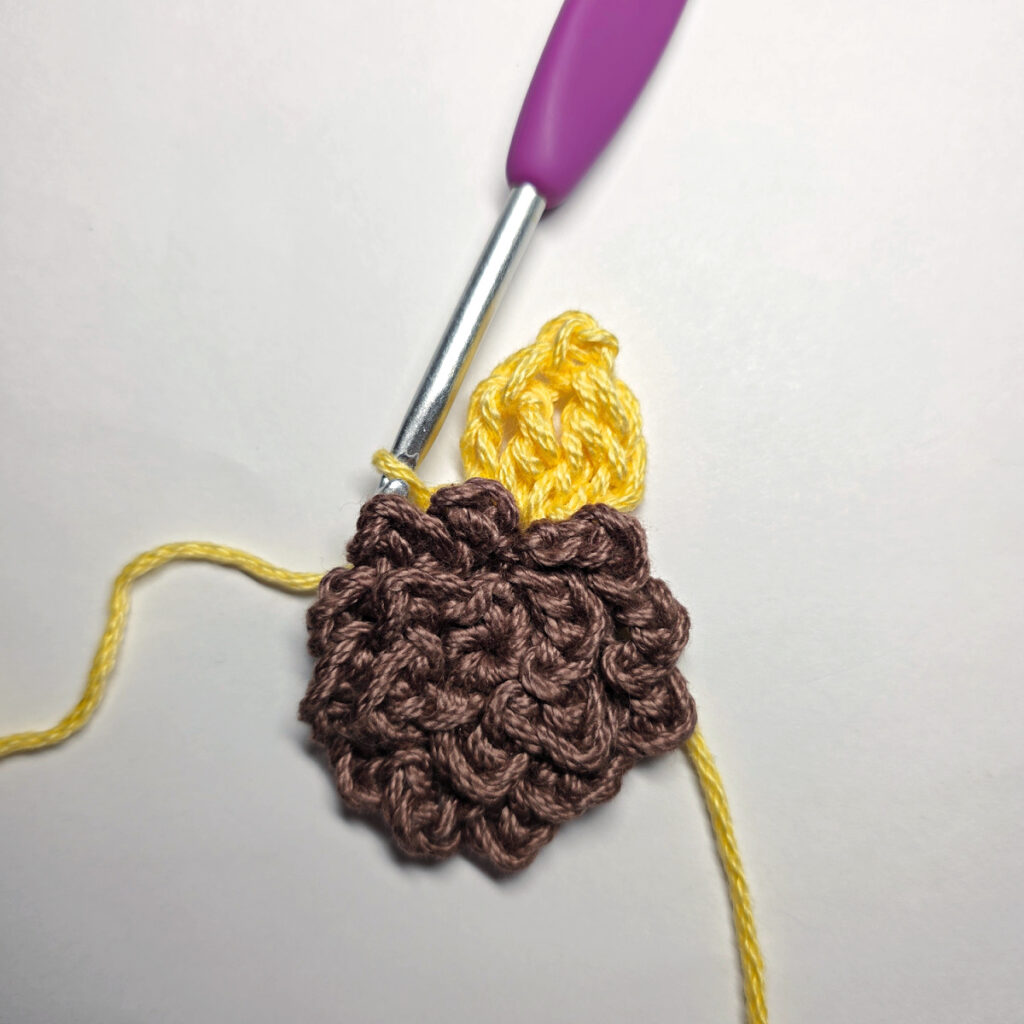
Row 1 (RS): With Color C yarn & a 4.00mm crochet hook, ch 5, working into the back hump of the ch, work 2 sc into the 2nd ch from your hook, 2 sc into the next ch, hdc in each of the last 2 chs. (6 sts)
Fasten off, leaving a tail long enough to attaching the pieces. With a yarn needle and tail of yarn, attach Part #3 to the top of Part #1 (where you fastened off for part #1).
Weave in ends. Continue on to Segment #1 – Part #4.
Segment #1 – Part #4
Row 1 (RS): With Color B yarn & a 4.00mm crochet hook, ch 2, work all of the following into the 2nd ch from your hook, (2 sc, ch 2, sl st into the 2nd ch from your hook, 2 sc) and then end with a sl st to the very first ch.
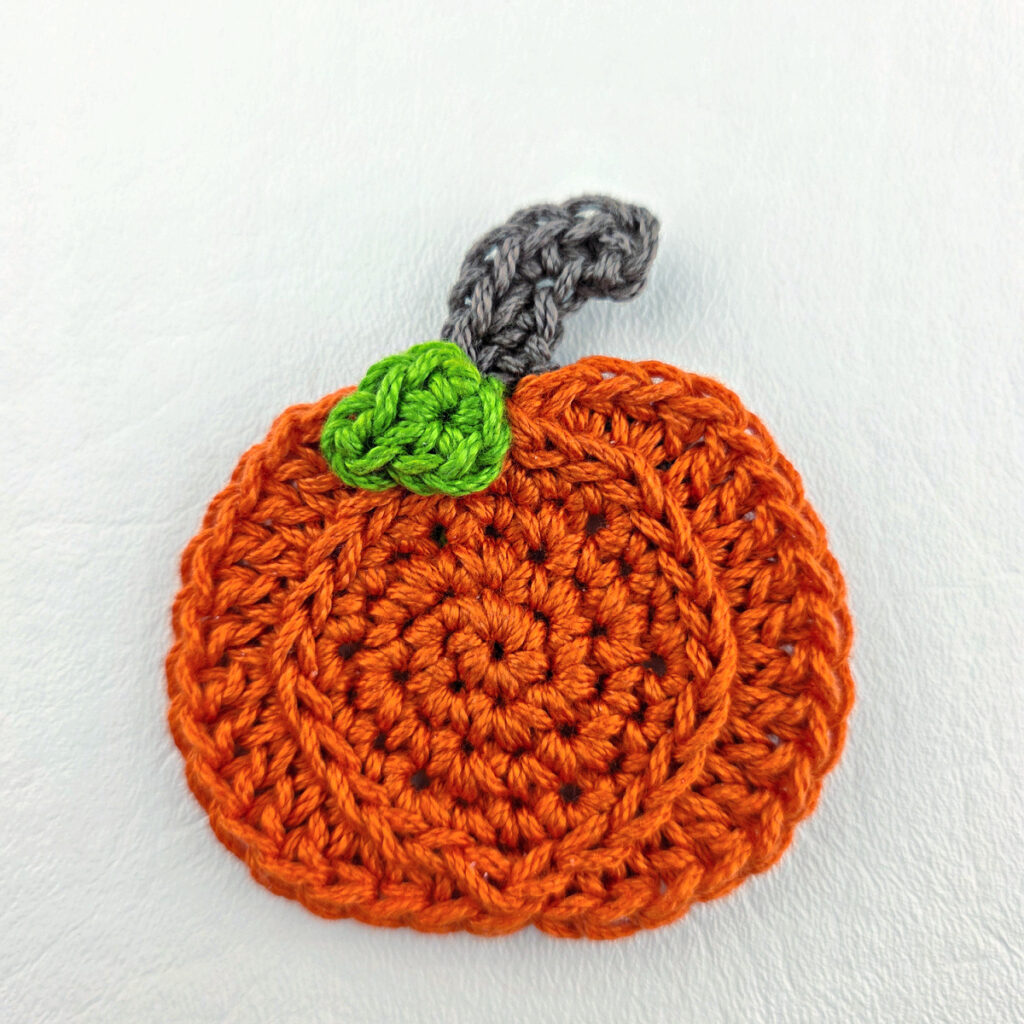
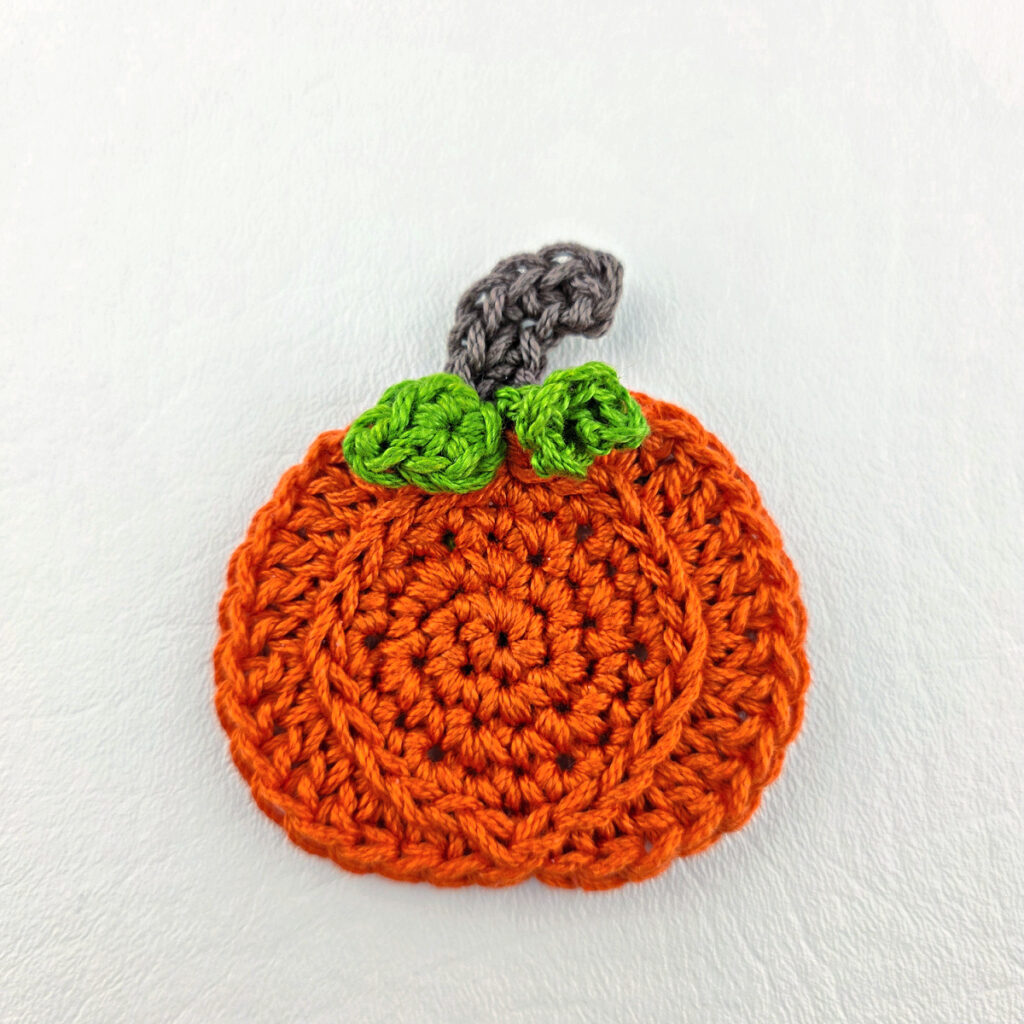
Fasten off, leaving a tail long enough to attach it to the top of Part #1. With a yarn needle and tail of yarn, attach the part 4 to the top of part #1, as shown in the photos below. Weave in ends. Continue on to Segment #1 – Part #5.
Segment #1 – Part #5
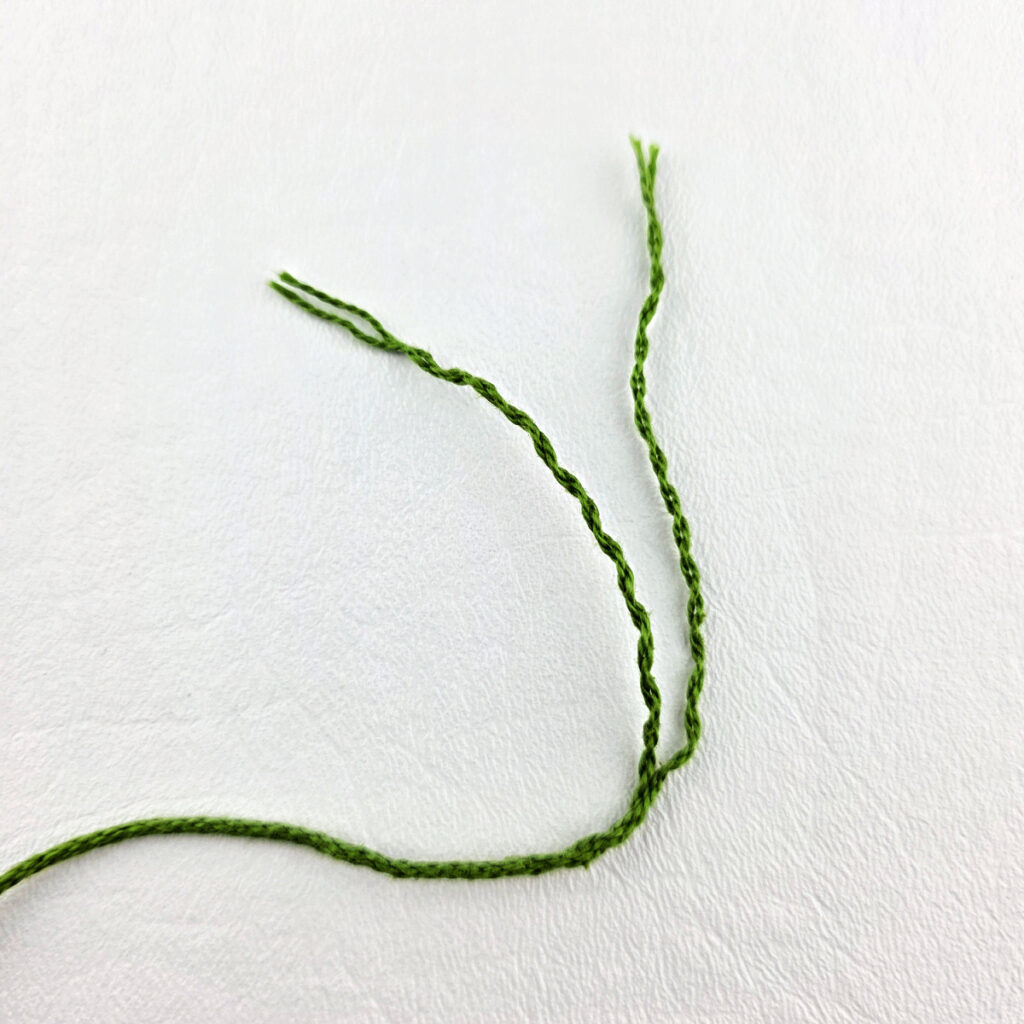
I did not have the right color embroidery thread so I pulled apart the plies of 1 yard long piece of my worsted weight Color B yarn. I used 2 of those plies to make this segment.
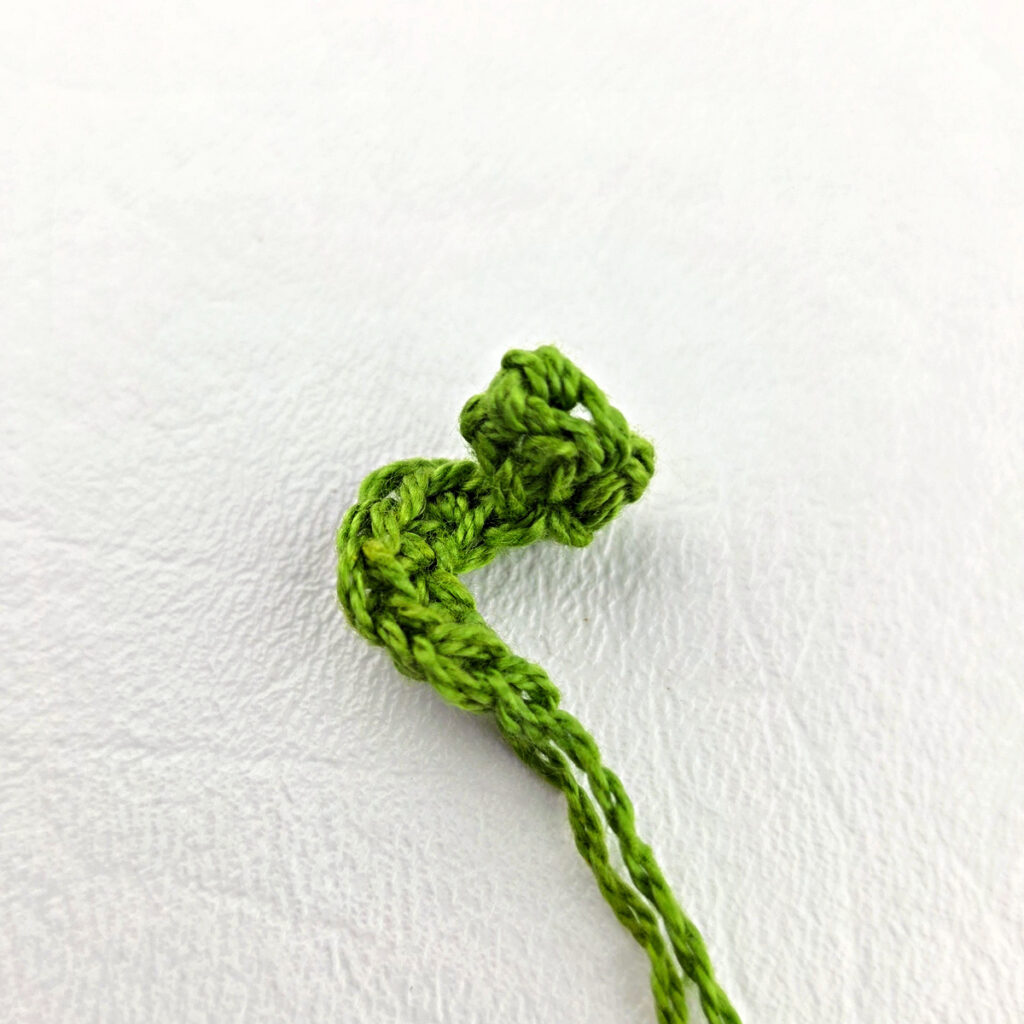
Row 1 (RS): Using a 2.75mm crochet hook & either the embroidery floss or 2 plies of Color B yarn, ch 7, working into the back humps of the foundation ch, work 2 sc into the 2nd ch from your hook and into each ch across. (12 sts)
Fasten off. With a yarn needle and tail of yarn, attach Part #5 to the top of Part 1, as shown in the photos below.
Segment #1 should measure approximately 2-3/4″ W x 2-3/4″ H (including stem).
Continue on to Segment #2 on Saturday, October 3, 2026.
Segment #2
Segment #2 is broken up into smaller sections called Parts. Make sure you complete ALL parts of segment #2.
TUTORIAL PHOTOS: If you’re stuck and need a visual, scroll down in this blog post (after the segment has been posted) to the tutorial photos. They will be near the bottom of the post to keep from spoiling the mystery for those who prefer to crochet blindly.
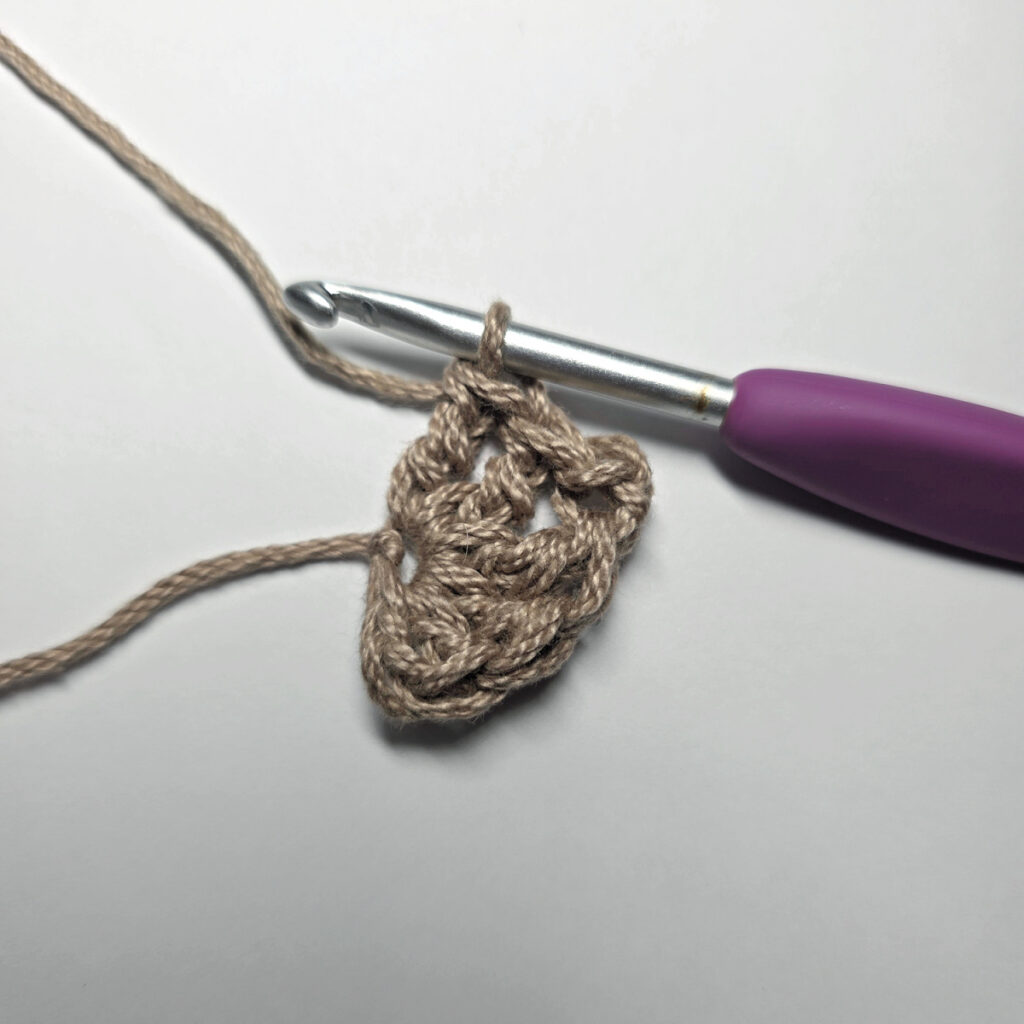
Segment #2 – Part #1
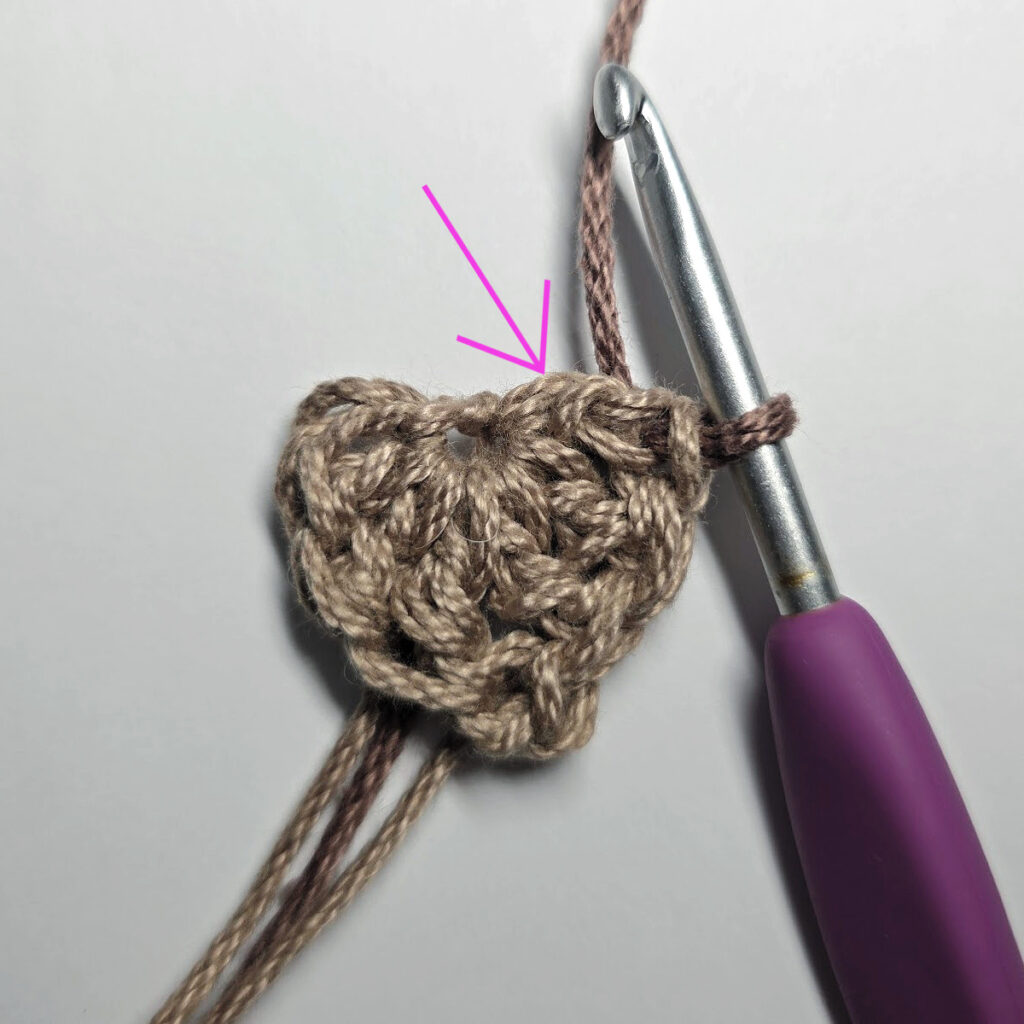
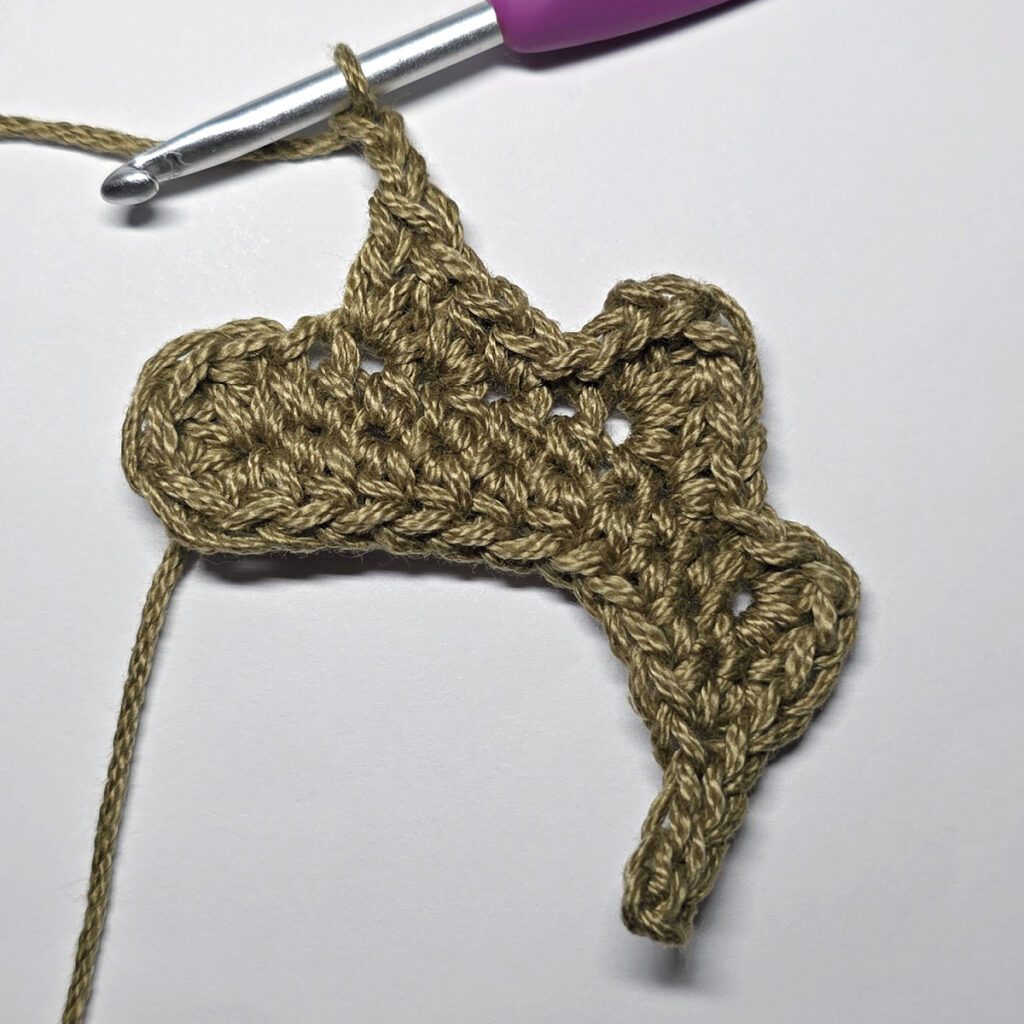
Step 1 (RS): With Color C yarn & a 4.00mm crochet hook, ch 3, work all of the following into the 3rd ch from your hook (dc, 2 tr, ch 2, sl st into the 2nd ch, 2 tr, dc) . Switch colors to Color D yarn: When working the last dc, change to Color D before completing the last pull through of the stitch.
Do not fasten off. Continue on to Step 2.
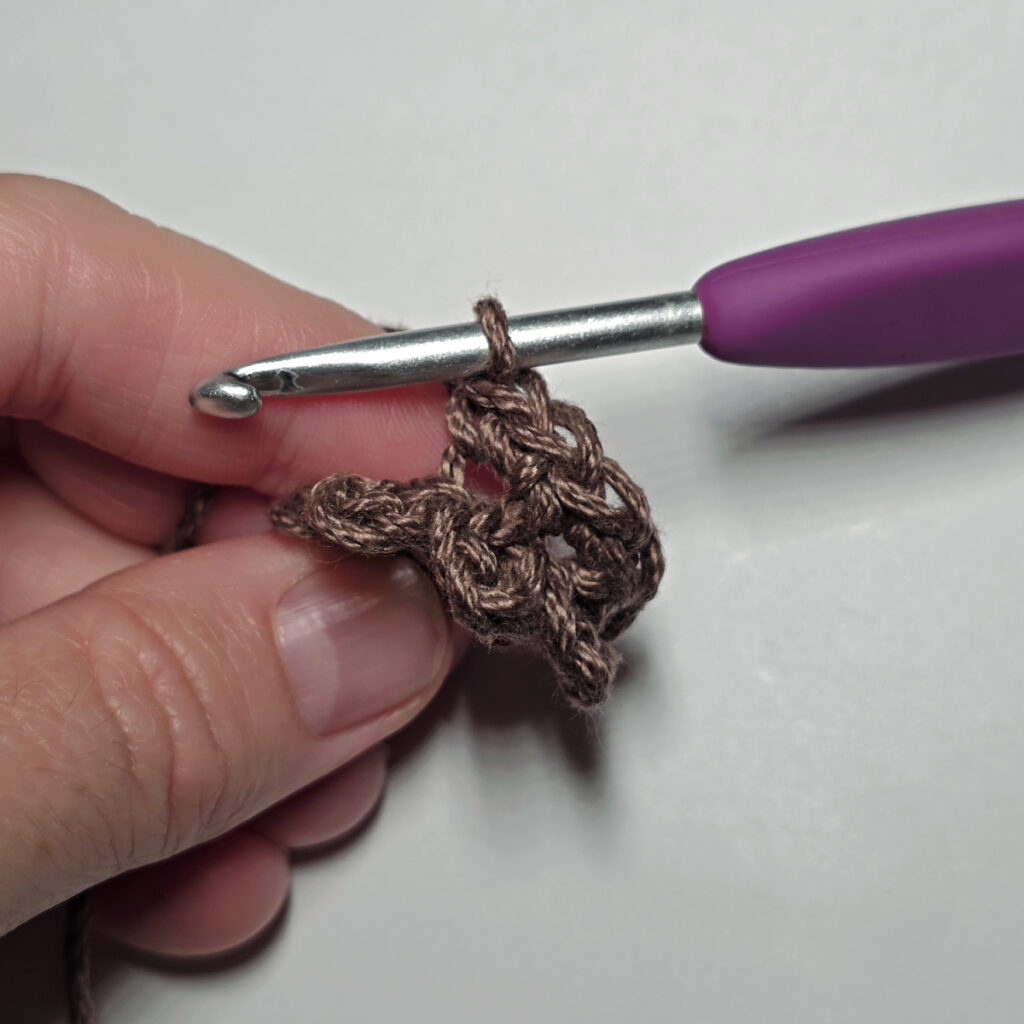
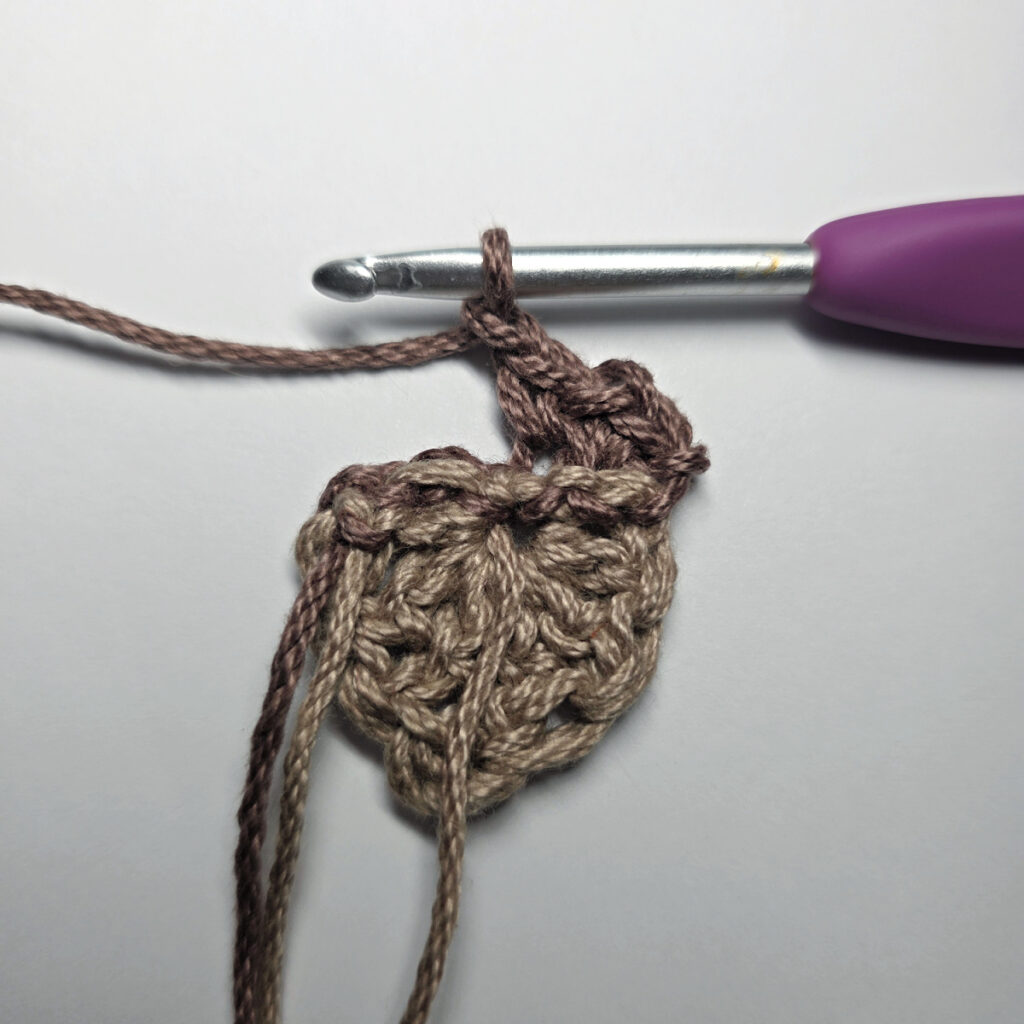
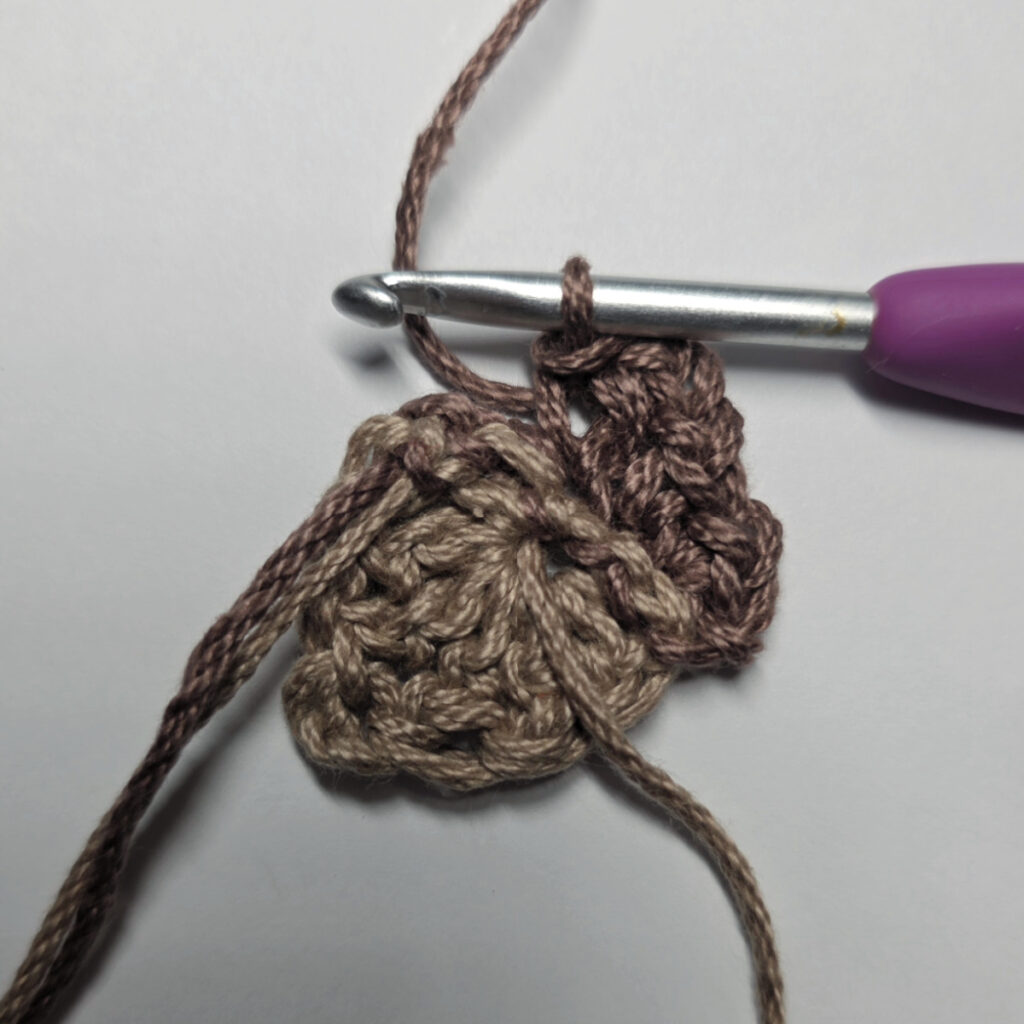
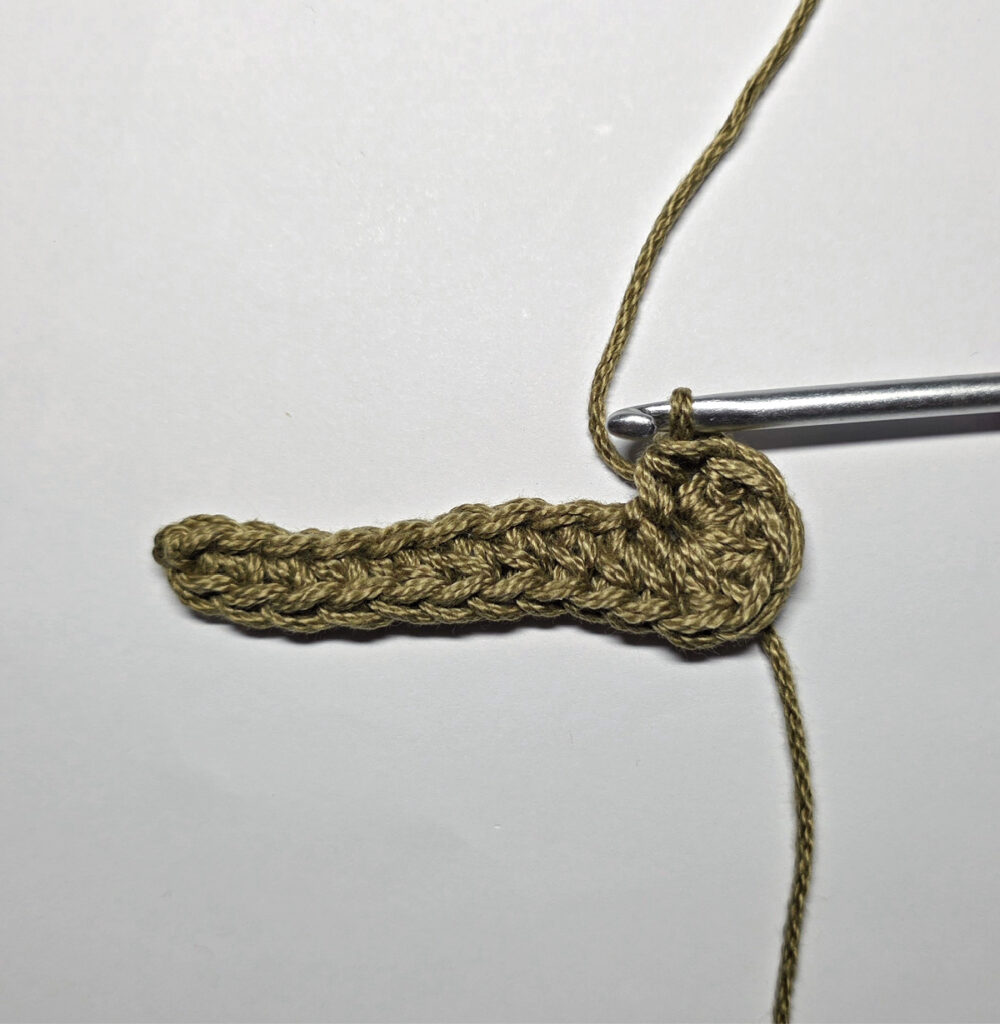
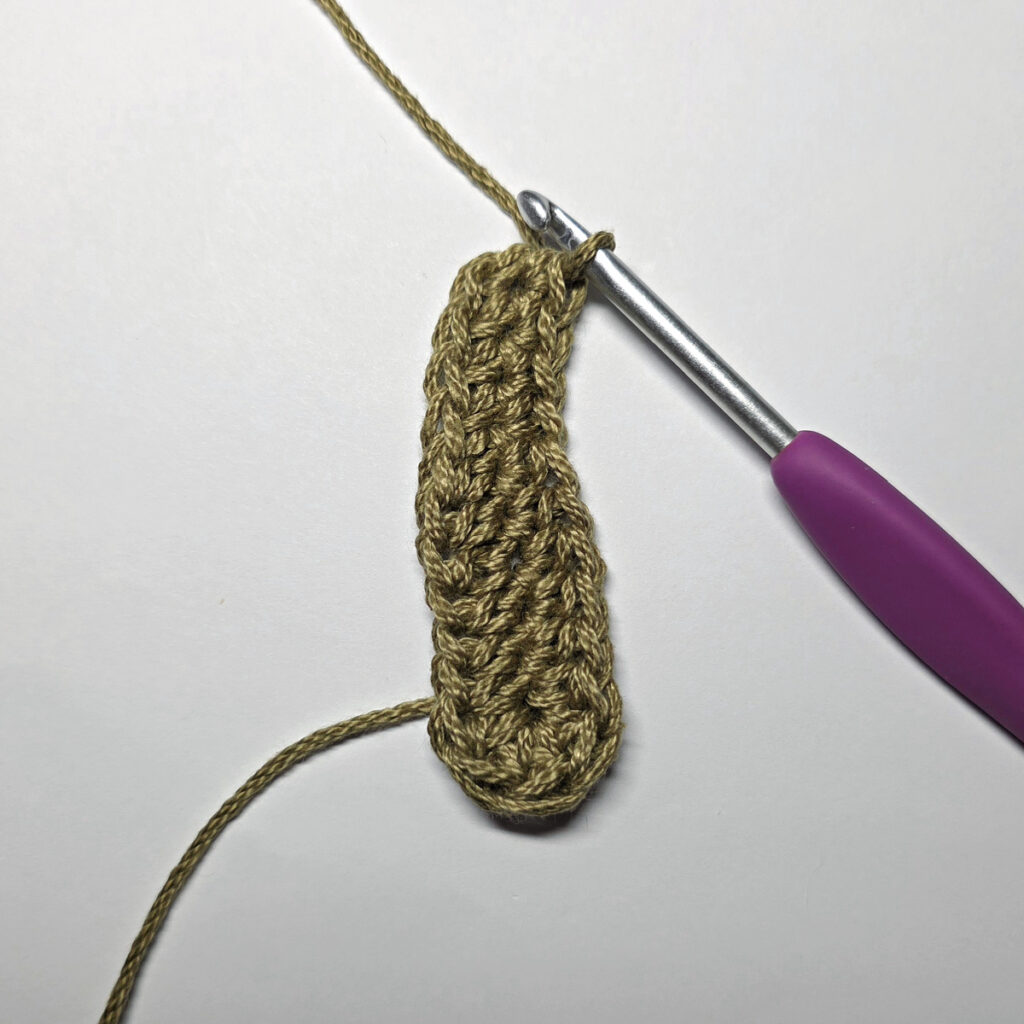
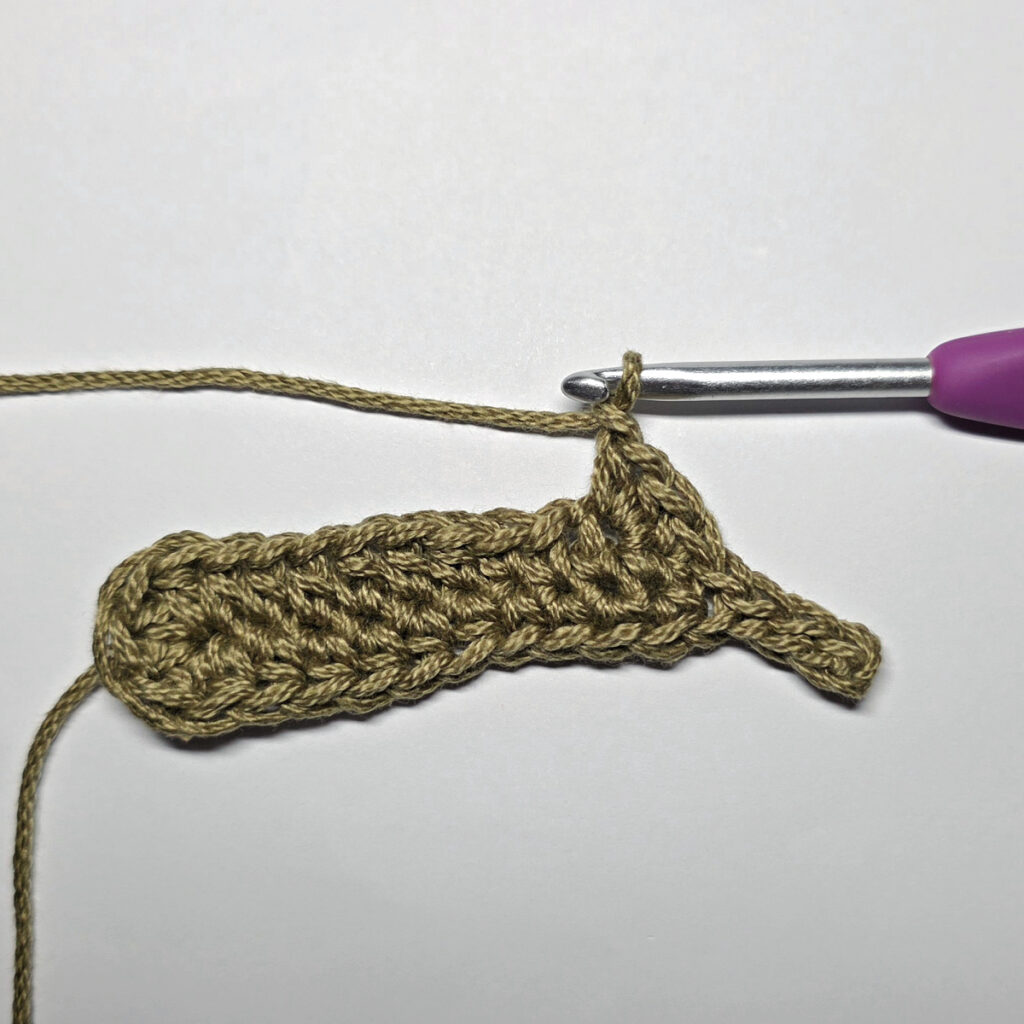
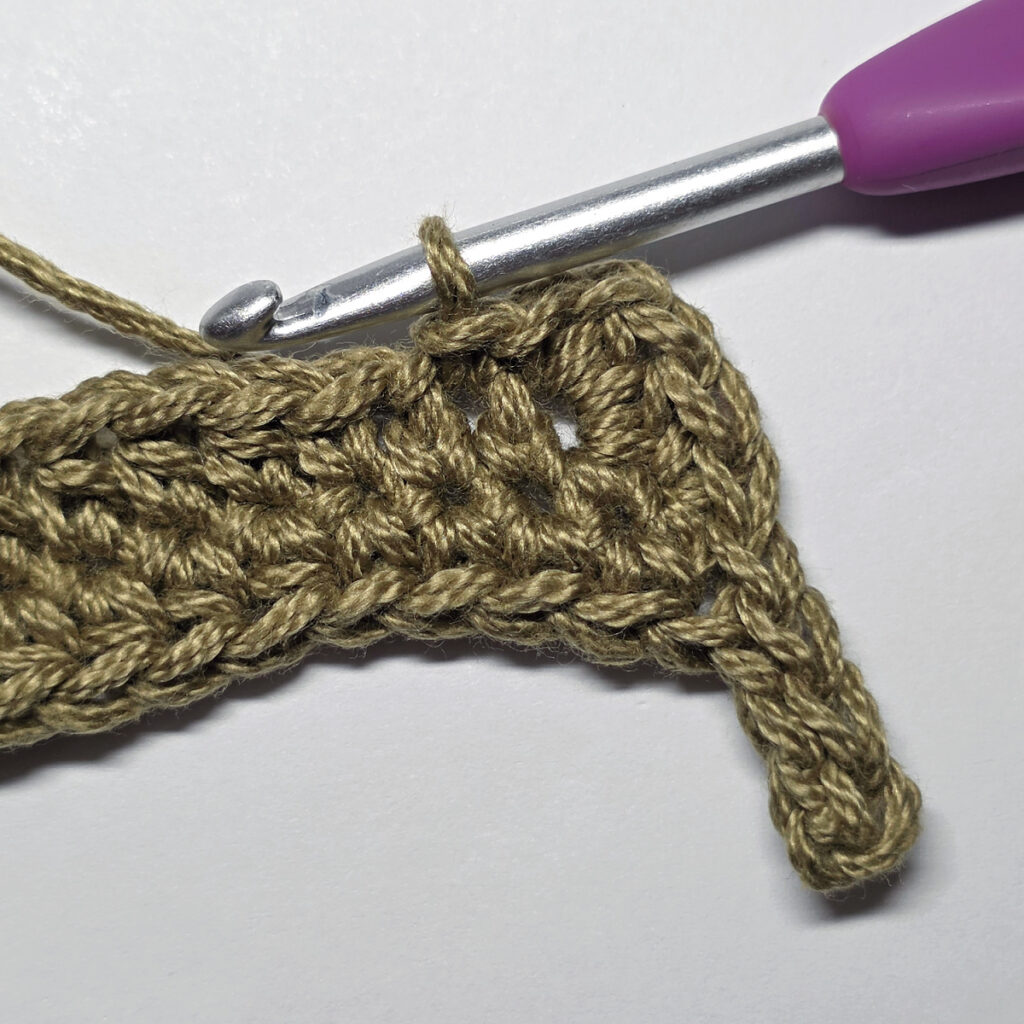
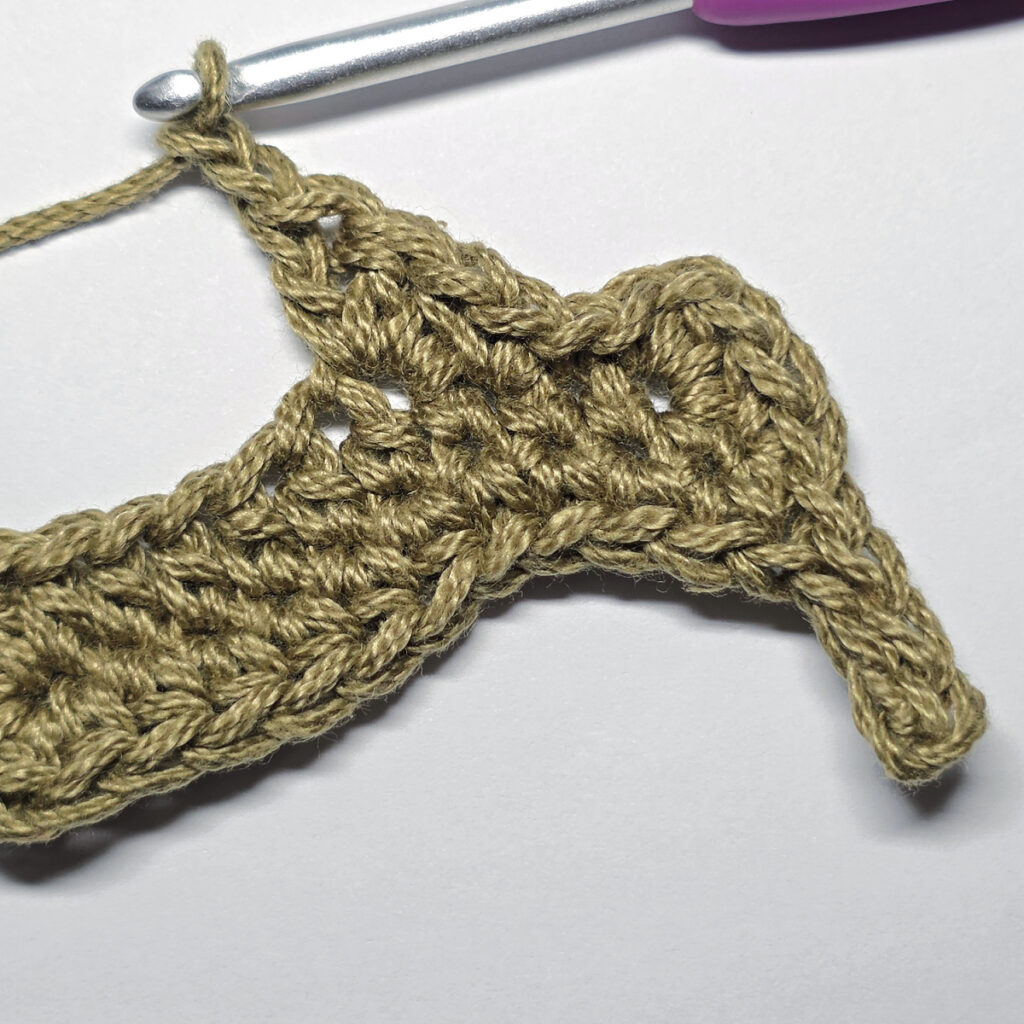
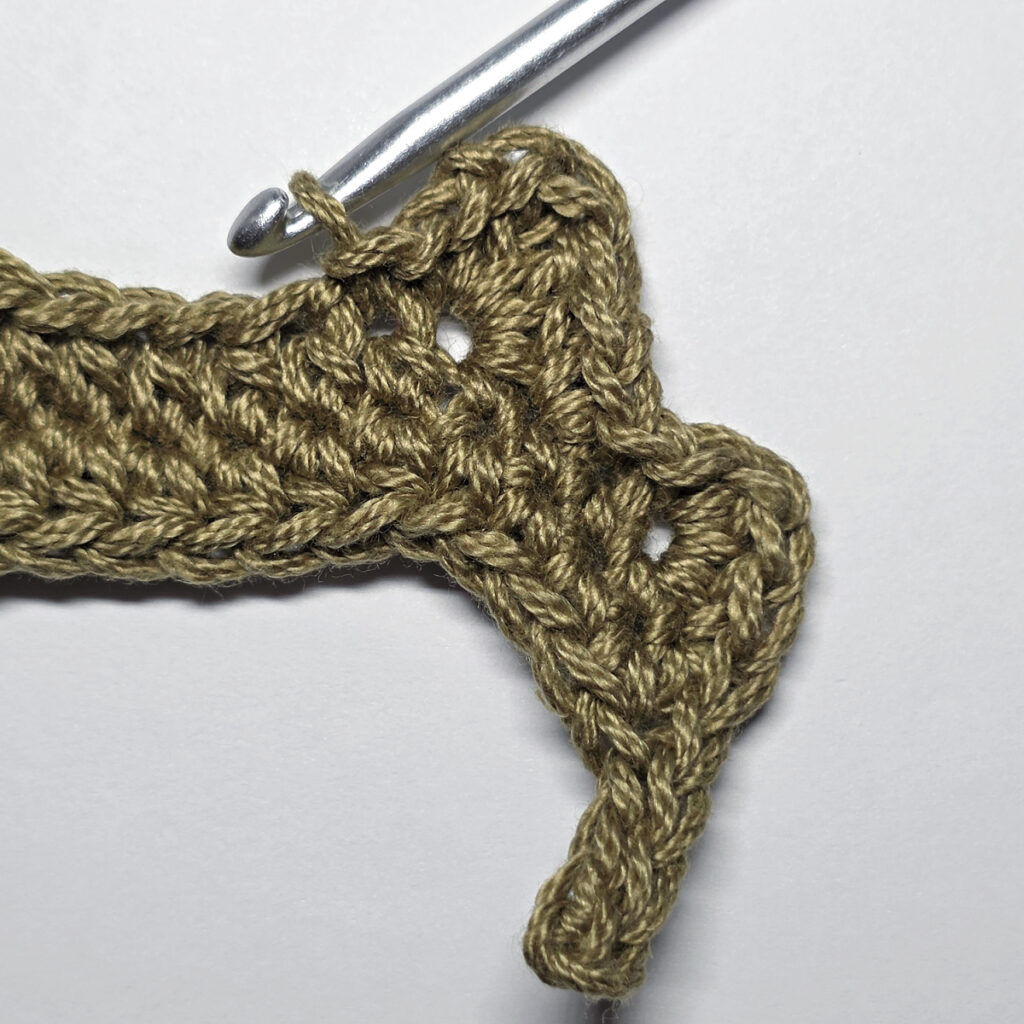
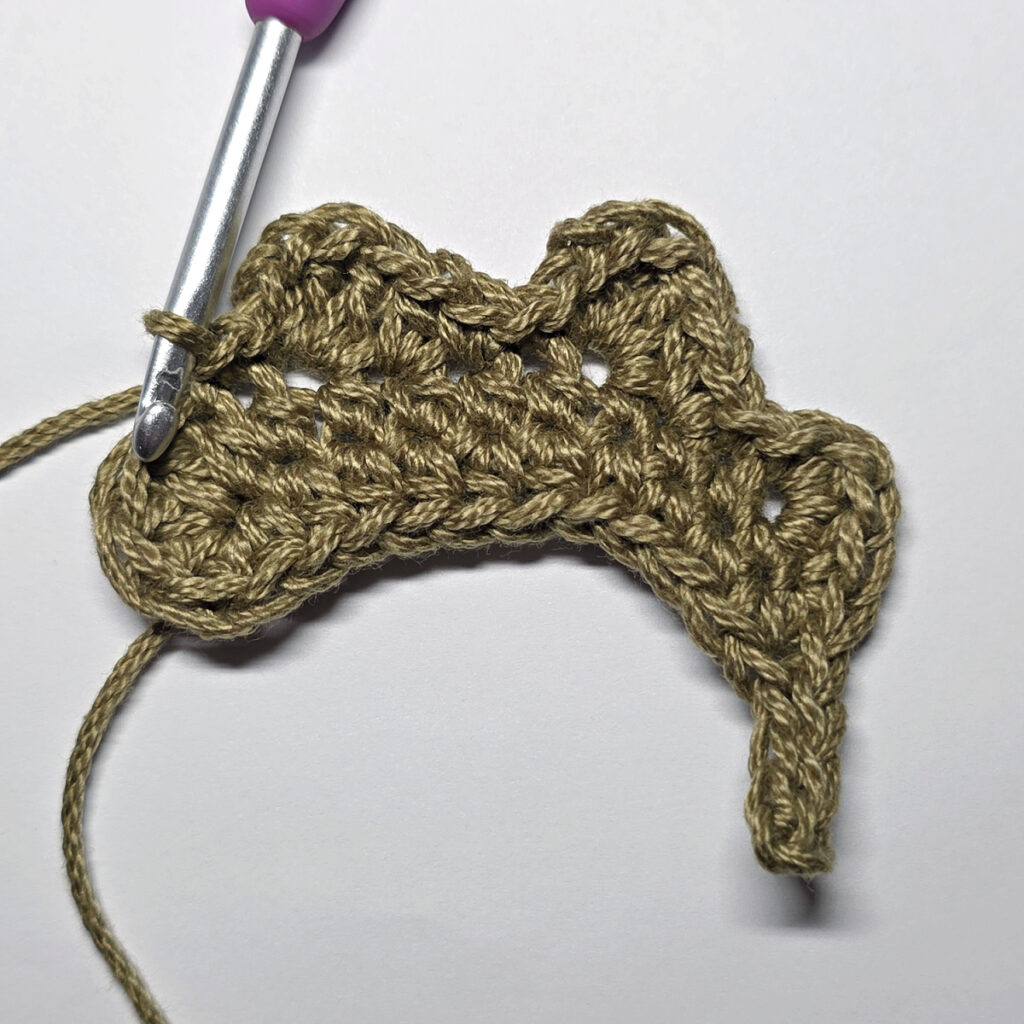
Step 2: With Color D yarn & a 4.00mm crochet hook, ch 1. Rotate to work across the flat edge (into the sides of the two dc’s, see pink arrow in photo at the bottom of the post). Work 2 sl sts into the first dc, sl st into the beginning ch, work 2 sl sts into the next dc.
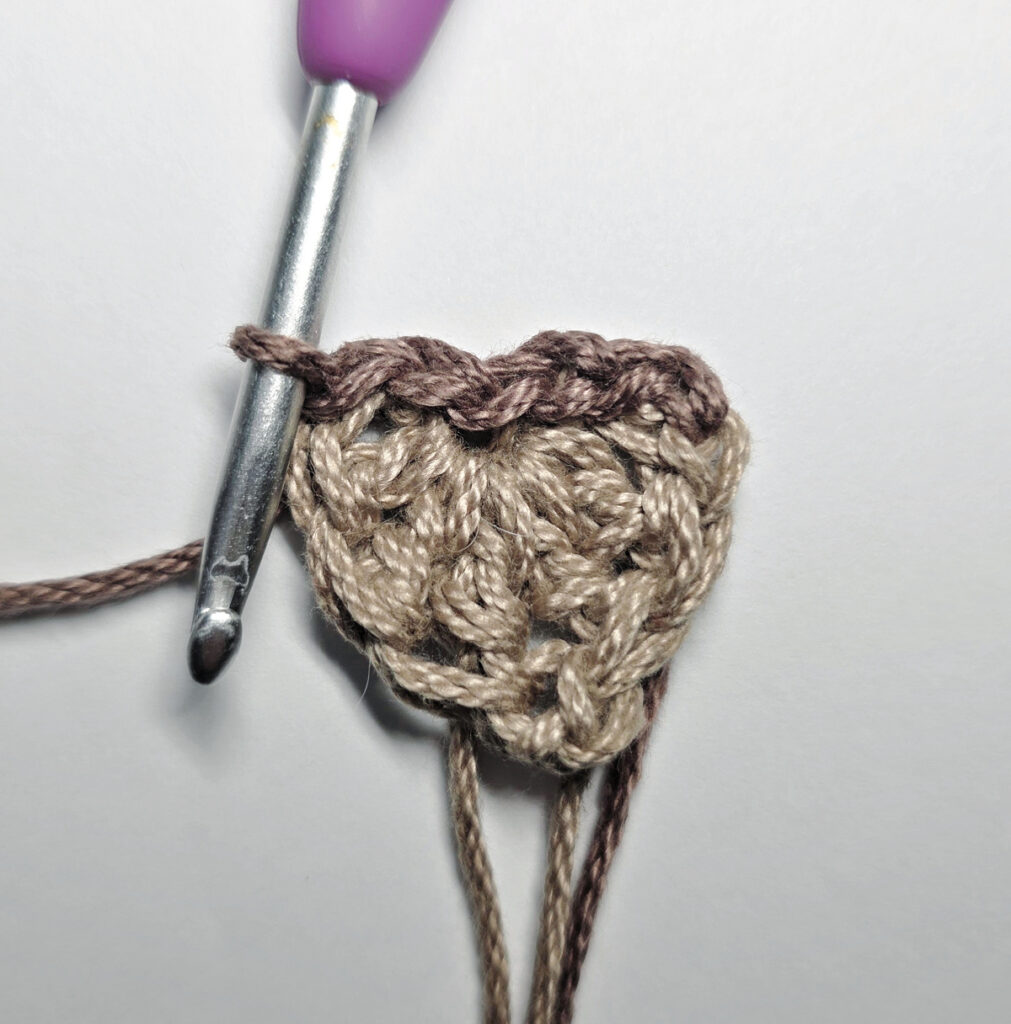
Ch 1, Turn to the WS, working into the FLO of the sl sts, sc in the first st, ch 1, sc in the next st, ch 1, dc in the next st, ch 1, sl st about halfway down and into the side of the dc just made, sc in the next st, ch 1, sc in the last st.
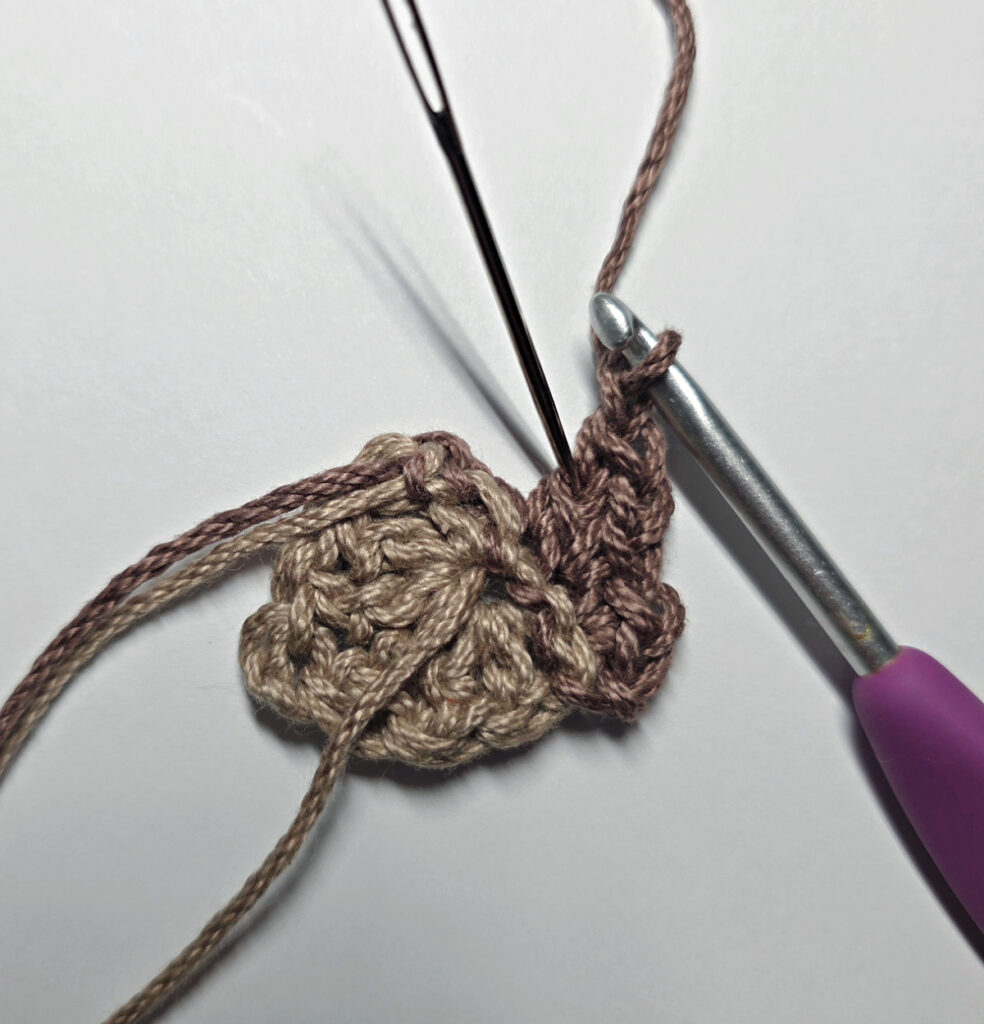
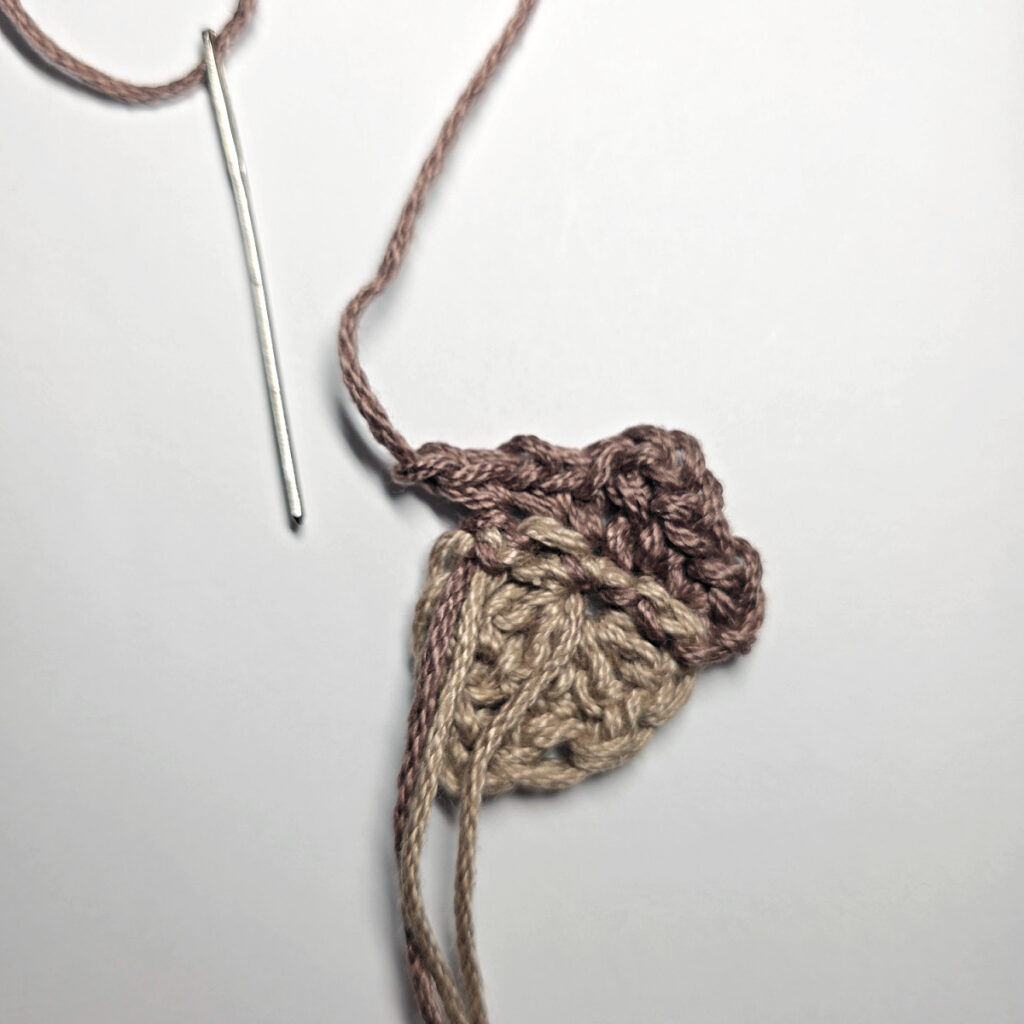
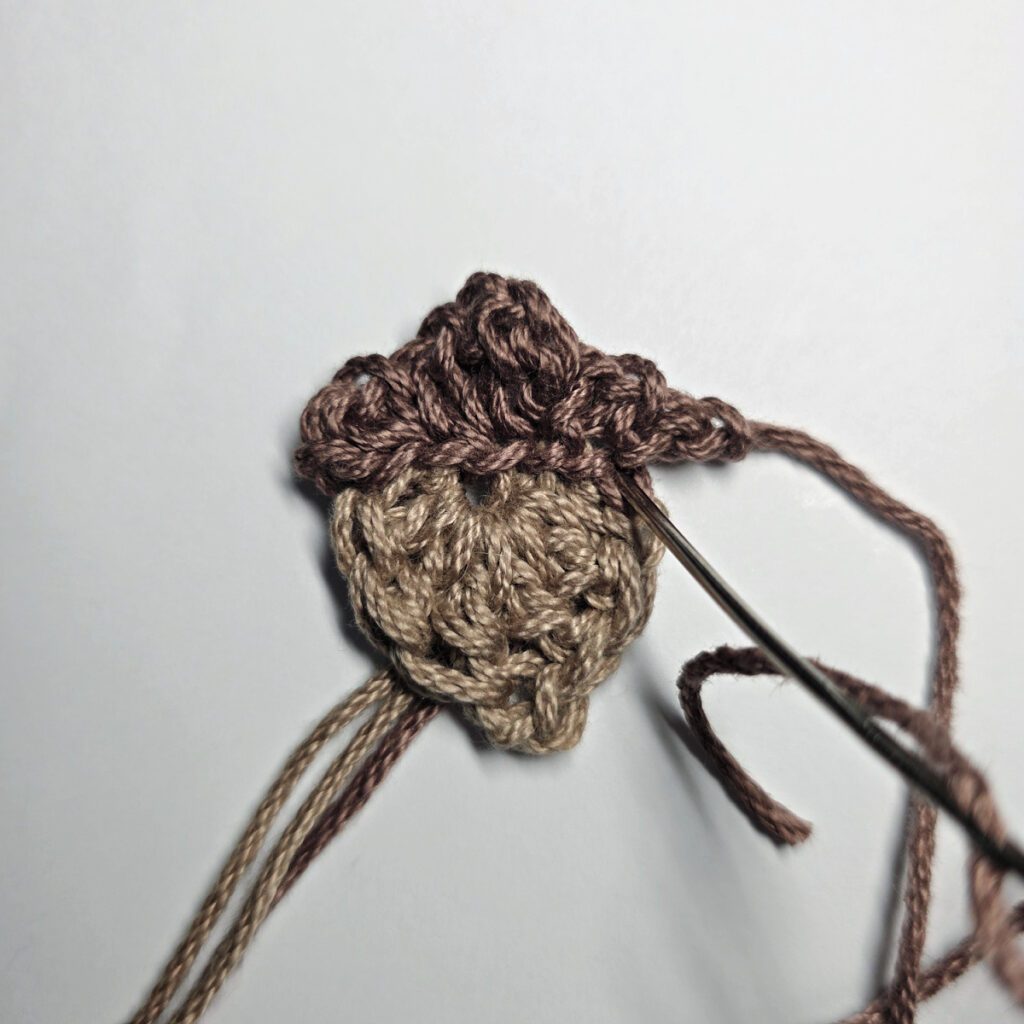
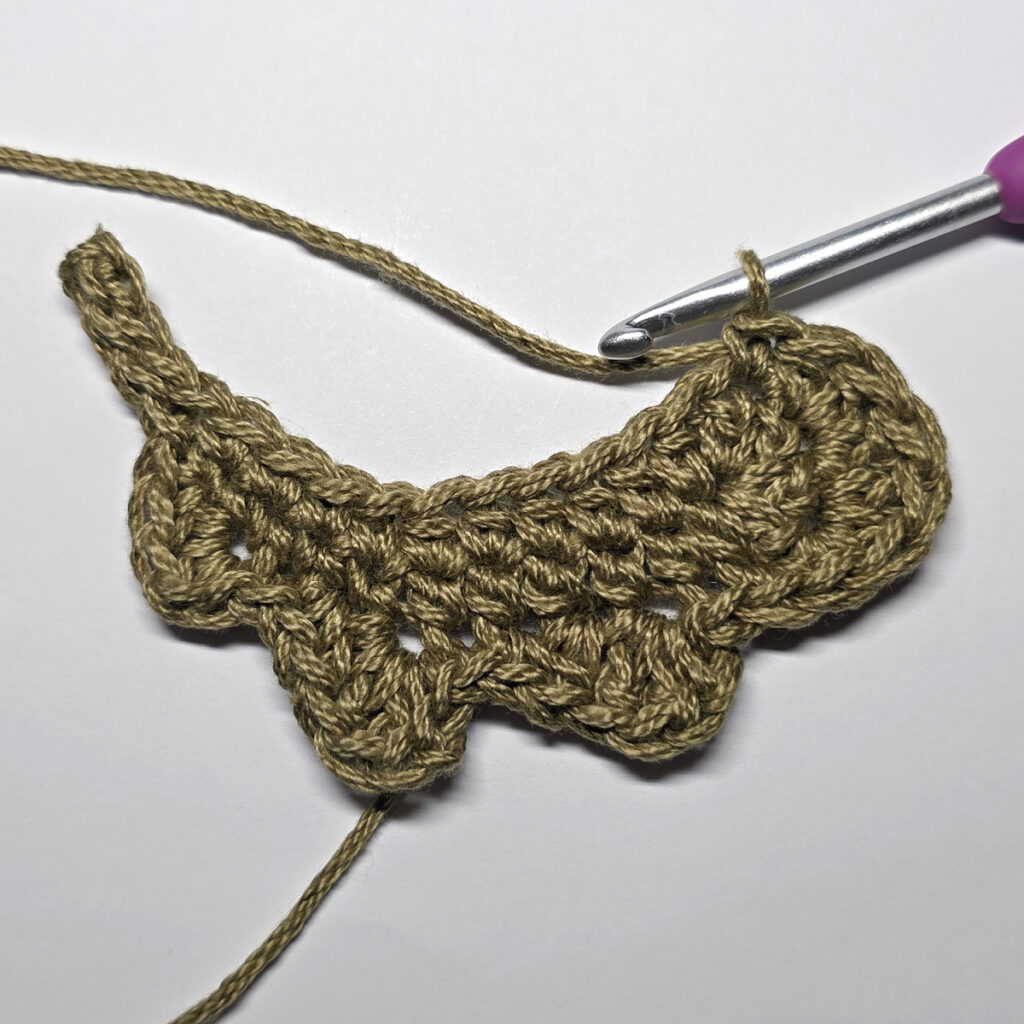
Fasten off. Turn to the RS. To finish this piece, use a yarn needle and the tail of yarn left and weave the tail of yarn into the space shown in the photos below. Weave in ends. Continue on to Segment #2 – Part #2. Finished Size: 1-1/4″ W x 1-1/2″ H (at widest points)
Segment #2 – Part #2
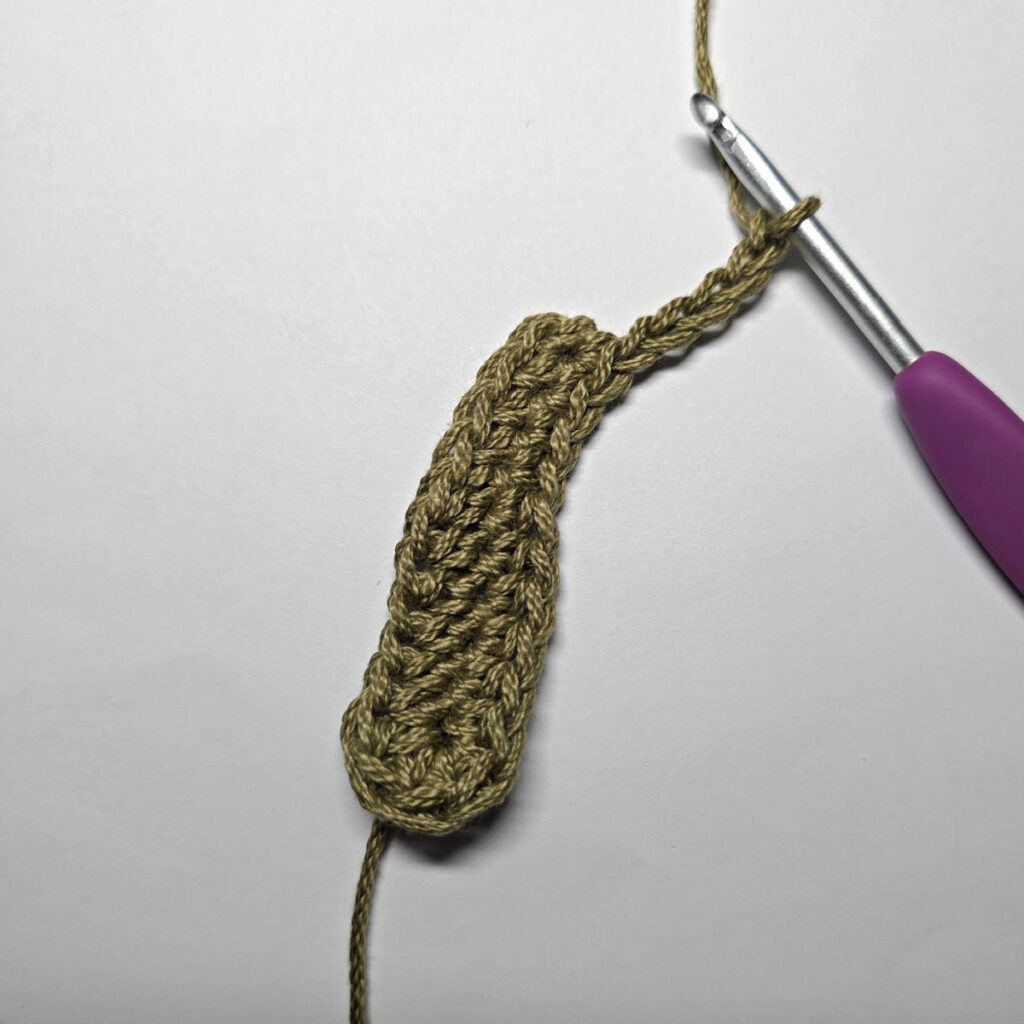
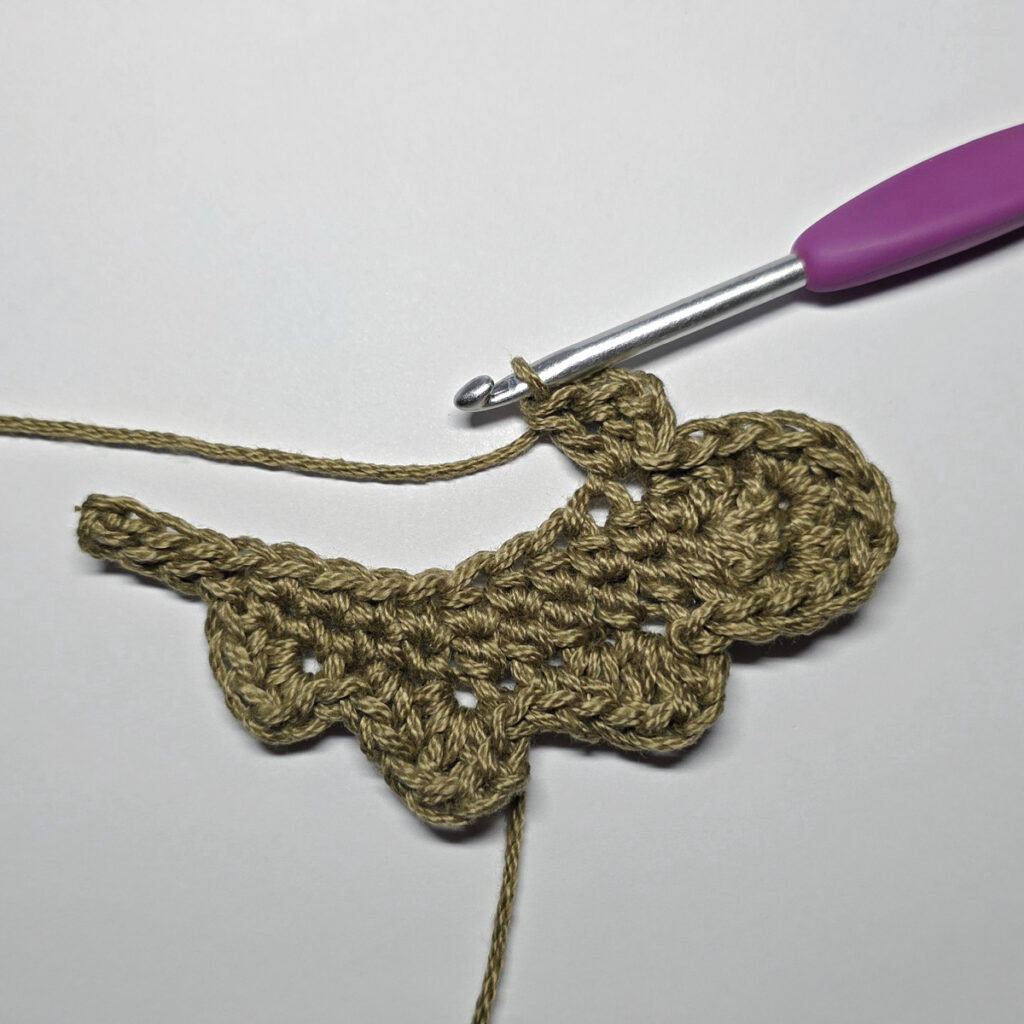
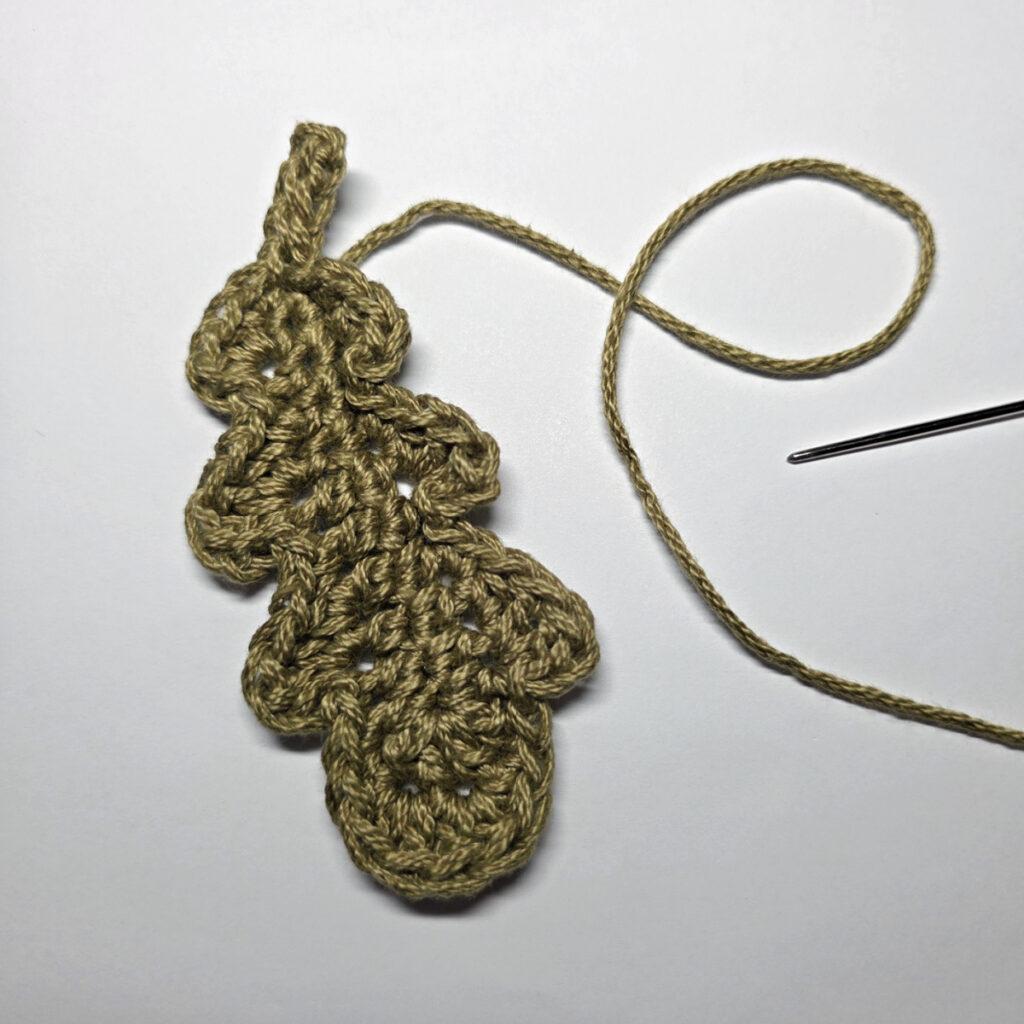
Rnd (RS): With any color yarn & a 4.00mm crochet hook, ch 11, working into the back humps of the foundation ch, sc into the 2nd ch from your hook, sc in each of the next 3 chs, hdc in each of the next 5 chs, (hdc, 4 dc, hdc) in the last ch, rotate to work into the bottom of the foundation ch, hdc in each of the next 5 chs, sc in each of the next 4 chs. Do not join. (24 sts)
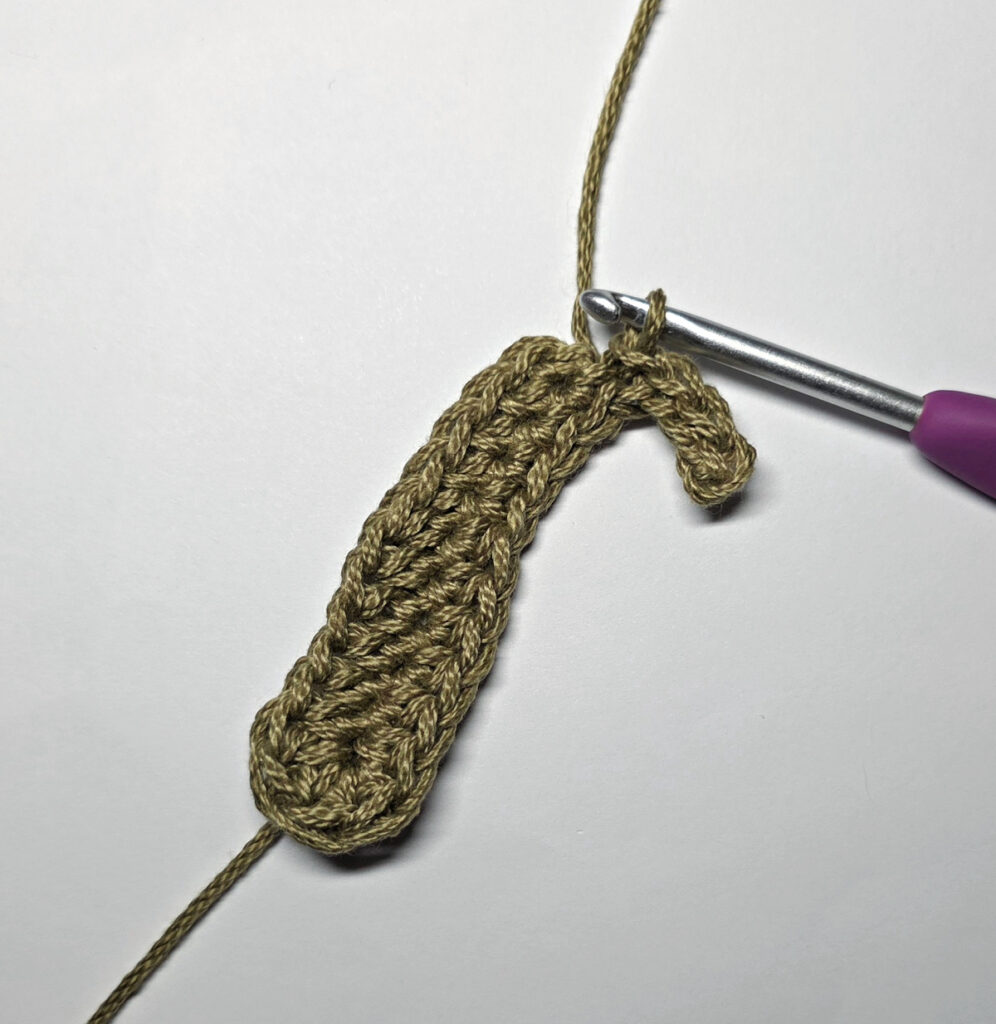
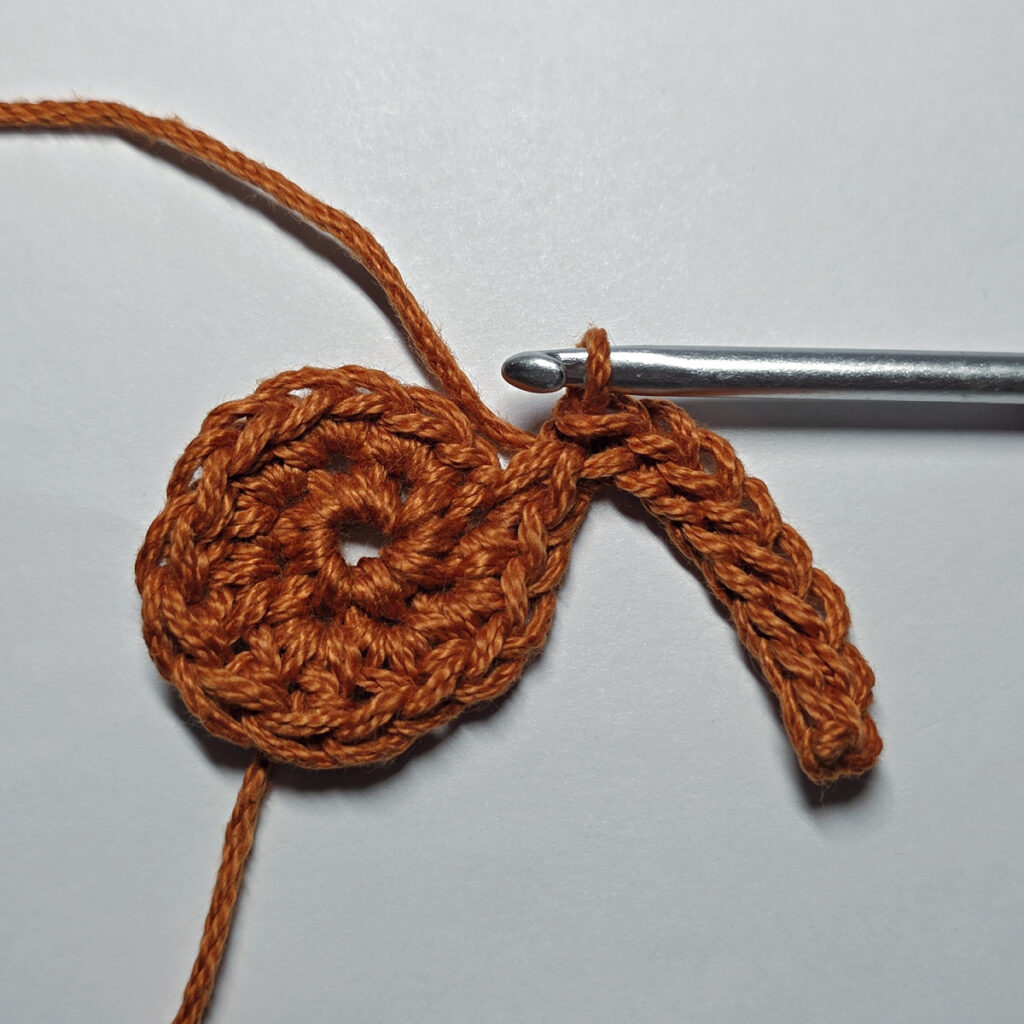
Next, Make Stem: Ch 5, sl st into the 2nd ch from your hook, sl st into each of the next 3 chs. Do not join. (4 sts)
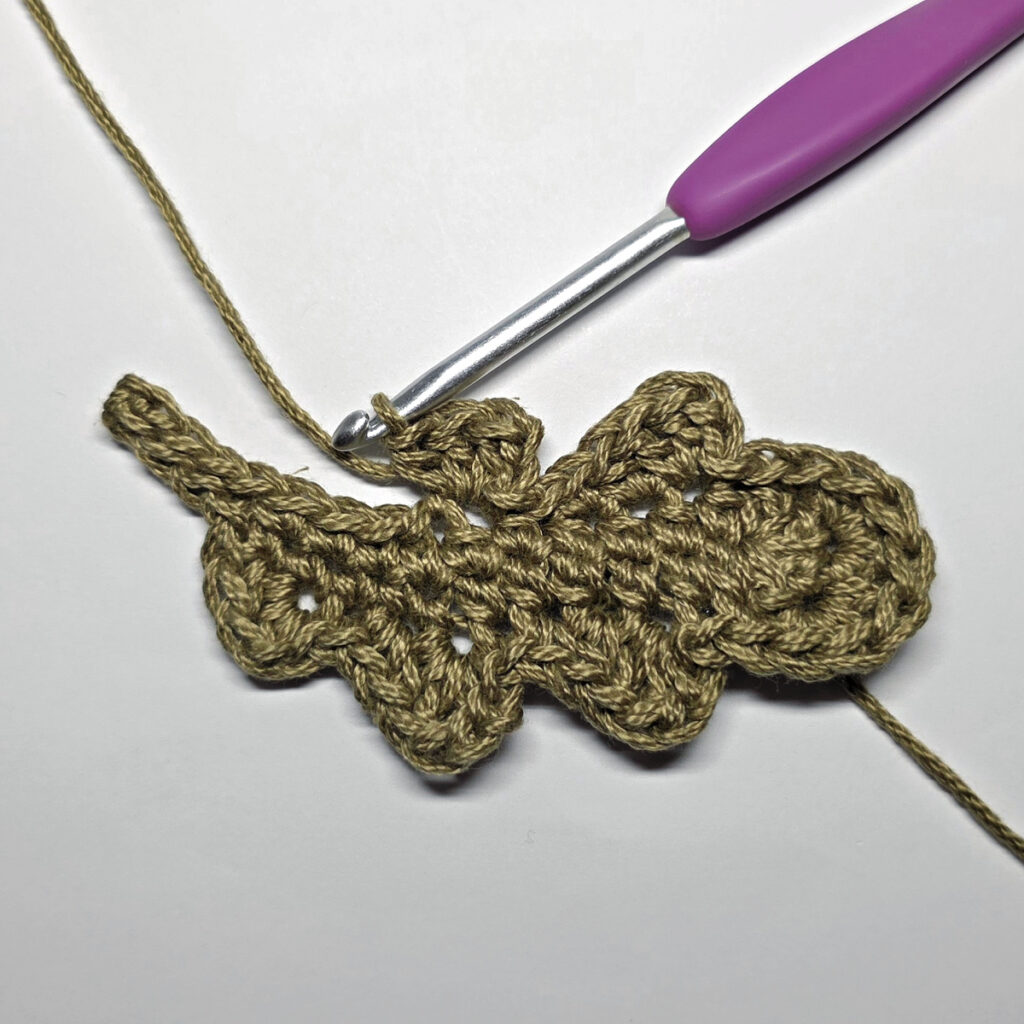
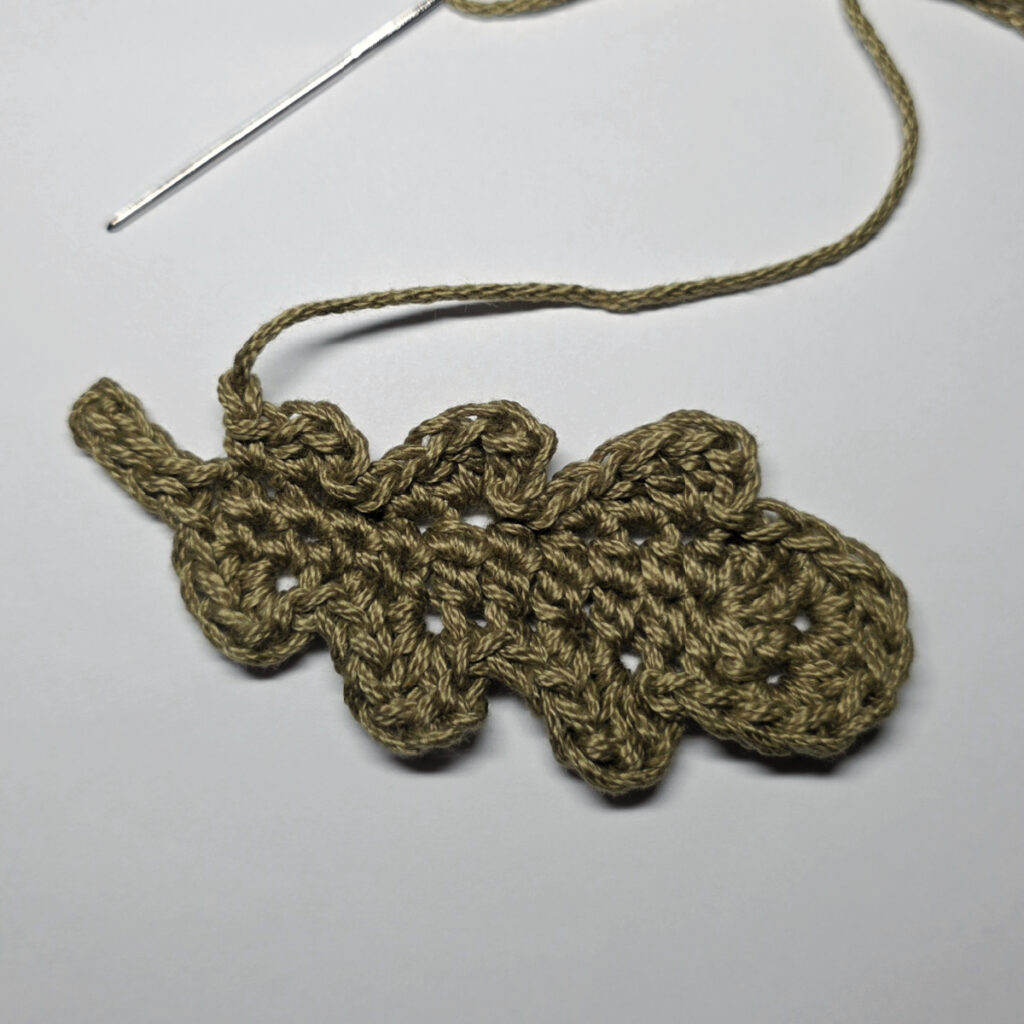
Rnd 2: Sc in the next st, 2 hdc in the next st, ch 1, sl st in the same st as hdc just worked, sl st in the next st, sc in next st, (hdc, 2 dc) in the next st, ch 2, sl st in the same st as the last dc worked, sl st in the next st, sc in the next st, hdc in the next st, 2 dc in the next st, ch 2, sl st in the same as as the dc just worked, sl st in next st, sc in the next st, (hdc, 2 dc) in the next st, (2 dc, hdc) in the next st, sc in the next st, sl st in each of the next 2 sts, ch 2, 2 dc in the same st as the last sl st worked, hdc in the next st, sc in the next st, sl st in each of the next 2 sts, ch 2, (2 dc, hdc) in the same st as the last sl st worked, sc in the next st, sl st in each of the next 2 sts, ch 1, 2 hdc in the same st as the last sl st worked, sc in the next st. Do not join.
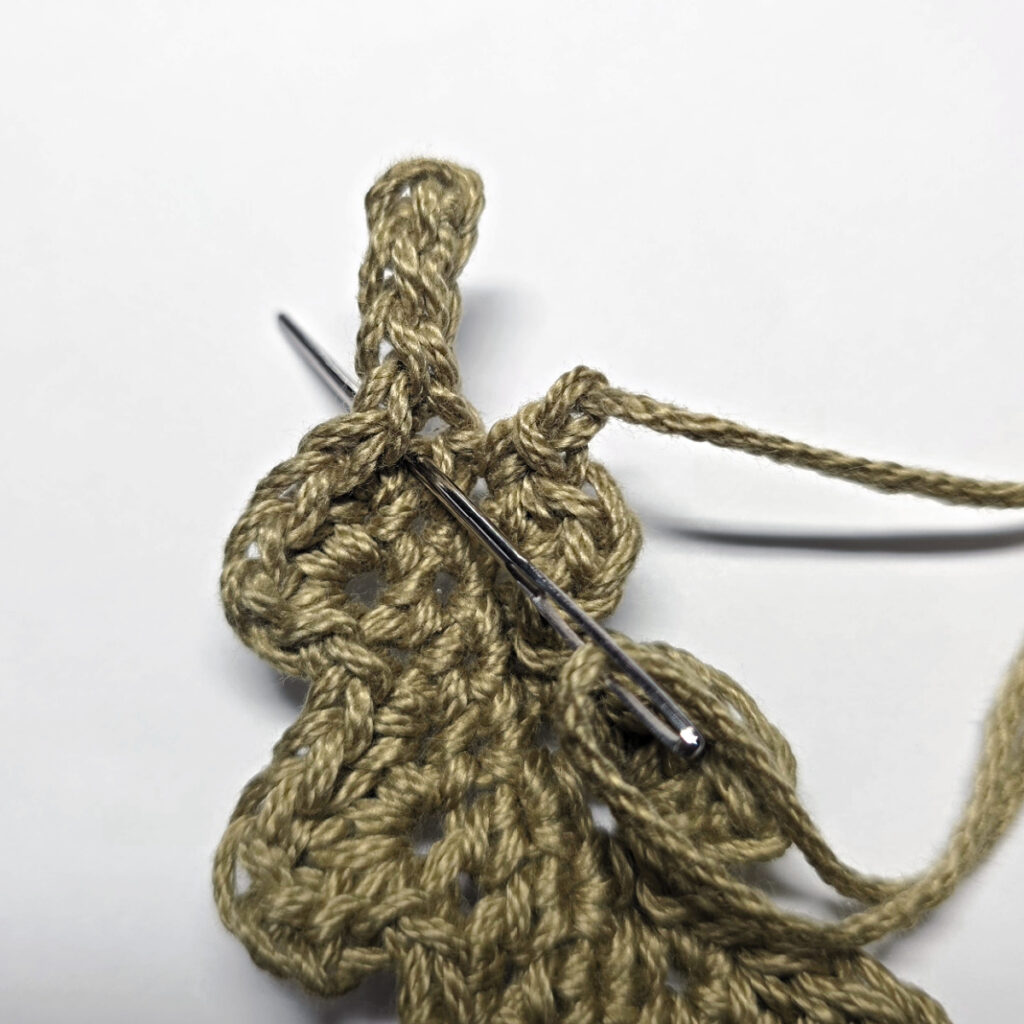
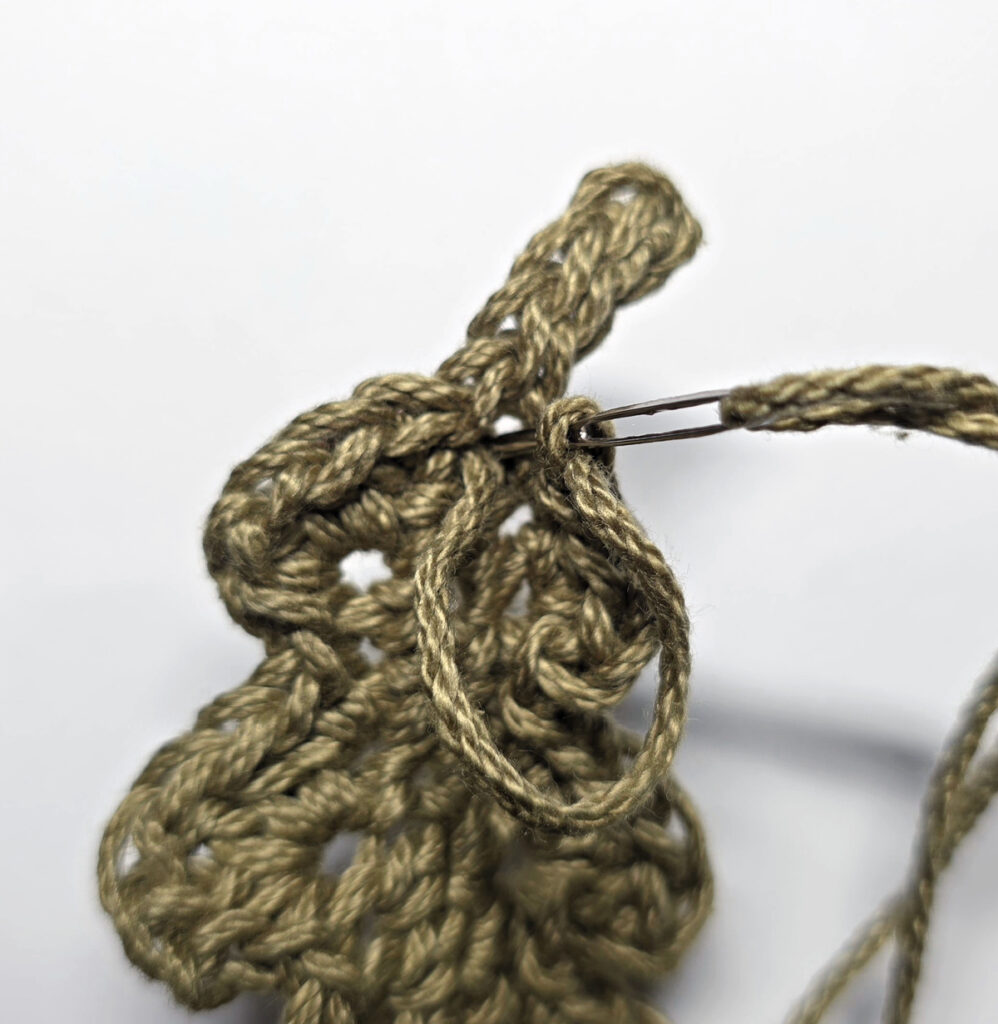
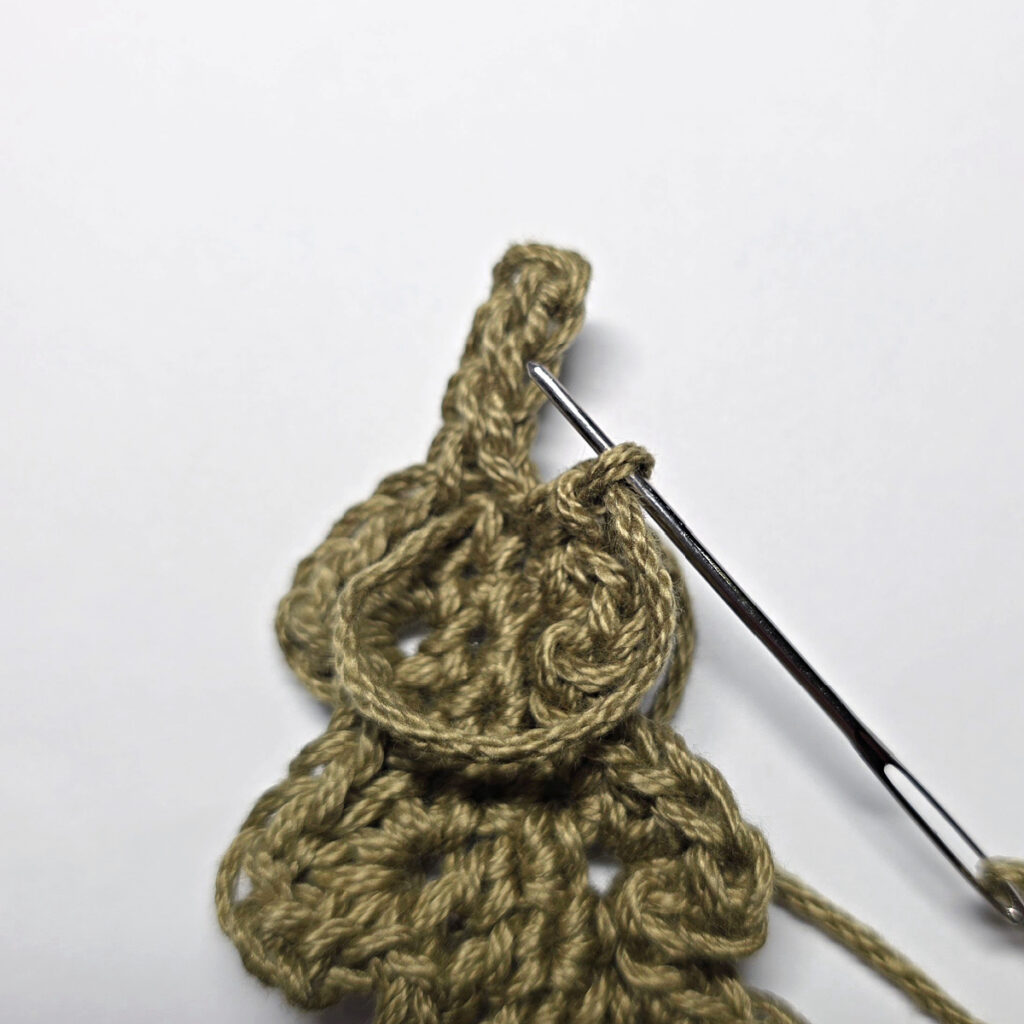
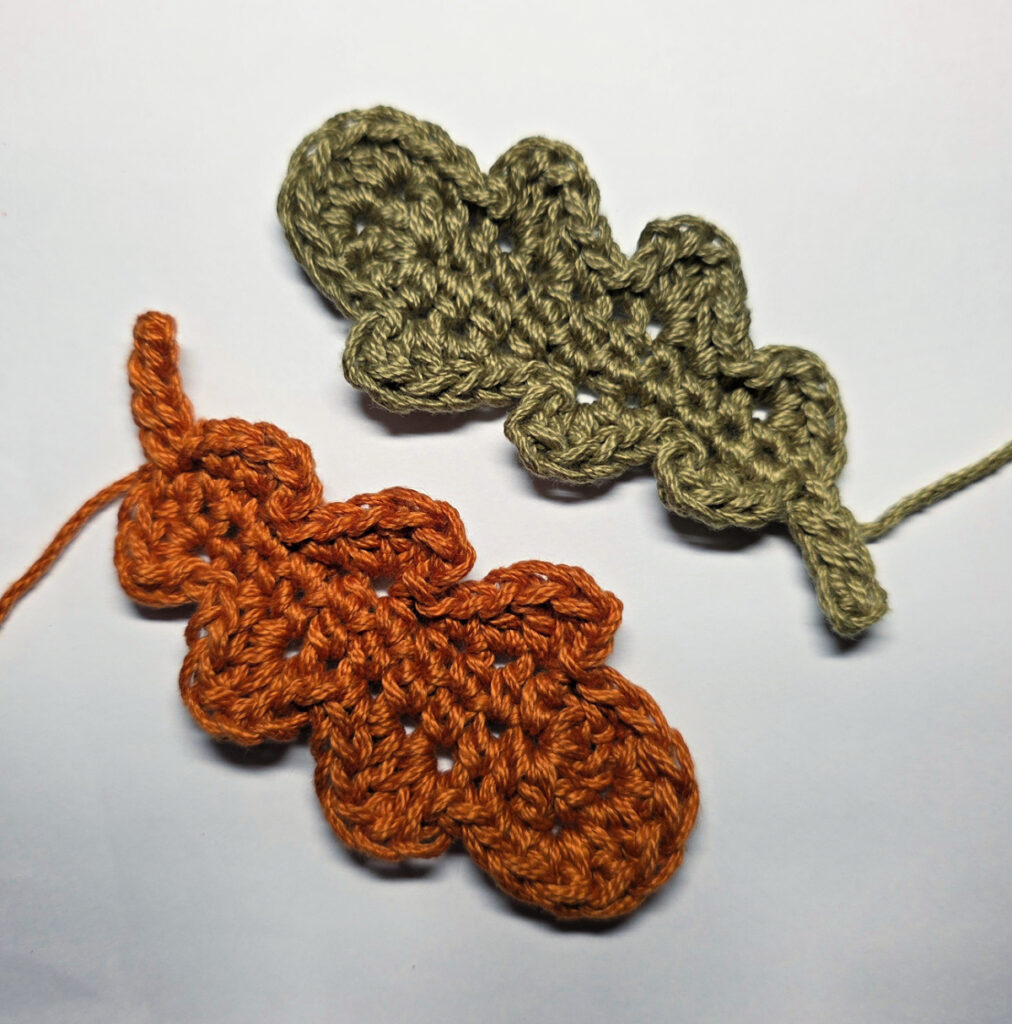
Fasten off leaving an 8″ tail of yarn. With a yarn needle and tail of yarn, weave the tail of yarn into the stitch shown in the photos (the bottom of the first single crochet worked in round 1). The finished piece will measure approximately 1-5/8 W x 3-7/8″ L.
Segment #3
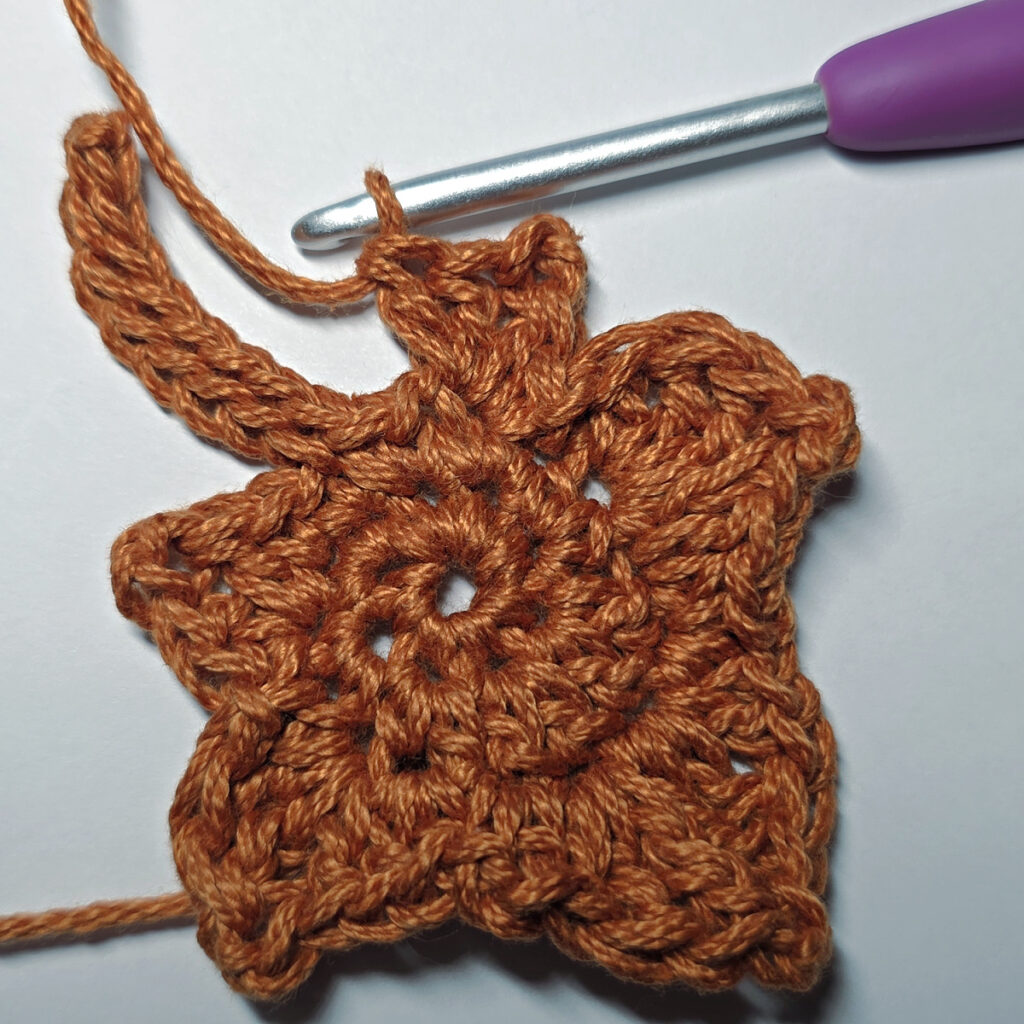
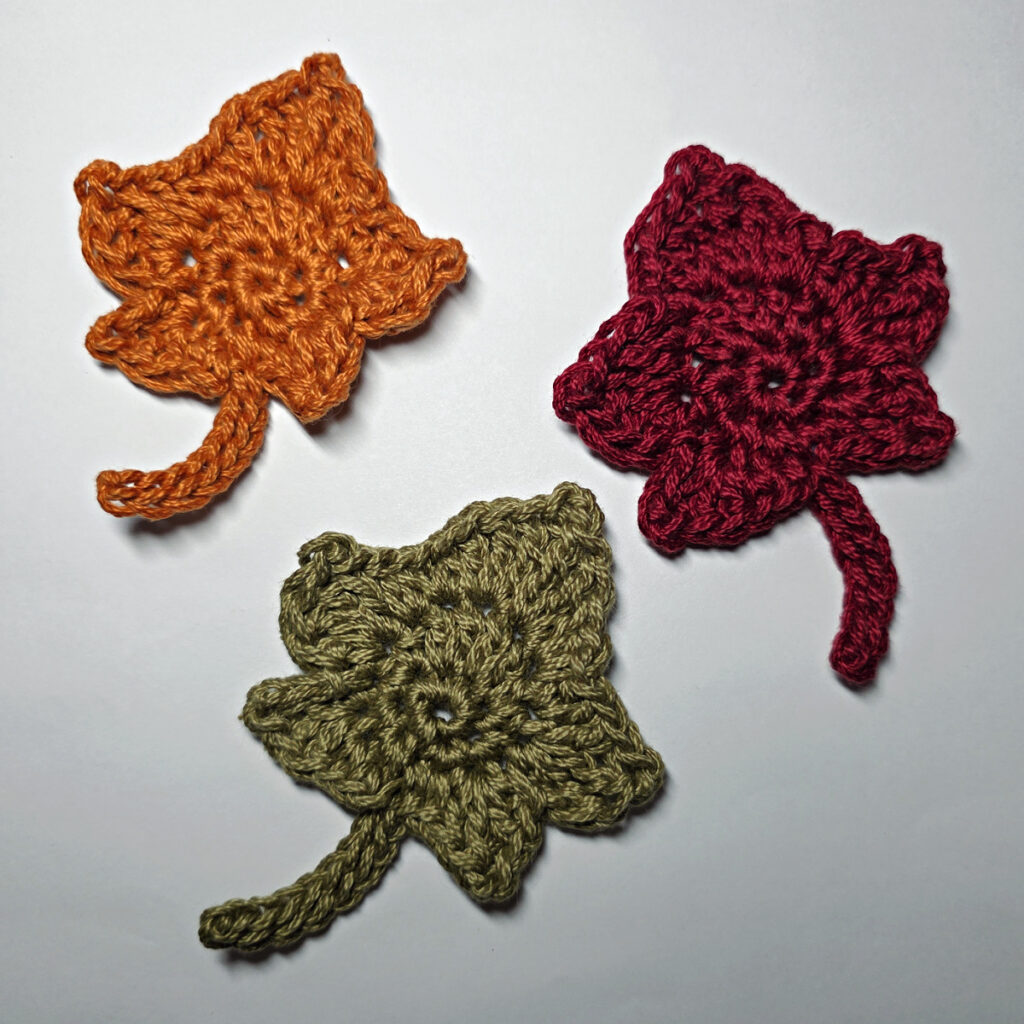
Note: I added a BONUS project to Segment #3 so now there are two small pieces for this last segment. The bonus piece is not required, but if you complete it, you’ll receive extra entires.
Segment #3 – Part #1
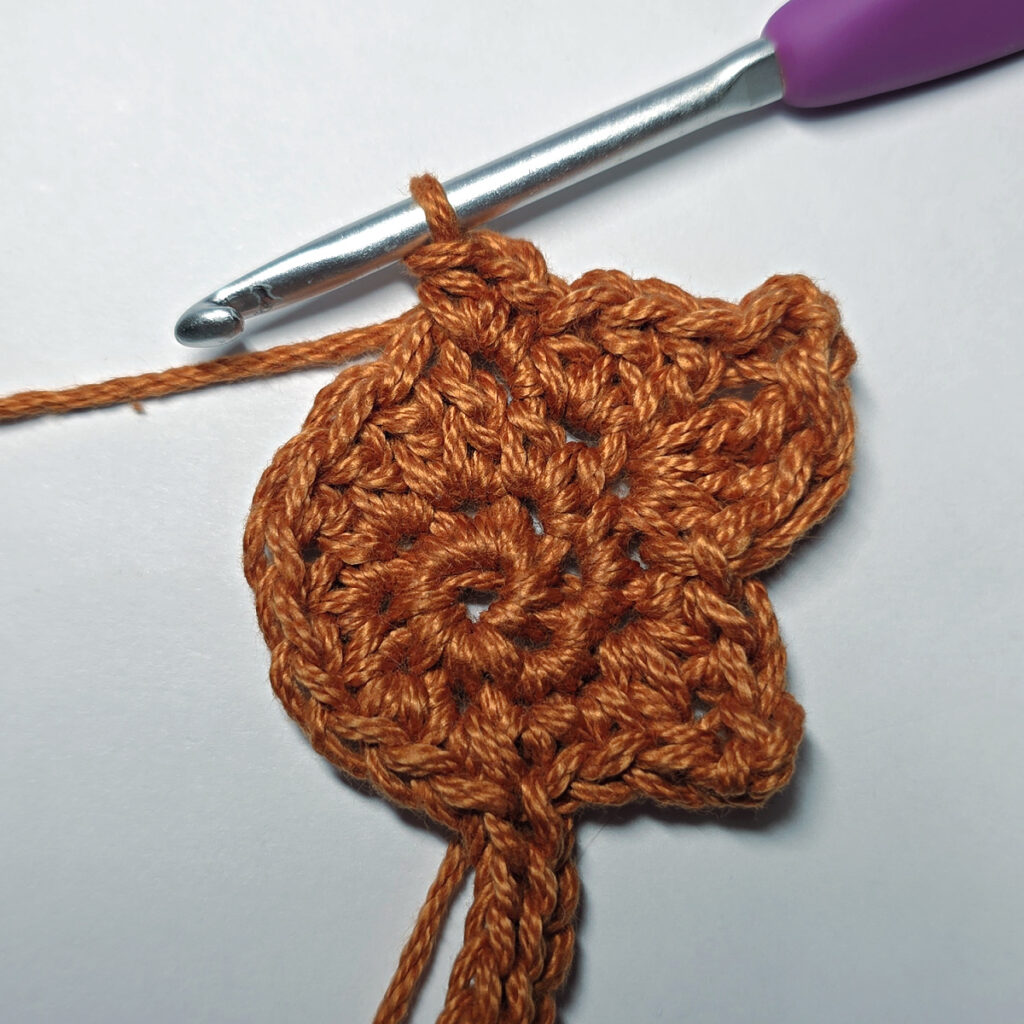
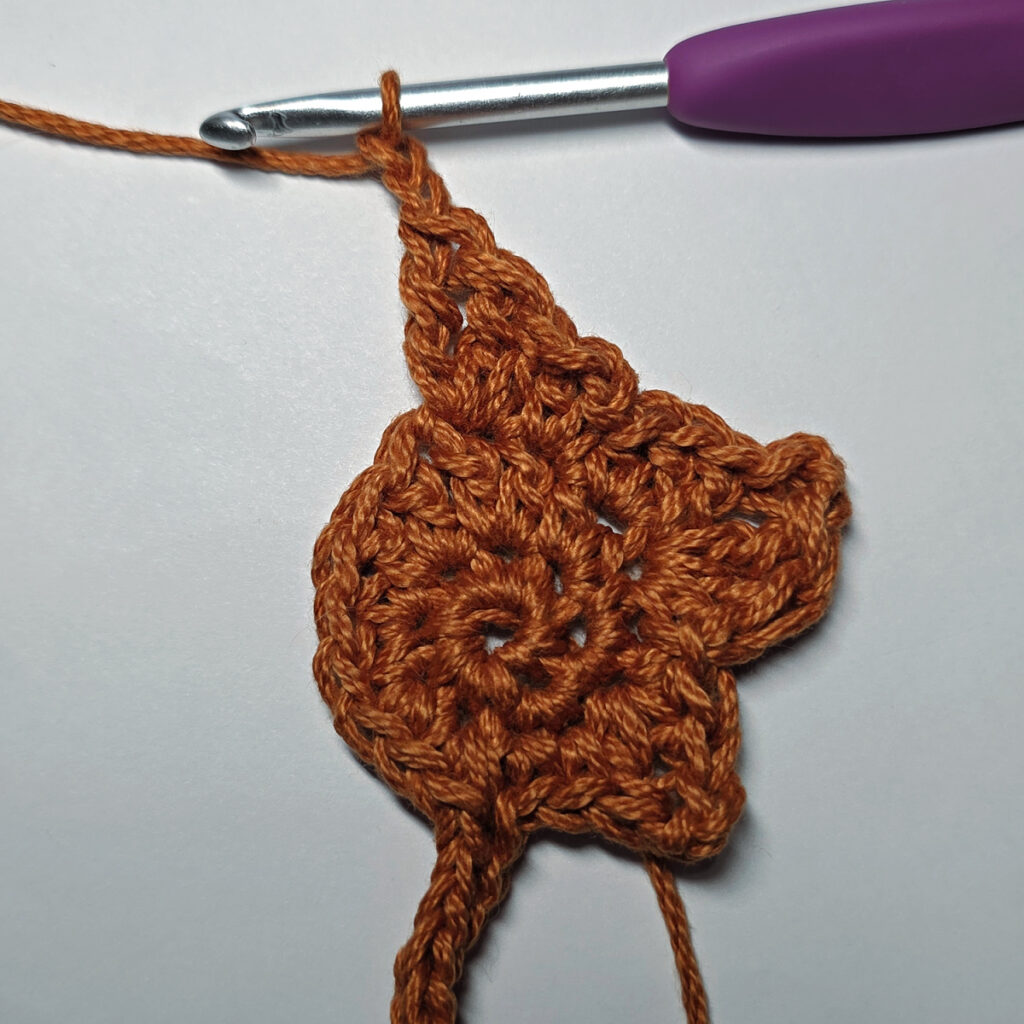
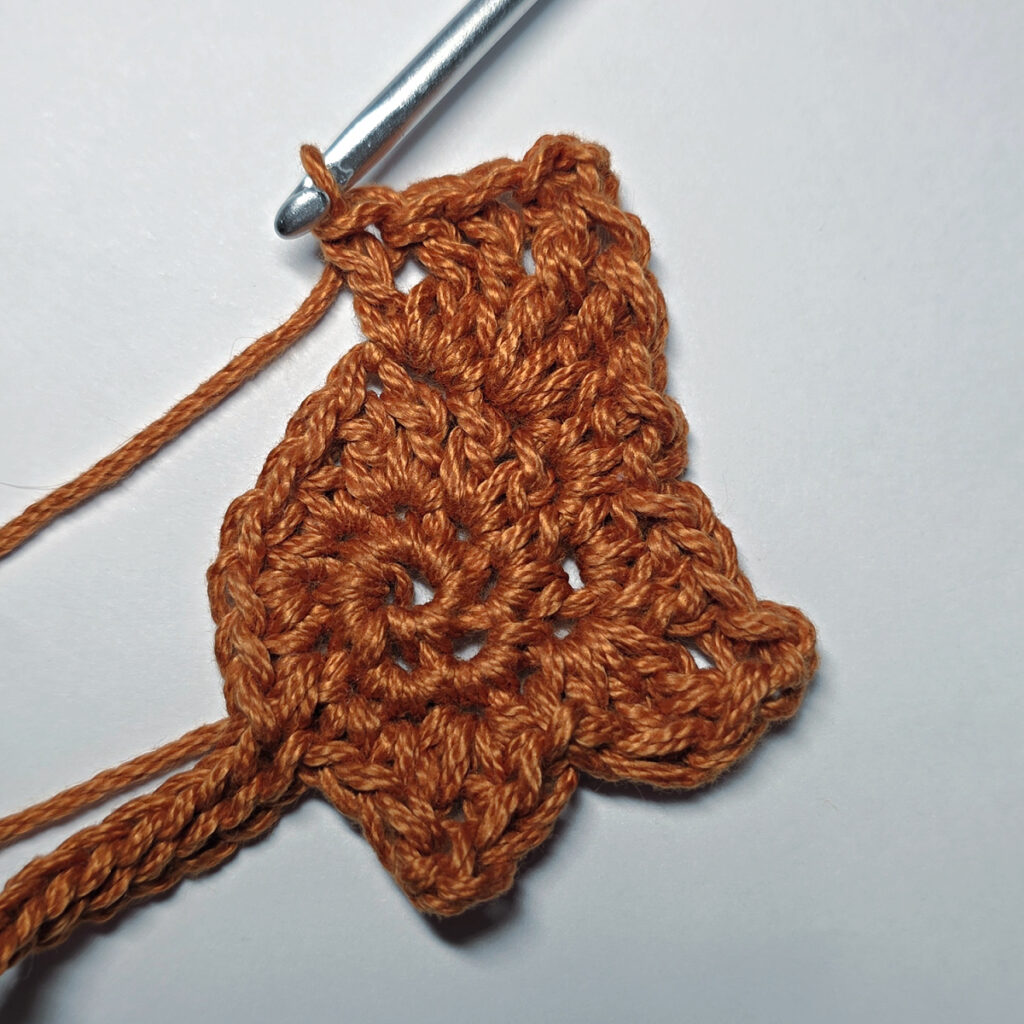
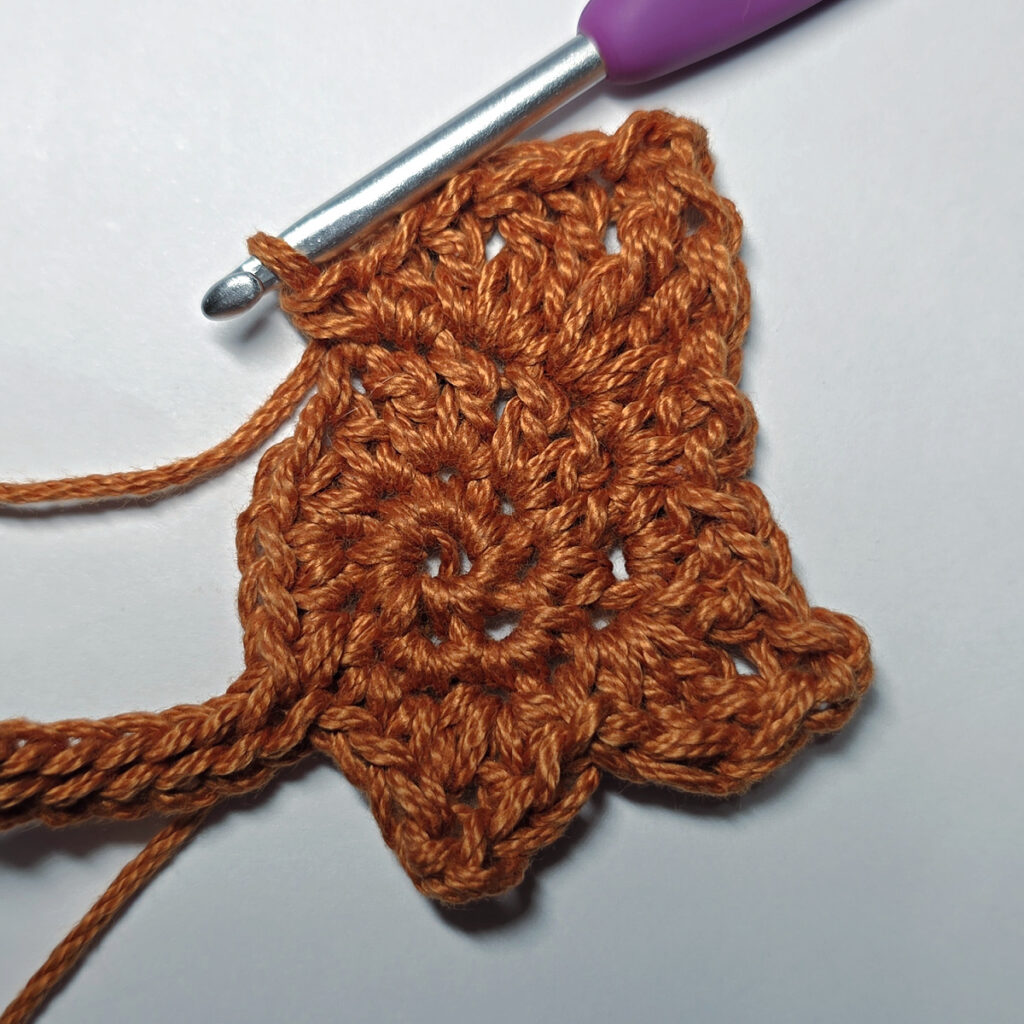
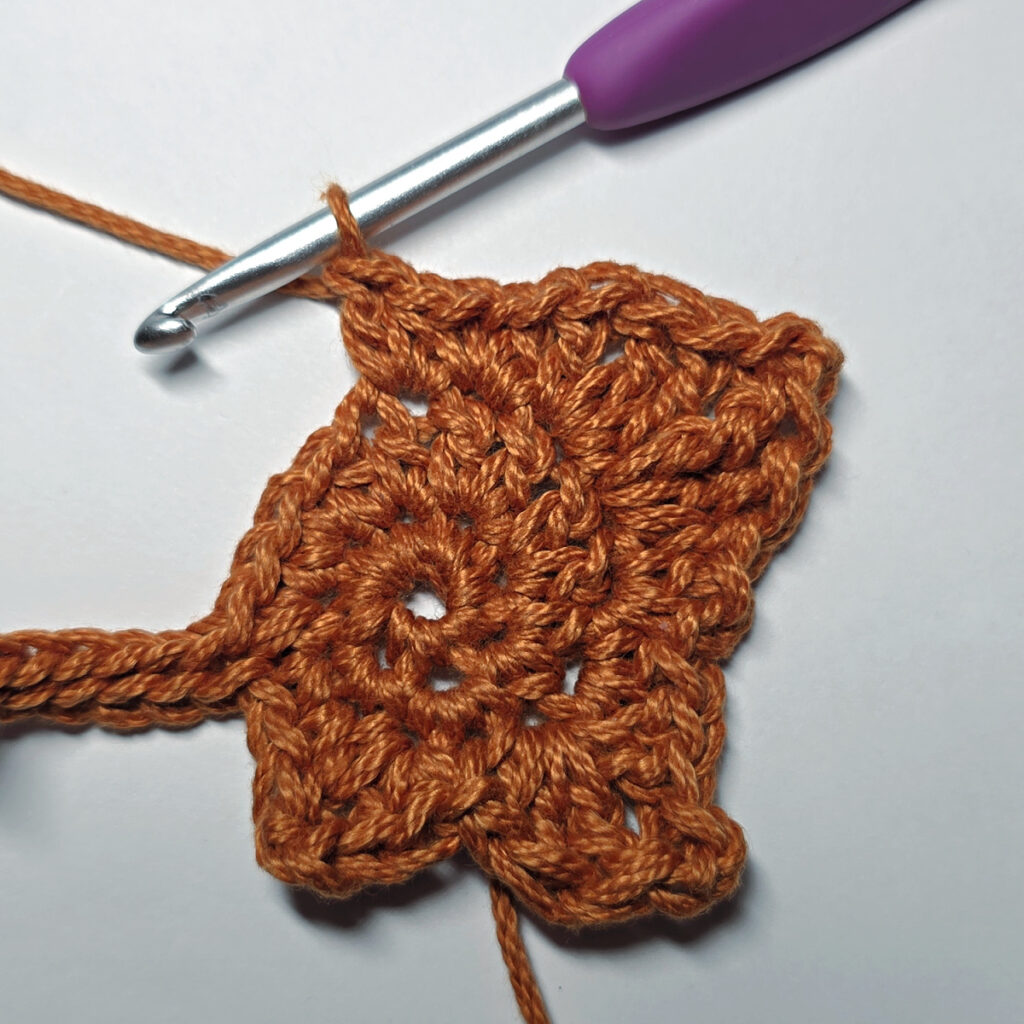
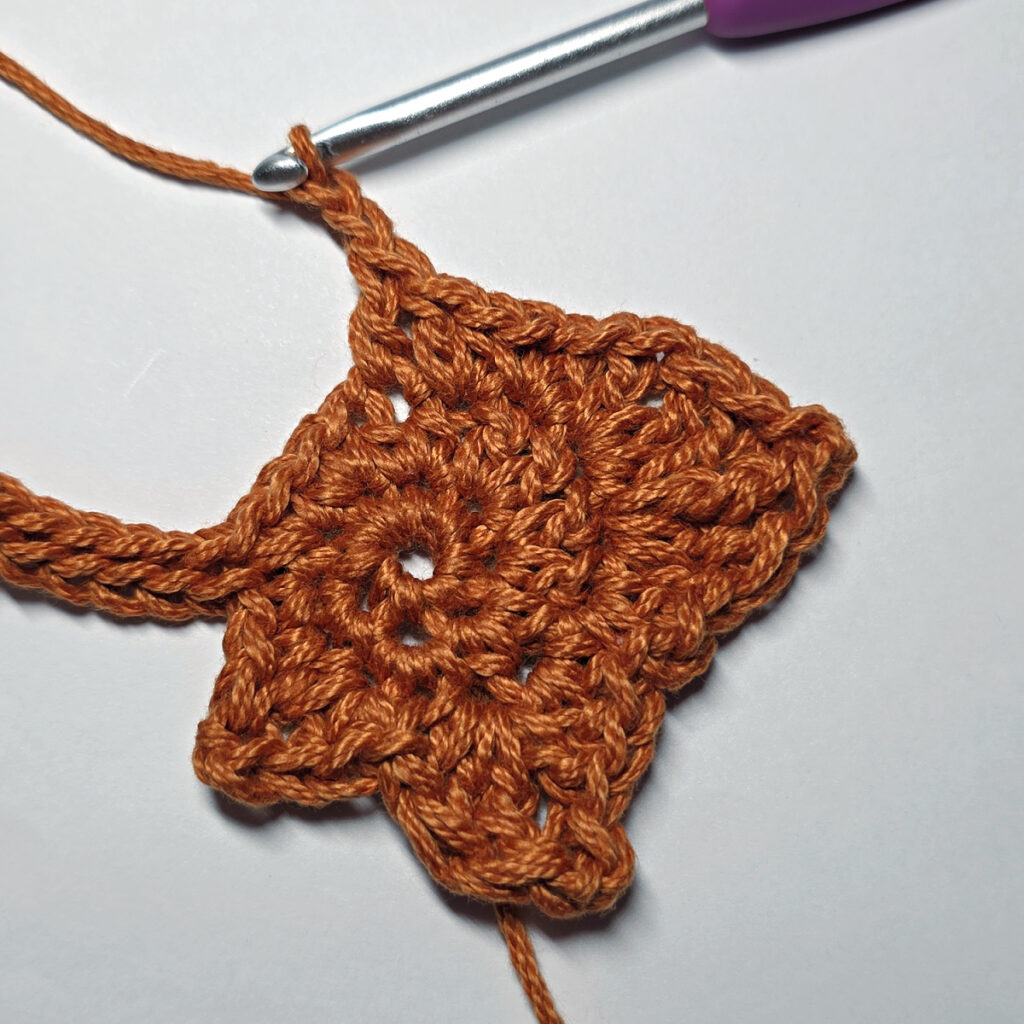
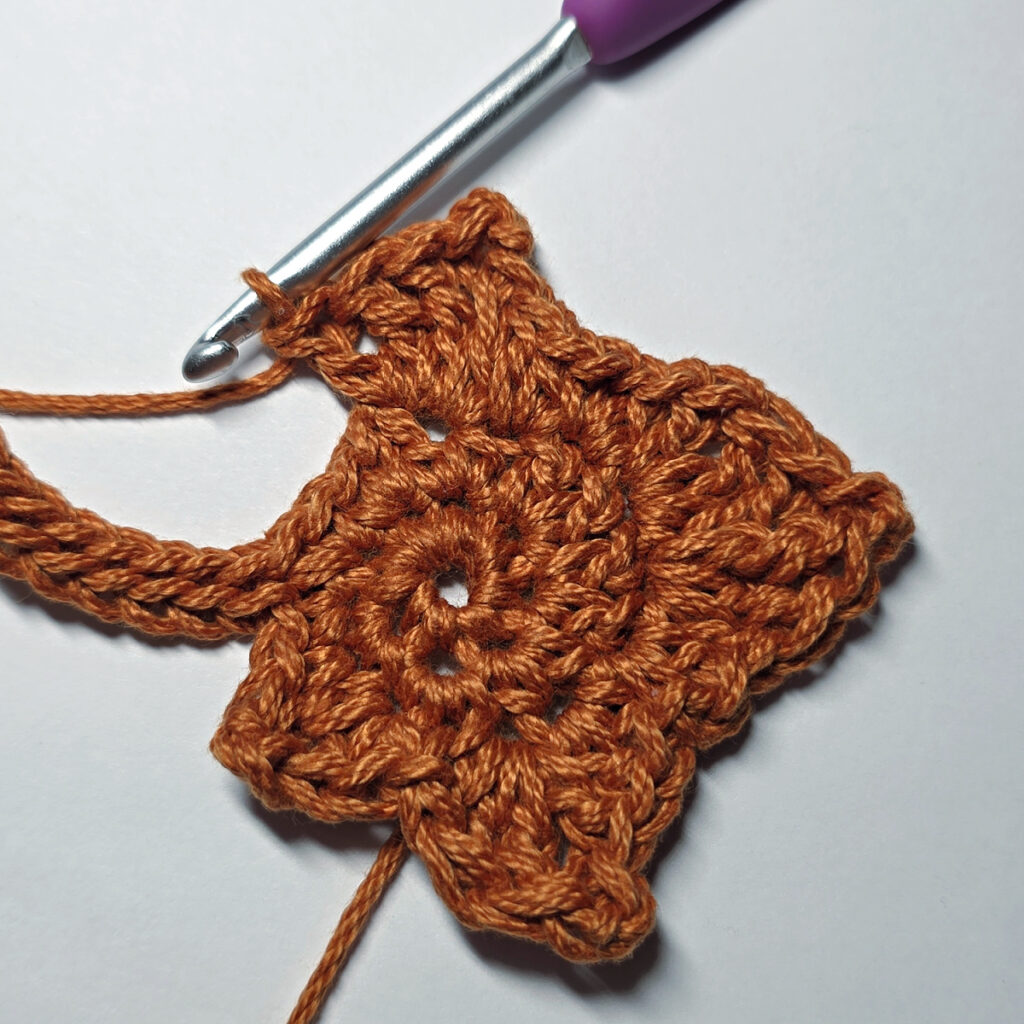
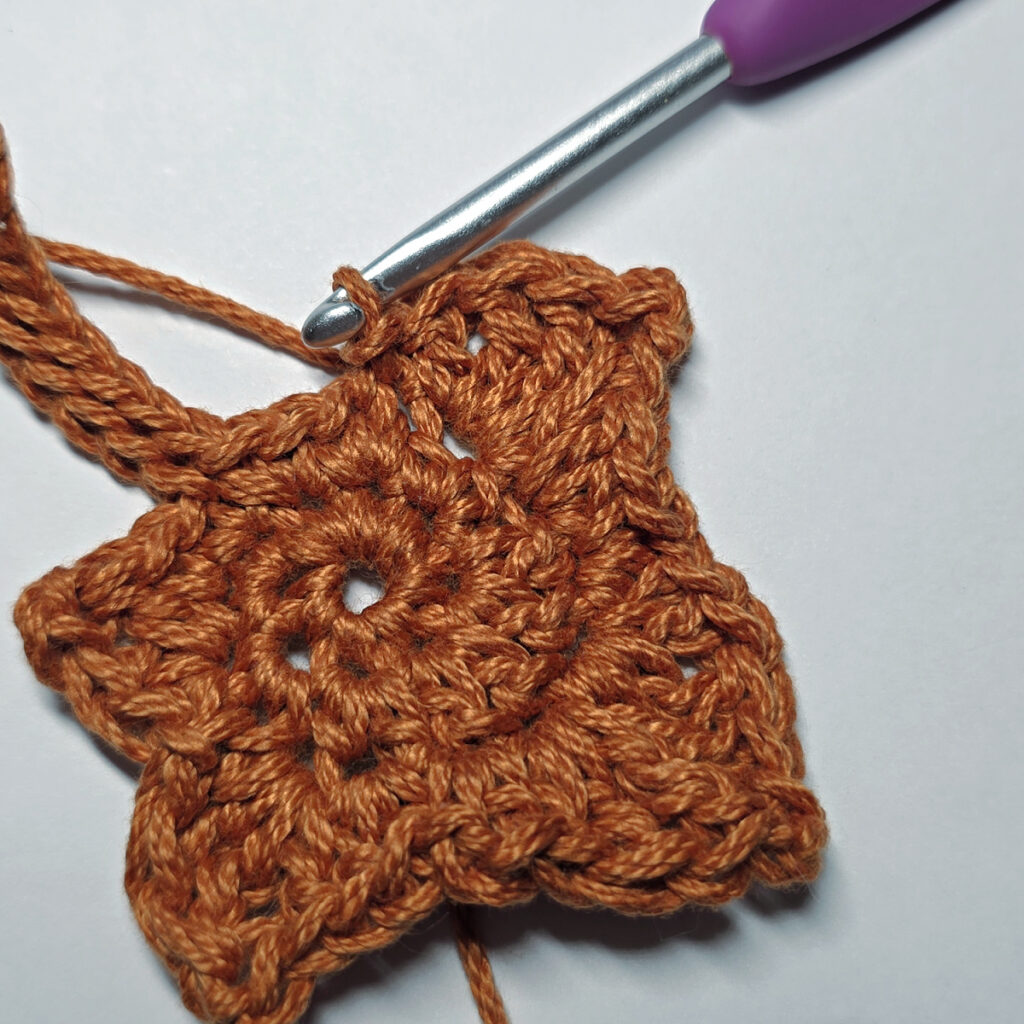
Rnd 1 (RS): With any color yarn & a 4.00mm crochet hook, ch 2, work 8 sc into the 2nd ch from your hook. Do not join. (8 sts)
Rnd 2: 2 sc in each of the next 2 sts, 2 hdc in the next st, 2 dc in each of the next 2 sts, 2 hdc in the next st, 2 sc in each of the next 2 sts. Do not join. (16 sts)
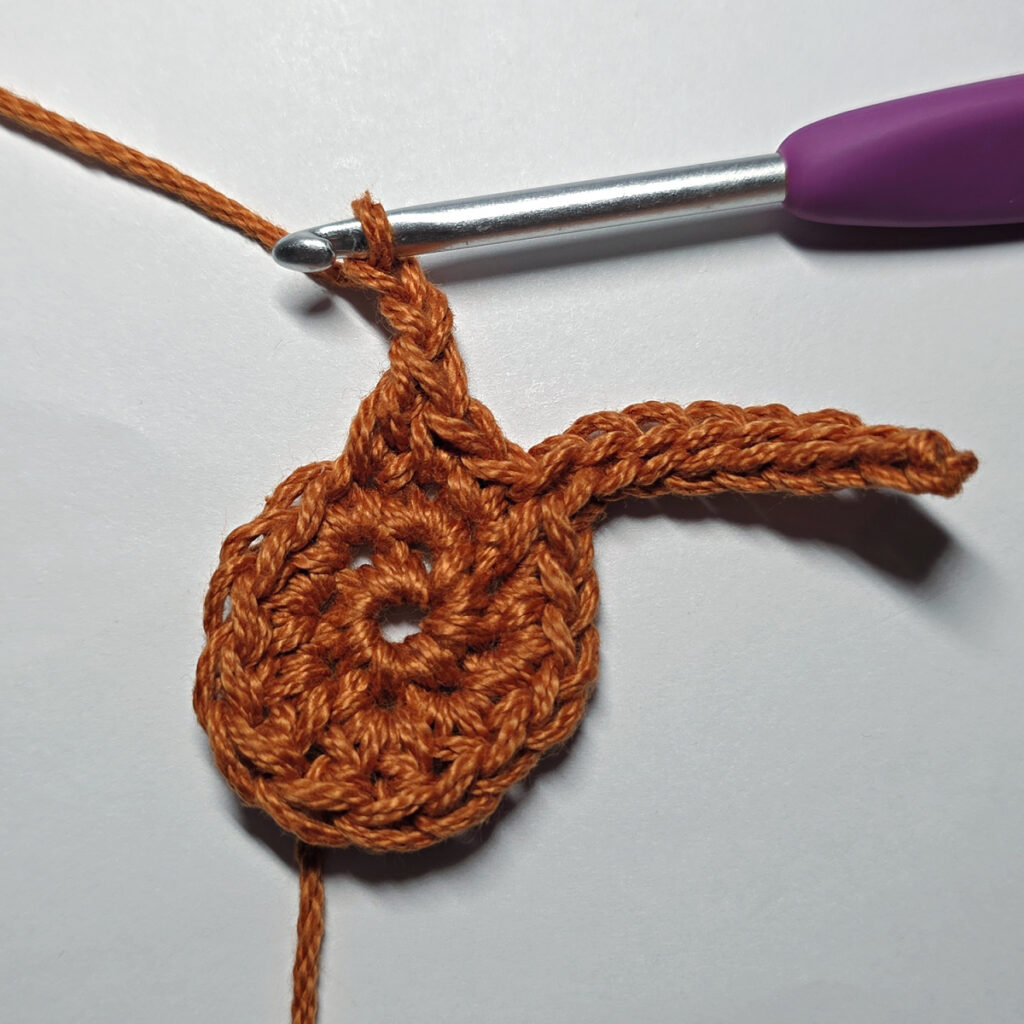
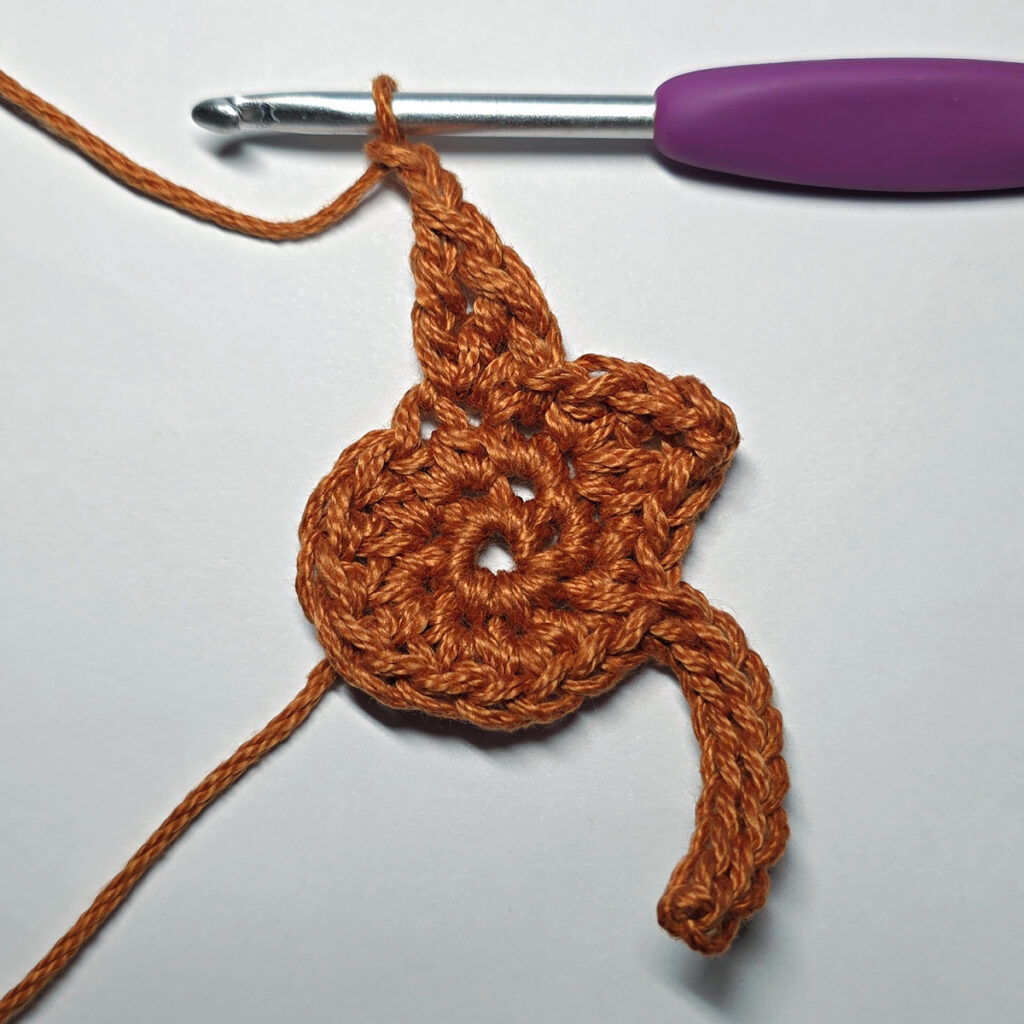
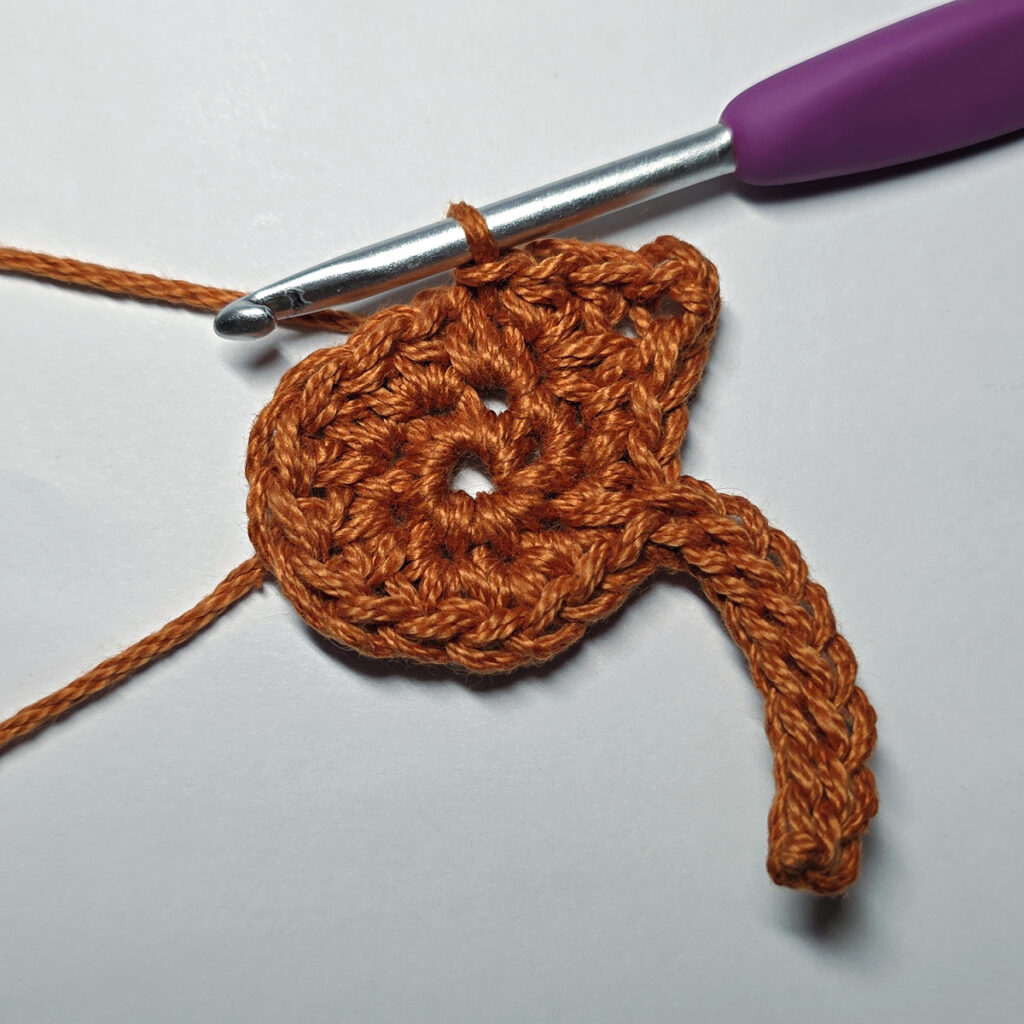
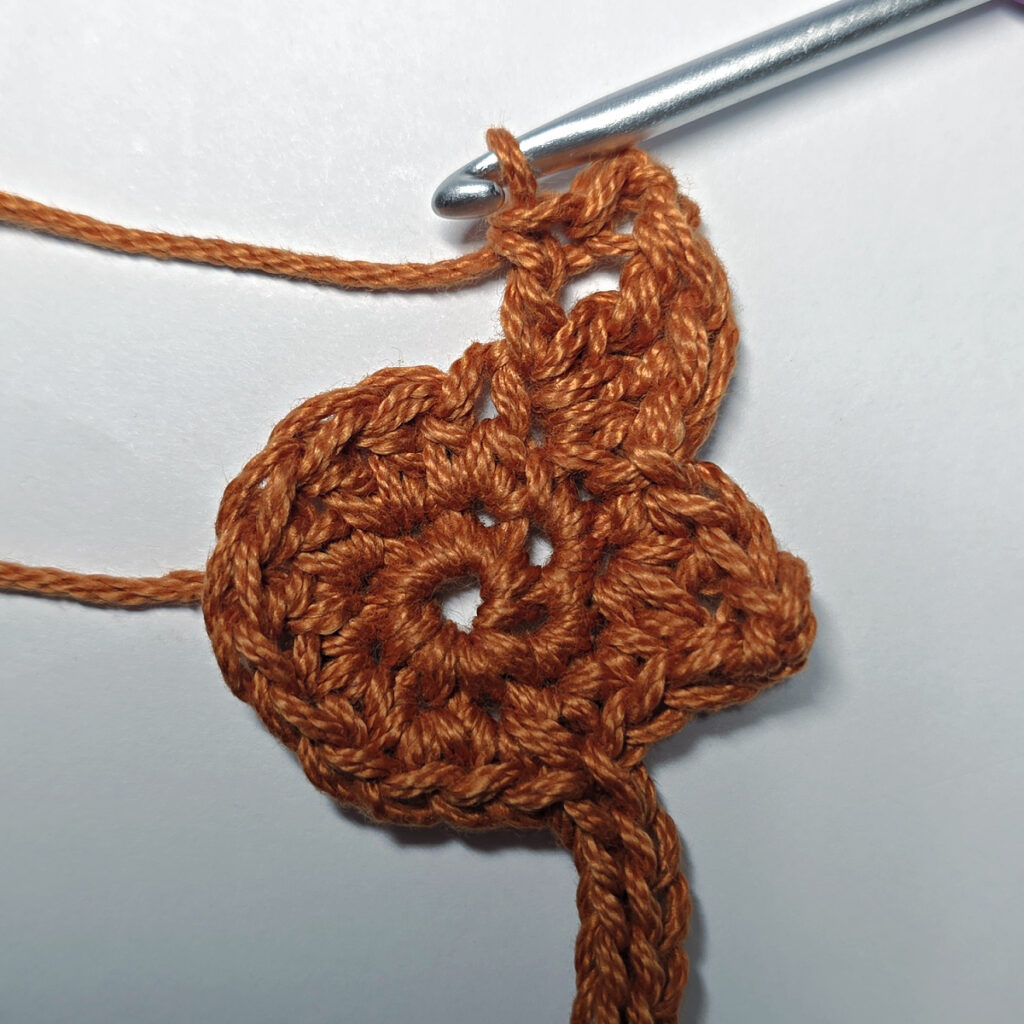
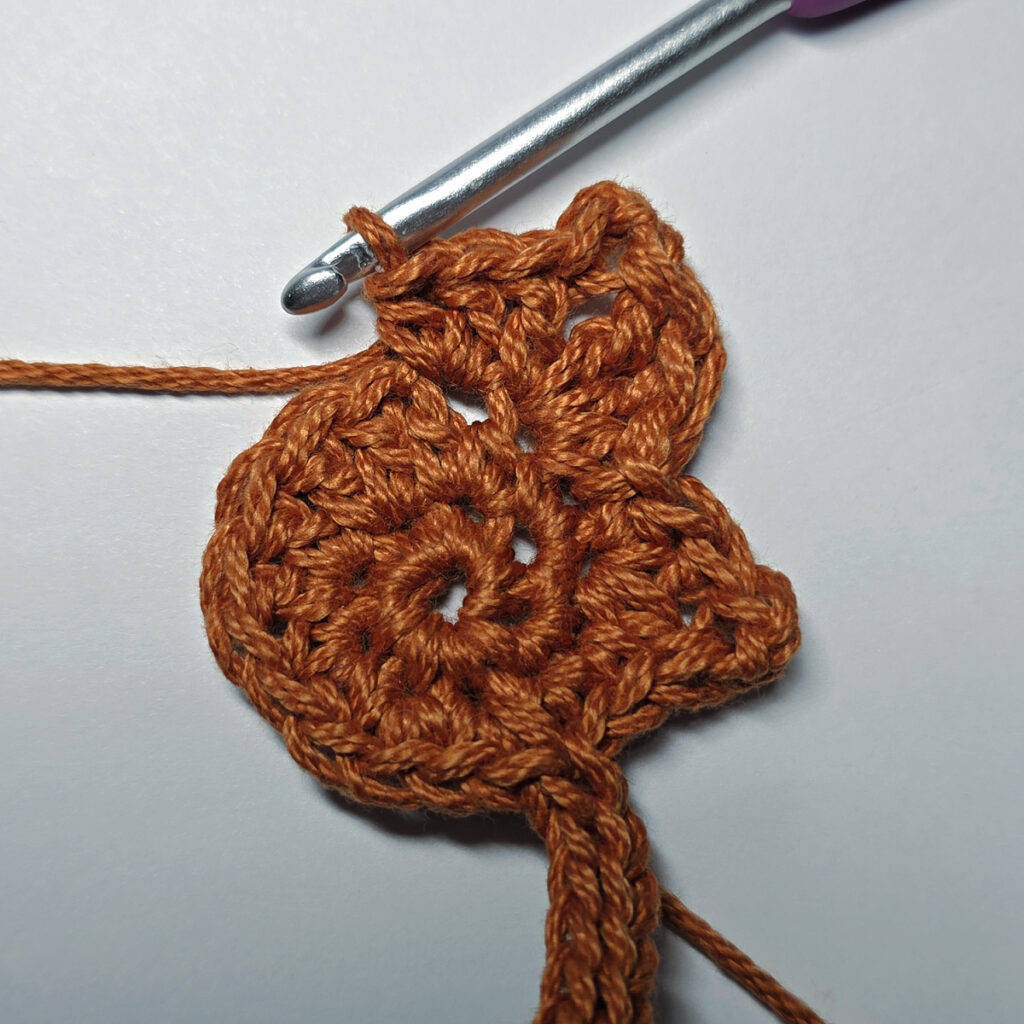
Make Stem: Ch 9, working into the back humps of the foundation ch, sl st in the 2nd ch from your hook, sl st in each of the next 7 chs. Do not join. Continue to Rnd 3.
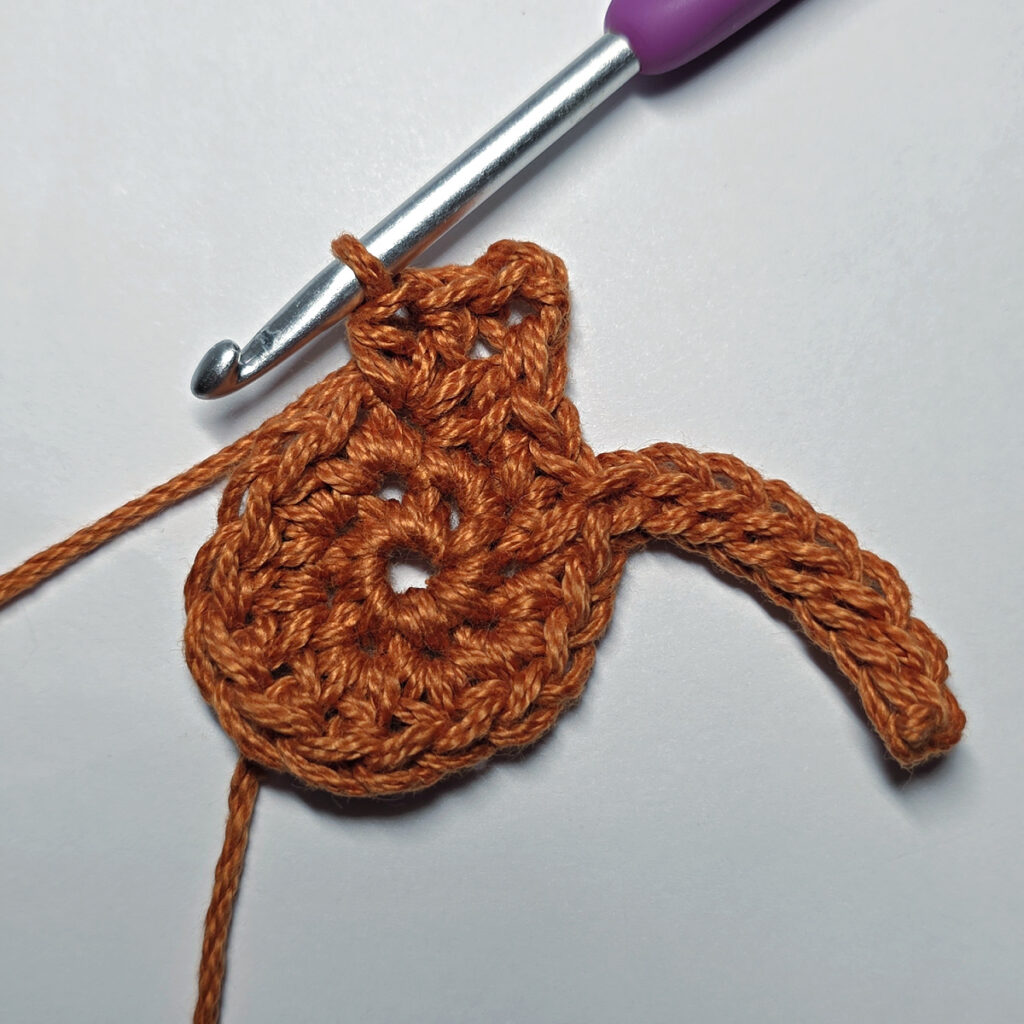
Rnd 3: Sc in each of the next 2 sts, (2 dc, ch 2, sl st in the 2nd ch from your hook, dc, hdc) in the next st, sl st in the next st, (dc, 2 tr, ch 2, sl st in the 2nd ch from your hook, dc) in the next st, (dc, hdc) in the next st, (sc, ch 1, hdc) in the next st, (dc, 2 tr, ch 2, sl st in the 2nd ch from your hook) in the next st, (2 tr, dc) in the next st, (hdc, ch 1, sc) in the next st, (hdc, dc) in the next st, (dc, ch 2, sl st in the 2nd ch from your hook, 2 tr, dc) in the next st, sl st in the next st, (hdc, dc, ch 2, sl st into the 2nd ch from your hook, 2 dc) in the next st, sc in each of the last two stitches. Do not join.
Fasten off. With a yarn needle and tail of yarn, weave the tail into the first sc of Rnd 3. Weave in ends. This project measures approximately 2-3/4″ W x 3-3/4″ H (including stem).
Continue on to Segment #3 – BONUS, if desired.
Segment #3 – BONUS Project
Special Stitch
- 1 Petal Stitch (petal) = (ch 3, tr, ch 2, sl st in the 2nd ch from your hook, tr, ch 2, then sl st in the same st) in indicated stitch.
BONUS – Part #1
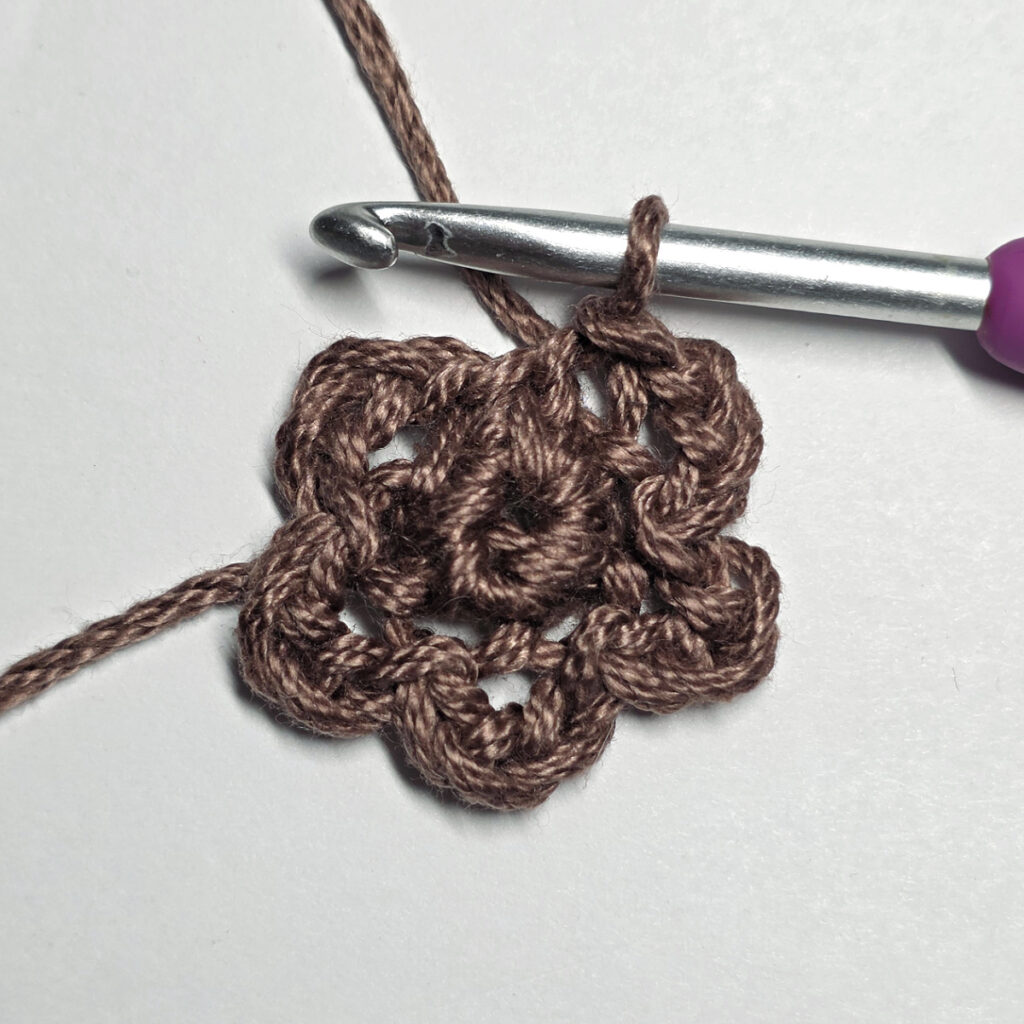
Rnd (RS): With yarn & a 4.00mm crochet hook, ch 2, work 6 sc into the 2nd ch from your hook. Do not join. (6 sts)
Rnd 2: Working in FLO for the entire rnd, (sl st in the FLO of the next st, ch 3) 5 times, sl st in the FLO of the last st. Do not join. (5 humps)
Rnd 3: Working in BLO of Rnd 1 sts, work 2 sc in each st around. Do not join. (12 sts)
Rnd 4: Working in FLO for the entire rnd, (sl st in the FLO of the next st, ch 3) 11 times, sl st in the FLO of the last st. Do not join. (11 humps)
Fasten off. Weave in ends. Continue on to BONUS – Part #2. Part #1 should measure approximately 1-3/8″ in diameter.
Bonus – Part #2
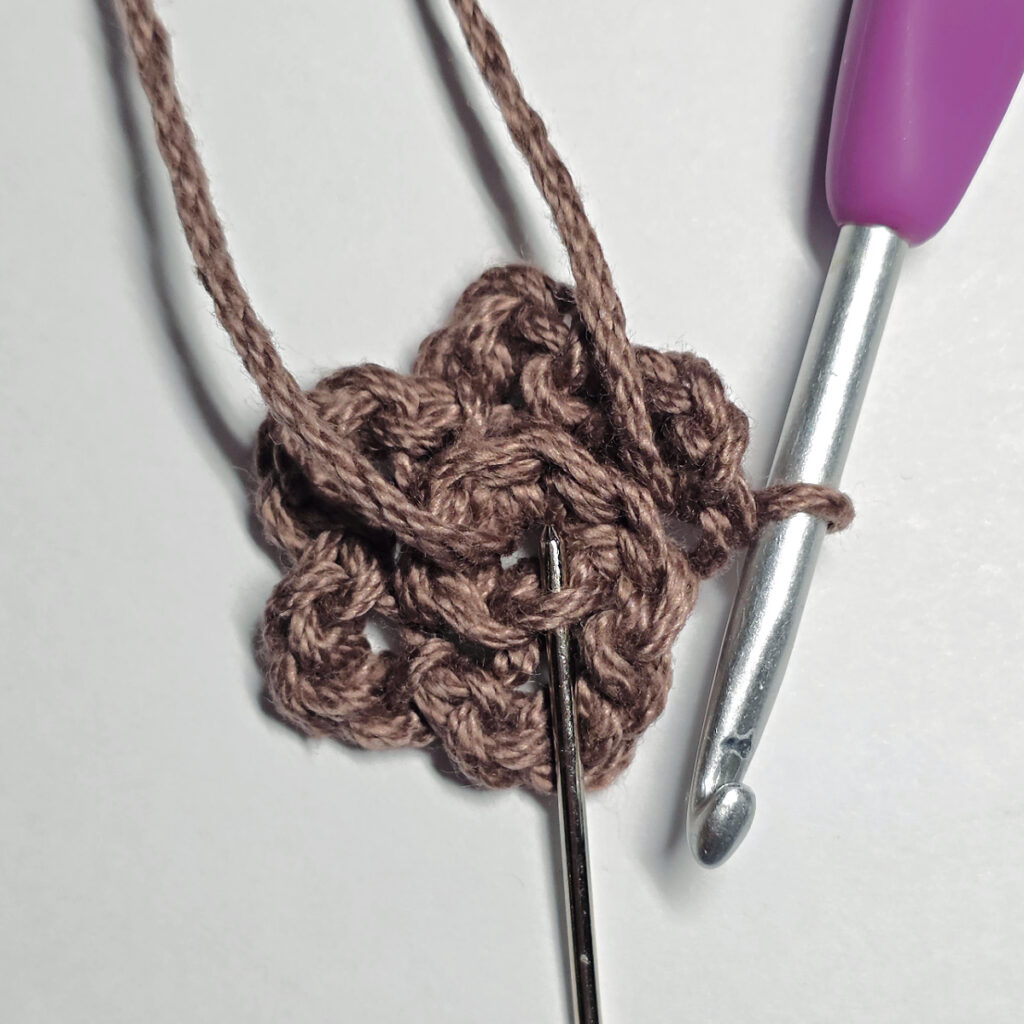
Rnd 1 (RS): With Yellow yarn & a 4.00mm crochet hook, join yarn with a sl st in any of the BLO left from Rnd 3 sts of the BONUS – Part #1, (work 1 petal in the same st, then sl st in the next st) 11 times, then work 1 petal in the last st. (12 petals)
Fasten off. Weave in ends. The bonus project should measure approximately 2-3/4″ in diameter.
All About the Prizes
- (1) $25 Amazon Gift Card – 1 crocheter will receive a $25 Amazon Gift Card.
- (5) Crocheters will each Receive 2 Patterns of Choice from my Ravelry or Etsy Shop (aff).
MMCAL Archives
While you’re patiently waiting for our next MMCAL to begin, I’ve dug out a few links from our MMCAL archives to share!
Psst… If you’d like to see all of them, here’s the entire MMCAL Archive.
Do You Love Crochet Video Tutorials?
Make sure to SUBSCRIBE to our YouTube Channel so you don’t miss out on any of our upcoming crochet video tutorials this year!
I hope you’ll join us in the Facebook Community Group or Ravelry Group for the Mini-Mystery Crochet Along!!!
Photos – Segment #1
Segment #1 – Part #1 Photos
Segment #1 – Part #2 Photos
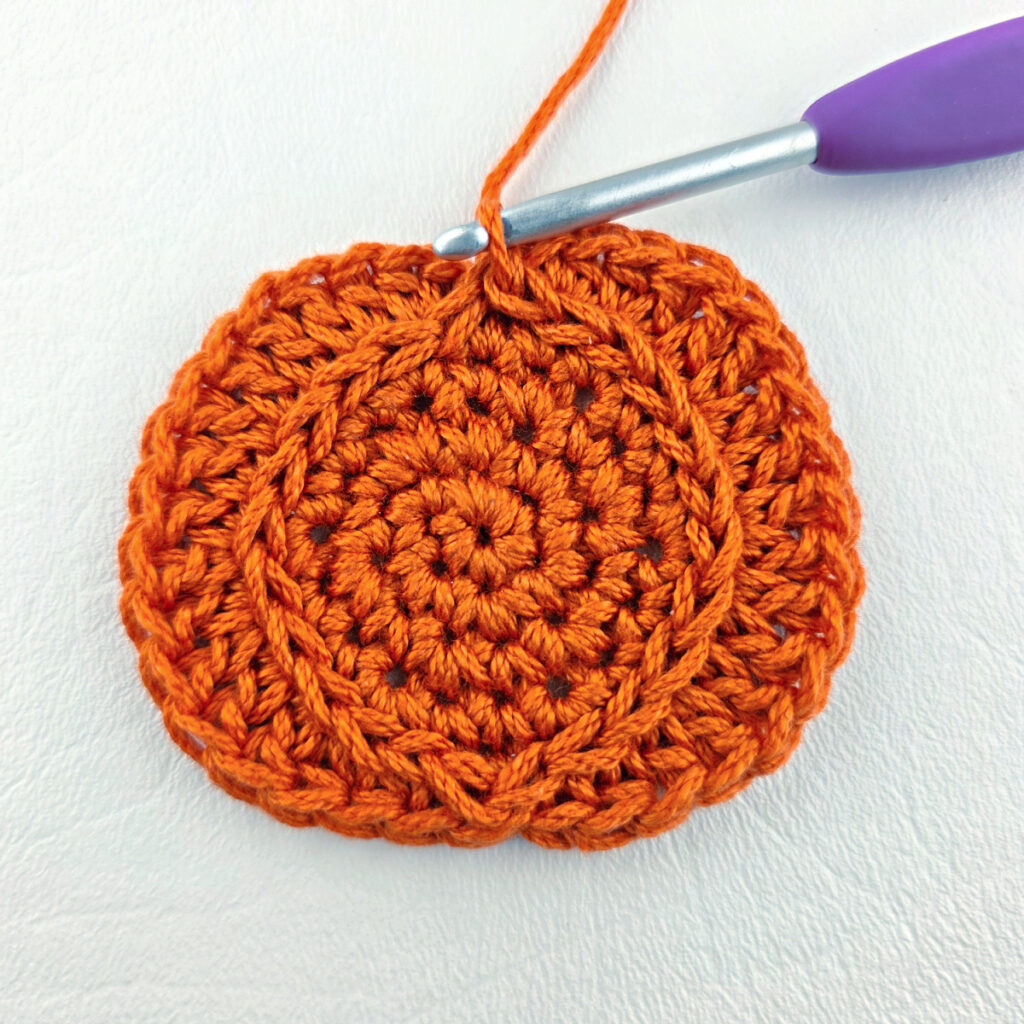
Segment #1 – Part #3 Photo
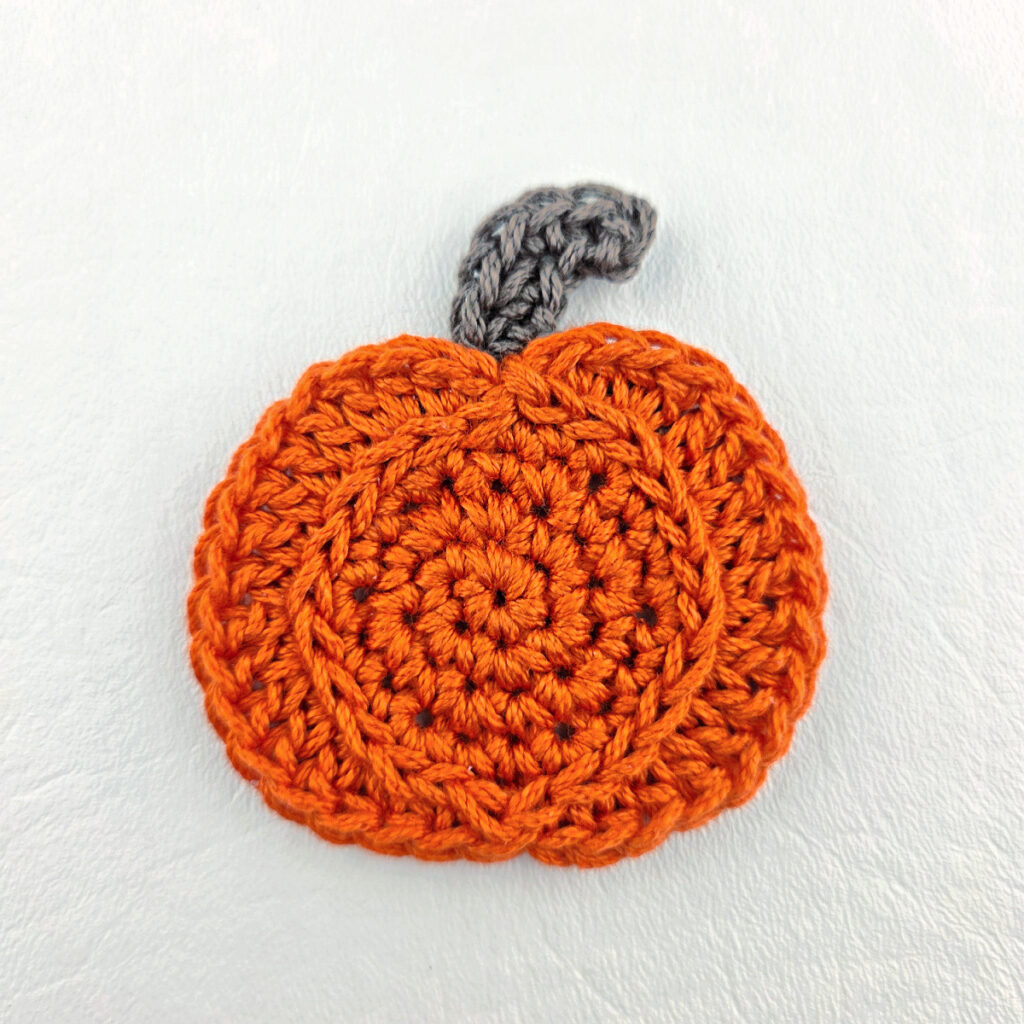
Segment #1 – Part #4 Photos
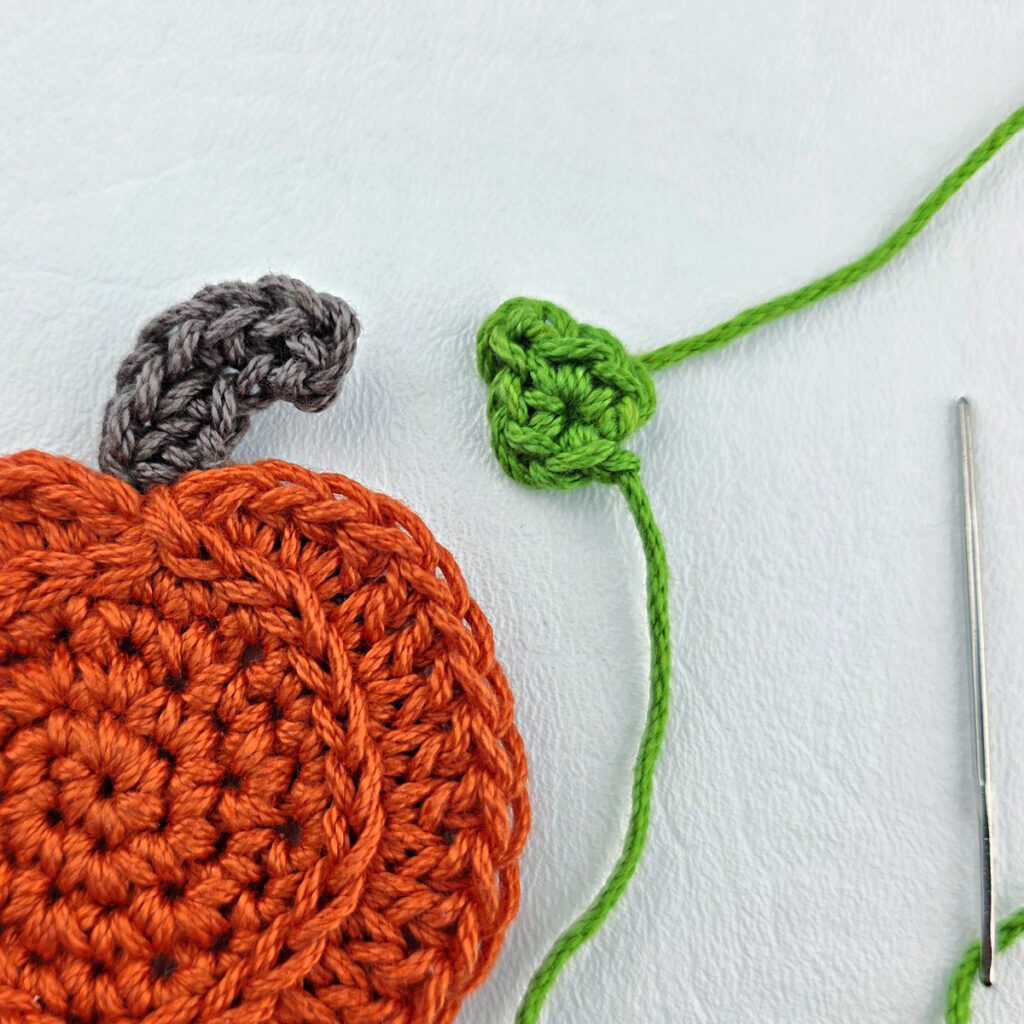
Segment #1 – Part #5 Photos
Photos – Segment #2
Segment #2 – Part #1 Photos
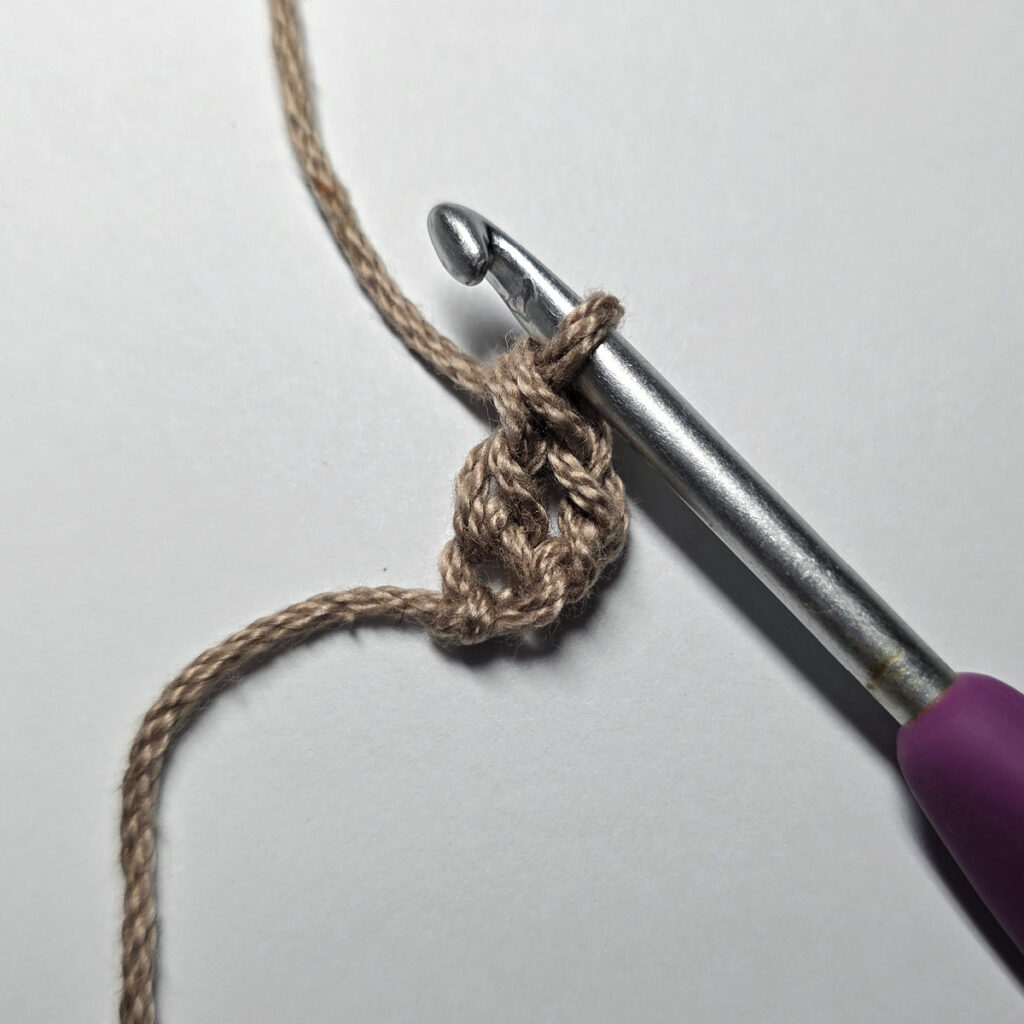
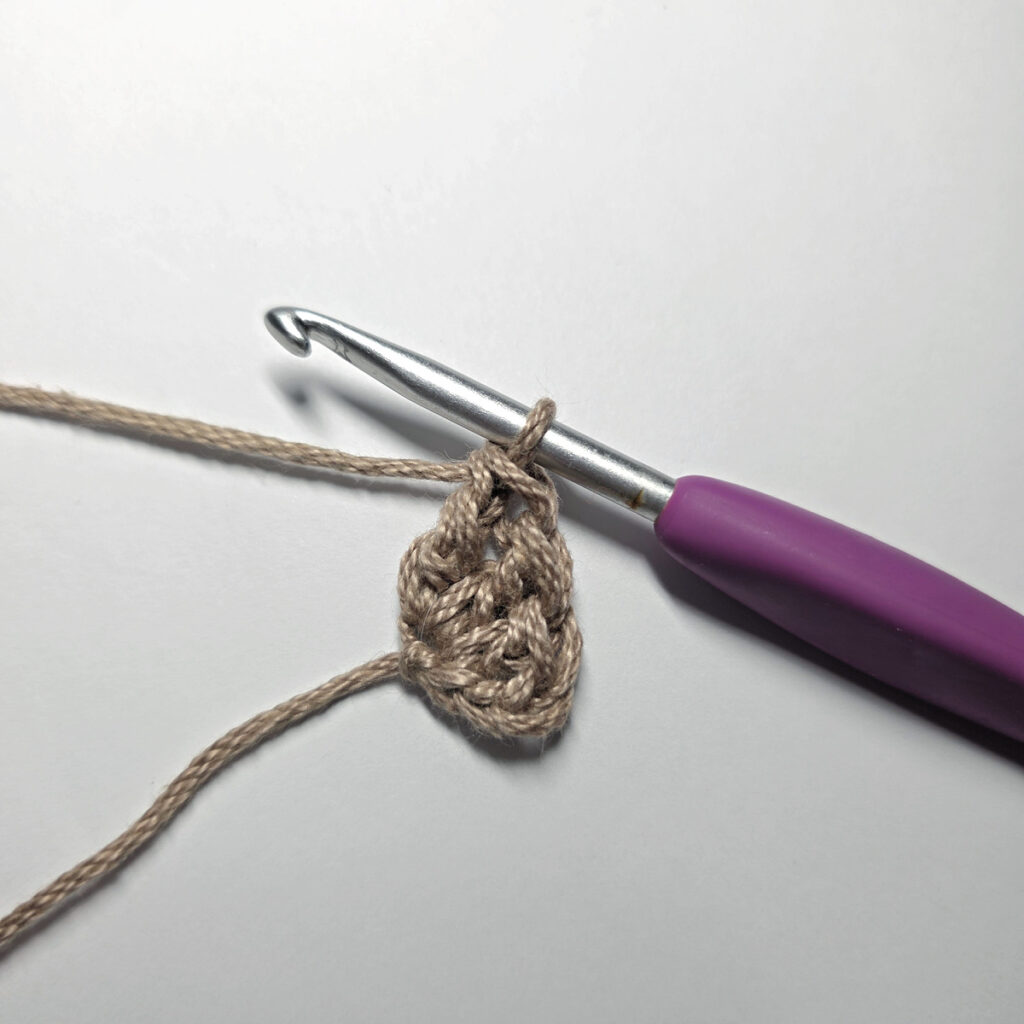
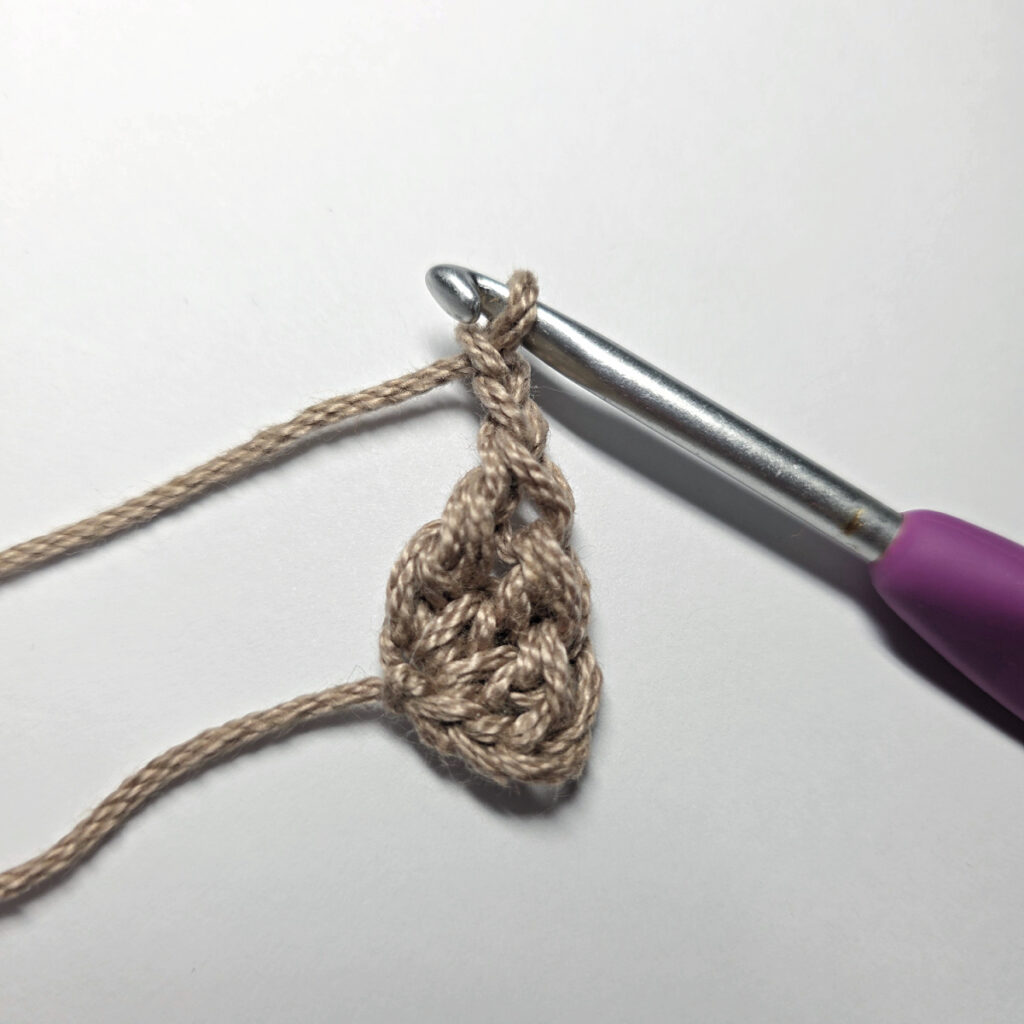
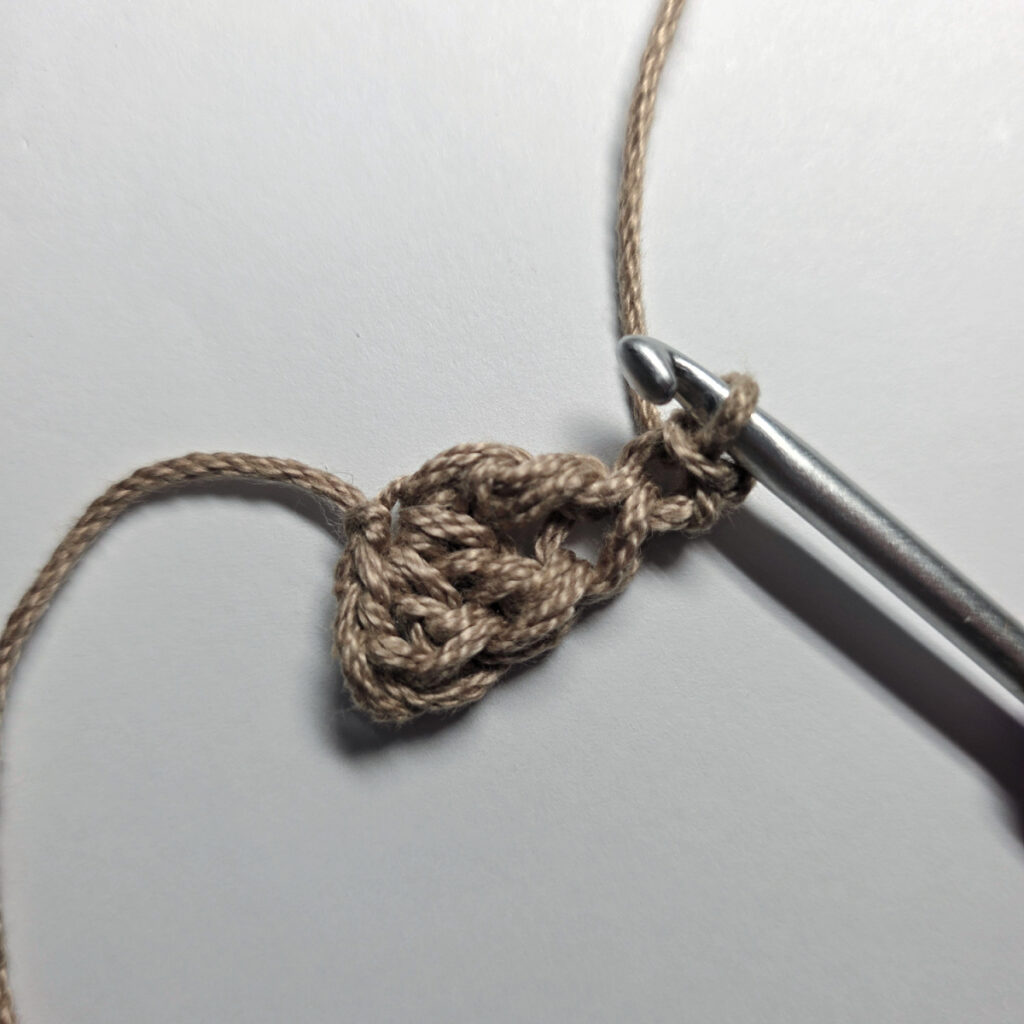
Segment #2 – Part #2 Photos
Photos – Segment #3
Segment #3 – Part #1 Photos
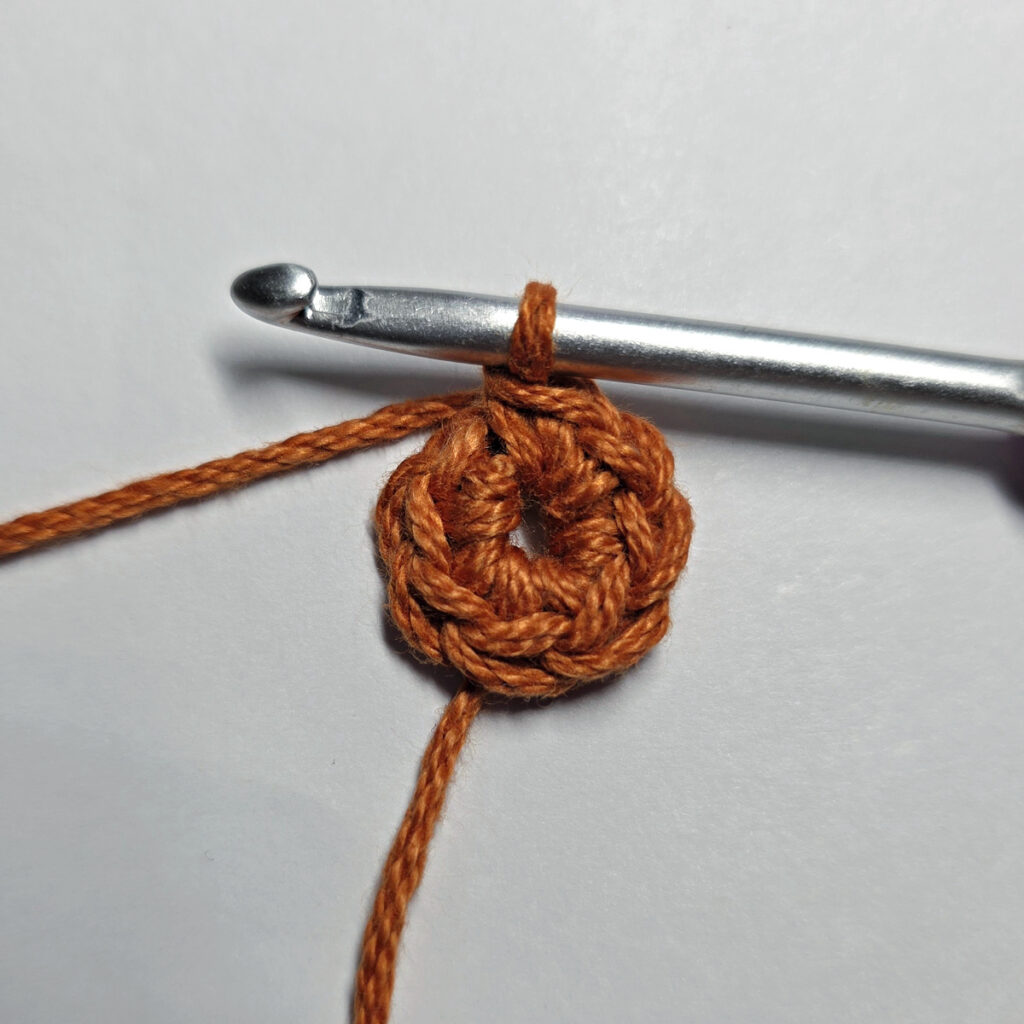
Segment #3 – BONUS Project Photos