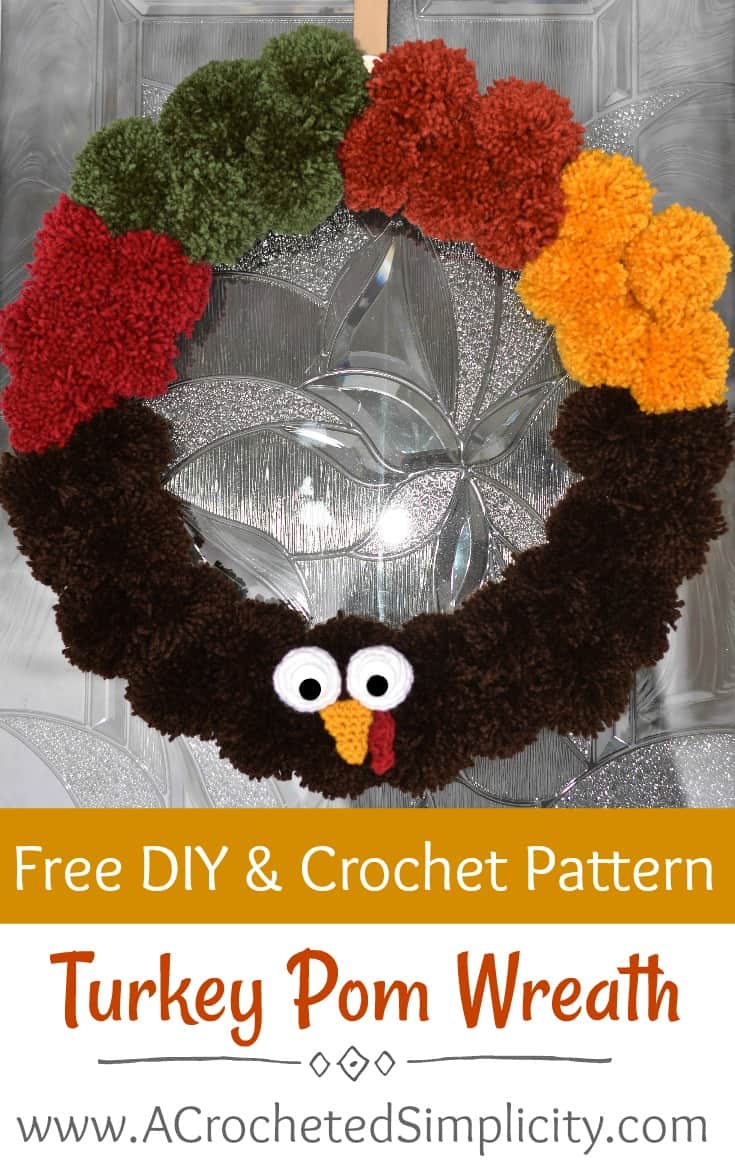
Snowman Pom Wreath Tutorial
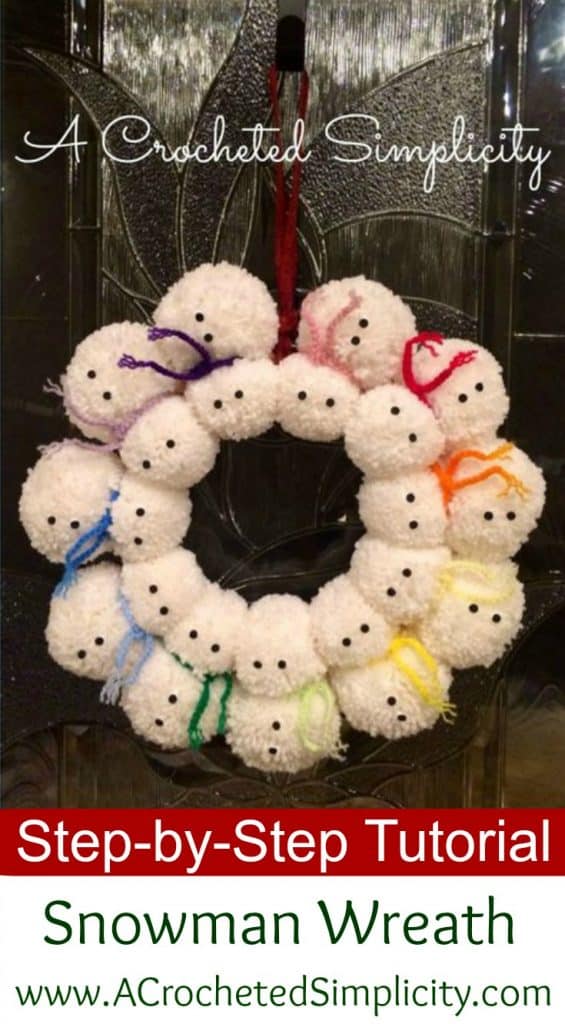
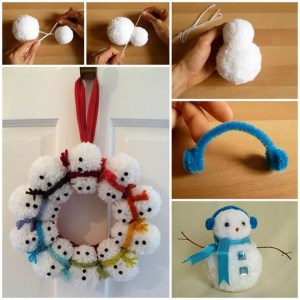
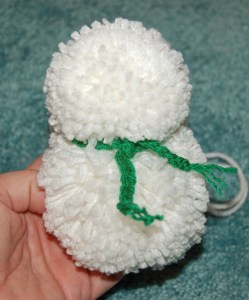
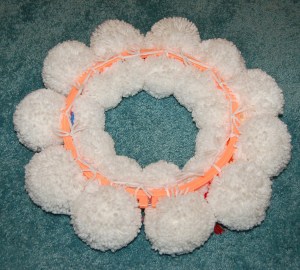
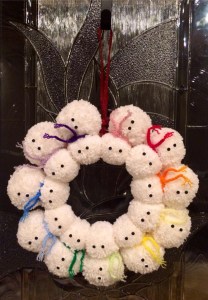
I recently shared the following picture collage on my Facebook page and received many messages asking if I could put together a more in depth tutorial for a snowman pom wreath. Since I had already planned to make one (or two) I decided to go ahead and take photos of how I made mine. The photo above is of my finished wreath. The photo below is the photo collage I shared (not my photo).
Materials Needed for a 15″ diameter wreath (the size I made)
*White Yarn: approximately 850 yards
*Scraps of yarn in various colors (for scarves)
*Black Craft Foam Sheet 9″X12″ 2mm-Black 10 per pack
*1-1/2″ W X 24″ L Ribbon for hanging
*(1) Susan Bates Plastic Deluxe Super Grip Embroidery Hoop, 10-Inch
*Crochet Hook: Clover 1045/G Purple Amour Crochet Hook, Size G, 4.0mm
*Craft Glue
*Scissors
*Paper Punch: Swingline 1-Hole Punch, 1/4″ Holes, 5 Sheets (A7074005)
Clover Large Pom Pom Maker (Sizes: 2-1/2″ & 3-3/8″)
*Check out our affiliates for Clover Pom Makers to make perfect yarn poms!
 Clover Pom-Pom Maker LargeShop on Amazon
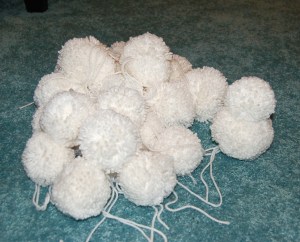
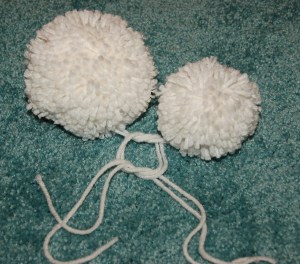
Step 1: The wreath I made took 11 snowmen. The first thing you need to do is to make 11 (2-1/2″) poms and 11 (3-3/8″) poms for a total of 22 poms. I used the Clover Large Pom Pom Maker shown in the photo above. Tie your poms off using an 18″ strand of yarn and DO NOT cut the tails off. **Here are a couple other techniques for making poms (you’ll have to adjust for the size needed). Click here—> Yarn Poms
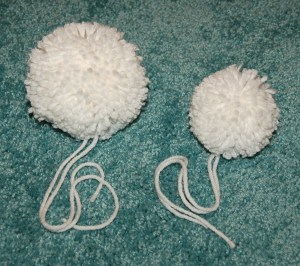
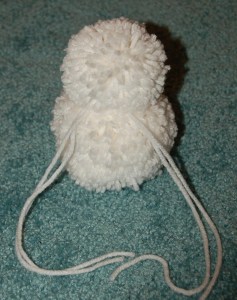
Step 2: Refer to the photos above. Take (1) 3-3/8″ pom and (1) 2-1/2″ pom and tie the yarn tails together. Make sure to pull the tails tight and knot to secure in place. DO NOT trim the yarn tails. Repeat for all 11 snowman. *See photo below.
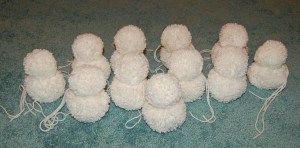
Look! Naked snowmen, Eek!!!
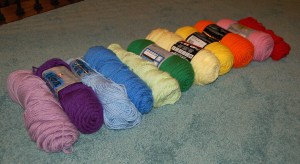
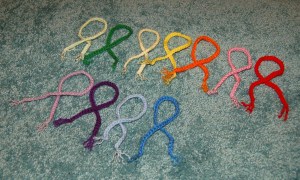
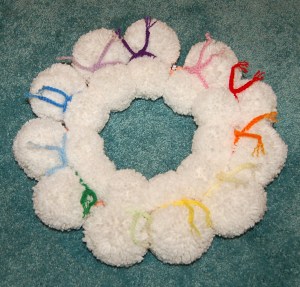
Step 3: You need to dress the naked snowmen! Choose the colors you’d like from your yarn stash. You will need less than 2yds per color so you may be able to use up some scraps. I chose to go with a rainbow color scheme as shown below. Make 11 snowmen scarves: using crochet hook G/6/4.00mm, ch 50, fasten off. Trim ends to 1″.
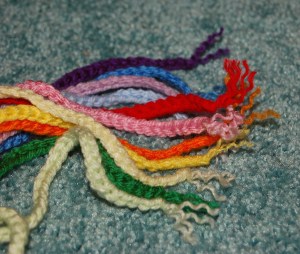
I preferred fuzzy ends on my scarves so I separated the ends.
Step 4: Add a scarf to each snowman as shown in the photos below. Yay! Your snowmen are no longer naked!
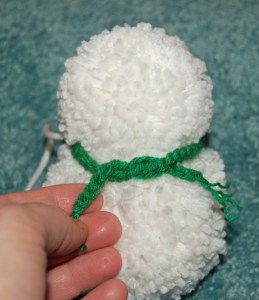
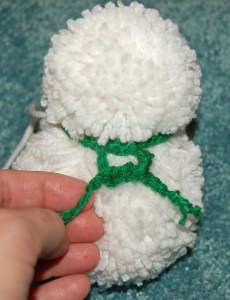
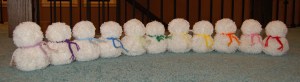
Oh no! They’re no longer naked, but they can’t see!
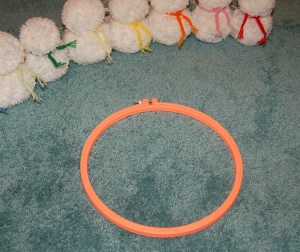
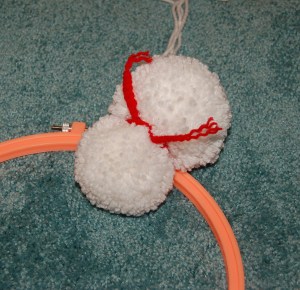
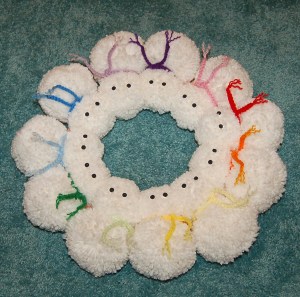
Step 5: Attach your snowmen to the embroidery hoop. Position the embroidery hoop in the crook of the neck (do snowmen have necks? hmm…) Flip the snowman over and secure it to the embroidery hoop using the tails of yarn that you left from joining the poms. *Note: the snowman’s head (smaller pom) is on the inside of the hoop and the snowman’s body (larger pom) is on the outside of the hoop. Repeat until you’ve attached all 11 snowmen.
~Note: An alternative to an embroidery hoop would be a large donut made of cardboard. You can lay your snowmen in a circle and measure around them to figure the size of your donut. Cut your donut a tad smaller than your snowmen so you do not see it.

Step 6: After attaching all 11 snowmen to the embroidery hoop, I took 2 strands from 1 snowman and tied it together with the snowman on it’s left and then tied the other 2 strands to the snowman on its right. Repeat around and all snowmen will be tied together. Trim ends. Flip your wreath over and it should resemble the photo below, on the right. Eek! They still can’t see!
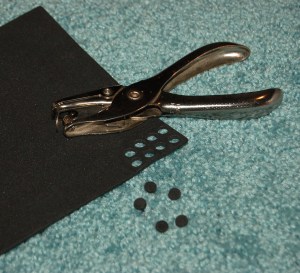
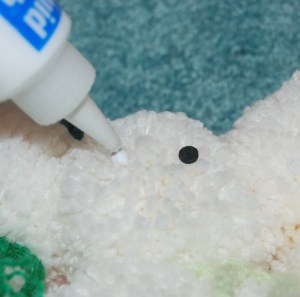
Step 7: It’s time to make eyes & buttons! Take your piece of black craft foam and your hole punch and punch out 22 eyes and 22 buttons. Place 2 small dots of craft glue on the snowmen’s head and carefully place the eyes.
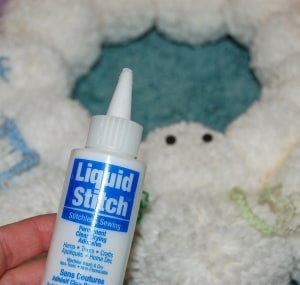
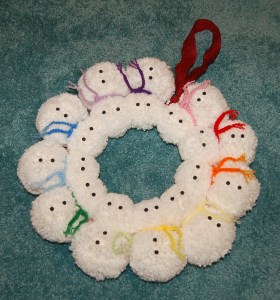
Step 8: Place 2 dots of craft glue on each snowman’s belly and add black craft foam buttons. Lastly, add the hanging ribbon to your wreath by knotting it around the embroidery hoop.
~Click here to find all of my Free Crochet Patterns~
Hang it up and Enjoy!
If you love crochet cables and want to learn more or if you’re intimidated by cables, but would love to be able to crochet them with confidence, then stop by and check out the free preview and introduction of my new Annies Video Class, Learn to Crochet Cables:
Happy Crafting!

Thank you so much, Jennifer, for sharing your WONDERFUL tutorial – I’ve shared everywhere I can – and plan to make mine today to go with my “pom-pom” Christmas theme! <3 wendy
Thanks so much in showing the “How To”
was looking for a CMass project-
looks like fun!
Yes, thanks so much for sharing ALL the steps and materials. This is just the cutest thing
Love this thank you for sharing
Your so wonderful to do this!!’ I feel like I’ve gotten a gift of special kindness!! God bless you
I love these little snowmen….however I had no idea they made pompom makers….My mom would cut cardboard the width needed and we wrapped yarn around it….thanks for the ideas…
Great idea!! Thanks for sharing about the pom maker! I can’t wait to try this!!
The wreath is the cutest! I don’t know a thing about crochet. Is there a term I can look up for how you did the scarves? Thanks!
If you don’t crochet, and don’t have the time to learn, you can simply braid 3 strands of yarn to make a scarf or use a thin ribbon. 🙂
I bought the pom makers, but the poms we have been making don’t look as full? How much or how many times do you wrap around the maker?
I wrap them as much as I can and still…just barely…get them to close.
Totally adorbs!! Loved reading your instructions, you cracked me up!
Starting on my snowmen right now…Thanks!