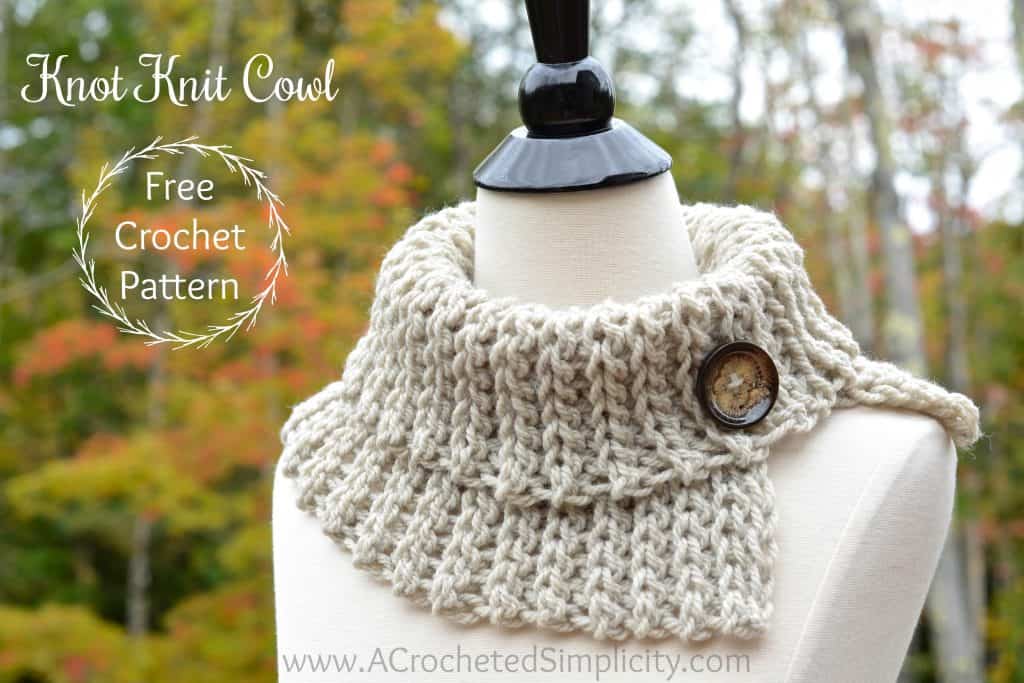
Free Crochet Pattern – Knot Knit Cowl
The Knot Knit Cowl is not only stylish, practical, and REVERSIBLE, but it’s also a great (mostly mindless) project that you can crochet when you’re needing to decompress after a long, stressful day at work (or at home). You can also make it using any weight yarn you choose!
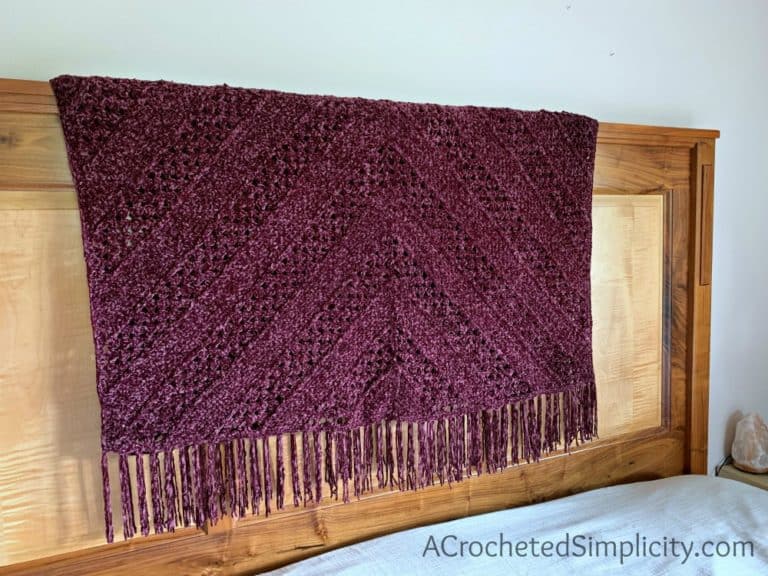
I used a bulky yarn, I had in my stash, for the cowl in the photo below and it took less than 1 ball! It also took less than 2 hours to crochet!!! SO, less than 2 hours, less than 1 ball of yarn… that’s a Win, Win in my book! 😀 This makes the Knot Knit Cowl perfect for so many things such as teacher gifts, Christmas gifts, craft fairs, the list goes on and on.
The Knot Knit Cowl isn’t just for women! Make sure you read all the way through to see the great unisex cowl Diane made her teenage son!
~Click HERE to sign-up to receive our newsletter!~
~Don’t lose it, add It To Your Ravelry Favorites or Queue.~
~Don’t forget to Pin It too!~
*Purchase an ad-free PDF of this pattern (including all photos) on Craftsy or Ravelry*
This post contains affiliate links.
Materials
- Yarn: Yarn used for the sample shown above is 5 / Bulky Weight Yarn; (75% acrylic / 25% wool / 143 yards / 100g ) – less than 1 ball was used
- Note: Although the yarn used in the sample is a bulky weight yarn, instructions are given so you can use any weight yarn you’d like.
- Crochet Hook: P/Q/15.00mm (my favorite hooks are Clover Amour Hooks, I’ve never had an ache in my hand since switching)
- Measuring Tape
- Scissors
- Tapestry Needle
Many of the materials are available for purchase through our affiliates:
 Clover Needlecraft Clover A...Shop on Amazon
 FISKARS All Purpose Scissor...Shop on Amazon
Stitch Abbreviations
- ch(s): chain
- st(s): stitch(es)
- sl st(s): slip stitch(es)
- yo: yarn over
- FLO: front loop only
- BLO: back loop only
- RS: right side
- Rep: repeat
Finished Size
- One Size: 12″ W x 20″ Circumference
- Finished size can be easily adjusted to suit your own individual taste.
Notes
- Beginning chains are not counted as a stitch or included in stitch count.
- The first stitch of each row is worked into the same stitch as the turning chain, unless stated otherwise.
- See Yarn Notes below for instructions on using another weight of yarn.
Yarn Notes
Although I used Plymouth Encore Chunky (a bulky/5 weight yarn) for my cowl, you can use your favorite weight yarn by following these notes:
- Choose your favorite yarn, check the yarn label to see what crochet hook size the manufacturer suggests and then grab a hook that is 4-5 sizes larger than what’s suggested. This is the rule of thumb I like to use to achieve the drape desired for this project (you can use a smaller hook if you’d like less drape). For example, the hook suggested for this yarn was a J/10/6.00mm hook and I went up to a 15mm hook.
If you’re looking for a great new crochet hook case, click here to check out this one from our affiliates!

Click HERE to read my blog post & watch a Video Tutorial on this technique – Lots of great tips included!
Knot Knit Cowl Instructions
Gauge using bulky yarn & 15mm crochet hook, in sl st: 10 sts = 6″; 14 rows = 4″
Using Any Weight Yarn: No matter which weight yarn you prefer to use for this project, work a foundation chain for Row 1 that is 12″. Stitch count is not crucial for this project.
Adjusting Width: Would you prefer a wider or narrower cowl? For a wider cowl, simply work a longer foundation chain for Row 1. For a narrower cowl, work a shorter foundation chain for Row 1.
Row 1 (RS): Using a 15mm crochet hook, ch 21, working into the back hump of the foundation ch, sl st in the 2nd ch from your hook and in each ch across. Turn. (20 sts)
Row 2: Ch 1, working in the BLO, sl st in each st across. Turn.
Rep Row 2, ending w/ an even row, until your work measures 20″, or desired length.
Do not fasten off. Continue on to the Seam Instructions & Tutorial below.
Seam Instructions & Tutorial
Note: The photos shown in this tutorial are showing the method of seaming only and are not necessarily of this design.
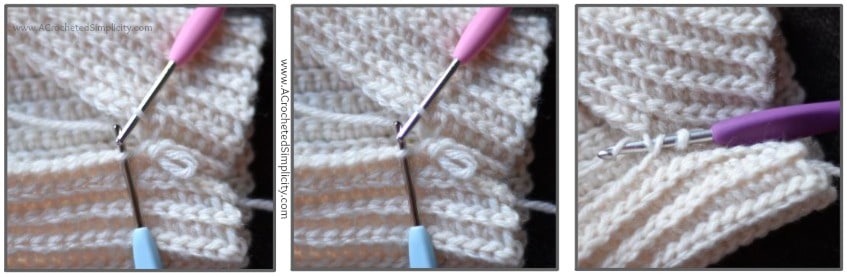
This design is reversible so choose a side to be your RS. Bring the first row up to meet the last row. Position your working yarn so that it’s on the inside of the cowl (See Photos above). Slip stitch the rows together using the following method: insert your hook (from front to back) into the FLO of the 1st stitch of Row 1 (See light blue hook in photos above), insert your hook (from back to front) into the BLO of the 1st stitch of the last row (See pink hook in photos above), yo, pull thru all loops on your hook (See purple hook in photo above right and below). Continue in this way just past the halfway point across your cowl to complete the seam. For the cowl I made using the bulky yarn and a 15mm crochet hook, I seamed 13 sts.
The photo below shows what your seam should look like after completing a few slip stitches.
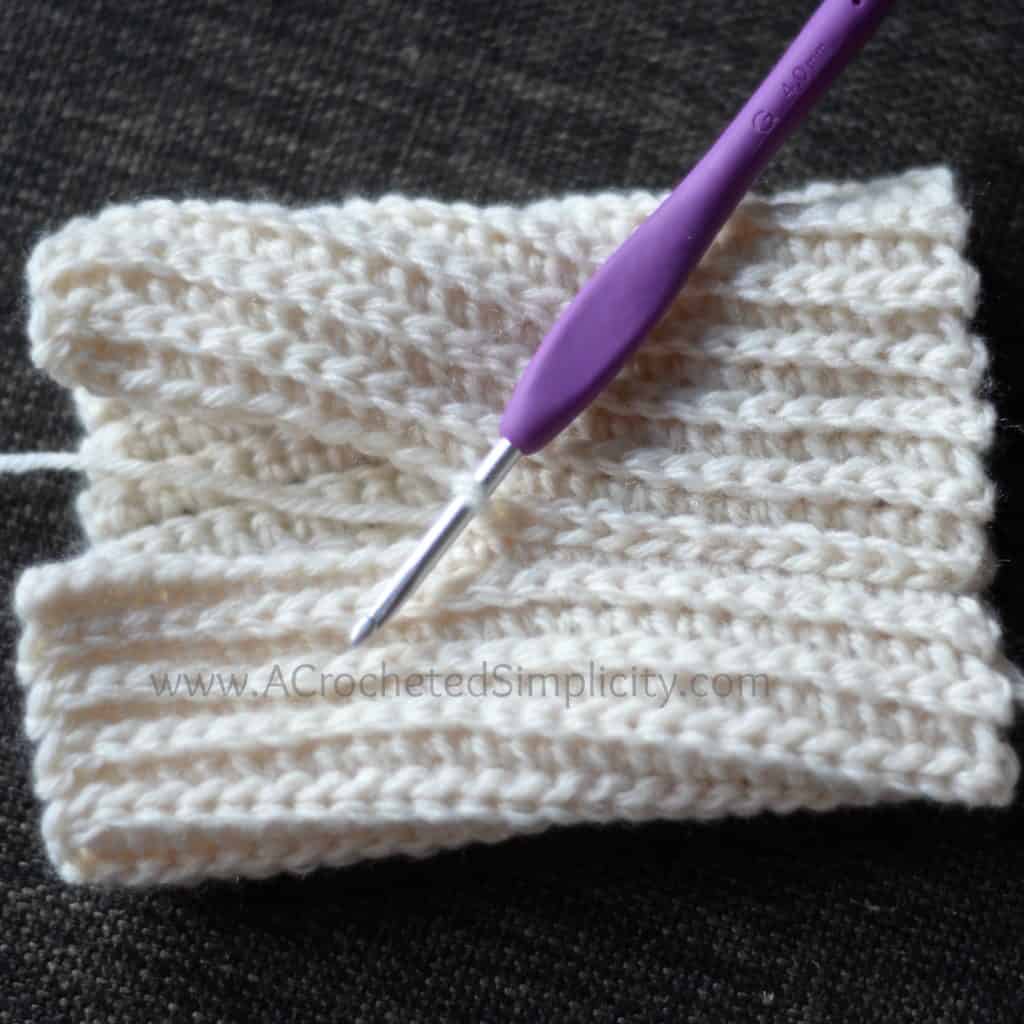
After you’ve completed the seam on your cowl, fasten off, weave in ends, and fold the top edge (edge where you began your seam) down just past where you stopped the seam. Sew on a button, if desired.
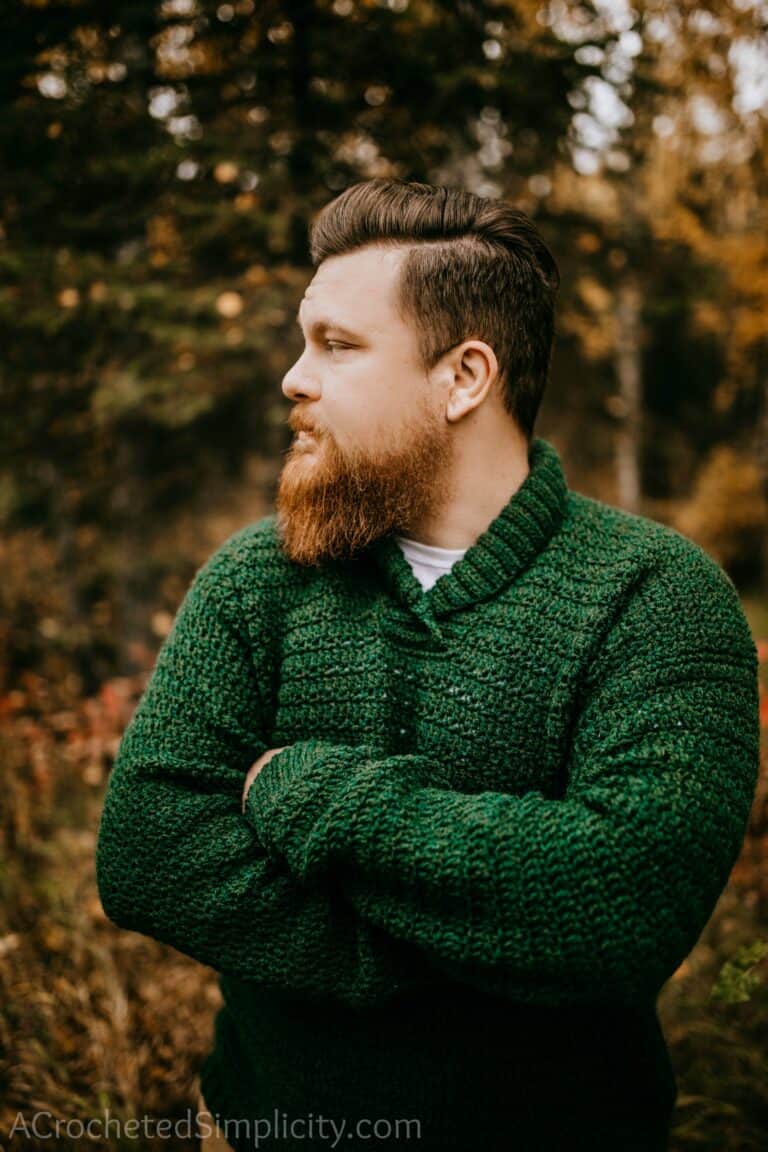
Unisex Option: You can also choose to seam the entire edge of your cowl to create a tube. It will make a great unisex design! See photo below.
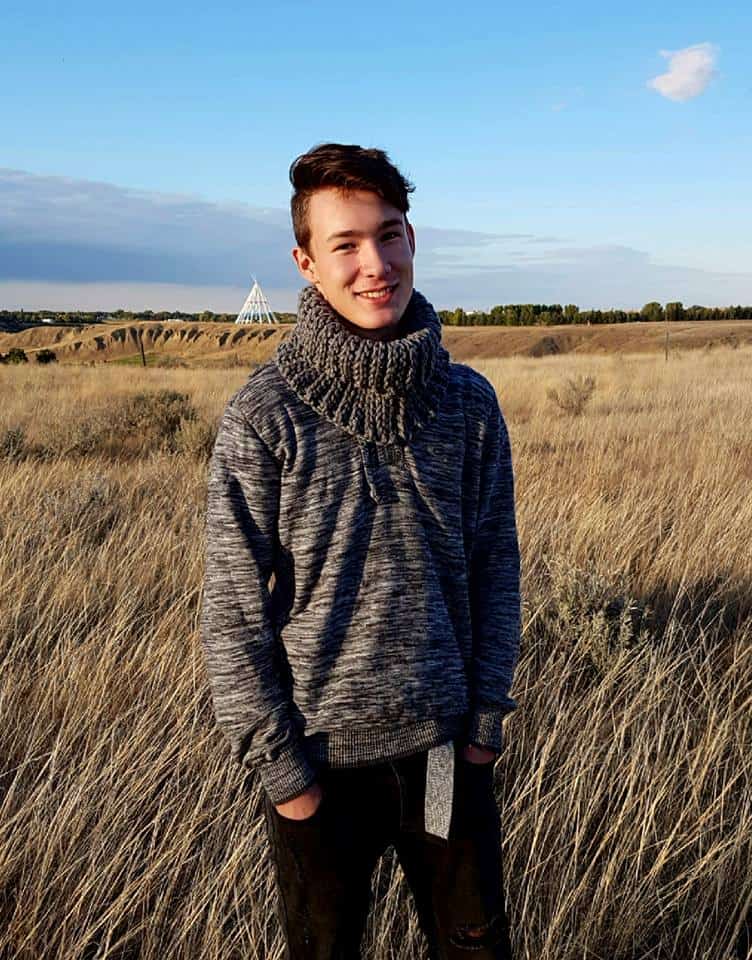
A BIG thank you to Diane G. and her son for the great photo of the unisex cowl option!
Find all of my FREE crochet patterns HERE
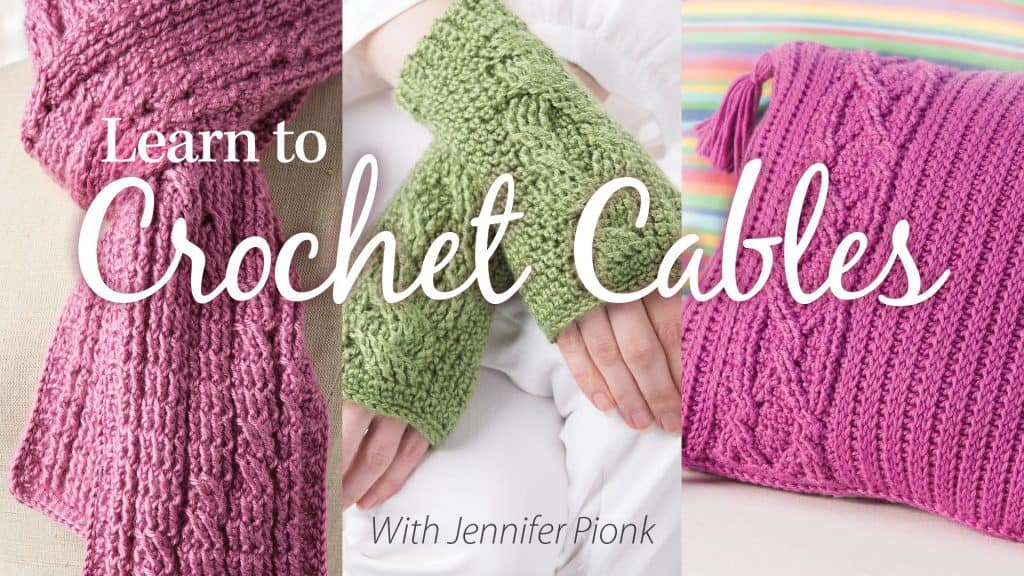
Are you intimidated by crocheted cables? Would you love to learn? Take an Annies Video Class with me and let me ease your fears of crocheted cables! Click on the photo below to watch a free preview. You can also see the other 2 classes I have available! (affiliate link)
I hope you’ve enjoyed this free crochet pattern! Check out my Ravelry shop to see all of my designs!
I LOVE seeing your finished projects! Please feel free to share them in the A Crocheted Simplicity Crochet Community group on Facebook!
Happy Crocheting!

Love this cowl! I’ve started one today. Question……are we only doing slip stitches (sl sts) in all the back loops only? I’m asking as I thought you might have meant to say single crochet (scs).
Hi Debbie, Yes, the pattern is in all BLO slip stitches. 🙂
Is the gauge 10 sts = 6 inches/centimeters and 14 rows = 4 inches/centimeters?
Hi Linda ~ Yes it is. I’m not sure how that W and + snuck in there. Thank you for bringing that to my attention. I’ll get teh post edited right now!
Is this British slip stitch or American? Mine is not looking right so I’m wondering if I’m doing the right stitch.
US terms
Hi there,
The crochet hook size seems off… N/P US15 should state its 10mm, am I right because it says 15.00mm…
looks easy enough, and if 2 hrs is correct time, should be quick to crochet… been looking for something quick with my bulky yarns.
Thanks
Hi Kathy – Different brands of hooks use different letters (especially for the larger size hooks). The brand I use is Clover Amour and their P/Q is a 15mm. This is why I list both the letters & mm for each hook. So if your size N is a 15mm, then yes, that’s the one you’ll need to use. 🙂 Always go by the mm and not the letter on the hook. 🙂 Jennifer
I really like the look of this cowl and the photo of Diana G’s son’s version sold it for me. Very classy.
This is SO pretty! I’ve tried this type of stitch in the past and have been so frustrated I never knew to go up FIVE sizes! That makes so much more sense! Thank you 💜