FREE Crochet Pattern | “Knit-Look” Chunky Headwarmer (Child)
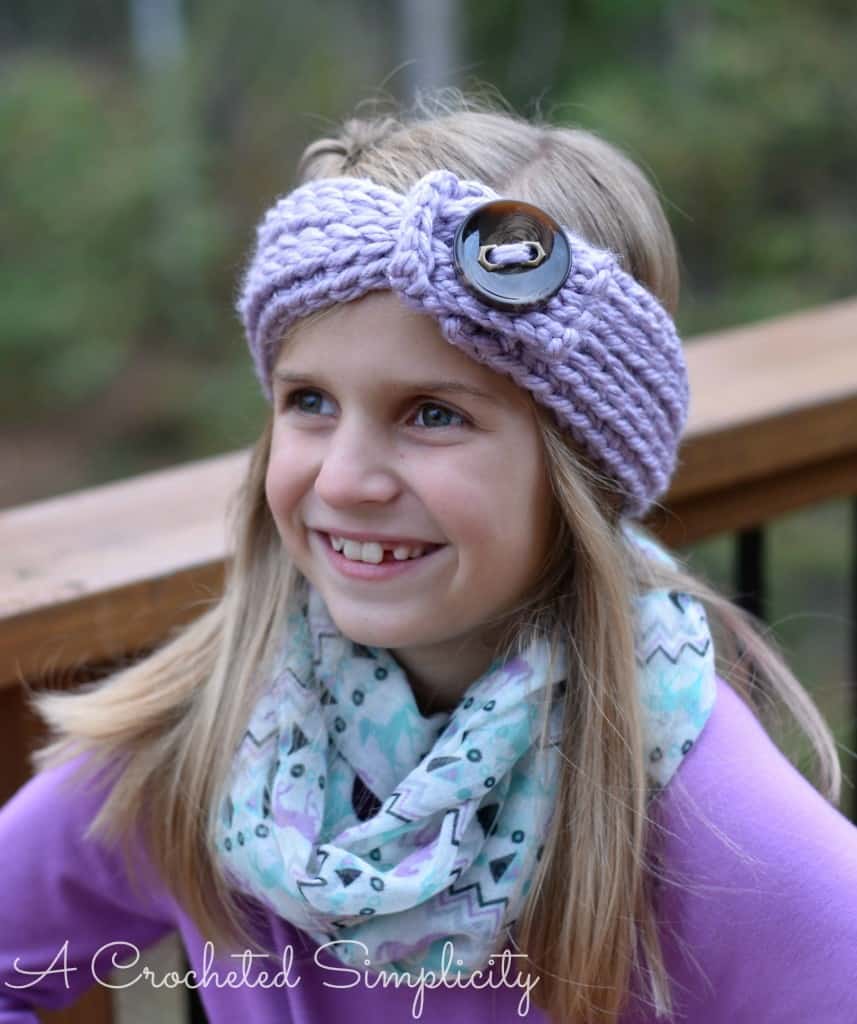
I had been trying to come up with an idea for super quick gifts this year and then one day inspiration struck for this “Knit-Look” Chunky Headwarmer! It’s PERFECT for teacher gifts and gifts for family….even picky teenagers! 😀 And since I like matching “Mommy & Me” accessories, I had to make it in Toddler & Child sizes too! *Click Here for Adult Sizes*
It’s also PERFECT for craft fairs! I used Lion Brand Hometown USA (less than a skein and usually found for around $3.00) and a large button. But the BEST part?!?! It took less than a half hour to make, including sewing on the button! The combination of the cost and time to create makes it a PERFECT item for craft fairs! 😀
“Knit-Look” Chunky Headwarmer (Toddler/Child)
Materials: US Size M/N 9.00mm crochet hook ( My hook of choice can be purchased through our affiliates: Clover 1056/MN Amour Crochet Hook, Size M/N/9.0mm ) (or proper hook to obtain gauge), yarn needle, scissors, button (1-3/4″ – 2-1/2″)
Yarn: Bulky / 6 Weight (55 yards), Lion Brand Hometown USA was used for the head warmers in the photos
Difficulty: Intermediate
Gauge: In pattern stitch (6.67 sts X 4.36 rows = 3″)
Sizes
- Toddler (18″ – 19″)
- Child (19″ – 20″)
- Click Here for Adult Sizes
Abbreviations
- ch(s): chain(s)
- sl st: slip stitch
- sc: single crochet
- st(s): stitch(es)
- yo: yarn over
- BLO: back loop only
- modified slst2tog: See Special Stitches
Special Stitches
- (Modified) Slip Stitch 2 Together (slst2tog): Insert hook into same st as previous st worked, yo, pull up a loop, insert hook into next st, yo, pull up loop and pull thru both loops on hook. **This st is modified because you begin each one in the previous st worked, therefore, your st count will not decrease. **Note: It will seem as though you’re working these sts along the backside of the previous row of sc.
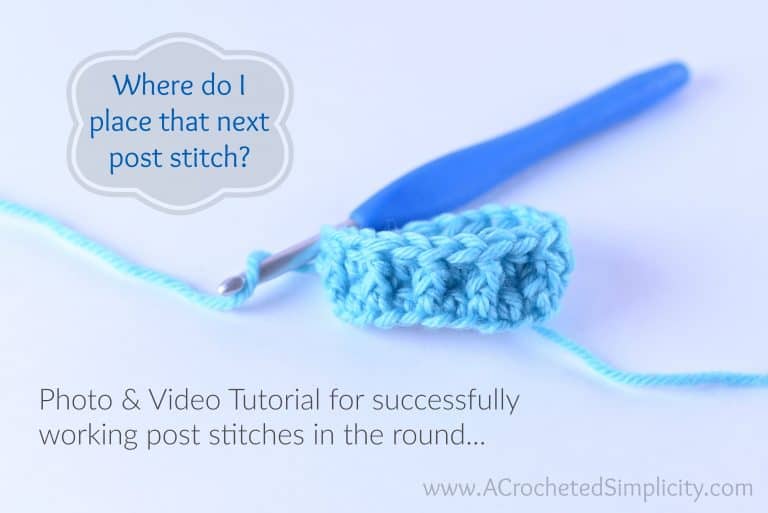
- Click here for a photo & video tutorial of this stitch pattern.
Notes
- The ch-1 at the beginning of each row does not count as a stitch.
- First stitch of each row is worked into the same st as the beginning chain, unless noted otherwise.
- Changes for sizes are written as follows: Toddler (Child)
Shop our affiliates for additional yarn choices:
 Lion Brand Hometown USA Yar...Shop on Amazon
Instructions
Photo & Video Tutorial can be found here: Modified Slst2tog
Row 1: *Right Side* Ch 45 (47), sl st in 2nd ch from hook, sl st in next 7 chs, sc in remaining chs. – 44 (46) sts
Row 2: Ch 1, Turn, sl st in same st as ch 1, work 35 (47) slst2tog, BLO sl st in remaining 8 sts. – 44 (46) sts
Row 3: Ch 1, Turn, BLO sl st in next 3 sts, ch 3, skip next 3 sts, BLO sl st in next 2 sts, BLO sc in remaining sts. – 44 (46) sts
Row 4: Ch 1, Turn, sl st in same st as ch 1, work 35 (37) slst2tog, BLO sl st in remaining 8 sts and chs. – 44 (46) sts
Row 5: Ch 1, Turn, BLO sl st in next 8 sts and chs, BLO sc in remaining sts. – 44 (46) sts
Row 6: Ch 1, rotate to work along the short end into the sides of the previous rows, sc in the side of each row. – 5 sts
Row 7: Ch 1, Turn, sc in each st across. – 5 sts
Row 8: Ch 1, Turn, sc in next st, ch 3, skip next 3 sts, sc in last st. – 5 sts
Row 9: Ch 1, Turn, BLO sl st in each st and ch across. –5 sts
Fasten off. Weave in ends. Continue below to Finishing.
Shop our affiliate for large wooden buttons:
 Amanaote Large Size Wood Bu...Shop on Amazon
Finishing
*Tip: It is normal for crochet items to stretch out when worn so don’t be afraid to make your initial fit a little snug.
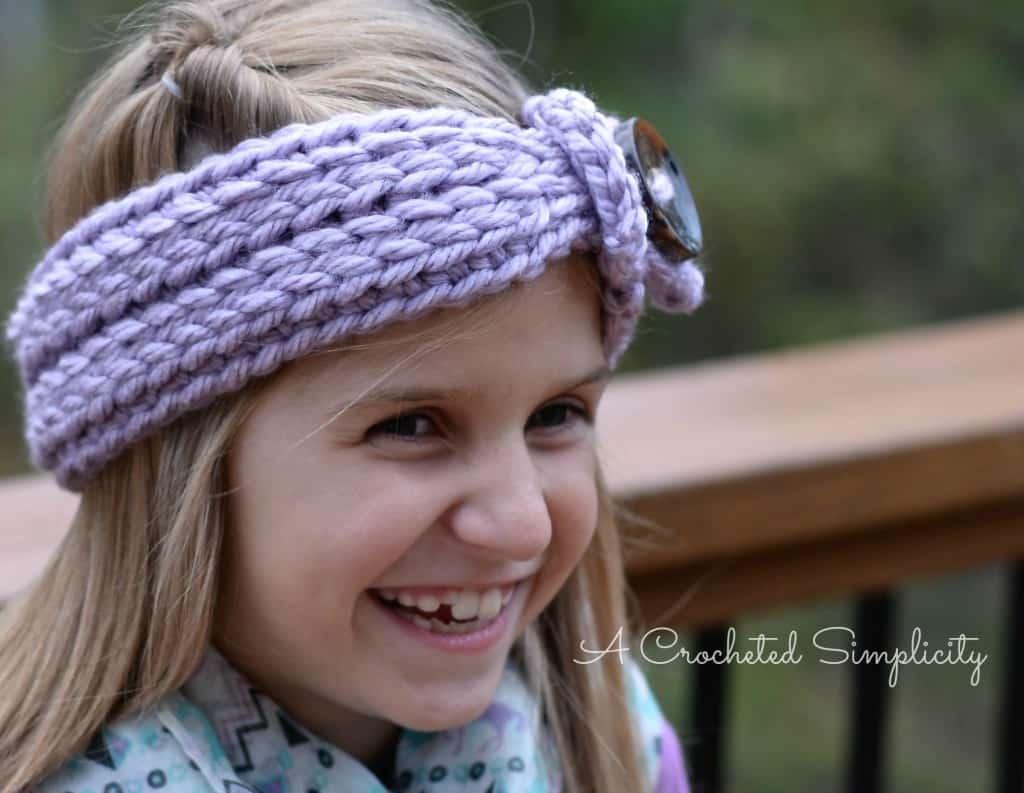
From bottom to top, insert the buttonhole end of headwarmer thru the loop created at the opposite end (see close up photo above). The buttonhole end should be on the outside of the headwarmer. Try it on for fit. Adjust the buttonhole end to adjust size. Once you have a good fit, sew your button on the Right Side of the headwarmer, opposite the buttonhole end.
I’d love to see your finished projects so feel free to post them on my Facebook page!

Options for saving this pattern:
- Bookmark this page!
- Use the print button and print out a free pattern version.
- PDF Instant Download, Ads-free version available for a nominal fee here.


One Comment