Free Charity Crochet Pattern: Cabled Dog Sweater
*This post may contain affiliate links.
If you’ve arrived here via the Lion Brand Yarn Heros charity campaign, welcome! If not, click on the graphic below to meet all of the Yarn Heroes and learn about their awesome designs for charity!

>CLICK HERE TO SIGN-UP TO RECEIVE OUR NEWSLETTER!<
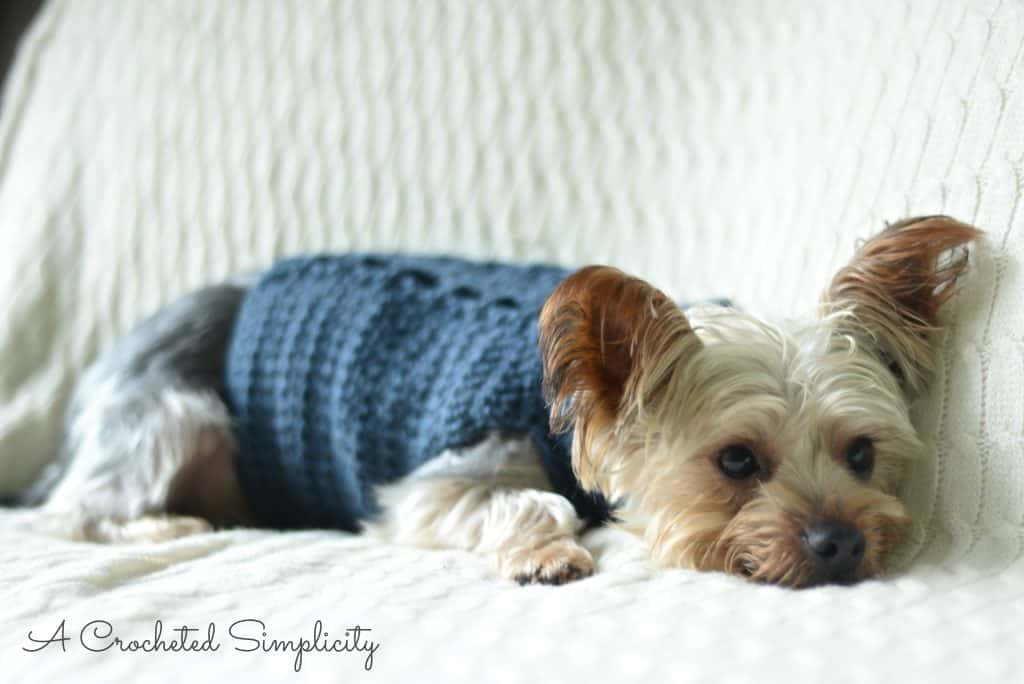
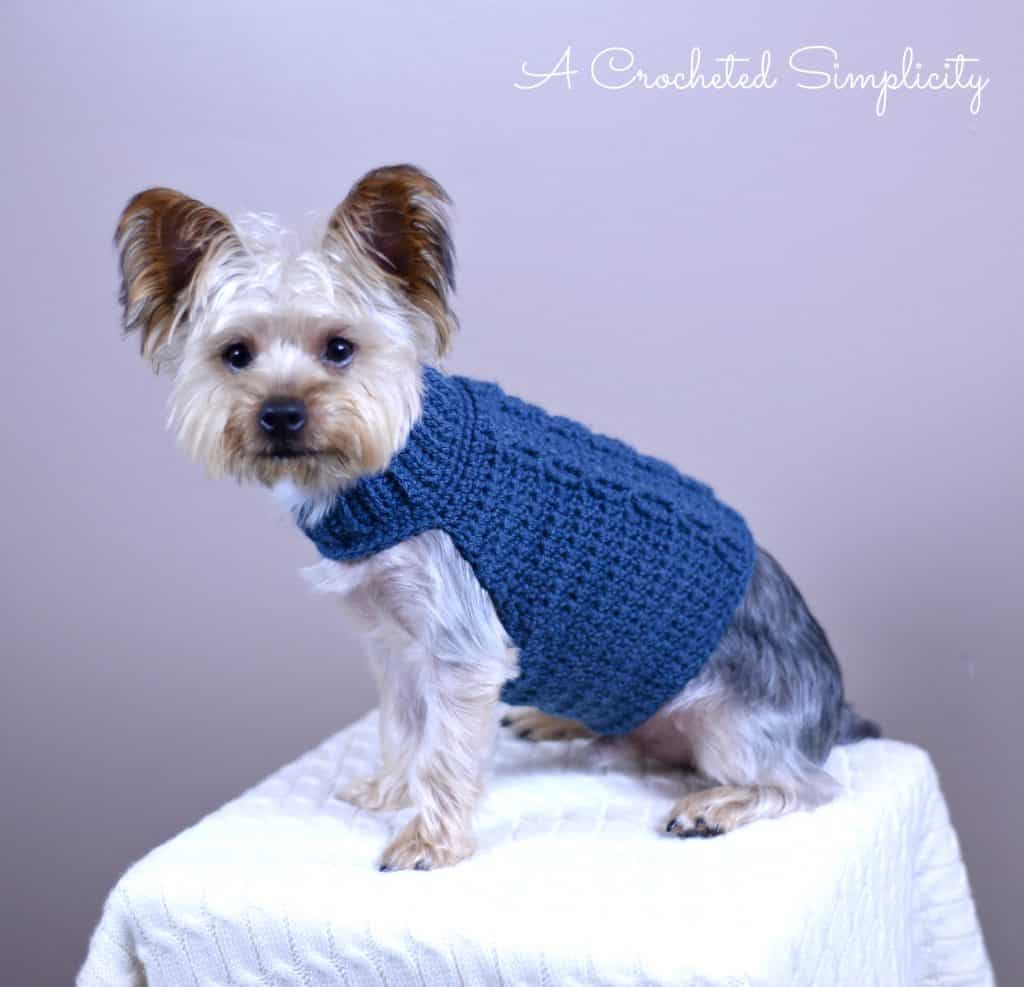
Without further ado…. The Cabled Crusader (aka A Crocheted Simplicity) has designed a Cabled Dog Sweater (shown below) as part of the Lion Brand Yarn Heroes charity campaign. Find out more about this project —> HERE.
THE YARN
For this crochet dog sweater, I chose Lion Brand Yarns Wool Ease, which is a worsted weight yarn. Wool Ease is an acrylic / wool blend yarn that is available in 66 gorgeous colors. Although Wool Ease is classified as a Craft Yarn Council 4 / worsted weight yarn, I’ve found that it is on the lighter side of most worsted weight yarns. Keep this in mind if you plan to substitute your favorite worsted weight yarn.
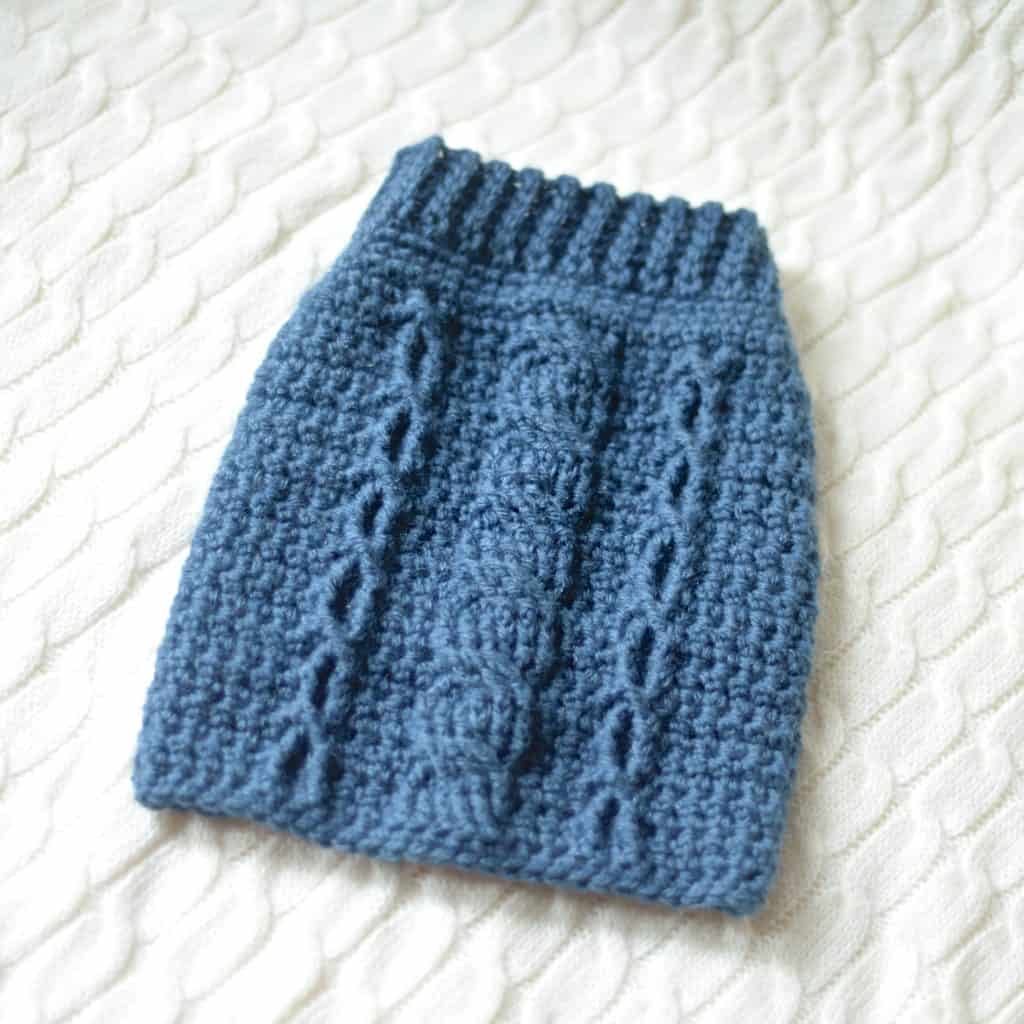
CABLED DOG SWEATER – FREE CROCHET DOG SWEATER PATTERN
The free pattern is below, but if you love to work offline, I’ve got a great option for you.
Purchase the ad-free, printable PDF, including all photo tutorials & charts, on LoveCrafts here, on Ravelry here, and on Etsy here. The ad-free version also includes a detailed garment schematic and all photo tutorials.
Save this pattern to your Ravelry favorites here.
Pin it for later here.
Materials
- Yarn: Worsted Weight /4 / 100 – 200 yards (yarn shown in the sample is Lion Brand Yarn Wool-Ease Yarn, Denim)
- Crochet Hook: H/8/5.00mm, or size needed to obtain gauge (My favorite crochet hooks are the Clover Amour Hooks, I’ve never had an ache in my hand since switching)
- Scissors
- Yarn Needle
- Stitch Markers
Many of these materials are available for purchase through our affiliates below:
 Lion Brand Yarn Wool-Ease Yarn, Denim") (1 Skein) Lion Brand Yarn W...Shop on Amazon
(1 Skein) Lion Brand Yarn W...Shop on Amazon  Clover Amour Crochet Hook: ...Shop on Amazon
  Westcott 13525 5-Inch Point...Shop on Amazon
  Lion Brand Yarn 400-5-5002 ...Shop on Amazon
  Clover Lock Ring Markers, 2...Shop on Amazon
Difficulty
- Intermediate
Sizes
- XS: Neck 8-9.5″; Girth 11-12.5″; Back Length 8″
- S: Neck 10-11.5″; Girth 13-15″; Back Length 10″
- M: Neck 12-13.5″; Girth 15.5-17″; Back Length 12″
- L: Neck 14-15.5″; Girth 19-21.5″; Back Length 14″
Gauge
- Neck: 6 sts x 6.75 rows = 1.5″
- Body of Sweater: 6.5 sts x 6.5 rows = 2″
Abbreviations (US Terms)
- ch(s): chain(s)
- yo: yarn over
- sl st: (slip stitch)
- sc: single crochet
- fpdc: front post double crochet (click HERE for photo & video tutorial)
- bpdc: back post double crochet
- fptr: front post treble crochet (click HERE for photo & video tutorial)
- ext sc: extended single crochet (click HERE for video tutorial)
- st(s): stitch(es)
- RS: Right Side
- FLO: front loop only
- BLO: back loop only
- FWD Cbl A (6 strand cable): (click HERE for photo & video tutorials)
Special Stitches
- Extended Single Crochet (ext sc): Insert hook into stitch indicated, yo, pull up a loop, yo, pull thru 1 loop on hook, yo, pull thru remaining 2 loops on hook. (click HERE for video tutorial)
- Front Post Treble Crochet (fptr): Yo 2 twice, insert hook from front to back to front around the post of the designated stitch, yo, pull up a loop, (yo, pull thru 2 loops) 3 times. (click HERE for photo & video tutorial)
- Forward Cable A (FWD Cbl A): Skip next 3 post sts, fptr around next 3 post sts, working in front of fptr just worked, fptr around each skipped post st. (click HERE for video tutorial)
Notes
- Turning chains are not included in stitch count.
- The first stitch of each row is worked into the same stitch as the turning chain.
- I tend to crochet on the tighter side. You may find yourself needing to go down a hook size (or two) to properly meet gauge.
- Yarn Notes: Lion Brand Yarns Wool Ease in Denim was used for the sample shown, worsted weight yarn, (3 oz / 85 g / 197 yards / 180 m / 80% acrylic / 20% wool) per ball.
- Yardage: You will use 100 – 200 yards depending on the size dog sweater you’re making.
- Another comparable worsted weight yarn may be used as long as gauge is met.
- Changes for Sizes are Written as Follows: X-Small (Small, Medium, Large).
- Instructions are given within the pattern to customize both the girth and length of your sweater.
Cabled Dog Sweater Instructions
Changes for Sizes Written as Follows: X-Small (Small, Medium, Large)
Neck
Row 1 (RS): Ch 7, sc in 2nd ch from hook and in each ch across. Turn. (6 sts)
Row 2: Ch 1, BLO sl st in each st across. Turn.
Row 3: Ch 1, BLO sc in each st across. Turn.
Rows 4 – 37 (43, 49, 55): Rep Rows 2 – 3.
Row 38 (44, 50, 56): With the RS facing out, bring the 1st row to meet the last row. Position your working yarn so that it’s on the inside of the neck. Ch 1, (Insert your hook from front to back into the FLO of the 1st st of Row 1, insert your hook from back to front into the BLO of the 1st st of the last row, yo, pull thru all loops to complete sl st) repeat across. Do not fasten off. Continue on to Neck Edging.
Neck Edging
Rnd 1 (RS): Ch 1, sc into the side of each row around the neck. Join w/ sl st to 1st st. (38, 44, 50, 56 sts)
Rnds 2 [(2 – 3) (2 – 3) (2 – 4)]: Ch 1, sc in each st around. Join.
Do not fasten off. Continue on to Body of Sweater.
Body of Sweater
Row 1(RS): Ch 1, 2 ext sc in first st, ext sc in next 20 (26, 32, 38) sts, 2 ext sc in next st. Turn. (24, 30, 36, 42 sts)
Row 2: Ch 1, 2 ext sc in first st, ext sc in next 2 (5, 8, 11) sts, bpdc around next st, ext sc in next st, bpdc around next st, ext sc in next 3 sts, bpdc around next 6 sts, ext sc in next 3 sts, bpdc around next st, ext sc in next st, bpdc around next st, ext sc in next 2 (5, 8, 11) sts, 2 ext sc in last st. Turn. (26, 32, 38, 44 sts)
Row 3: Ch 1, 2 ext sc in first st, ext sc in next 3 (6, 9, 12) sts, skip next 2 sts, fptr around next post st, ext sc in skipped ext sc, fptr around skipped post st, ext sc in next 3 sts, FWD Cbl A, ext sc in next 3 sts, skip next 2 sts, fptr around next post st, ext sc in skipped ext sc, fptr around skipped post st, ext sc in next 3 (6, 9, 12) sts, 2 ext sc in last st. Turn. (28, 34, 40, 46 sts)
Row 4: Ch 1, 2 ext sc in first st, ext sc in next 4 (7, 10, 13) sts, bpdc around next post st, ext sc in next st, bpdc around next post st, ext sc in next 3 sts, bpdc around next 6 post sts, ext sc in next 3 sts, bpdc around next post st, ext sc in next st, bpdc around next post st, ext sc in next 4 (7, 10, 13) sts, 2 ext sc in last st. Turn. (30, 36, 42, 48 sts)
Row 5: Ch 1, ext sc in next 6 (9, 12, 15) sts, fpdc around next post st, ext sc in next st, fpdc around next post st, ext sc in next 3 sts, fpdc around next 6 post sts, ext sc in next 3 sts, fpdc around next post st, ext sc in next st, fpdc around next post st, ext sc in last 6 (9, 12, 15) sts. Turn.
Row 6: Ch 1, ext sc in next 6 (9, 12, 15) sts, bpdc around next post st, ext sc in next st, bpdc around next post st, ext sc in next 3 sts, bpdc around next 6 post sts, ext sc in next 3 sts, bpdc around next post st, ext sc in next st, bpdc around next post st, ext sc in last 6 (9, 12, 15) sts. Turn.
Adjustments for Girth: If you need to adjust the sweater girth, you can do so at the end of Round 7 where you chain X. Simply add or subtract chains as needed to adjust the girth.
Round 7: Ch 1, ext sc in next 6 (9, 12, 15) sts, skip next 2 sts, fptr around next post st, ext sc in skipped ext sc, fptr around skipped post st, ext sc in next 3 sts, FWD Cbl A, ext sc in next 3 sts, skip next 2 sts, fptr around next post st, ext sc in skipped ext sc, fptr around skipped post st, ext sc in last 6 (9, 12, 15) sts, loosely ch 11 (12, 13, 22). Join w/ a sl st to the 1st st of the round. Turn. (41, 48, 55, 70 sts)
Round 8: Ch 1, ext sc in each ch, ext sc in each st to next post st, bpdc around next post st, ext sc in next st, bpdc around next post st, ext sc in next 3 sts, bpdc around next 6 post sts, ext sc in next 3 sts, bpdc around next post st, ext sc in next st, bpdc around next post st, ext sc in each remaining st around. Join. Turn.
Round 9: Ch 1, ext sc in each st to next post st, fpdc around next post st, ext sc in next st, fpdc around next post st, ext sc in next 3 sts, fpdc around next 6 post sts, ext sc in next 3 sts, fpdc around next post st, ext sc in next st, fpdc around next post st, ext sc in each remaining st around. Join. Turn.
Round 10: Ch 1, ext sc in each st to next post st, bpdc around next post st, ext sc in next st, bpdc around next post st, ext sc in next 3 sts, bpdc around next 6 post sts, ext sc in next 3 sts, bpdc around next post st, ext sc in next st, bpdc around next post st, ext sc in each remaining st around. Join. Turn.
Round 11: Ch 1, ext sc in each st to next post st, skip next 2 sts, fptr around next post st, ext sc in skipped ext sc, fptr around skipped post st, ext sc in next 3 sts, FWD Cbl A, ext sc in next 3 sts, skip next 2 sts, fptr around next post st, ext sc in skipped ext sc, fptr around skipped post st, ext sc in each remaining st around. Join. Turn.
Round 12: Ch 1, ext sc in each st to next post st, bpdc around next post st, ext sc in next st, bpdc around next post st, ext sc in next 3 sts, bpdc around next 6 post sts, ext sc in next 3 sts, bpdc around next post st, ext sc in next st, bpdc around next post st, ext sc in each remaining st around. Join. Turn.
Rounds 13 – ??: Repeat Rounds 9 – 12 until sweater measures 8” (10”, 12”, 14”) & ending w/ an even number round repeat.
Last Round: Ch 1, sc in each st around. Join.
Fasten off. Weave in ends.
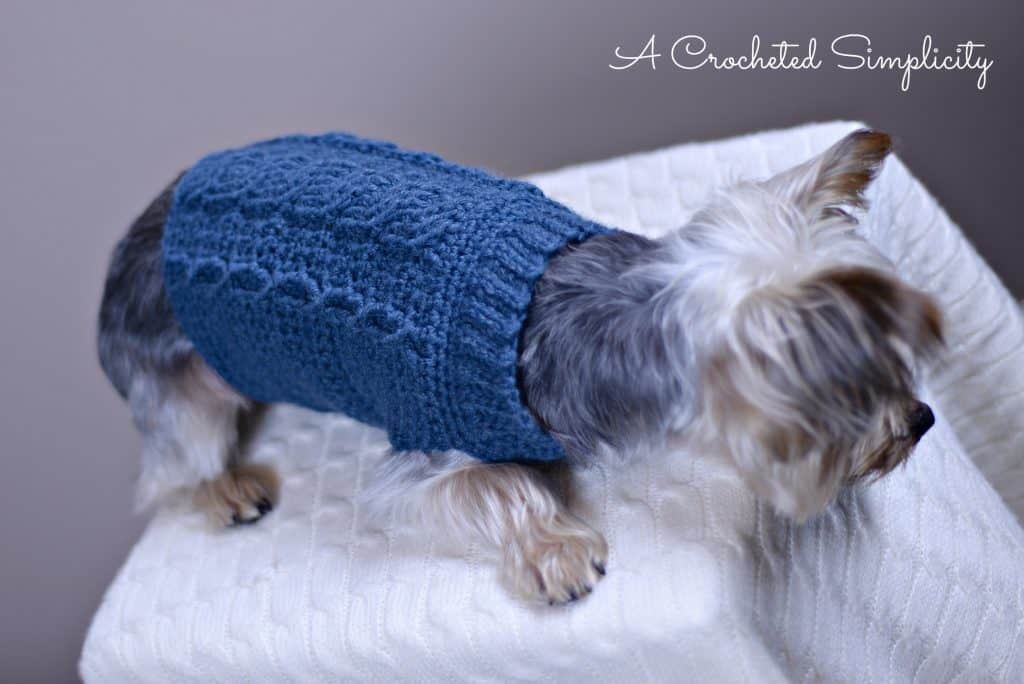
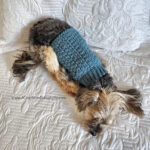
Check out some of my furry friends stylin’ in their Cabled Dog Sweaters!
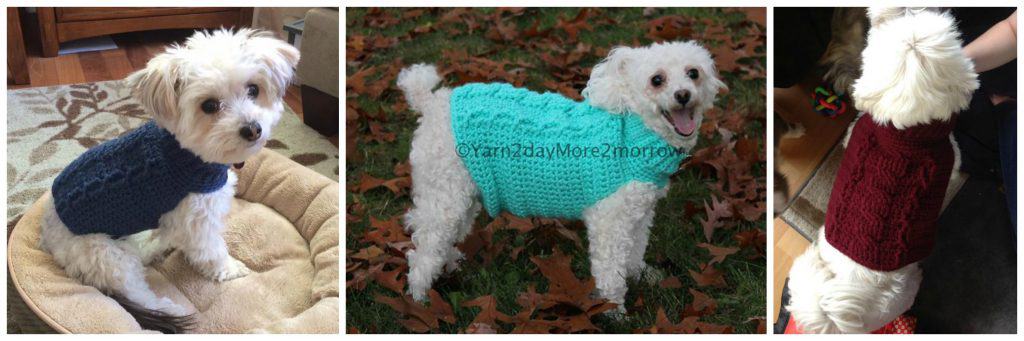
I hope you’ve enjoyed making your Cabled Dog Sweaters and that they’re enjoyed by lots of local dogs in need. <3 Please share a photo of your finished sweaters with me in my Facebook group: A Crocheted Simplicity Crochet Community Group.
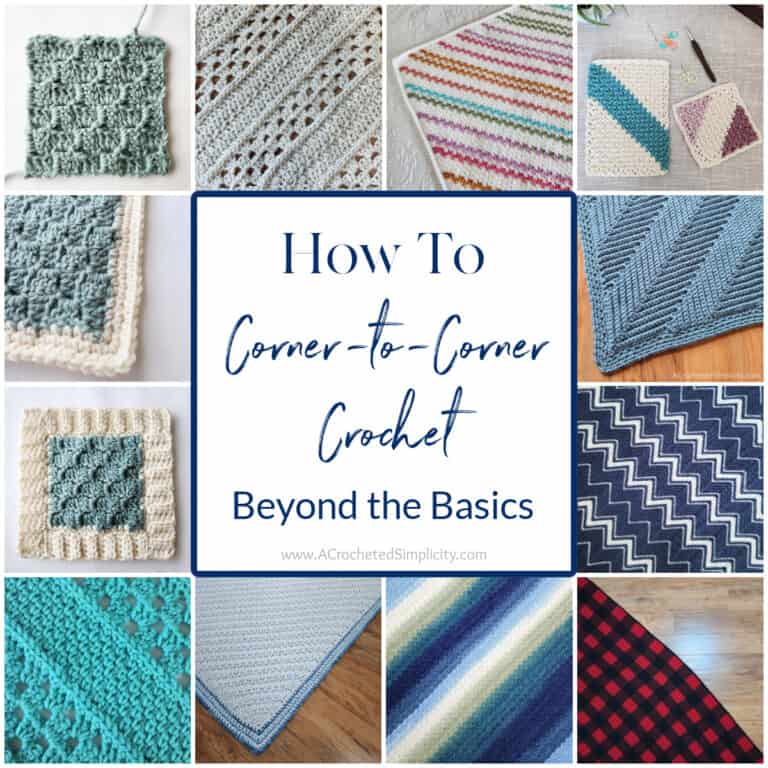
MORE FREE CROCHET PATTERNS FROM A CROCHETED SIMPLICITY
If you enjoy this crochet dog sweater pattern, you may enjoy these other projects as well. And if you just want to browse, you can find all of our free crochet patterns HERE.
Chewy’s Dog Sweater
Are you intimidated by knit-look crochet? Would you love to learn my tips & tricks? Take an Annies Video Class with me and let me ease your fears and help you increase your skills! Click on the photo below to watch a free preview. You can also see the other 4 video classes I have available! (affiliate link)

Please share your finished ACS projects with us in the A Crocheted Simplicity Crochet Community Group on Facebook! Use hashtag #ACrochetedSimplicity when sharing on social media so I can find your posts!

Just made this for my Himalayan kitty.. She is about to get groomed where she will be shaved down to practically no fur.. Need something to keep her nice and warm in the mean time. Thank you!
You’re welcome! 🙂
Row 3 of the body totally lost me. I’m an advanced beginner, but I’m confused with skipping, the fptr in skipped ext sc. Please help.
Hi Brenda~ This part is the small cables on each side of the larger cable. It is worked over 3 sts total. Think of them as sts 1, 2, 3…. Skip stitches 1 & 2, work a Fptr around st #3, then work a ext sc in st #2 (the one in the middle), then work a FPtr around st #1 (this makes the cross of the cable). A good rule to remember here is that all of your post sts will be worked around post sts. I hope this helps!
Jennifer
When you measure the sweater at the end, does it include the collar? Or do you measure from where the body of the sweater starts. Thank you…. Lovely pattern x
Hi Julie, The measurement included the collar.
What size was on the dog in the pictures?
Hi Amanda,
He wears a size small.
Jennifer
Hi. I want to make this sweater, but I don’t see how to make the leg openings? Does it have opening for both legs, or is it just split somehow? I hope it’s not a dum question, I’m totally blind so I can’t see the pictures or I’d probably know the answer.
Hi Melanie.
After you work the neck & neck edging, you begin the body of the sweater. Take a peak at the stitch counts here as you don’t work all the way around the neck. You’ll work in rows that are shorter than the neck circumference. This is where the hole for the legs is created. There aren’t 2 leg openings, just one wider one as I prefer this style…easier to get on and off the pups. 🙂
I hope this helps!
Jennifer
Can’t wait to give this a try for my grandson’s little dog & my kitties.